Warning Hot Surface
TOOLS
NEEDED:
By Others
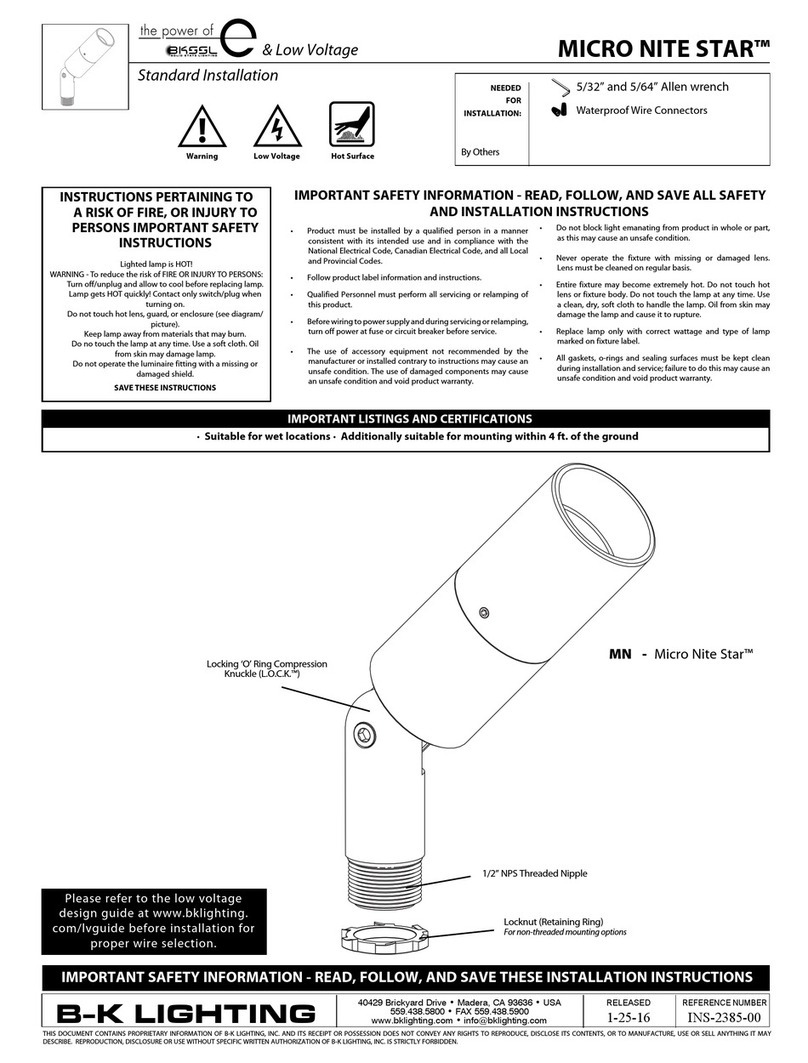
HP2& CO2 SERIES
AR111 / PAR36 / CDM-R111
Lamp and Accessory Holder Installation
• Product must be installed by a qualified person in a manner
consistent with its intended use and in compliance with the
NationalElectricalCode,CanadianElectricalCode,andallLocal
andProvincialCodes.
• Followproductlabelinformationandinstructions.
• QualifiedPersonnelmustperformallservicingorrelampingof
thisproduct.
• Beforewiringtopowersupplyandduringservicingorrelamping,
turnoffpoweratfuseorcircuitbreakerbeforeservice.
• The use of accessory equipment not recommended by the
manufacturerorinstalledcontrarytoinstructionsmaycausean
unsafecondition.Theuseofdamagedcomponentsmaycause
anunsafeconditionandvoidproductwarranty.
IMPORTANT SAFETY INFORMATION - READ, FOLLOW, AND SAVE ALL SAFETY
AND INSTALLATION INSTRUCTIONS
• Donotblocklightemanatingfromproductinwholeorpart,
asthismaycauseanunsafecondition.
• Never operate the fixture with missing or damaged lens.
Lensmustbecleanedonregularbasis.
• Entire fixture may become extremely hot. Do not touch hot
lensorfixturebody.Donottouchthelampatanytime.Use
aclean,dry,softclothtohandlethelamp.Oilfromskinmay
damagethelampandcauseittorupture.
• Replace lamp only with correct wattage and type of lamp
markedonfixturelabel.
• All gaskets, O-rings and sealing surfaces must be kept clean
duringinstallationandservice;failuretodothismaycausean
unsafeconditionandvoidproductwarranty.
INSTRUCTIONS PERTAINING TO
A RISK OF FIRE, OR INJURY TO
PERSONS IMPORTANT SAFETY
INSTRUCTIONS
LightedlampisHOT!
WARNING-ToreducetheriskofFIREORINJURYTOPERSONS:
Turnoff/unplugandallowtocoolbeforereplacinglamp.
LampgetsHOTquickly!Contactonlyswitch/plugwhen
turningon.
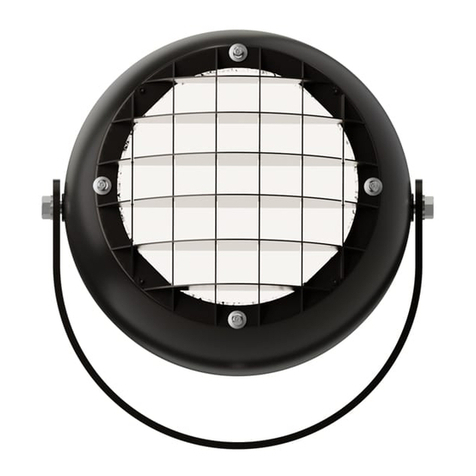
Donottouchhotlens,guard,orenclosure(seediagram/
picture).
Keeplampawayfrommaterialsthatmayburn.
Donotouchthelampatanytime.Useasoftcloth.Oil
fromskinmaydamagelamp.
Donotoperatetheluminairefittingwithamissingor
damagedshield.
SAVE THESE INSTRUCTIONS
· Suitable for wet locations · Suitable for recessed in ground locations
IMPORTANT LISTINGS AND CERTIFICATIONS
1/8”AllenWrench
PhillipsScrewdriver
RELEASED
7-13-16
REFERENCE NUMBER
INS-2155-00
40429 Brickyard Drive • Madera, CA 93636 • USA
559.438.5800 • FAX 559.438.5900
B-K LIGHTING
THISDOCUMENTCONTAINS PROPRIETARY INFORMATION OFB-KLIGHTING, INC. AND ITSRECEIPTORPOSSESSION DOES NOT CONVEYANYRIGHTS TO REPRODUCE, DISCLOSE ITSCONTENTS,OR TO MANUFACTURE, USEORSELLANYTHING IT MAY
DESCRIBE.REPRODUCTION,DISCLOSUREORUSEWITHOUTSPECIFICWRITTENAUTHORIZATIONOFB-KLIGHTING,INC.ISSTRICTLYFORBIDDEN.
IMPORTANT SAFETY INFORMATION - READ, FOLLOW, AND SAVE THESE INSTALLATION INSTRUCTIONS
1. Removefaceplateusing1/8”Allenwrench.Ifthereis
anoptionalaccessoryholder,carefullysqueezetabs
onsidesandgentlypullfromslotsonOptiLock®.
2a. Install proper AR111 lamp by placing connectors
around loosened terminal screws, then gently
tighteningscrewtomakeconnection.
Do not exceed the maximum wattage listed on
the fixture label before installing.
2b. Install proper PAR36 lamp by placing connectors
around loosened terminal screws, then gently
tighteningscrewtomakeconnection.
Do not exceed the maximum wattage listed on
the fixture label before installing.
Lamp Installation Or Re-Lamping if Required for AR111 / PAR36 / CDM-R111 Lamp
AR111 Lamp Installation PAR36 Lamp Installation
3. For Optional Accessory Holder: Insert accessory
holdertabsontoarmsonOptiLock®.
4.
Aimverticallybyturningthe#10Phillipsheadscrew
onOptiLock®assemblywithPhillipsscrewdriver.
2c. FirmlyinsertproperCDM-R111lamppinsintosocket,
thengentlytwisttomakeconnection.
Do not exceed the maximum wattage listed on
the fixture label before installing.
CDM-R111 Lamp Installation
