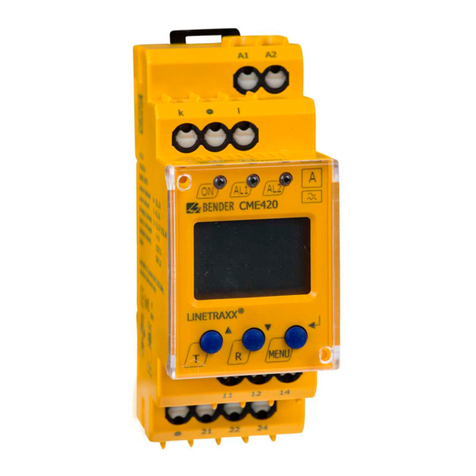
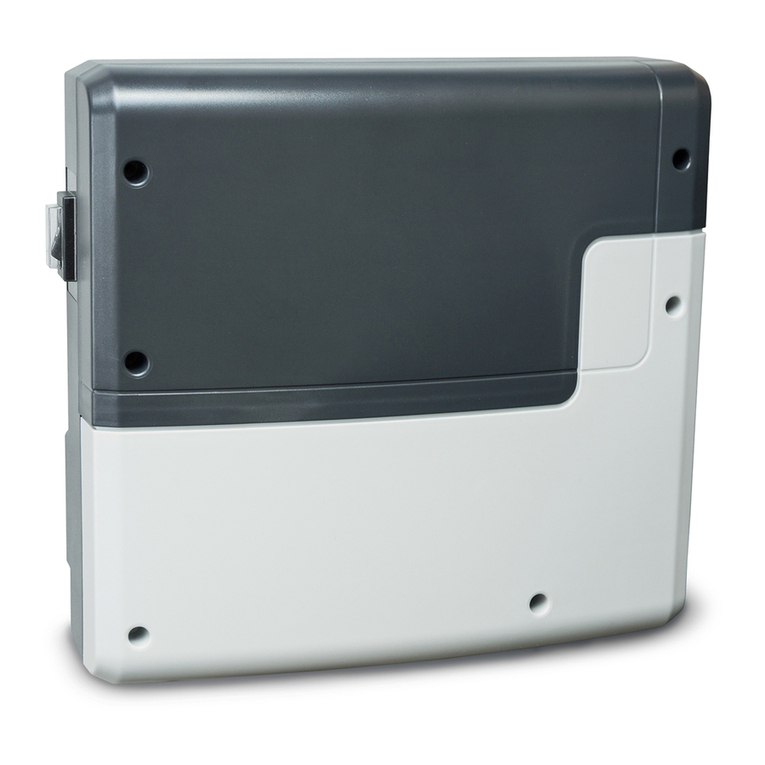
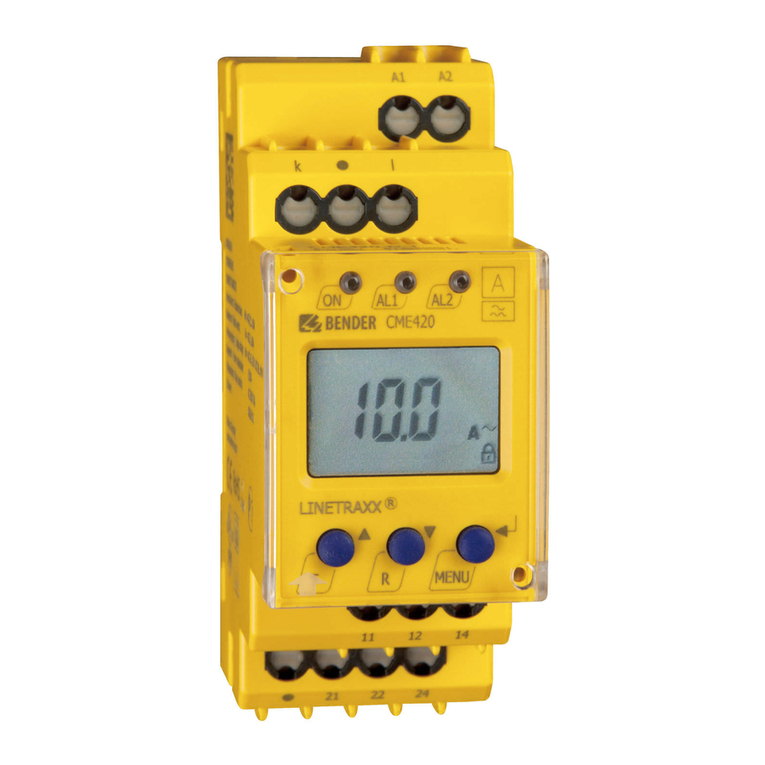
Bender cme420 User manual

Manual
CME420
Multi-functional current relay, AC,
overcurrent/undercurrent/
window discriminator function
CME420_D00034_00_M_XXEN/07.2013

©Bender GmbH & Co. KG
All rights reserved.
Reprinting only with permission
of the publisher.
Subject to change!
Bender GmbH & Co. KG
Londorfer Str. 65 • 35305 Gruenberg • Germany
Postfach 1161 • 35301 Gruenberg • Germany
Tel.: +49 6401 807-0
Fax: +49 6401 807-259
E-Mail: [email protected]om
Web: http://www.bender-de.com

Table of Contents
3
CME420_D00034_00_M_XXEN/07.2013
1. How to use this documentation effectively ................................................ 5
1.1 How to use this manual ................................................................................. 5
1.2 Symbols ............................................................................................................... 5
1.3 Intended use ...................................................................................................... 6
1.4 Information about factory setting ............................................................. 6
2. Safety information ........................................................................................... 7
2.1 Safety instructions ........................................................................................... 7
2.2 Work activities on electrical installations ................................................ 7
3. Function ............................................................................................................. 9
3.1 Device features ................................................................................................. 9
3.2 Function ............................................................................................................... 9
3.2.1 Automatic self test ........................................................................................ 10
3.2.2 Manual self test .............................................................................................. 10
3.2.3 Malfunction ..................................................................................................... 10
3.2.4 Specify the number of reload cycles ...................................................... 11
3.2.5 Erasable history memory ............................................................................ 11
3.2.6 Assigning alarms to the alarm relays K/1K2 ........................................ 11
3.2.7 Residual current monitoring in window discriminator mode ...... 11
3.2.8 Time delays t, ton and toff ......................................................................... 12
3.2.9 Password protection (on, OFF) ................................................................. 12
3.2.10 Factory setting FAC ...................................................................................... 12
3.2.11 Display accuracy ............................................................................................ 12
4. Installation and connection ......................................................................... 13
5. Operation and setting ................................................................................... 15
5.1 Used display elements ................................................................................ 15
5.2 Function of the operating elements ...................................................... 16

Table of Contents
4CME420_D00034_00_M_XXEN/07.2013
5.3 Menu structure ............................................................................................... 17
5.4 Display in standard mode ......................................................................... 18
5.5 Display in menu mode ................................................................................ 19
5.5.1 Parameter query and setting: overview ................................................ 19
5.5.2 Switching over from overcurrent to undercurrent operation or to
window operation ......................................................................................... 21
5.5.3 Response value setting for overcurrent: ............................................... 22
5.5.4 Setting the fault memory and operating principle of the alarm
relays .................................................................................................................. 23
5.5.5 Assigning alarm categories to the alarm relays ................................. 24
5.5.6 Setting the time delays ............................................................................... 26
5.5.7 Changing from overcurrent operation to window operation ...... 27
5.5.8 Setting the transformation ratio for external current transformer ...
28
5.5.9 Re-establishing the factory settings ....................................................... 30
5.5.10 History memory query ................................................................................. 30
5.6 Commissioning .............................................................................................. 31
5.7 Factory setting ............................................................................................... 31
5.8 Timing diagram: Current monitoring ..................................................... 32
6. Technical data ................................................................................................ 33
6.1 Data in tabular form ..................................................................................... 33
6.2 Ordering information ................................................................................... 36

5
CME420_D00034_00_M_XXEN/07.2013
1. How to use this documentation effectively
1.1 How to use this manual
This manual is intended for experts in electrical engineering and elec-
tronics!
This manual describes the multi-functional current relay CME420. It must be
kept ready for referencing in the immediate vicinity of the device.
1.2 Symbols
In order to make it easier for you to find specific text passages or references in
this manual and for reasons of comprehensibility, important information is
emphasized by symbols. The meaning of these symbols is explained below:
The warning symbol indicates a potential dangerous sit-
uation that may result in bodily injury and/or damage to
property.
Observe the associated safety instructions!
Information intended to assist the user to make optimum
use of the product are marked with the Info symbol.

How to use this documentation effectively
6CME420_D00034_00_M_XXEN/07.2013
1.3 Intended use
The current monitor is designed to monitor the threshold values of AC cur-
rents for overcurrent and undercurrent conditions. In case of direct measure-
ment, currents up to 16 A (screw-type terminals) resp. 12 A (push-wire
terminals) can be continuously monitored. For indirect measurement by
means of a current transformer, a transformation ratio factor up to 2000 can
be set. The device allows pure overcurrent and pure undercurrent operation,
as well as window operation between two adjustable response values. The
device is factory set to overcurrent operation.
1.4 Information about factory setting
The page 31 provides a summary of all factory settings.
If you want to reset the current monitor to factory settings refer to page 30.

7
CME420_D00034_00_M_XXEN/07.2013
2. Safety information
2.1 Safety instructions
In addition to this data sheet, the documentation of the device includes a
sheet entitled "Important safety instructions for BENDER products“.
2.2 Work activities on electrical installations.
Observe the relevant regulations applying to work on electrical instal-
lations, in particular DIN EN 50110 or its subsequent regulation
If the equipment is used outside the Federal Republic of Germany, the
respective national standards and regulations are to be observed. The
European standard EN 50110 is recommended to be used as a direc-
tive.
Danger of electric shock!
Touching live parts will cause danger of electric shock
with fatal consequences. All work activities on electrical
installations as well as installation activities, commis-
sioning activities and work activities with the device in
operation may only be carried out by electrically skilled
persons!

9
CME420_D00034_00_M_XXEN/07.2013
3. Function
3.1 Device features
Undercurrent or overcurrent monitoring in AC systems, < I or > I and
current monitoring with window discriminator function
Indirect current monitoring by means of a current transformer,
suitable for transformation ratio factor 1…2000
Adjustable switching hysteresis
r.m.s. value measurement AC
Continuous self monitoring
Starting delay, response delay and delay on release
Measured value display via multi-functional LC display
Alarm indication via LEDs (AL1, AL2) and changeover contacts (K1, K2)
N/C operation or N/O operation selectable
Fault memory behaviour selectable
Password protection against unauthorized parameter changing
Sealable transparent cover
Two-module enclosure (36 mm)
With push-wire terminals: two terminals per connection
3.2 Function
Once the supply voltage is applied, the starting delay "t" is activated. Meas-
ured values changing during this time do not influence the switching state of
the alarm relays.
The devices provide two separately adjustable measuring channels (overcur-
rent/undercurrent). When the measured value exceeds (ALARM 1) resp. drops
below (ALARM 2) the adjusted threshold value, the time of the response de-
lays "ton 1/2" begins. After the expiry of the response delay, the alarm relays
switch and the alarm LEDs light. If the measured value falls below or exceeds

Function
10 CME420_D00034_00_M_XXEN/07.2013
the adjusted delay on release (response value plus hysteresis) after the alarm
relays have switched, the delay on release starts "toff". After the expiry of "toff“,
the alarm relays switch back to their initial position. With activated fault mem-
ory, the alarm relays do not change their actual state until the reset button R
is pressed.
3.2.1 Automatic self test
The device automatically carries out a self test after connecting to the system
to be monitored and later every 24 hours. During the self test internal func-
tional faults or connection faults will be determined and will appear in form of
an error code on the display. The alarm relays are not checked during this test.
3.2.2 Manual self test
After pressing the internal test button for > 1.5 s, a self test is performed by the
device. During this test, internal malfunctions will be determined and appear
in form of an error code on the display. The alarm relays are not checked dur-
ing this test.
While the test button T is pressed and held down, all device-related display el-
ements appear on the display.
3.2.3 Malfunction
In the event of an internal malfunction, all three LEDs flash. An error code ap-
pears on the display (E.02…E.32).
Error code Meaning Action
E.02
Fault occured
during man-
ual self test
Check device connection. After eliminat-
ing the fault, the error code will be auto-
matically deleted.
E.03…E.32
Carry out a reset. Reset the device to fac-
tory setting. After eliminating the fault,
the error code will be automatically
deleted.

Function
11
CME420_D00034_00_M_XXEN/07.2013
If the fault continues to exist, please contact the Bender Service.
3.2.4 Specify the number of reload cycles
If faults occur only temporarily, but recurrently, in the system being moni-
tored, with deactivated fault memory M, the alarm relays would switch syn-
chronously to the error status.
RL in the out menu can be used to limit the number of these changeover proc-
esses. As soon as the specified number of processes is exceeded, the fault
memory will come on and an activated alarm remains stored.
3.2.5 Erasable history memory
The first alarm value that occurs will be entered in this memory. The memory
can be cleared via the menu HiS.
3.2.6 Assigning alarms to the alarm relays K/1K2
Different alarm categories can be assigned to the alarm relays K1/K2 via the
menu "out".
3.2.7 Residual current monitoring in window discriminator
mode
Change the measuring principle by selecting the window mode (SEt / In). In
the window discriminator mode, the threshold values I1 and I2 represent the
upper and the lower value. If the measured value is not within this area, an
alarm is initiated by the device (see page 27).

Function
12 CME420_D00034_00_M_XXEN/07.2013
3.2.8 Time delays t, ton and toff
The times t, ton and toff described below delay the output of alarms via LEDs
and relays.
Starting delay t
After connection to the supply voltage US, the alarm indication is delayed by
the preset time t(0…300 s).
Response delay ton1/2
If the current value exceeds or falls below the threshold value, the current
monitor does not initiate an alarm before the response time tan has elapsed.
A set response delay ton1/2 (0…300 s) adds up to the device-related operating
time tae and delays alarm signalling (total delay time tan = tae + ton).
If the fault does not continue to exist before the time of the response delay has
elapsed, an alarm will not be indicated.
Release delay toff
When no alarm exists after deactivating the fault memory, the alarm LEDs will
go out and the alarm relays switch back to their initial position. After activat-
ing the release delay (0…300 s), the alarm state is continuously maintained for
the selected period.
3.2.9 Password protection (on, OFF)
With activated password protection (on), settings can only be carried out
when the correct password (0…999) has been entered.
3.2.10 Factory setting FAC
After activating the factory setting, all settings previously changed are reset to
delivery status.
3.2.11 Display accuracy
The display accuracy of the measured current values depends on the set re-
sponse values. When an alarm response value I2 of 10 A has been selected,
currents smaller than 350 mA are displayed as < 0.3 A.

13
CME420_D00034_00_M_XXEN/07.2013
4. Installation and connection
Dimension diagram and drawing for screw fixing
The front plate cover is easy to open at the lower part identified by an arrow.
Ensure safe isolation from supply in the installation area.
Observe the installation rules for live working!
90 mm
45
67,5
36 mm
31,1
47,5
70,5
100 mm
116 mm
Zubehör/
Accessory

Installation and connection
14 CME420_D00034_00_M_XXEN/07.2013
1. DIN rail mounting:
Snap the rear mounting clip of the device into place in such a way that
a safe and tight fit is ensured.
Screw fixing:
Use a tool to move the rear mounting clips (a second mounting clip
required, see ordering information) to a position that it projects over
the enclosure. Then fix the device using two M4 screws.
2. Wiring
Connect the device according the wiring diagram.
Terminal Connections
A1, A2 Connection to supply voltage Us
k, l Connection to the conductor to be monitored: directly or
by means of a current transformer
11, 12, 14 Alarm relay K1
21, 22, 24 Alarm relay K2
Us
A1
~/
~/+
6A 6A
IT-System
A2
kl
11 1412
21 2422
A2A1
lk
L1
N
lk
L1
N

15
CME420_D00034_00_M_XXEN/07.2013
5. Operation and setting
5.1 Used display elements
A detailed description of the meaning of the display elements is given in the
table below.
Used display elements Elemen
tFunction
RL Reload function with memory = off
(L = I.)
nTransformation ratio factor for
external current transformer
<I
>I
Undercurrent
Overcurrent
r1, 1
r2, 2
Alarm relay K1,
Alarm relay K2
I Hys,
%Response value hysteresis in %
ton1,
ton2,
t,
toff
Response delay ton1 (K1),
Response delay ton2 (K2)
Starting delay t,
Delay on release toff for K1, K2
MFault memory active
Operating mode of the relays K1, K2
Password protection active

Operation and setting
16 CME420_D00034_00_M_XXEN/07.2013
5.2 Function of the operating elements
Device front Elemen
tFunction
ON Power On LED, green
AL1,
AL2
LED Alarm 1 lights (yellow):
Response value 1 reached
LED Alarm 2 lights (yellow):
Response value 2 reached
1,6 A,
M
I = 1.6 A flow via
the terminals k and l,
Fault memory active
T, Test button (> 1.5 s):
Indication of the display elements,
starting a self test;
Up key (< 1.5 s):
Menu items/values
R, Reset button (> 1.5 s):
Deleting the fault memory;
Down key (< 1.5 s):
Menu items/values
MENU, MENU key (> 1.5 s):
Starting the menu mode;
Enter key (< 1.5 s):
Confirm menu item, submenu item
and value.
Enter key (> 1.5 s):
Back to the next higher menu level.
ON AL1 AL2
TMENUR

Operation and setting
17
CME420_D00034_00_M_XXEN/07.2013
5.3 Menu structure
All adjustable parameters are listed in the columns menu item and adjustable
parameters. A display-like representation is used to illustrate the parameters
in the column menu item. Different alarm categories can be assigned to the
alarm relays K1, K2 via the submenus r1, r2. This is done by activation or deac-
tivation of the respective function.
Menu Sub
menu
Menu
item Activation Adjustable parameter
AL
(response -
values)
> I2 ON (HI) Overcurrent (alarm)
> I1 ON (HI) Overcurrent (prewarn-
ing)
Hys Hysteresis < I21, > I21
out
(output con-
trol)
M ON Fault memory
1- Operat. mode K1 (n.c.)
2- Operat. mode K2 (n.c.)
RL Reload function (mem-
ory = off )
r1
(K1: (assign-
ment alarm
category)
1 Err ON Device error at K1
r1 I1 ON Prewarning I1 at K1
r1 I2 OFF Alarm I2 at K1
1 tES ON Device test
r2
(K2: (assign-
ment alarm
category)
2 Err ON Device error at K2
r2 I1 OFF Prewarning I1 at K2
r2 I2 ON Alarm I2 at K2
2 tES ON Device test
t
(timing
check)
t on 1 - Response delay K1
t on 2 - Response delay K2
T- Startingdelay
t off - Delay on release K1/K2

Operation and setting
18 CME420_D00034_00_M_XXEN/07.2013
5.4 Display in standard mode
By default, the currently measured current is displayed or, if required, the
measured overcurrent value. The current response values (prewarning) and
I2 (alarm) can be displayed using the Up and Down key. If you want to re-
turn to the measured value, press the Enter key.
Set
(device con-
trol)
I 12 HI
Setting ranges:
High, window function,
low
n1
Transformation ratio
factor external current
transformer
OFF Parameter setting via
password
FAC - Re-establish factory
settings
SYS - Function blocked
InF -Display hard / software
version
HiS Clr -
History memory for the
first alarm value, erasa-
ble
Menu Sub
menu
Menu
item Activation Adjustable parameter

Operation and setting
19
CME420_D00034_00_M_XXEN/07.2013
5.5 Display in menu mode
5.5.1 Parameter query and setting: overview
Menu
item Adjustable parameter
AL
Response values query and setting:
– Alarm I2 (AL2), (undercurrent, overcurrent or window
function can be set in the SEt/I menu)
– Prewarning I1 (AL1), (50 % of I2)
– Specify the hysteresis of the response values: Hys I12
out
Configuration of the fault memory and the alarm relays:
– Activating/deactivating the fault memory
– Select N/O operation (n.o.) or N/C operation (n.c.)
individually for each K1/K2
– Specify the number of the reload cycles
– Assign the alarm categories undercurrent or overcurrent
or device error individually to each K1/K2 (1, r1 / 2, r2).
T
Delay settings:
– Response delay ton1/ton2
– Starting delay t
– Delay on release toff (LED, relay)
SEt
Parameter setting for device control:
– Select the appropriate parameter for response values:
High (HI), low (Lo) or window function (In).
– Set the transformation ratio (n) for the current transformer
– Enable or disable password protection, change the pass-
word
– Re-establish factory settings
– Service menu SyS blocked
InF Query hard and software version
HiS Query the first stored alarm value
ESC Move to the next higher menu level (back)
Other manuals for cme420
2
Table of contents
Other Bender Relay manuals
Bender
Bender LINETRAXX VMD461 User manual

Bender
Bender LINETRAXX VMD258 User manual
Bender
Bender cme420 Manual
Bender
Bender IOM441-S User manual
Bender
Bender CMD420 User manual

Bender
Bender UMS420 User manual
Bender
Bender EDS440 Instruction manual
Bender
Bender VME421H User manual
Bender
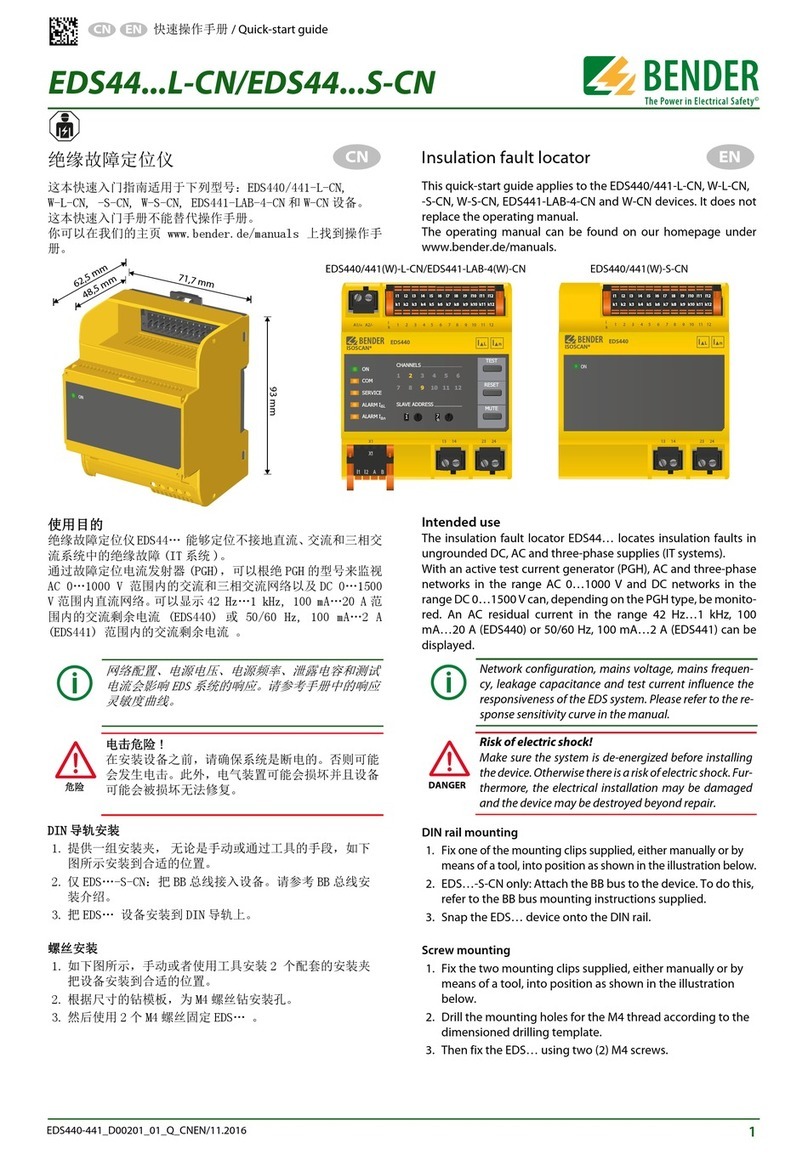
Bender EDS44 L-CN Series User manual
Bender
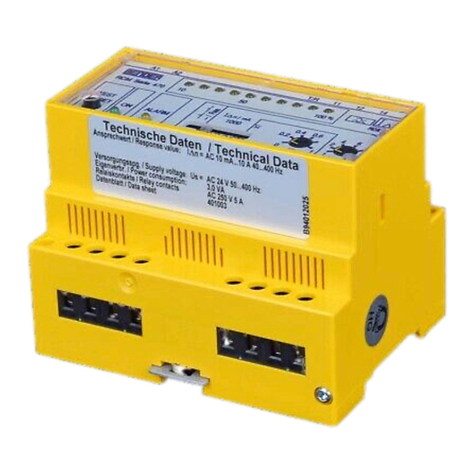
Bender RCM470LY User manual


