Beta Ultra Dottie II User manual

CTP Calibrator
Operating Manual
THE QUALITY CONTROL COMPANY
Version 1.03

1/40

2/40
The Quality Control Company
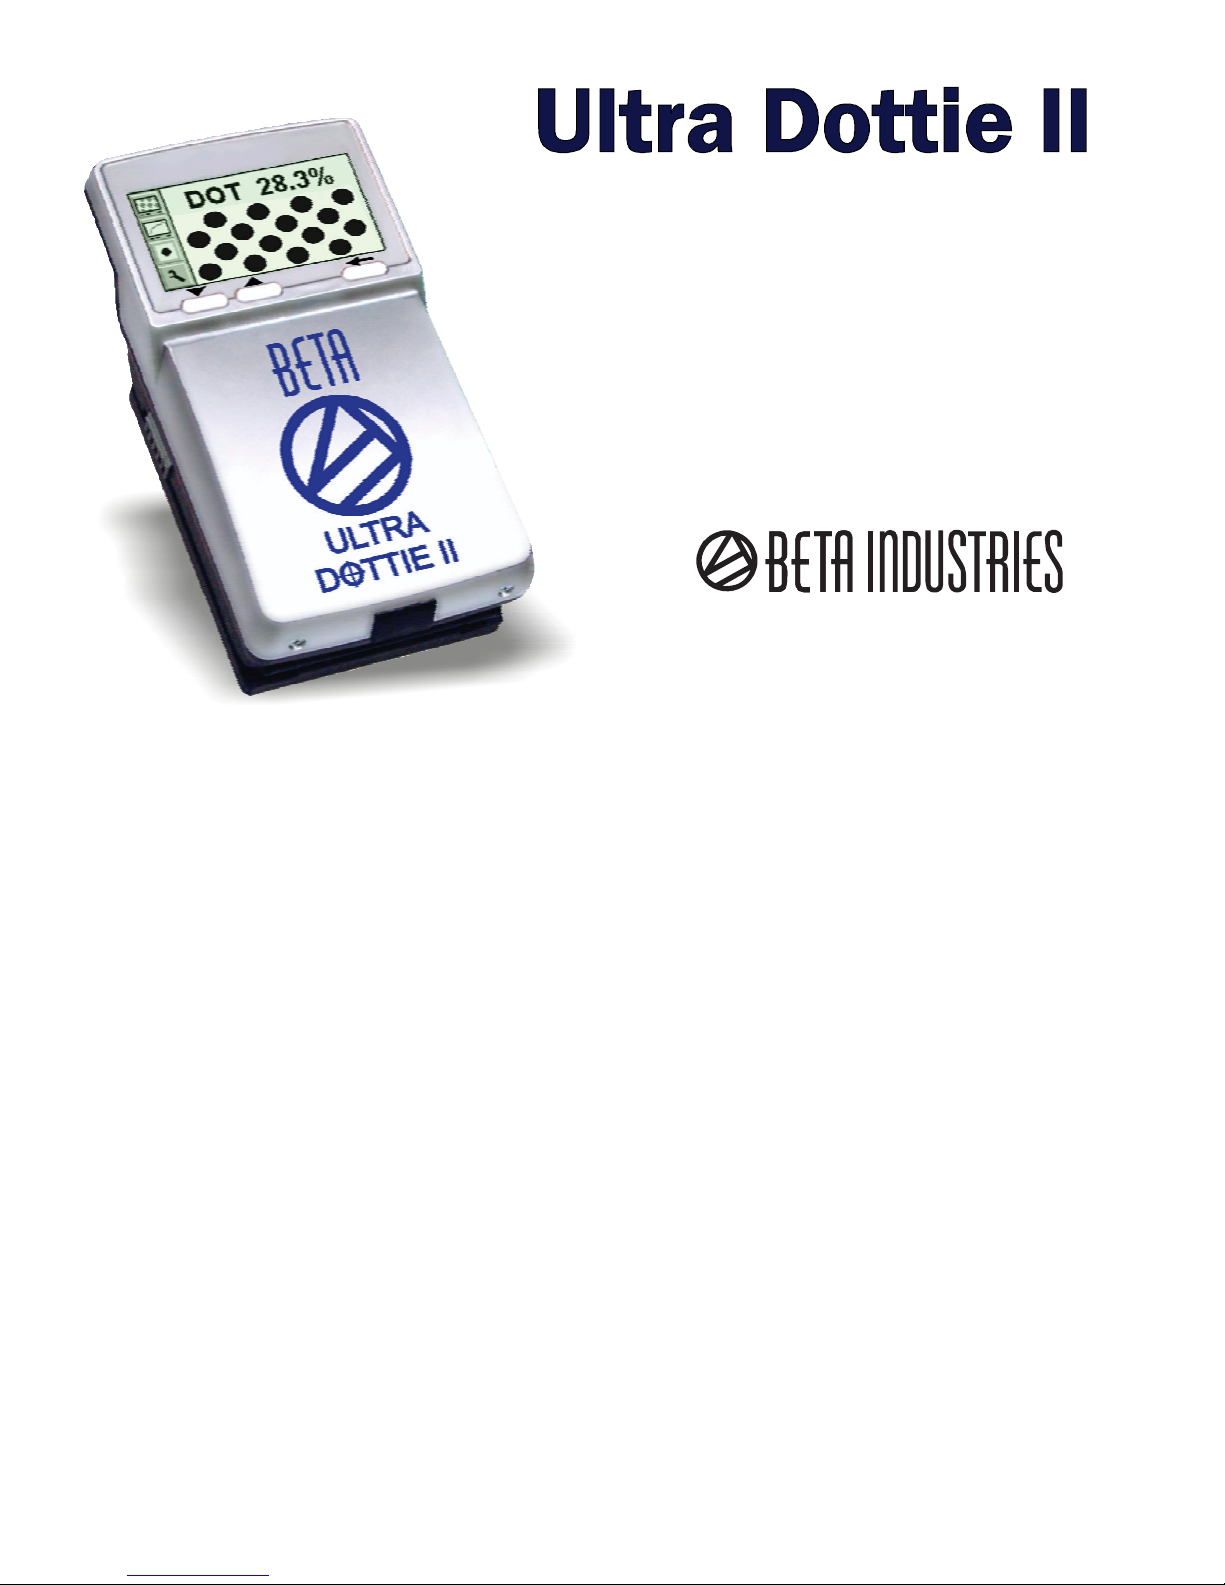
ULTRA DOTTIE II
CTP Calibrator/Plate Reader
Instruction Manual
Version 1.03

3/40
1 TABLE OF CONTENTS 3
2GENERAL 5
2.1 INTRODUCTION 7
2.2 SAFETY 8
2.2.1 Warning 8
2.2.2 General safety tips 8
2.3 PACKAGING AND TRANSPORT 9
2.4 BASIC EQUIPMENT AND ACCESSORIES 9
2.5 ACCESSORIES 10
2.5.1 BetaTab software 10
2.5.2 BetaTarget(Optional) 10
3 OPERATION 11
3.1 FUNCTIONAL ELEMENTS 13
3.2 FIRST STEPS FOR USE 14
3.2.1 Power-saving mode 14
3.2.2 Toolbar 15
3.2.3 Identifying the symbols 15
3.3 ADJUSTING DEVICE SETTINGS 20
3.4 INPUTTING A REFERENCE CURVE 21

4/40
3.5 MEASURING 23
3.5.1 General 23
3.5.2 Calibration 25
3.5.3 Measuring standard plates 25
3.5.4 Measuring polyester plates 26
3.5.5 Measuring film 26
3.5.6 Measuring paper 27
3.5.7 Measurement values 27
3.6 VISUALLY CHECKING THE DOT 29
3.7 MEASURING A PLATE CHARACTERISTIC CURVE 30
3.8 Ultra Dottie II MAINTENANCE AND CARE 32
Upgrading Your Ultra Dottie 2 (Upgrade Codes)
3.8.1 RESET 32
3.8.2 Replacing the batteries 33
4 APPENDIX 35
4.1 TECHNICAL DATA 37
4.2 SERIAL INTERFACE 38
4.3 DECLARATION OF CONFORMITY 39

5/40
2 General 5
2.1 INTRODUCTION 7
2.2 SAFETY 8
2.2.1 Warning 8
2.2.2 General safety tips 8
2.3 PACKAGING AND TRANSPORT 9
2.4 BASIC EQUIPMENT AND ACCESSORIES 9
2.5 ACCESSORIES 10
2.5.1 BetaTab software 10
2.5.2 BetaTarget(Optional) 10
1

6/40
2.1 Introduction
Dear Beta Industries customer:
Congratulations! You have just acquired the portable plate measuring device
Ultra Dottie II made by Beta Industries. This device solves one of the most difficult
tasks in the printing industry – quick and accurate quality control of the
Computer-to-Plate (CtP) process. With the help of its built-in video camera the
Ultra Dottie II geometrically analyzes the dot area of any given test patches with
regular or stochastic screens. Where applicable the dot diameter, screen ruling,
the screen angle and the visual coverage are calculated and displayed. The
quality of the dot form of a screen type occasionally has to be assessed. This
can be done with the Ultra Dottie II at a resolution of 12,700 ppi (pixels per inch) or
6,350 ppi as a matter of choice. To avoid having to check each individual
measurement during the linearization of a CtP, the Ultra Dottie II offers the
possibility of measuring an entire curve with up to 100 sample points and then
transferring it to a host PC. Beta Industries also offers BetaTab software,
with which the data can be copied into a word processor, a spreadsheet or
another software program. The power-saving electronics and LED technology allow up
to 30,000 measurements for each set of batteries (2 ordinary commercial AA batteries), which
means that no limits are placed on mobility. With the icon-based, graphical user interface
Beta Industries is opening up new paths and offers the user a simple, easy to understand operating concept.
7/40
2.2 Safety
2.2.1 Warning
For safety reasons it is absolutely necessary to read through the
user’s guide and all of the instructions it contains.
2.2.2 General safety tips
If the safety recommendations and instructions in this User Guide
are not complied with, this can lead to measurement errors or data
loss or involve physical injury or damage to property.
• Ultra Dottie II is not intrinsically safe. Therefore the device cannot
be used in an environment where there is a risk of explosion.
• Ultra Dottie II may not be used in an area with strong
electromagnetic fields.
• Use the Ultra Dottie II in ambient temperatures between 10°C (50°º F) and
40°C (104°F), and do not expose the Ultra Dottie II to direct sun light.
• Ultra Dottie II should never be opened up. The guarantee expires
immediately upon unauthorized opening of the device. Contact
your dealer if repairs prove to be necessary.
• To avoid incorrect handling, the Ultra Dottie II should only be used by
trained personnel..
• Ultra Dottie II should only be used on dry and stable measuring surfaces.

8/40
• Ultra Dottie II should be protected against chemicals, corrosive vapors,
strong mechanical vibrations and impacts.
• Use original Beta Industries spare parts and accessories only.
• Use the original packaging exclusively when transporting the device.
• The Ultra Dottie II case can be cleaned with a cloth moistened with soapy water
2.3 Packaging and transport
Always transport Ultra Dottie II in the original device case to avoid damage.
Safeguard the measuring foot by pushing back the locking device.
Beta Industries cannot be liable for damage to the Ultra Dottie II during
transport that can be traced back to inadequate packaging or an
unlocked measuring foot.
2.4 Basic equipment and accessories
The Ultra Dottie II and the associated standard accessories are supplied in a
fitted case. Please check the contents of the device case for completeness
on delivery.
The following components must be present:
• Ultra Dottie II
• User guide

9/40
2.5 Accessories
To perform and document quality control, it is often necessary to save
the measured data on a PC.
2.5.1 BetaTab software
The BetaTab software enables you to transfer the measured data and
binary images to your PC or Macintosh and to copy these into a given program
(e.g. word processor, spreadsheet). The screen dot as well as the
associated measurement values will be transferred and can then be
used for statistical analysis. This software is an ideal tool for
documenting measurement results.
2.5.2 Beta Target (Optional)
The BetaTarget is a long-term stable absolute reference. You can use
the BetaTarget to test the device for its accuracy, to carry out an
upgrade and if necessary to calibrate it.
BetaTarget technical data:
Dot: 28.0%
Lines/cm: 50, Lines/in: 127

10/40
Dot size: 120µm
The reference plate used by Beta Industries is an extremely precise
glass substrate that is metal vaporized and, as is used in
semiconductor manufacturing, etched out. It is embedded in gray
plastic. The reference plate has a lifetime of two years. The expiration
date and the serial number are printed on the label.
3 OPERATION 11
3.1 FUNCTIONAL ELEMENTS 13
3.2 FIRST STEPS FOR USE 14
3.2.1 Power-saving mode 14
3.2.2 Toolbar 15
3.2.3 Identifying the symbols 15
3.3 ADJUSTING DEVICE SETTINGS 20
3.4 INPUTTING A REFERENCE CURVE 21
3.5 MEASURING 23
3.5.1 General 23
3.5.2 Calibration 25
3.5.3 Measuring standard plates 25
3.5.4 Measuring polyester plates 26
3.5.5 Measuring film 26

11/40
3.5.6 Measuring paper 27
3.5.7 Measurement values 27
3.6 VISUALLY CHECKING THE DOT 29
3.7 MEASURING A PLATE CHARACTERISTIC CURVE 30
3.8 Ultra Dottie II MAINTENANCE AND CARE 32
3.8.1 RESET 32
3.8.2 Replacing the batteries 33
1
2
3
Table of

12/40
Operation : Functional Elements
<RESET> on bottom
LCD Display
<ENTER>
<UP> button
<DOWN> button
Positioning Aid
Locking button
RS232 Interface
0° Positioning
3.2 First steps for use

13/40
Release the measuring head by sliding the locking device on the left
side forward. After initial opening or after pressing the <RESET> button (red button on the bottom side of
the measuring head) the start-up screen appears on the display. The version number of the firmware and the device serial
number are shown on the bottom left of the screen. If you have technical questions, please communicate this information to
the manufacturer. The device’s factory settings have been selected to enable you to begin measuring plates immediately. The
Ultra Dottie II is configured as follows:
MODEL TYPES:
1) BASIC: AM (Standard Screening) for Metal Plates
2) BASIC PLUS: AM/FM (Stochastic) for Metal & Polyester Plates
3) ADAVANCED: AM/FM (Stochastic) for Metal & Polyester Plates, including print, proofs, & films
4) ULTIMATE: All ADVANED features plus PQS software databse
• Standard plate • Lines/inch • Regular screen (AM) • Red LED (a standard plate is typically measured with the red LED)

14/40
3.2.1 Power-saving mode
The Ultra Dottie II changes over automatically to power-saving mode after
approximately 30 seconds. This is announced by displaying the
‘Sleep’ symbol. The display will then fade out. Tapping any
button on the device will reproduce the last display.
3.2.2 Toolbar
The toolbar appears on the left on the display and displays the
functions available using symbols. A cursor (black frame surrounding
the symbol) can be moved through the toolbar using the <UP> and
<DOWN> buttons (see section 3.1).
Functions available using symbols. A cursor (black frame surrounding
the symbol) can be moved through the toolbar using the <UP> and
<DOWN> buttons (see section 3.1).
The function designated by the cursor is executed by pressing the
<ENTER> button. In normal operating mode the cursor moves after
approximately 5 seconds to the default position. To re-position the

15/40
cursor simply tap the <UP> or <DOWN> button.
3.2.3 Meaning of the symbols
3.2.3.1 Change display mode
Next display
Previous display
Change to image display for a visual dot inspection
Increase representation resolution to 12,700 ppi
Reduce representation resolution to 6,350 ppi
Change to characteristic curve display
Device Settings
3
3.2.3.2 Move the sub-cursor
Shift the sub-cursor from left to right
Shift the sub-cursor from right to left
Shift the sub-cursor downwards / Decrease value
Shift the sub-cursor upwards / Increase value

16/40
3.2.3.3 Device Settings
Standard plate
Polyester plate
Paper
Film
Screen ruling in (lines/cm)
Screen ruling in (lines/inch)
Regular screening (AM)
Stochastic screening (FM).
Illumination for plate measurement R (Red LED), G (Green LED), B (Blue LED)
Color for paper measurement C (Cyan LED), M (Green LED), Y (Blue LED), K (Green LED)
Automatic CMY color recognition during paper measurement
Positive dot %
Negative dot %

17/40
3.2.3.4 Other functions
Transfer current record (binary image or characteristic curve) to the host PC
Device is calculating (during measurement and data transfer)
Device is changing over to power-saving mode
Add reference value
Delete reference value
Restart and delete all previous settings
3.2.3.5 Symbols for measurement results
Screen ruling in lines/cm or lines/inch
Dot diameter in mm (based on a circular dot of the same surface area)
Screen angle in °
Logarithmic Reflectance Value

18/40
3.2.3.6 Status information
Standard plate
Polyester plate
Paper
Film
Batteries need to be exchanged
+ Positive dot %
- Negative dot %
AM Regular screening
FM Stochastic screening
R Red illumination for plate measurement
G Green illumination for plate measurement

19/40
3.3 Adjusting device settings
After unpacking or after pressing the <RESET> button, you can use Ultra
Dottie II to begin measuring standard plates using the factory settings, or
change the display of the device settings by selecting the ‘Next display’
symbol
You will find the toolbar on the left of the display with
functions that allow you to move the sub-cursor. On the right side of the
display you will find one column for each group of settings.
• Measurement medium (standard plate, polyester plate, paper or film)
• Dot % display (Positive or Negative)
• Unit displayed (cm or inch)
• Screening algorithm (regular or stochastic)
• Illumination (red, green, blue LED)
Important:
Standard plates and polyester plates are measured with a red LED. Use of the blue LED or green LED is only recommended when the
coloring of the plate has a strong proportion of light pink hues (e.g. AGFA N90A), as little image contrast is obtained with red illumination. Film
is measured on a professional illumination table in transmission. This is why no choice of illumination is available for the film setting. With
paper measurement, automatic color selection allows for quicker work, as no switching between the CMY colors is required. Color contrast is
very slight with tones under 10%, so that manual color setting is recommended. For measurements on black, the illumination color needs to
always be manually selected.
Important:
In normal circumstances the reference value
is set to be equal to the nominal value to
produce a linear plate.
However, for certain applications a non-linear
plate may be desirable. In this case Ultra
Dottie II offers the possibility of defining the
reference curve in deviation from the 45°
straight line.
Table of contents
Other Beta Test Equipment manuals