1 689 975 233 2018-05-08| Robert Bosch GmbH
6 | EPS 708 | User informationen
2. User information
2.1 Important notes
Important information on copyright, liability and warran-
ty provisions, as well as on equipment users and com-
pany obligations, can be found in the separate manual
"Important notes on and safety instructions for Bosch
Diesel Test Equipment". These instructions must be care-
fully studied prior to start-up, connection and operation
of the EPS 708 and must always be heeded.
2.2 Safety instructions
All the pertinent safety instructions can be found in
the separate manual "Important notes on and safety
instructions for Bosch Diesel Test Equipment". These
instructions must be carefully studied prior to start-up,
connection and operation of the EPS 708 and must al-
ways be heeded.
iCalibrating oil as per ISO 4113 is classified under
waste oil collection category 1. Category 1 waste
oil must not contain any foreign substances such as
waste oils of a different category, gasoline or diesel.
See the safety data sheet of the calibrating oil for
the correct waste code number.
2.3 Disposal and scrapping
2.3.1 Substances hazardous to water
!Oils and greases as well as refuse containing oil and
grease (e.g. filters) represent a hazard to water.
1. Substances hazardous to water must not be allowed
to enter the sewage system.
2. Substances hazardous to water must be disposed of
in accordance with the applicable regulations.
2.3.2 Chiller
¶The chiller must be disposed of by specialist
refrigeration engineers.
¶The refrigerant and lubricating oil in the chiller
must be disposed of in accordance with applicable
regulations in the country of use.
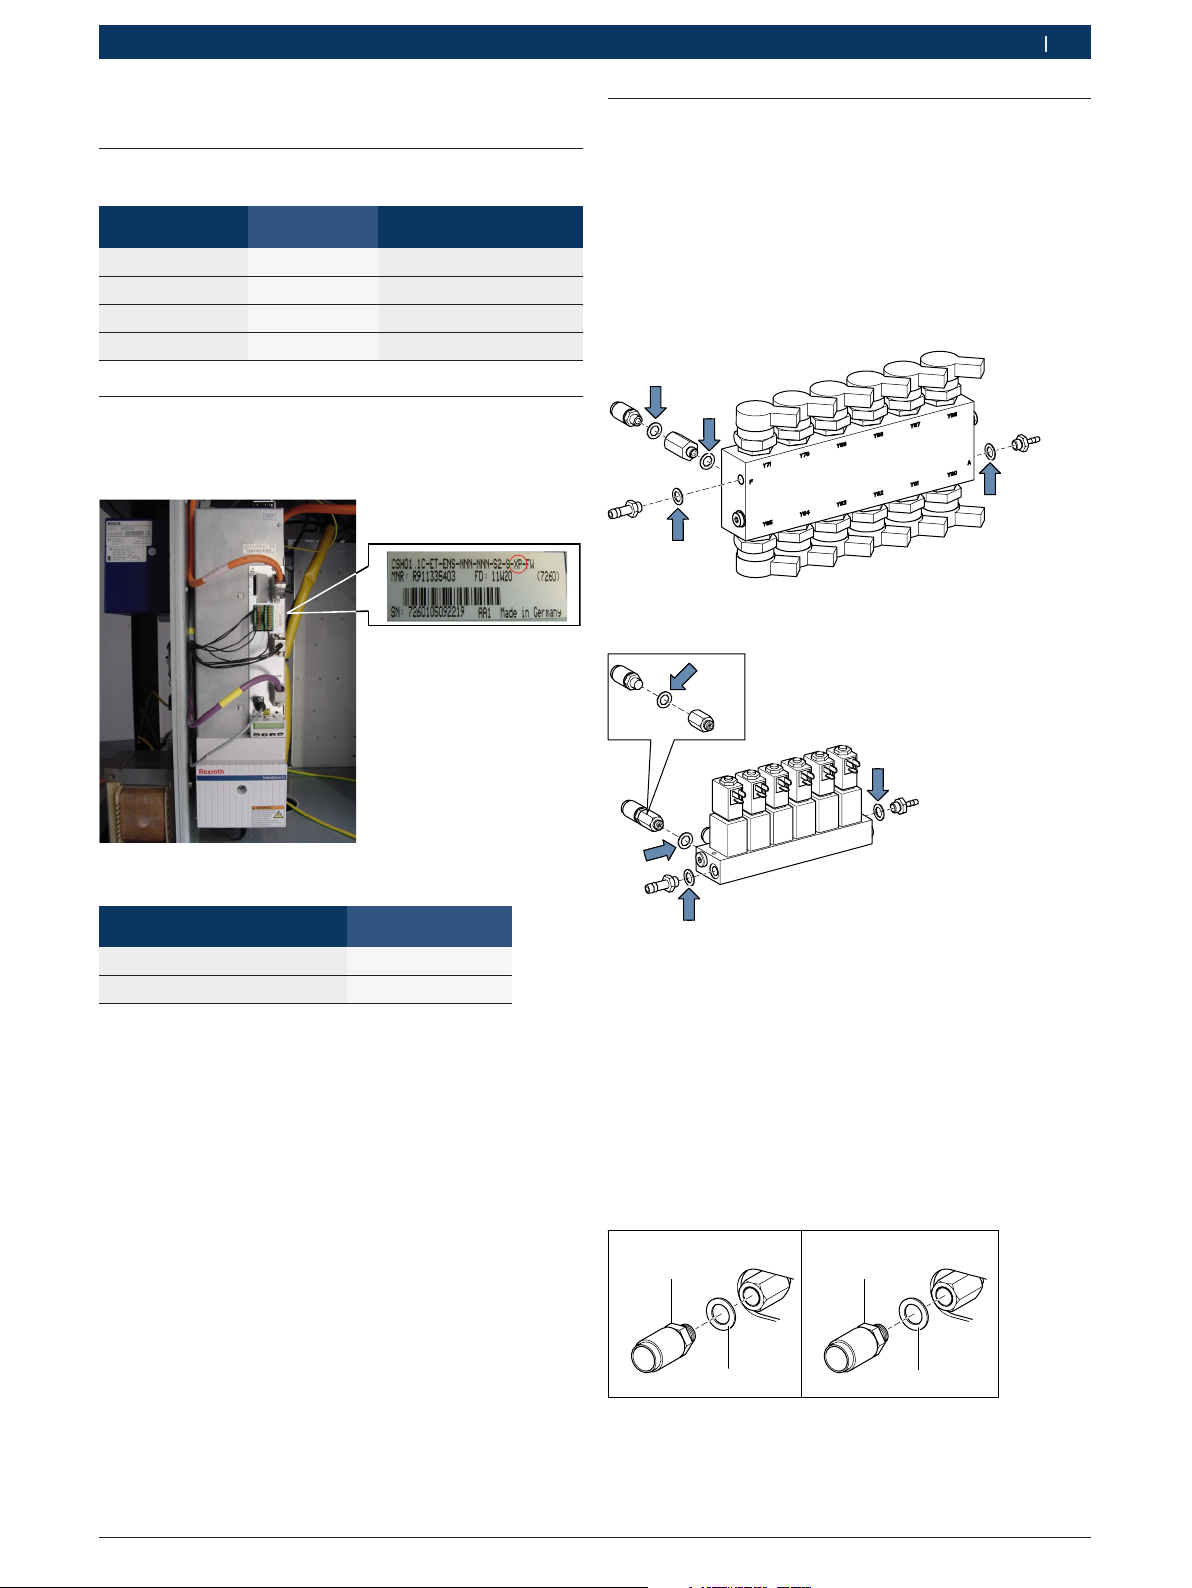
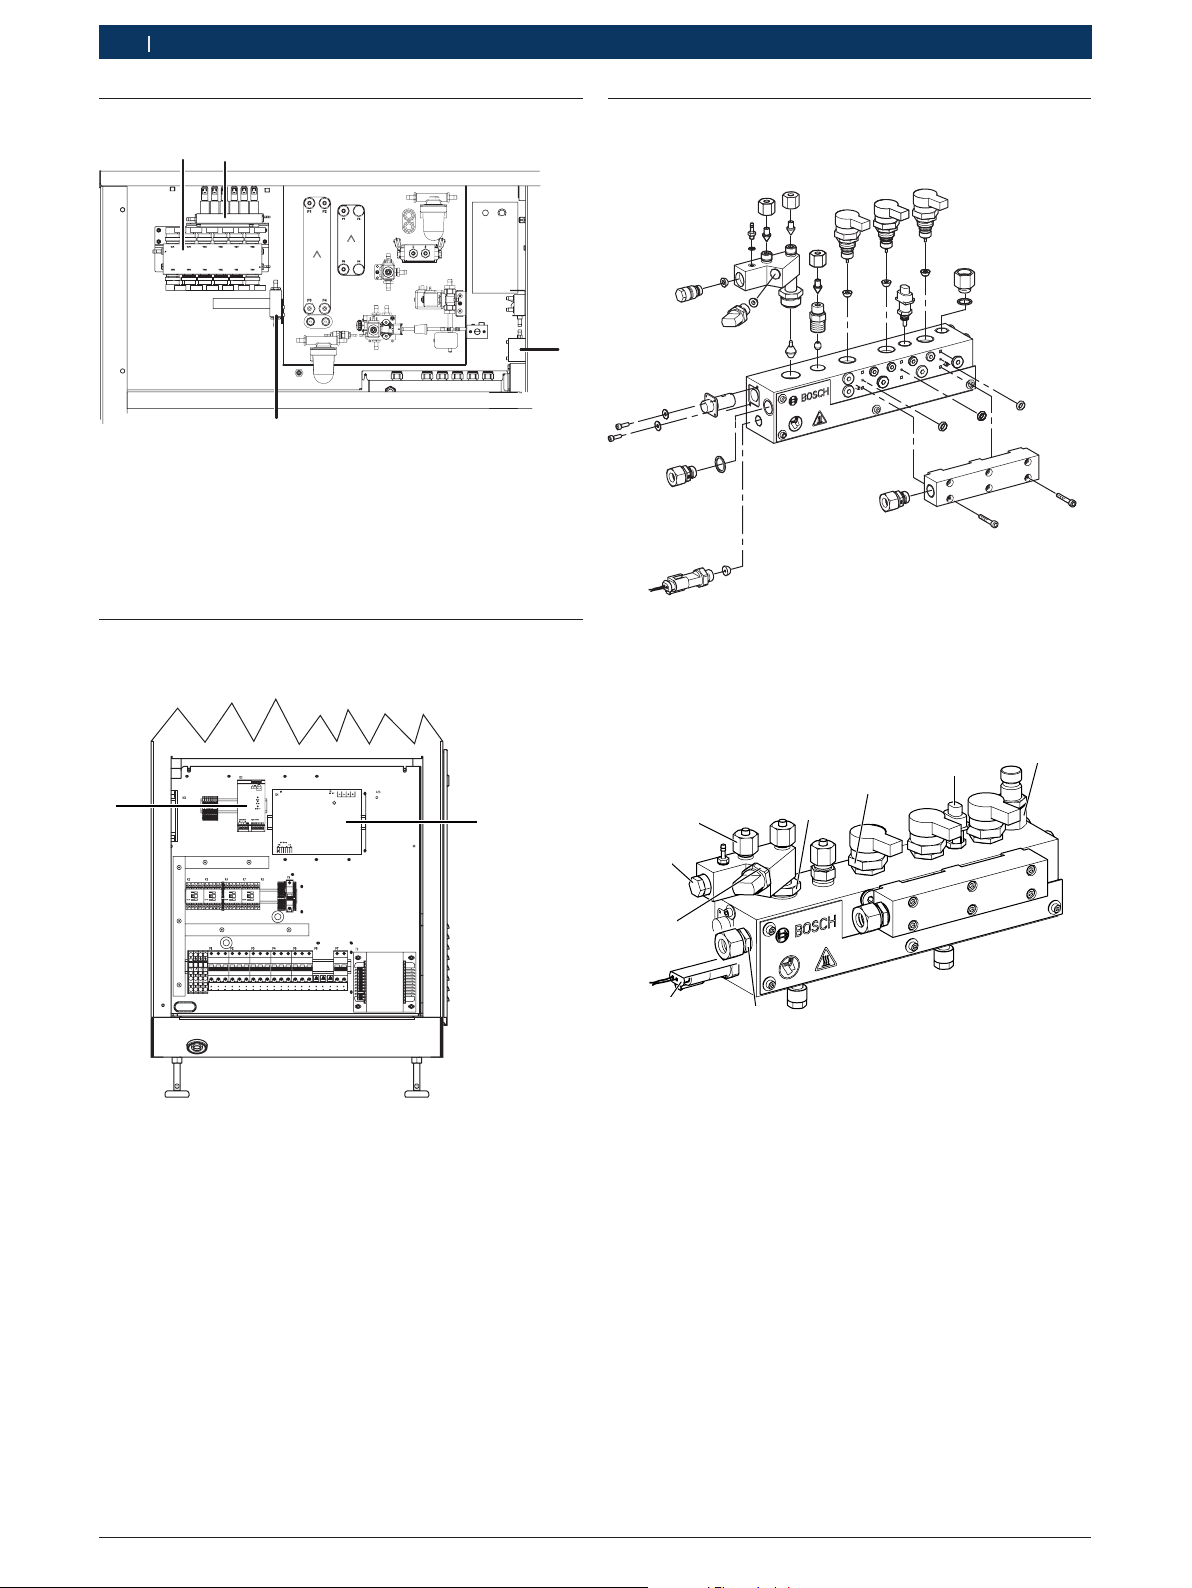
2.4 Equipment required
RGeneral tools for mechanics and electricians.
RHose with hose connection for emptying and filling
the chiller (hose connection thread = G3/8").
RNotebook with Windows XP or Window Vista or
Windows 7 operating system and serial interface or
notebook with Windows operating system and USB
port and USB serial adapter 1684465514
RMemory card R 911 298 7851
RConnecting cable R9112967082
RHose assembly 16807123633
RCommon rail high-pressure pump 1 687 222 188
RPressure sensor 1681032095
RAdapter cable 1 684 460 291
RMultimeter with the following data:
$Resolution of at least 1 mA in a measuring range
greater than900mA
$Measurement accuracy: ±0.2% of measured value
±4mA
RTwo connection cables with 4mm banana plugs
RCloths for catching and mopping up calibrating oil
and lubricating oil.
RLeakproof container for catching calibrating oil and
lubricating oil.
RLeakproof container for catching water.
RLeakproof surface for depositing parts contaminated
with calibrating oil.
RLeak detection spray
RHeat conducting paste, e.g. Rothenberger Rofrost
Turbo heat conducting paste
1Memory card is included in parts set 1 687 010 365
2Connecting cable is included in parts set 1 687 010 365
3Included in the scope of delivery of retrofit kit CP 4
(1687010390)
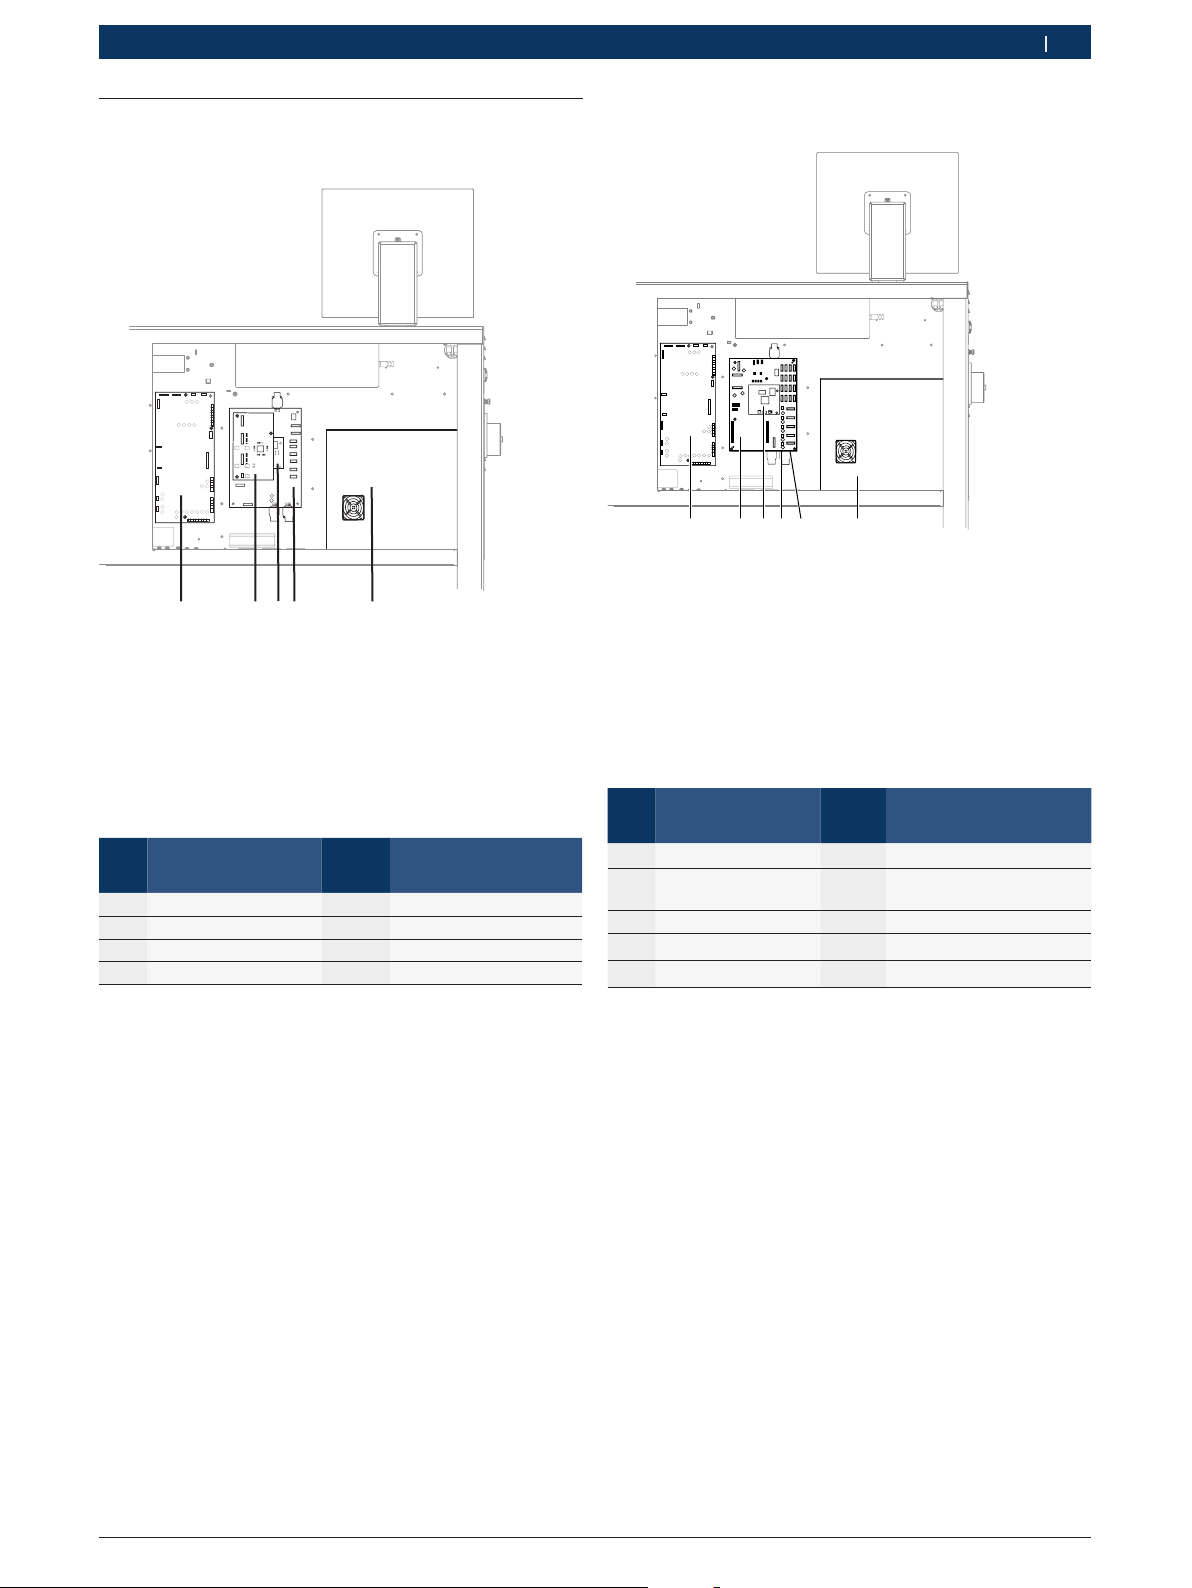
2.5 ESD protection
!Note the ESD handling instructions in EDIS and
remove components with care.