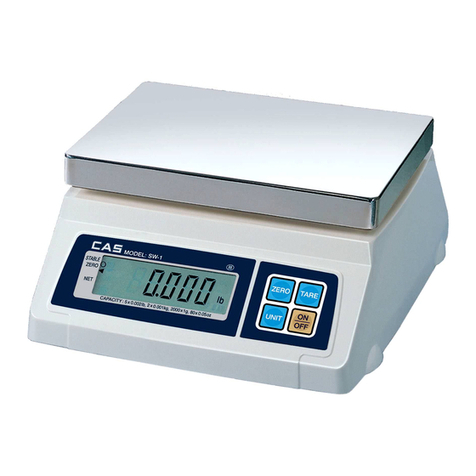
10/06/2008 CAS (USA) Corporation y99 Murray Hill Parkway yEast Rutherford, NJ 07073 AD-Series
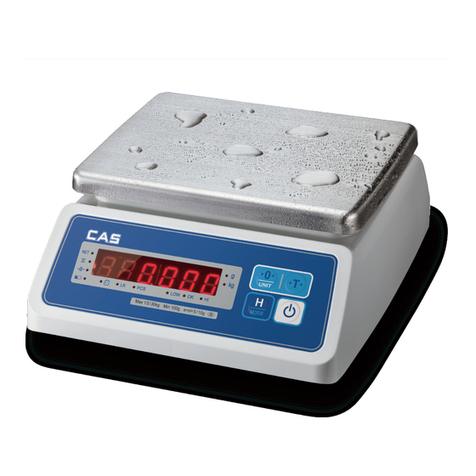
CALIBRATION MODE WEIGHT SETTINGS FOR SW1N SERIES
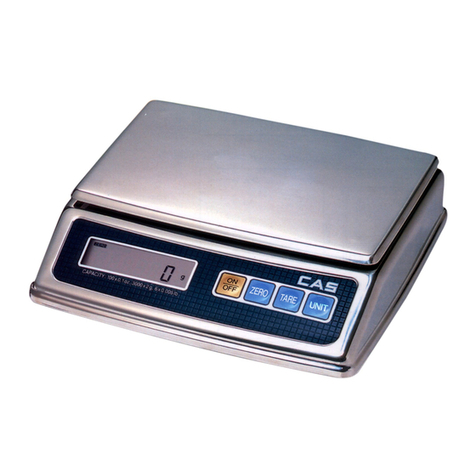
1. Make sure the scale is off. Remove the platter assembly (metal and/or plastic platform.)
2. On the right hand side you will find a hole and a screw at the bottom. This is the sealing screw.
Remove the sealing screw and then turn the scale upside down to find the calibration screw and
silver plate located on the right side of the bottom of the scale (if keyboard is facing you and you
tilt the scale upwards by the front.)
3. Remove the calibration screw and the silver plate. Under the plate is the calibration switch.
4. Press and hold the switch while turning the scale on. The display will show “ONE” and then “CAL
1”.
5. The “TARE” key advances through the cal settings whereas the “UNIT” goes down. The
“ZERO” key enters the cal setting.
6. Press the “UNIT” key twice to go to “CAL 10”. Press the “ZERO” key to enter into the settings.
7. The display will flash “UNIt” and then a number. 0 is for calibrating in KG and 1 is for calibrating in
LBS. Select the unit that is being used for calibration and press the “ZERO” key.
8. The display will flash “CAPA” and then show the current capacity. The chart below shows the
capacities to be set. Only use the capacity setting that is shown on the front of the scale. The
“UNIT” key will increment the flashing digit while the “TARE” key selects the digit that will flash. If
1 was selected for the unit follow the settings listed under 1. If 0 was selected for the unit follow
the settings under 0.
Display
Shows Display
Shows
Unit 1 0
Capacity Capacity
5LBS 00005 2KG 00002
10LBS 00010 5KG 00005
20LBS 00020 10KG 00010
50LBS 00050 20KG 00020
ld Weight used
in Cal 3
during
calibration.
Cannot be
00000 but
less then full
capacity
This is part
of a three
point
calibration
during cal
3
Weight
used in Cal
3 during
calibration.
Cannot be
00000 but
less then
full capacity
W-dP W-dP
5LBS 3 2KG 3
10LBS 3 5KG 3
20LBS 2 10KG 3


