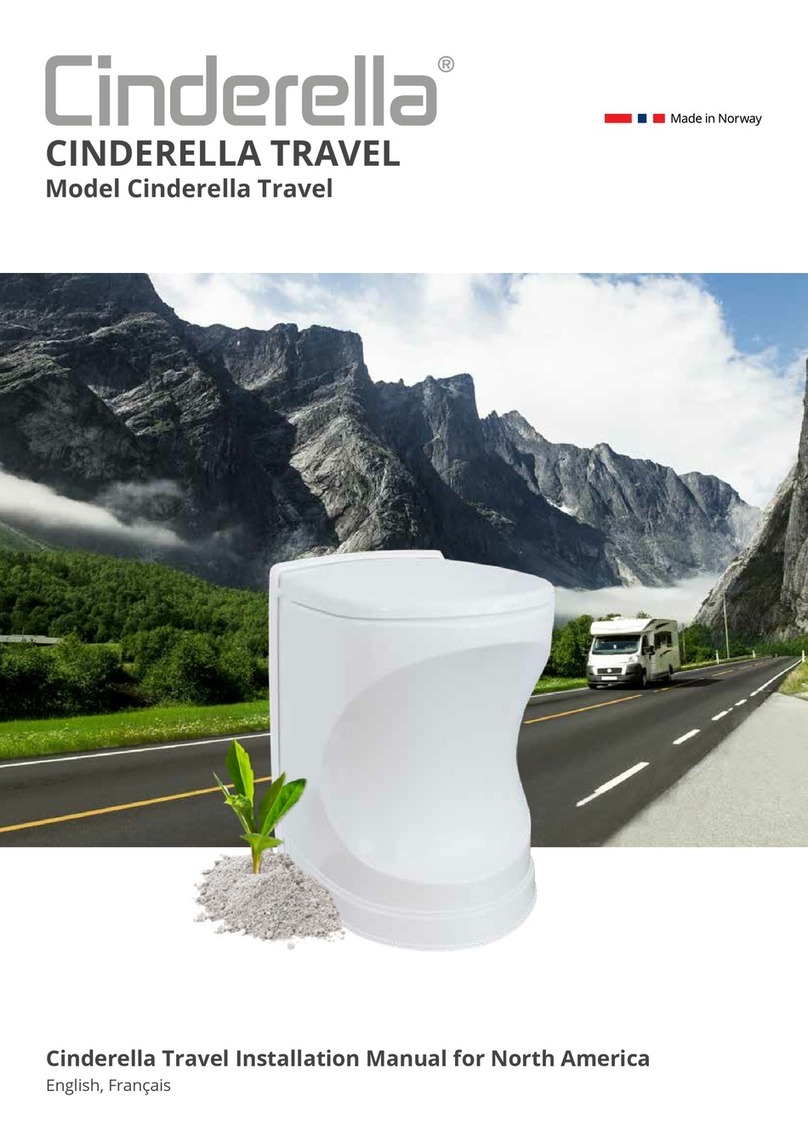
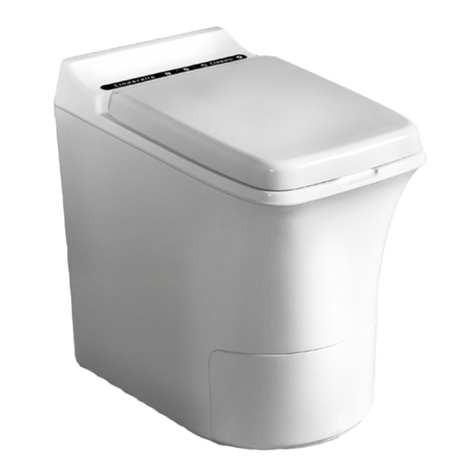
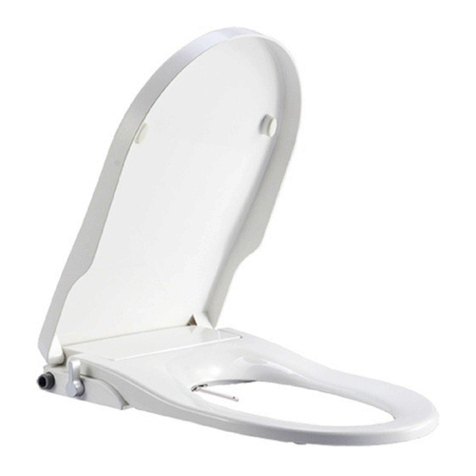
Cinderella Motion User manual


Other manuals for Motion
3
Table of contents
Languages:
Other Cinderella Toilet manuals
Cinderella
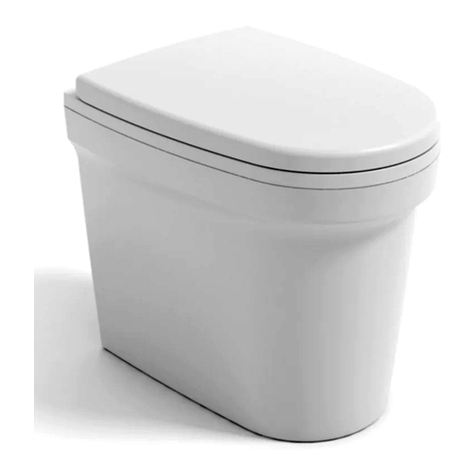
Cinderella Comfort User manual
Cinderella
Cinderella Urinal User manual
Cinderella
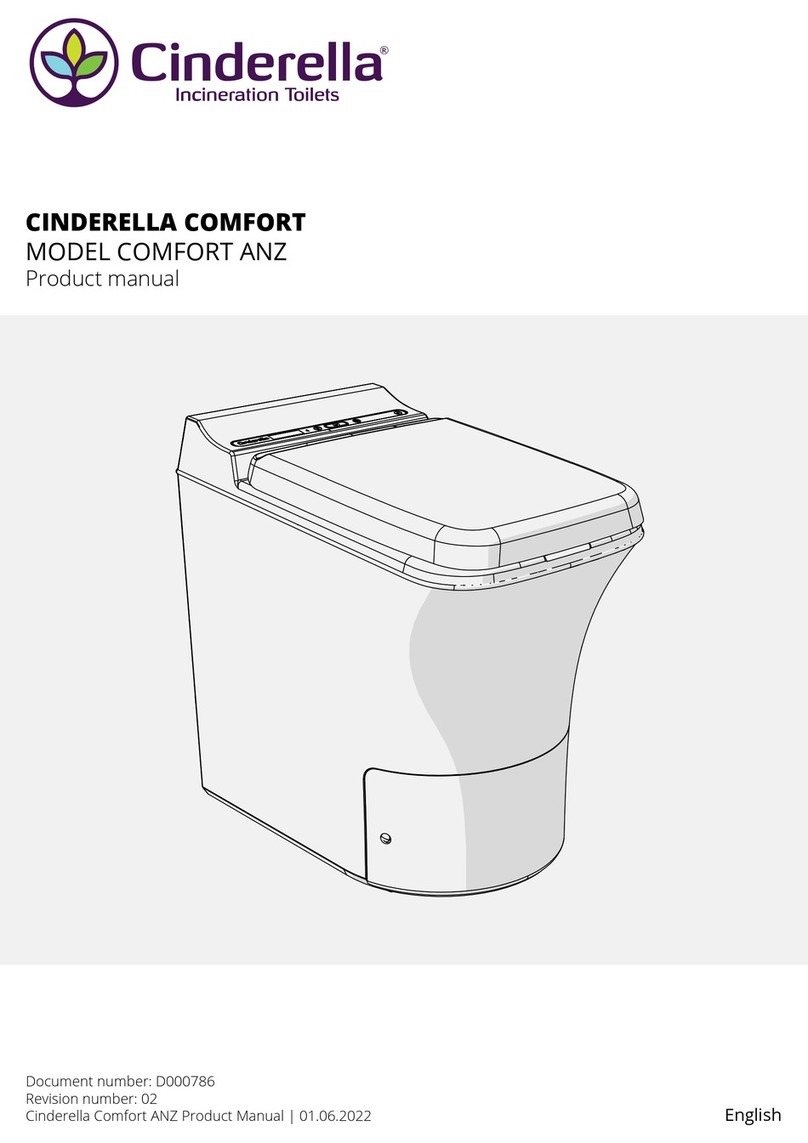
Cinderella COMFORT ANZ User manual
Cinderella
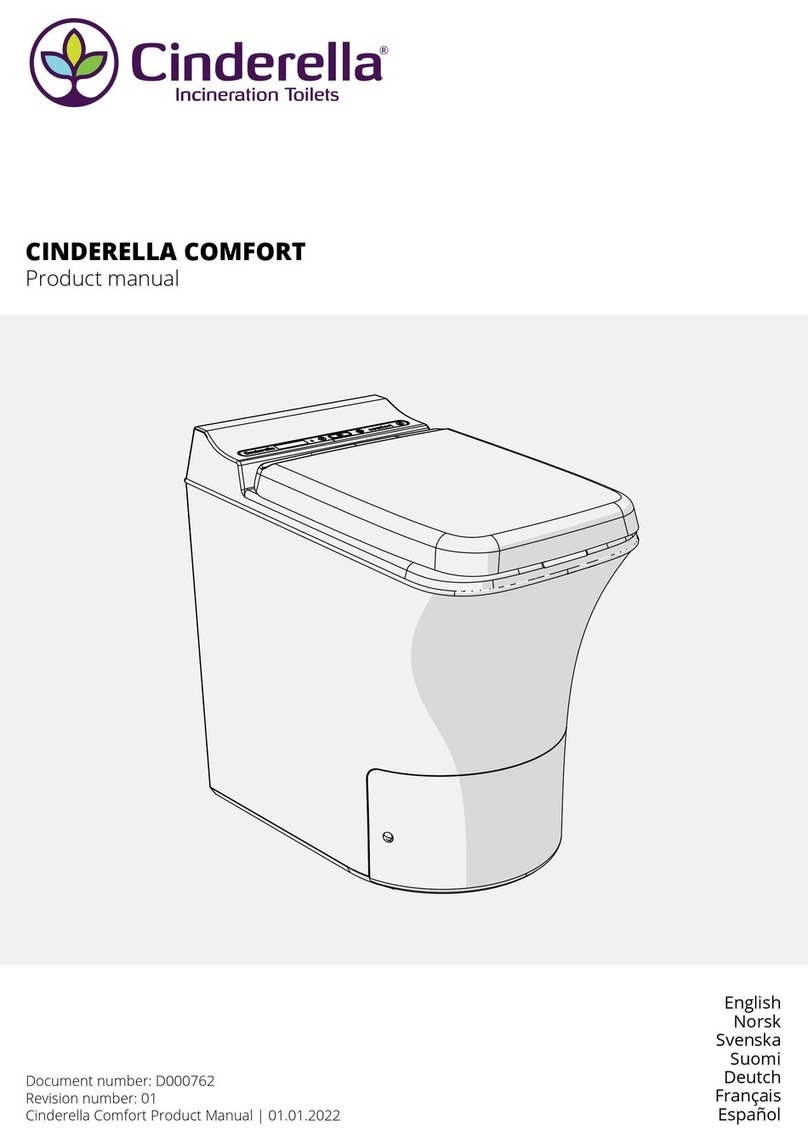
Cinderella COMFORT EU User manual

Cinderella
Cinderella TRAVEL User manual

Cinderella
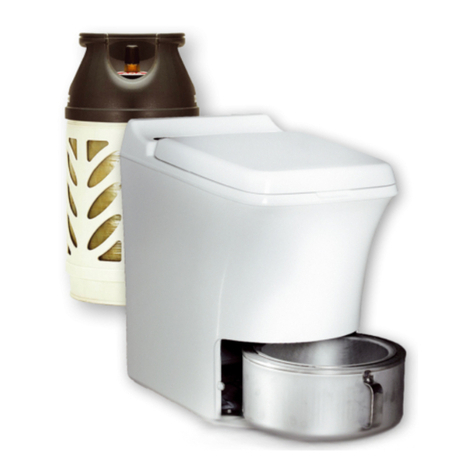
Cinderella GAS North America User manual
Cinderella
Cinderella CINDERELLA GAS User manual
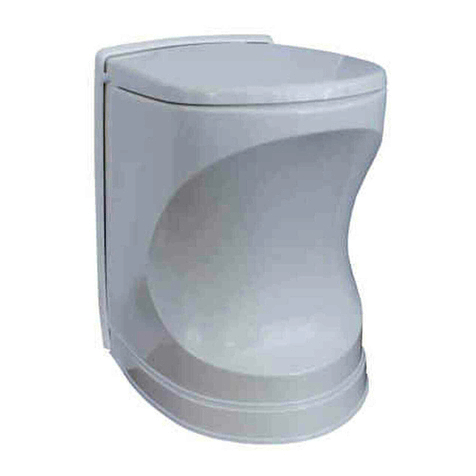
Cinderella
Cinderella Motion User manual

Cinderella
Cinderella Comfort User manual

Cinderella
Cinderella Urinal User manual
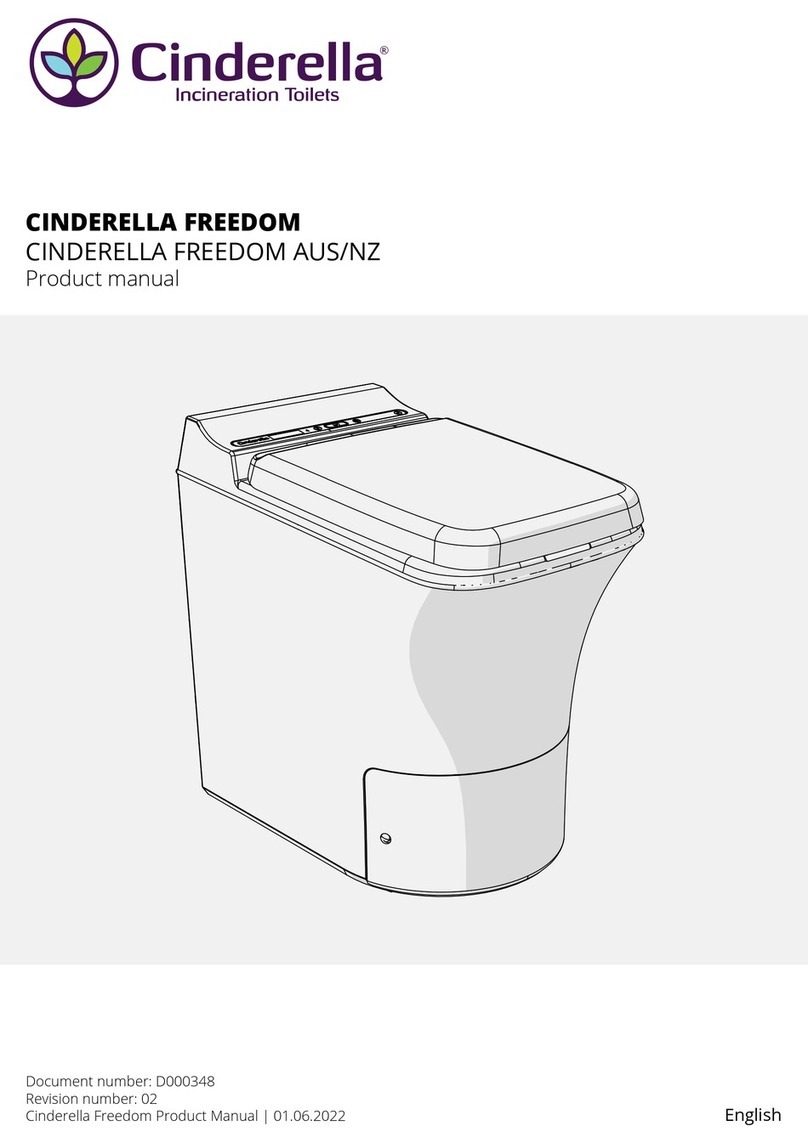
Cinderella
Cinderella FREEDOM User manual
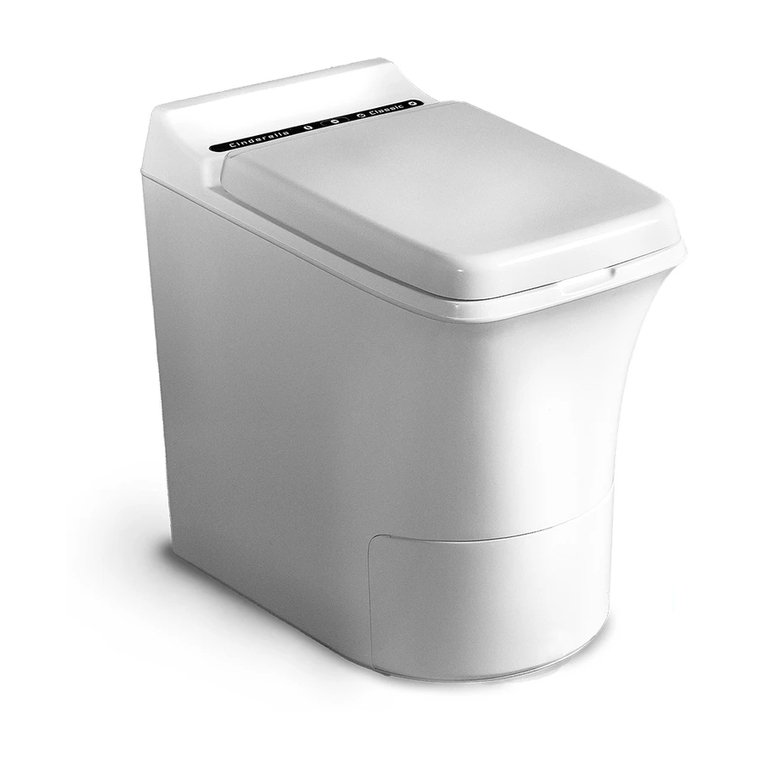
Cinderella
Cinderella FREEDOM User manual
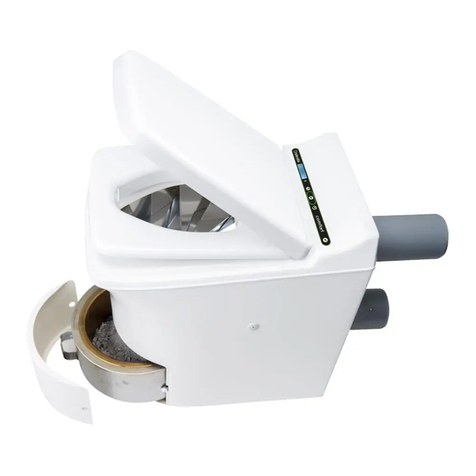
Cinderella
Cinderella CLASSIC User manual

Cinderella
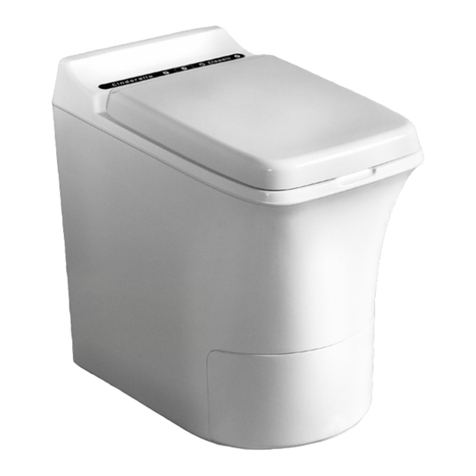
Cinderella TRAVEL User manual
Cinderella
Cinderella Classic NA User manual

Cinderella
Cinderella Classic NA User manual

Cinderella
Cinderella Comfort NA User manual

Cinderella
Cinderella Motion User manual
Cinderella
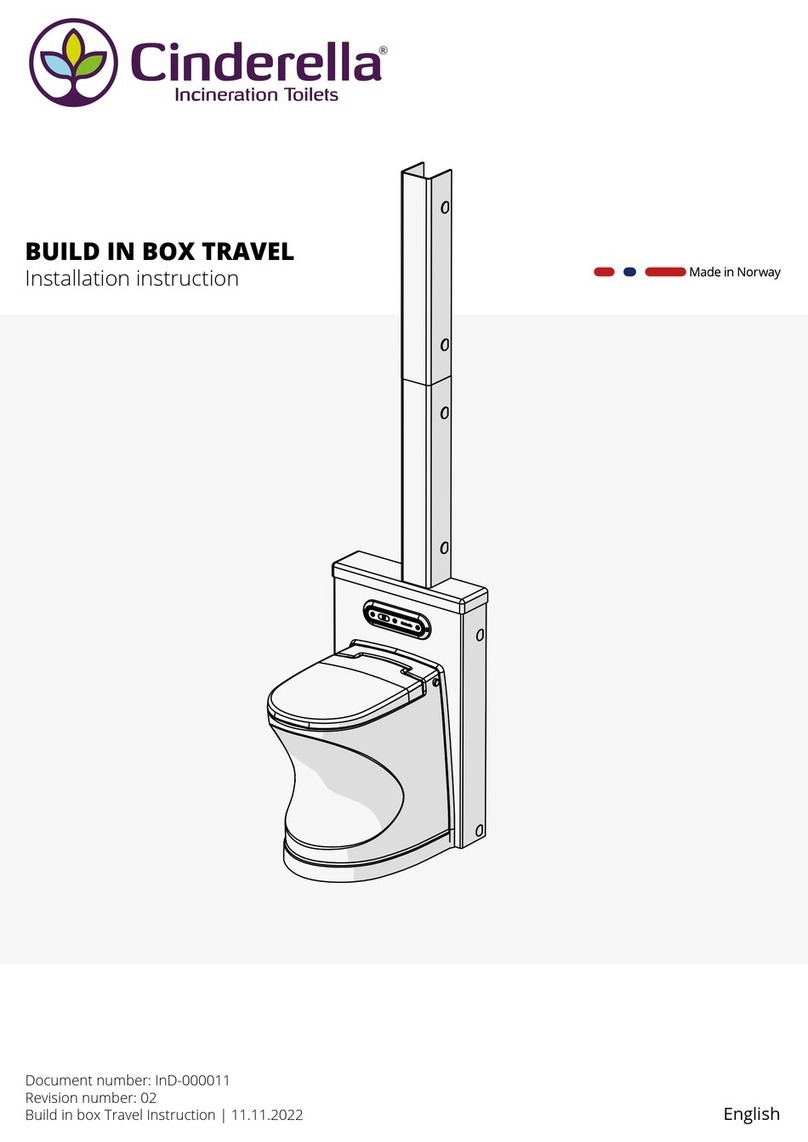
Cinderella BUILD IN BOX TRAVEL User manual

Cinderella
Cinderella CLASSIC Guide
Popular Toilet manuals by other brands
Signature Hardware
Signature Hardware EASTPOINTE 953755 manual
Whitehall
Whitehall WH2142-W-3 Installation, operation & maintenance manual

Danze
Danze Ziga Zaga DC031221 installation instructions

sanindusa
sanindusa CETUS 52 quick start guide

Sanela
Sanela Alessi SLP 25RZ Instructions for use
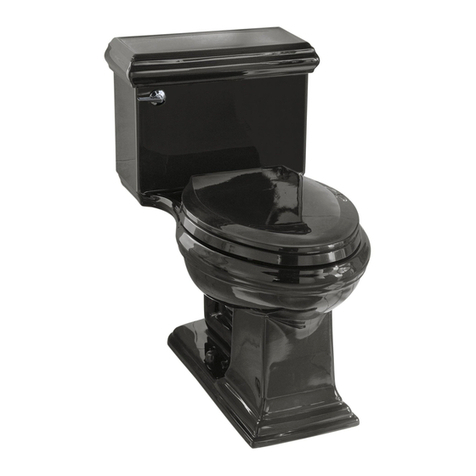
Kohler
Kohler K-3451 installation guide

BEMIS
BEMIS NextStep installation instructions
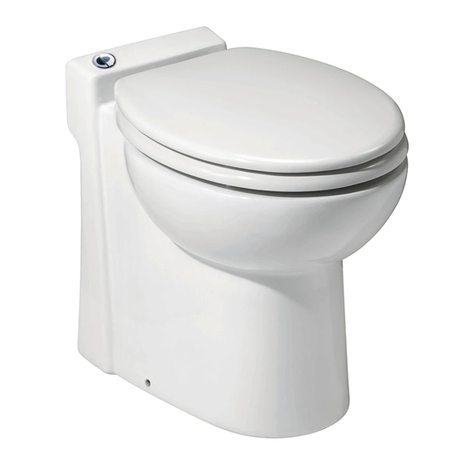
SFA-SANIFLO
SFA-SANIFLO SANICOMPACT Installation and maintenance instructions
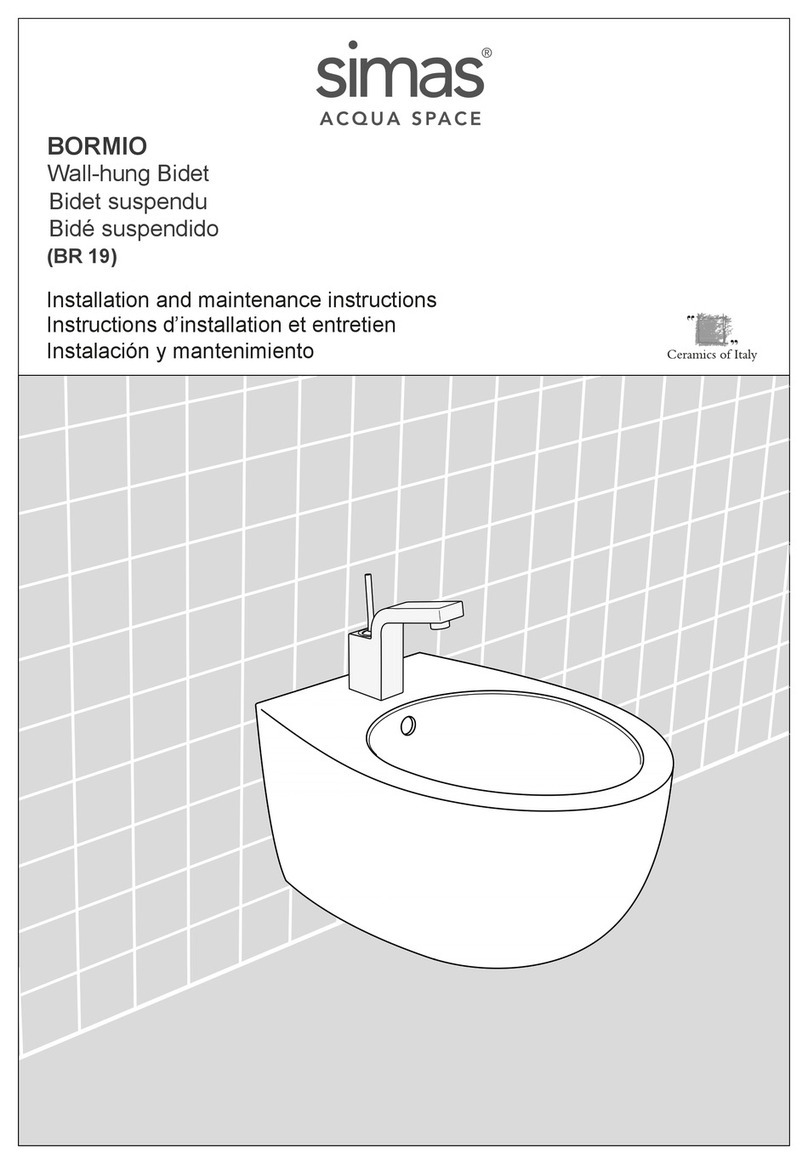
Simas
Simas BORMIO Installation and maintenance instructions
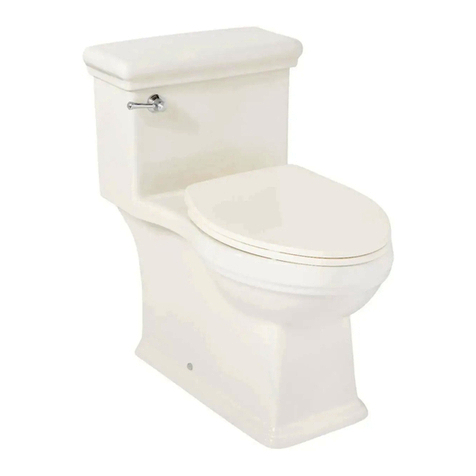
Signature Hardware
Signature Hardware KEY WEST 948416 Install
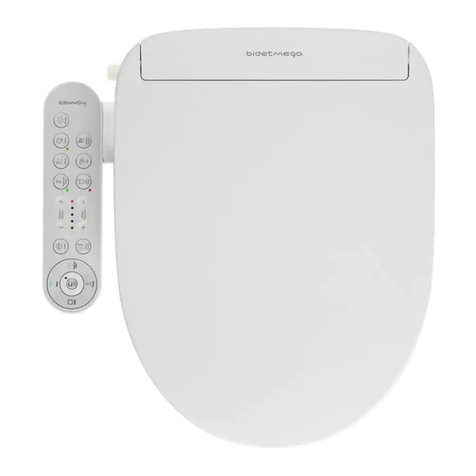
Coway
Coway BIDETMEGA 200 user manual
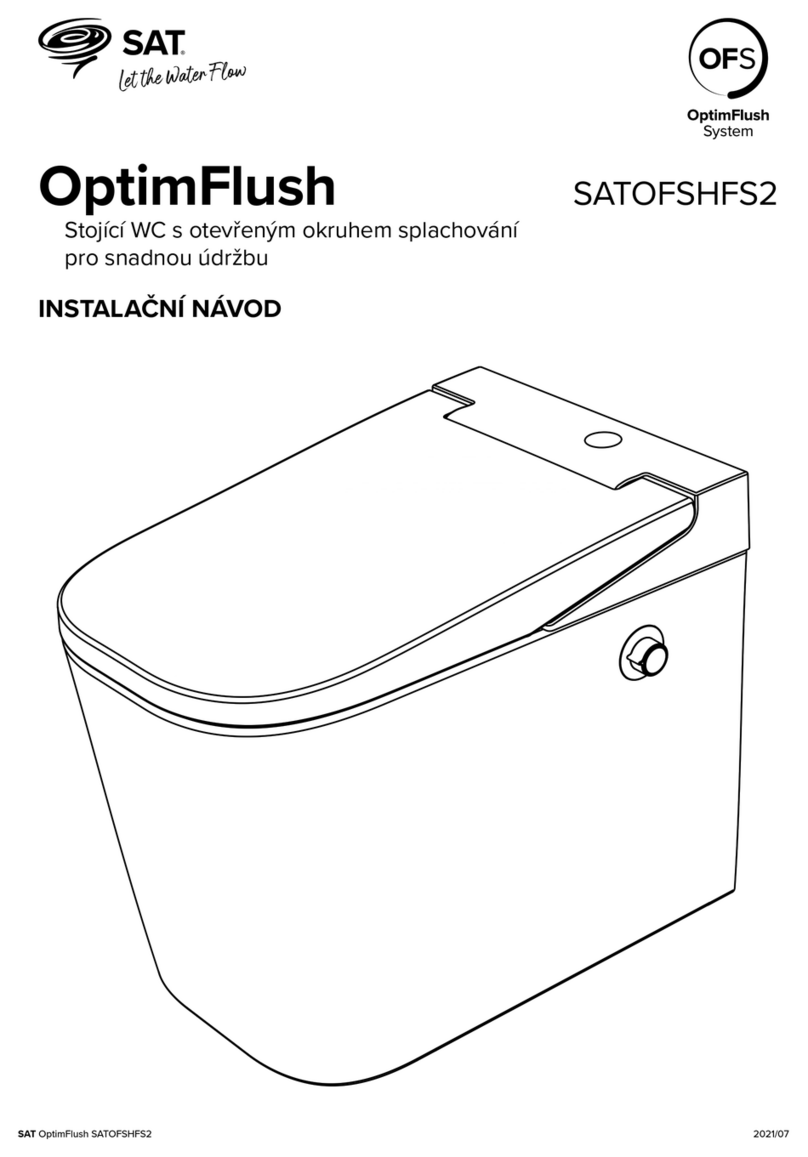
SAT
SAT OptimFlush SATOFSHFS2 installation instructions

