manuals.online logo
Brands
  1. Home
  2. •
  3. Brands
  4. •
  5. Connects2
  6. •
  7. Automobile Accessories
  8. •
  9. Connects2 CTUJP01 User manual

Connects2 CTUJP01 User manual

www.connects2.com
INSTRUCTION MANUAL
CTUJP01
JEEP INFODAPTER
www.connects2.com
2
ABOUT
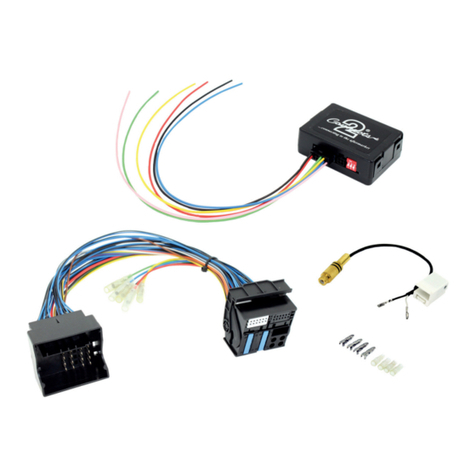
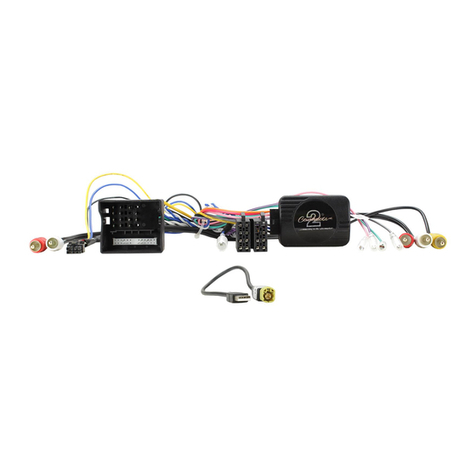
The Connects2 Infodapter for Jeep vehicles allows vehicle setting and parking
sensor information to be displayed on any aftermarket head unit with rear camera input.
The Infodapter also allows the use of the steering wheel controls with almost every
steering wheel control compatible head unit on the market.
DIP SWITCH SETTINGS
See Fig 1.
Up = Off, Down = On
1: On = Pioneer head units. Off = All other head units
2: Setting for reverse camera. On = PAL, Off = NTSC. The default setting is Off (NTSC).
3: Resets the display settings back to default. If the display settings have been
manipulated in a way that it is no longer possible to make adjustments, change the
DIP switch #3 from Off to On and back. This will reset the screen settings to the factory
defaults. During this procedure the screen background will change to red. While the
background is red, no settings can be made.
4: Not applicable
Interface Connections
Fig 1.
1
234
DIP ON
Reverse Camera output
to head unit and reverse
camera input from
optional camera
Power Harness Steering Wheel
Remote control
connector to
head unit
Dip Switches Not Used
Fig 2.
2
7 Mute(Grey)
Speed Pulse (Pink)
Reverse (Purple)
1Aftermarket head
Infodapter
4
Steering Wheel
Control Input
5 ISO
Connector
Reverse Camera Input
8
9
10 Reverse camera
(optional)
To car connector
3
6
www.connects2.com 3
1 Speech Button
2 Track Up/Down
Fig 3.
Steering Wheel Controls
Conguration Menu
To access the menu, push and hold the speech button for 2 seconds (Fig. 3).(if no speech
button, pick up can be used) This will enable the conguration menu. To navigate
through the menu options use the Track Up/ Track Down buttons. To select a menu
Conguration Menu
Vehicle Settings
Infodapter Settings
Language
Version
< Back
2
Vehicle Settings
Display
Clock
Doors and Locks
Lights
Safety and Driving Assistance
Vehicle Off Options
< Back
• Vehicle Settings
Vehicle settings can be adjusted via
the menu. All vehicle setup options
that were available with the original
head unit, are now available through
the aftermarket head unit. See the
vehicle handbook for more information
regarding these features.
Screen Size/Position
Horizontal Size
Horizontal Position
Vertical Size
Vertical Position
< Back
• Infodapter Settings
o Screen Size/Position -
Make sure all 4 corner markers
are touching the corners of the
aftermarket head unit display.
1
www.connects2.com
4
Conguration Menu...continued
Legal Information
Please consult the relevant road trafc laws governing the country in which this product is being operated.
No liability is accepted for material damage, loss or personal injury, directly or indirectly, from installation and
operation of this product. This product should only be operated when safe to do so.
Preferences
Park Assist Version 0
Camera Connected Yes
Reverse Priority Park Assist
Park Brake Source Speed
Restore factory settings
< Back
o Preferences -
Park Assist Version - Select according to the
colour conguration of the park assist tted to
the vehicle.
Camera Connected - Select Yes if an optional
camera is connected.
Reverse Priority* - Select which image (Camera
or Park Assist) will be shown by default when
reversing. The driver can select the desired
image by pushing the Source button (Fig.3)
while reversing. (*Note this option is only
available when Camera Connected is set to
Yes)
Park Brake Source - Set to Speed, Brake or
Always On.
Restore factory settings - Reverts all
Infodapter settings to factory defaults.
(This does not restore vehicle settings)
Infodapter Settings
Screen Size/Position
Picture Settings
Preferences
<Back
o Picture Settings -
Adjust Brightness, contrast and
colour saturation.

Other Connects2 Automobile Accessories manuals
Connects2 CT23AU12/L User manual

Connects2

Connects2 CT23AU12/L User manual

Connects2 4X4ALTIMETER Troubleshooting guide

Connects2

Connects2 4X4ALTIMETER Troubleshooting guide

Connects2 adaptiv mini ADVM-BM1 User manual

Connects2

Connects2 adaptiv mini ADVM-BM1 User manual

Connects2 CTSPO007.2 User manual

Connects2

Connects2 CTSPO007.2 User manual

Connects2 Vision CAM-42 User manual

Connects2

Connects2 Vision CAM-42 User manual

Connects2 CT51-BM06 User manual

Connects2

Connects2 CT51-BM06 User manual

Connects2 CTUFT02 User manual

Connects2

Connects2 CTUFT02 User manual

Connects2 CAM-MB5 User manual

Connects2

Connects2 CAM-MB5 User manual

Connects2 CAM-32 User manual

Connects2

Connects2 CAM-32 User manual

Connects2 CAM-54 User manual

Connects2

Connects2 CAM-54 User manual

Connects2 Vision CAM-26 User manual

Connects2

Connects2 Vision CAM-26 User manual

Connects2 Vision CAM-4 User manual

Connects2

Connects2 Vision CAM-4 User manual

Connects2 Vision CAM-16 User manual

Connects2

Connects2 Vision CAM-16 User manual

Connects2 CAN-Connect CANHBBM2 User manual

Connects2

Connects2 CAN-Connect CANHBBM2 User manual

Connects2 CAM-RT6 User manual

Connects2

Connects2 CAM-RT6 User manual

Connects2 29-CTVX05 User manual

Connects2

Connects2 29-CTVX05 User manual

Connects2 CAM-AR1-AD User manual

Connects2

Connects2 CAM-AR1-AD User manual
Connects2 CT23CA06 User manual

Connects2

Connects2 CT23CA06 User manual

Connects2 CT23MB26L User manual

Connects2

Connects2 CT23MB26L User manual

Connects2 Aerpro CAKI01 User manual

Connects2

Connects2 Aerpro CAKI01 User manual

Connects2 Aerpro CAKI01 User manual

Connects2

Connects2 Aerpro CAKI01 User manual

Connects2 CAM-MB14 User manual

Connects2

Connects2 CAM-MB14 User manual

Connects2 CT23SK05 User manual

Connects2

Connects2 CT23SK05 User manual

Connects2 CT23VW21 User manual

Connects2

Connects2 CT23VW21 User manual

Popular Automobile Accessories manuals by other brands

Whispbar K312W Fitting instructions

Whispbar

Whispbar K312W Fitting instructions

Phonocar VM497 instruction manual

Phonocar

Phonocar VM497 instruction manual

Whispbar K082W Fitting instructions

Whispbar

Whispbar K082W Fitting instructions

PNEUMATIC KU-TY-HX08-00 Installation instruction

PNEUMATIC

PNEUMATIC KU-TY-HX08-00 Installation instruction

Whispbar K136W Fitting instructions

Whispbar

Whispbar K136W Fitting instructions

iSimple Connect installation manual

iSimple

iSimple Connect installation manual

Whelen Engineering Company Dash-Miser Plus installation guide

Whelen Engineering Company

Whelen Engineering Company Dash-Miser Plus installation guide

Havis C-VS-1500-TAH-1 Install instructions

Havis

Havis C-VS-1500-TAH-1 Install instructions

Metra Electronics 99-6505 installation instructions

Metra Electronics

Metra Electronics 99-6505 installation instructions

Pingi LV-A300 operating instructions

Pingi

Pingi LV-A300 operating instructions

Swagman XC 2 instruction sheet

Swagman

Swagman XC 2 instruction sheet

LSD-Doors 50080004 installation instructions

LSD-Doors

LSD-Doors 50080004 installation instructions

Brink 6699 Fitting instructions

Brink

Brink 6699 Fitting instructions

Thule 1091 instructions

Thule

Thule 1091 instructions

CrimeStopper CS-870OEM supplementary guide

CrimeStopper

CrimeStopper CS-870OEM supplementary guide

STO N SHO SNS 300 Installation procedures

STO N SHO

STO N SHO SNS 300 Installation procedures

Cruz Evo Rack Alu A32-170 Assembly instructions

Cruz

Cruz Evo Rack Alu A32-170 Assembly instructions

Volvo Autoplugin RCP-V2 user manual

Volvo

Volvo Autoplugin RCP-V2 user manual

manuals.online logo
manuals.online logoBrands
  • About & Mission
  • Contact us
  • Privacy Policy
  • Terms and Conditions

Copyright 2025 Manuals.Online. All Rights Reserved.