manuals.online logo
Brands
  1. Home
  2. •
  3. Brands
  4. •
  5. Cree
  6. •
  7. Lighting Equipment
  8. •
  9. Cree ESSENTIA ESA-ADR-414 User manual

Cree ESSENTIA ESA-ADR-414 User manual

ESSENTIA®
4-INCH DOWNLIGHT AND 6, 8-INCH WALL WASH
Includes: ESA-ADR/ADS-414, ESA-ADR/ADS-614/828
INSTALLATION INSTRUCTIONS
1 of 2 KI071X01R2
IMPORTANT SAFEGUARDS
When using electrical equipment, basic safety precautions should always be followed
including the following:
READ AND FOLLOW ALL SAFETY INSTRUCTIONS
1. To reduce the risk of electrical shock, turn off power supply before installation or
servicing.
2. This luminaire must be installed in accordance with the NEC or your local electrical
code. If you are not familiar with these codes and requirements, consult a qualied
electrician.
3. This xture must be supported by main runners or other building structure that is capable
of supporting xture weight.
4. These xtures are thermally protected. Do not install insulation within 3 inches (76 mm)
of xture sides or junction box nor above xture in such a manner as to entrap heat.
5. Blinking LED may indicate xture is too close to insulation.
SAVE THESE INSTRUCTIONS FOR FUTURE REFERENCE
TO INSTALL:
LUMINAIRE INSTALLATION
STEP 1:
Cut appropriate sized hole in ceiling
Luminaire
Type
Ceiling Cutout
Size
Luminaire
Weight
4 in round
downlight 4-3/4 in. 10 lbs.
4 in square
downlight 5x5 in. 10 lbs.
6 in round
wall wash 7 in. 11 lbs.
6 in square
wall wash 6-1/2 x 6-1/2 in. 11 lbs.
8 in round
wall wash 8-3/4 in. 13 lbs.
8 in square
wall wash 8-1/2 x 8-1/2 in. 13 lbs.
STEP 2:
Be sure to orientate the Wall Wash
housing correctly, as indicated by the
“Point Arrow At Wall” label.
STEP 3:
Thread rigid conduit, bar stock, wire or
C-channel (supplied by others) through
quick-mount brackets at the sides of the
fixture.
STEP 4:
Attach mounting means to structure or
other adequate support.
STEP 5:
Adjust mounting height by loosening
adjustment nuts on Quick Mount Brackets,
then position bracket so that the bottom
of the plaster ring is flush with the bottom
of the opening of the finished ceiling. (See
Figure 1)
STEP 6:
Tighten adjustment nut(s).
STEP 7:
Remove junction box cover and bring in
appropriate power supply to the junction
box using one of the knock-outs.
STEP 8:
Wire fixture per “Wiring Instructions”
section.
NOTE: Fixture is intended to be wired to
a specific voltage. Make sure that supply
voltage matches voltage on electrical
label next to the junction box. Connecting
fixture to voltage other than that specified
on the label may result in fixture damage
and/or improper fixture operation.
WIRING INSTRUCTIONS
When wiring a non-dimming luminaire:
1. Connect supply ground wire to
fixture ground (green).
2. Connect supply line conductor to
fixture hot (black).
3. Connect supply neutral conductor to
fixture neutral (white).
When wiring a luminaire for dimming
with the BetaLED driver
(0-10V DC low voltage dimming
control) See Figure 2.
Hot (black)
Neutral (white)
Ground (green)
LED
Driver
+V
-V
LED
Light
Engine
To line
Voltage
Dim + (violet)
Dim - (violet)
To Dimming
Control
12
Adjustment Nut
on Quick Mount
Bracket
Plaster Ring
2 of 2 KI071X01R2
www.cree.com/lighting

© 2013 Cree, Inc. All rights reserved. For informational purposes only. Content is subject to change.
See www.cree.com/lighting for warranty and specifications. Cree® and the Cree logo are registered
trademarks.
Switched Hot (black)
Dimmed Hot (orange)
Neutral (white)
Ground (green)
LED
Driver
+V
-V
LED
Light
Engine
To Dimming
Control
Hot (black)
Neutral (white)
Ground (green)
LED
Driver
+V
-V
LED
Light
Engine
To line
Voltage
E1 (violet)
E2 (violet)
To EcoSystem
Bus
When wiring a luminaire for Lutron
3-wire dimming, See Figure 3.
When wiring a luminaire for Lutron
EcoSystem Digital, See Figure 4.
Control:
NOTE: If power limited circuit wiring is
being used for the dimming connections,
use the Class 2 kit and instruction sheet
included with the luminaire when wiring.
FIXTURE SERVICING AND
MAINTENANCE
Patented SlideWays™ feature: This feature
can be used to access the luminaires’ j-box
or LED Driver(s) from below the ceiling.
Follow the directions below and refer to
Figures 5 and 6 for instructions.
STEP 1:
Remove the trim from fixture.
STEP 2:
To slide the lamp housing out of the way
from below the ceiling, pull down on the
spring release bracket (shown in Figures
5 and 6) and slide the recessed housing
towards the spring release bracket.
STEP 3:
When finished with servicing or
maintenance, slide the recessed housing
back into original position (until spring
release bracket snaps back into place).
Spring Release Bracket
Slide This Way
Recessed Housing Junction Box
Power Supply
3
5
4
6

This manual suits for next models

5

Other Cree Lighting Equipment manuals

Cree CPY Series User manual

Cree

Cree CPY Series User manual

Cree TDS Series User manual

Cree

Cree TDS Series User manual

Cree FLEX Series User manual

Cree

Cree FLEX Series User manual

Cree LS8 User manual

Cree

Cree LS8 User manual

Cree OSQ Series User manual

Cree

Cree OSQ Series User manual

Cree CR24 UPKIT User manual

Cree

Cree CR24 UPKIT User manual

Cree ESSENTIA S-CT-FB-25L User manual

Cree

Cree ESSENTIA S-CT-FB-25L User manual

Cree OSQ Series User manual

Cree

Cree OSQ Series User manual

Cree OSQ Series User manual

Cree

Cree OSQ Series User manual

Cree C-AR Series User manual

Cree

Cree C-AR Series User manual

Cree CXB Series User manual

Cree

Cree CXB Series User manual

Cree CR Series User manual

Cree

Cree CR Series User manual

Cree Essentia S-DL4-EB User manual

Cree

Cree Essentia S-DL4-EB User manual

Cree XA-NEMA User manual

Cree

Cree XA-NEMA User manual

Cree EB14SMK User manual

Cree

Cree EB14SMK User manual

Cree ESSENTIA AE Series User manual

Cree

Cree ESSENTIA AE Series User manual

Cree TRDL6 Series User manual

Cree

Cree TRDL6 Series User manual

Cree OSQ Series User manual

Cree

Cree OSQ Series User manual

Cree XLamp XR Series User manual

Cree

Cree XLamp XR Series User manual

Cree XLamp ML Family LEDs User manual

Cree

Cree XLamp ML Family LEDs User manual

Cree LR24 Series User manual

Cree

Cree LR24 Series User manual

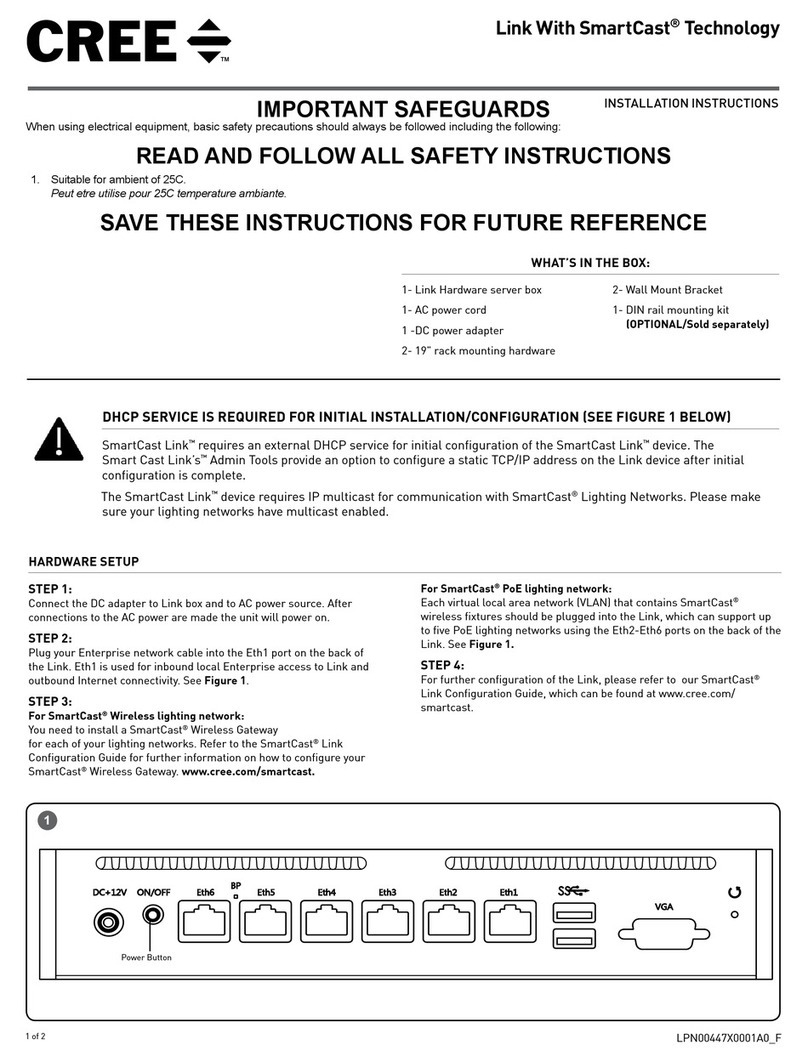
Cree Link With SmartCast Technology User manual

Cree

Cree Link With SmartCast Technology User manual

Cree ZR Series User manual

Cree

Cree ZR Series User manual

Cree LQ6 Series User manual

Cree

Cree LQ6 Series User manual

Popular Lighting Equipment manuals by other brands

Chauvet Sgocker 90 IRC user manual

Chauvet

Chauvet Sgocker 90 IRC user manual

Sygonix 2361019 operating instructions

Sygonix

Sygonix 2361019 operating instructions

SolarMax iE Series installation guide

SolarMax

SolarMax iE Series installation guide

Bounce LED RGB Series quick start guide

Bounce LED

Bounce LED RGB Series quick start guide

Triton Blue SIRIUS 7 LED 8W RGBW user manual

Triton Blue

Triton Blue SIRIUS 7 LED 8W RGBW user manual

Emos ZY2134 quick start guide

Emos

Emos ZY2134 quick start guide

Prilux decorativo 192026 quick start guide

Prilux

Prilux decorativo 192026 quick start guide

Eclipse ESOL2.5W-WH/BL installation instructions

Eclipse

Eclipse ESOL2.5W-WH/BL installation instructions

Varytec LED PAD 147 user manual

Varytec

Varytec LED PAD 147 user manual

Inter-fab DURO-SPRING Assembly/installation instructions

Inter-fab

Inter-fab DURO-SPRING Assembly/installation instructions

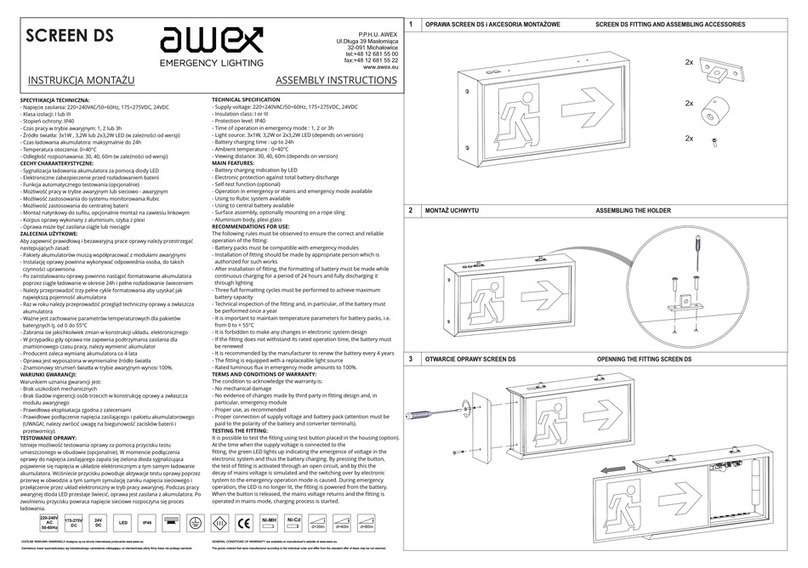
Awex SCREEN DS Assembly instructions

Awex

Awex SCREEN DS Assembly instructions

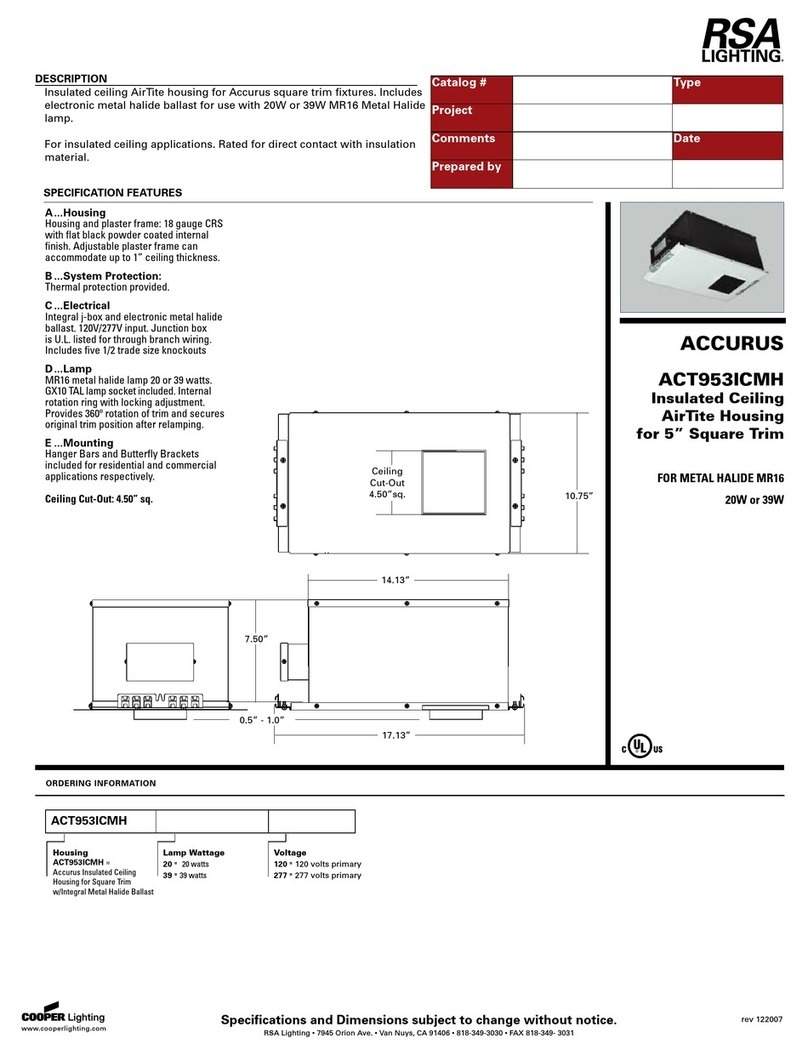
RSA Lighting ACCURUS ACT953ICMH Specification sheet

RSA Lighting

RSA Lighting ACCURUS ACT953ICMH Specification sheet

CONIC BEEZOOM1940 user manual

CONIC

CONIC BEEZOOM1940 user manual

Safavieh LIT4368A quick start guide

Safavieh

Safavieh LIT4368A quick start guide

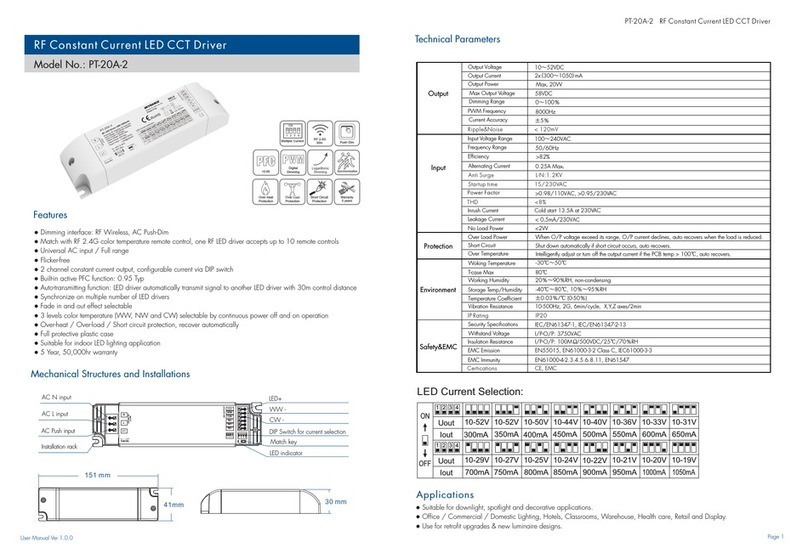
SKYDANCE PT-20A-2 quick start guide

SKYDANCE

SKYDANCE PT-20A-2 quick start guide

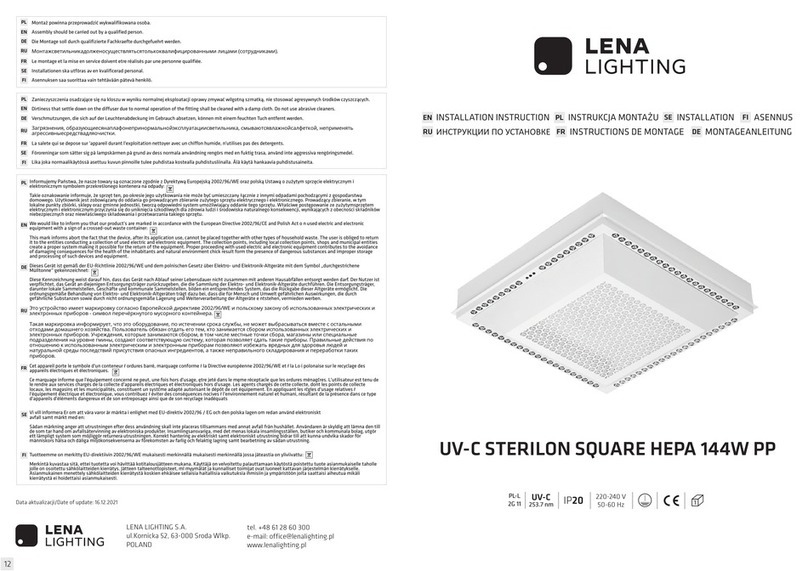
Lena Lighting UV-C STERILON SQUARE HEPA 144W PP Installation instruction

Lena Lighting

Lena Lighting UV-C STERILON SQUARE HEPA 144W PP Installation instruction

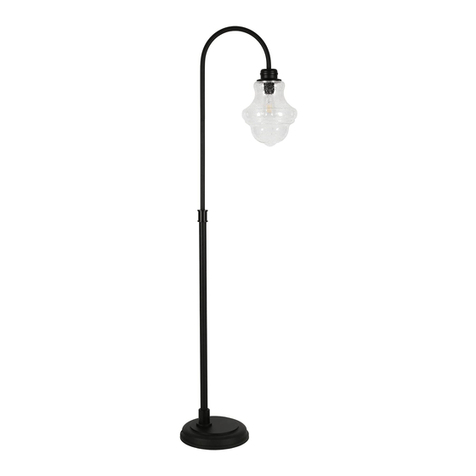
Henn&Hart FL0432 manual

Henn&Hart

Henn&Hart FL0432 manual

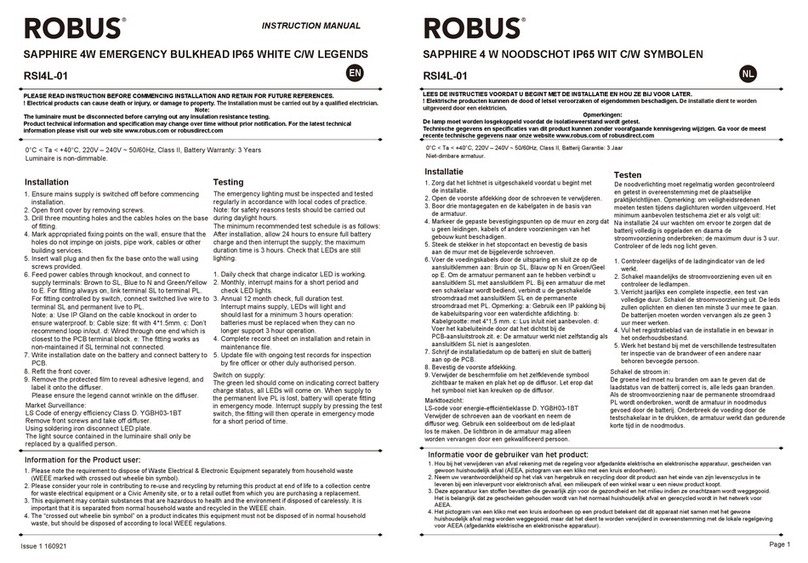
Robus RSI4L-01 instruction manual

Robus

Robus RSI4L-01 instruction manual

manuals.online logo
manuals.online logoBrands
  • About & Mission
  • Contact us
  • Privacy Policy
  • Terms and Conditions

Copyright 2025 Manuals.Online. All Rights Reserved.