manuals.online logo
Brands
  1. Home
  2. •
  3. Brands
  4. •
  5. dams
  6. •
  7. Indoor Furnishing
  8. •
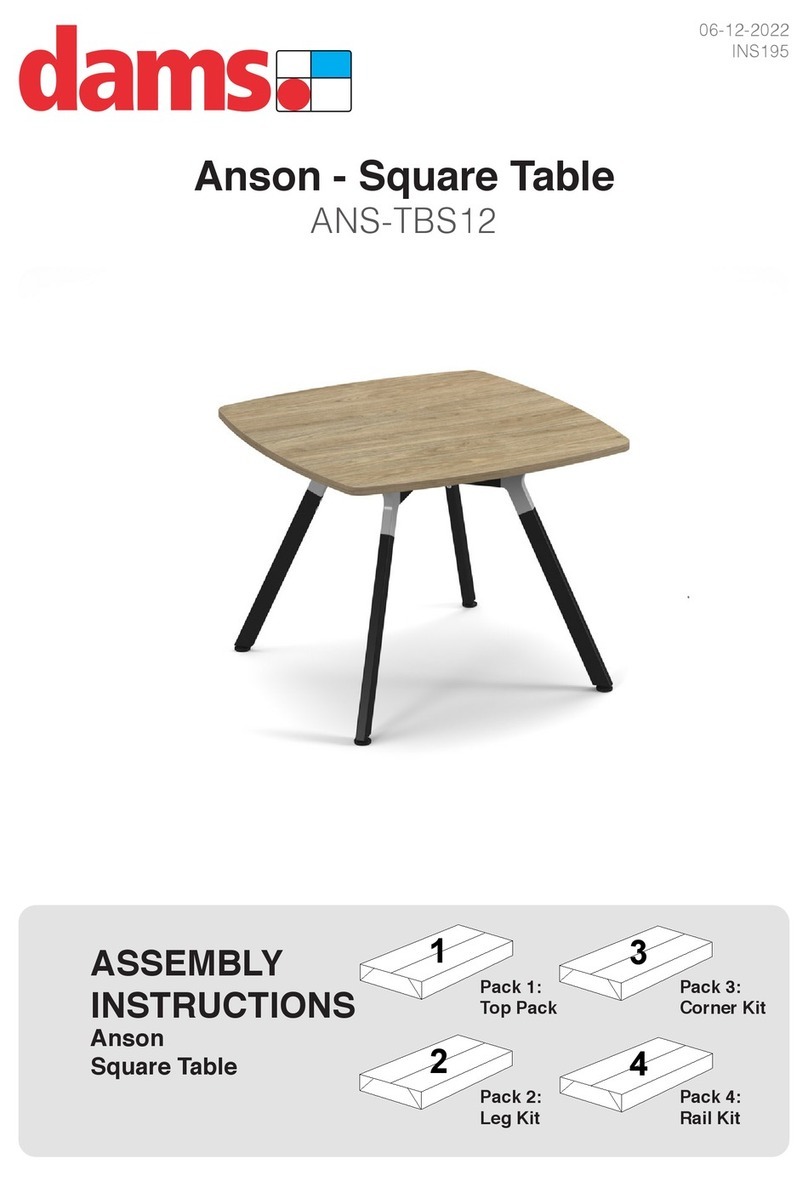
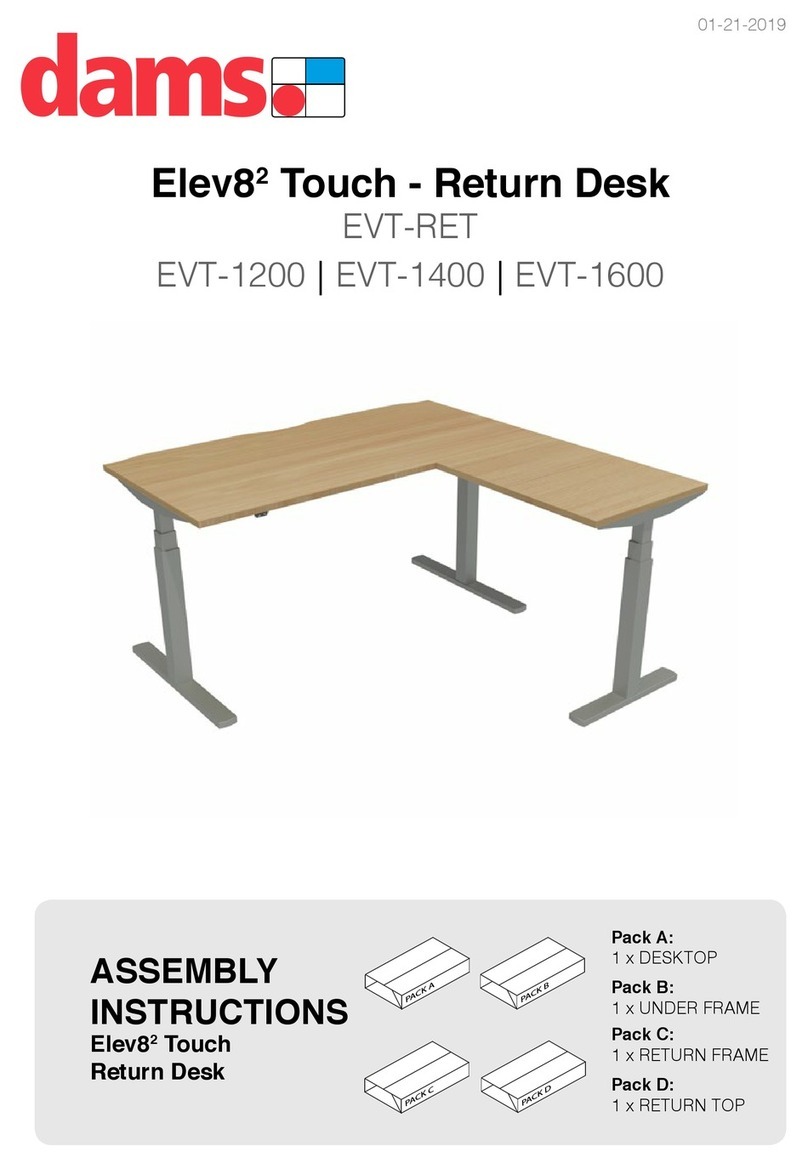
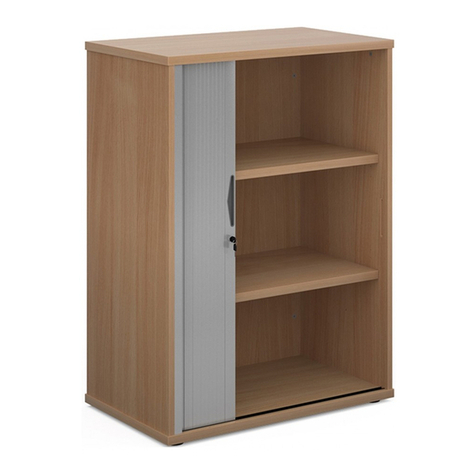
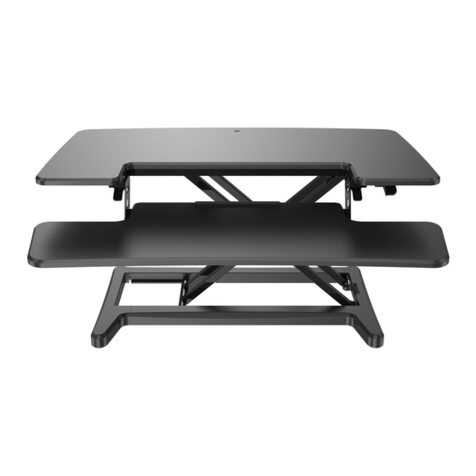
  9. dams COU800OL User manual

dams COU800OL User manual

COU800OL
Connex 800mm Outer Leg Frame
22.01.2017
1 2 3 4
1
1,2,3...
TOOLS REQUIRED
FOR ASSEMBLY
DONT STRUGGLE
2 MAN LIFT
ALWAYS HANDLE
ITEMS WITH CARE
IF UNSURE CALL
FOR ASSISTANCE
KEEP FITTINGS AWAY
FROM CHILDREN
2
Please check that you have all the Components!
3
1 2+ 3
4
800mm Outer Leg Frame Fixed Length Beam
1200 / 1400 / 1600mm
Desk Top
1200 / 1400 / 1600mm
Please check that you have all the Fittings! (Fittings supplied with leg frames)
1 2+
800mm Outer Leg Frame
x 4
M6x60mm Connect Bolt
x 10
M6x10mm Countersunk Bolt
x 4
M6 Nylon Insert
4mm Allen Key
4
1
Step 1
Attach the first beam to
the end leg using the M6
bolts provided.
Loosely thread the bolts
into the face of the leg
before threading the
bolts to the underside of
the leg.
Once all bolts are
threaded you can fully
tighten them using the
4mm Allen Key.
x 5
If you are assembling this as part of a larger configuration please
refer to the intermediate leg frame assembly instructions before
proceeding with the next steps.
2
Step 2
Attach the remaining
outer leg frame using
the same method as
before.
Attach the beams to the
end leg using the M6
bolts provided.
Loosely thread the bolts
into the face of the leg
before threading the
bolts to the underside of
the leg.
Once all bolts are
threaded you can fully
tighten them using the
4mm Allen Key.
x 5
5
3
Step 3
Insert the nylon inserts into the pre drilled
holes on the underside of the desktop.
The illustration below shows which pre drilled
holes should be used.
Repeat this step for all desktops.
x 4
If horizontal cable management is being added please refer to the
single cable tray assembly instruction before proceeding with the
next steps.
This will make the installation process much easier then trying to
install the cable trays once the desktops are attached.
6
5
Step 5
Attach the desktop using the
60mm connect bolts as shown.
Loosely thread all the bolts to
ensure that no bolts become
cross threaded before fully
tightening.
4
Step 4
Position the first desktop on the
frame aligning the nylon inserts
with the slotted holes .
x 4
COU800IL
Connex 800mm Intermediate Leg Frame
22.01.2017
1 2 3
1
This assembly instruction is to be used in
conjunction with COU800OL instruction.
1,2,3...
TOOLS REQUIRED
FOR ASSEMBLY
DONT STRUGGLE
2 MAN LIFT
ALWAYS HANDLE
ITEMS WITH CARE
IF UNSURE CALL
FOR ASSISTANCE
KEEP FITTINGS AWAY
FROM CHILDREN
2
Please check that you have all the Components!
3
1 2
3
800mm Intermediate Leg Frame Fixed Length Beam
1200 / 1400 / 1600mm
Desk Top
1200 / 1400 / 1600mm
Please check that you have all the Fittings! (Fittings supplied with leg frames)
1
800mm Intermediate Leg Frame
x 4
M6x60mm Connect Bolt
x 10
M6x10mm Countersunk Bolt
x 4
M6 Nylon Insert
4mm Allen Key
4
3
Step 3
Attach the intermediate leg
frame using the same method
as before.
Attach the beams to the leg
using the M6 bolts provided.
Loosely thread the bolts into
the face of the leg before
threading the bolts to the
underside of the leg.
Once all bolts are threaded
you can fully tighten them
using the 4mm Allen Key.
This assembly instruction continues from the steps you have so
far completed from the ED800OL instruction sheet.
x 5
5
4
Step 4
Attach the second beam to the
intermediate leg using the M6
bolts provided.
Loosely thread the bolts into
the face of the leg before
threading the bolts to the
underside of the leg.
Once all bolts are threaded
you can fully tighten them
using the 4mm Allen Key.
x 5
6
If horizontal cable management is being added please refer to the
single cable tray assembly instruction before proceeding with the
next steps.
This will make the installation process much easier than trying to
install the cable trays once the desktops are attached.
5
Step 5
Attach the remaining outer leg
frame using the same method
as before.
Attach the beams to the end
leg using the M6 bolts
provided.
Loosely thread the bolts into
the face of the leg before
threading the bolts to the
underside of the leg.
Once all bolts are threaded
you can fully tighten them
using the 4mm Allen Key.
x 10
7
6
Step 6
Insert the nylon inserts into the pre drilled
holes on the underside of the desktop.
The illustration below shows which pre drilled
holes should be used.
Repeat this step for all desktops.
x 4
7
Step 7
Position the first desktop on the frame
aligning the nylon inserts with the slotted
holes .
8
Step 9
Attach the desktop using the
60mm connect bolts as shown.
Loosely thread all the bolts to
ensure that no bolts become
cross threaded before fully
tightening.
Repeat this step for all remaining
desktops.
8
x 4
This assembly instruction illustrates how to assemble a 2 person configuration. For larger
configurations repeat steps 3 - 9 for each add on bay you would like to add.
2 Person
3 Person
4 Person

Other dams Indoor Furnishing manuals

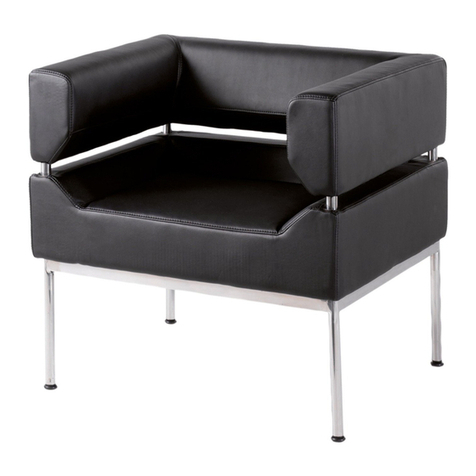
dams Figaro FIGT-06 User manual

dams

dams Figaro FIGT-06 User manual

dams Flux FL-IS1 User manual

dams

dams Flux FL-IS1 User manual

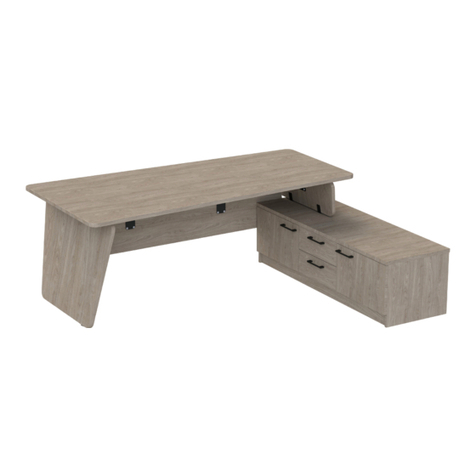
dams Elev82 Mono Single Desk EVM-1200 User manual

dams

dams Elev82 Mono Single Desk EVM-1200 User manual

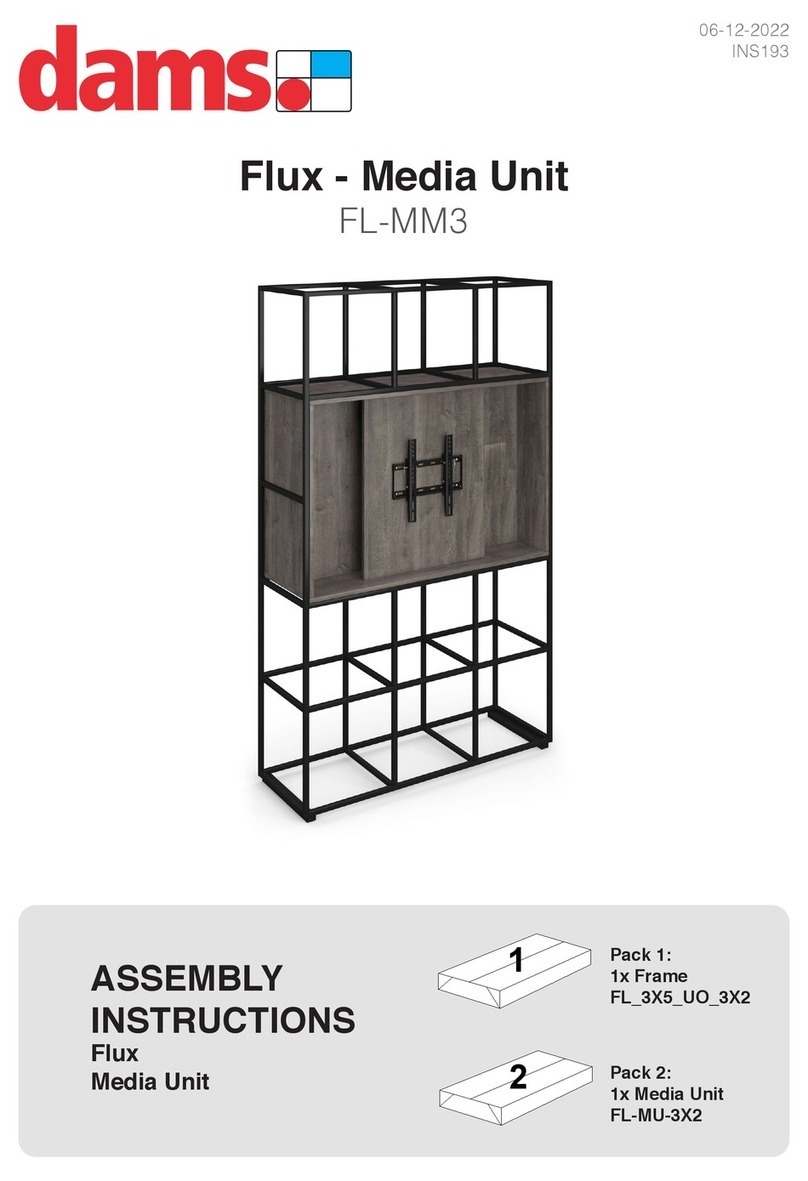
dams Flux FL-MM3 User manual

dams

dams Flux FL-MM3 User manual

dams Encore Series User manual

dams

dams Encore Series User manual

dams WRD14 User manual

dams

dams WRD14 User manual

dams FLXG18 User manual

dams

dams FLXG18 User manual

dams Elise ELS300K2-K User manual

dams

dams Elise ELS300K2-K User manual

dams Flexi Series User manual

dams

dams Flexi Series User manual

dams Benotto BEN50001 User manual

dams

dams Benotto BEN50001 User manual

dams Elev82Mono User manual

dams

dams Elev82Mono User manual

dams DHBC User manual

dams

dams DHBC User manual

dams UHS800 User manual

dams

dams UHS800 User manual

dams Anson AN-RET User manual

dams

dams Anson AN-RET User manual

dams Maestro 25 User manual

dams

dams Maestro 25 User manual

dams SWY300K2-G User manual

dams

dams SWY300K2-G User manual

dams NERPL User manual

dams

dams NERPL User manual

dams R1090TC User manual

dams

dams R1090TC User manual

dams FZ1600OL User manual

dams

dams FZ1600OL User manual

dams Maestro 25 M258 User manual

dams

dams Maestro 25 M258 User manual

dams Anson ANS-TBC12 User manual

dams

dams Anson ANS-TBC12 User manual

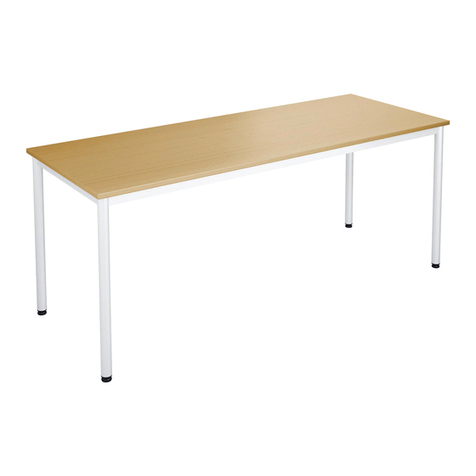
dams Connex COU1600OL User manual

dams

dams Connex COU1600OL User manual

dams SLAB 25 SLBT1290 User manual

dams

dams SLAB 25 SLBT1290 User manual

dams Anson ANS-TBS12 User manual

dams

dams Anson ANS-TBS12 User manual
Popular Indoor Furnishing manuals by other brands

Regency LWMS3015 Assembly instructions

Regency

Regency LWMS3015 Assembly instructions

Furniture of America CM7751C Assembly instructions

Furniture of America

Furniture of America CM7751C Assembly instructions

Safavieh Furniture Estella CNS5731 manual

Safavieh Furniture

Safavieh Furniture Estella CNS5731 manual

PLACES OF STYLE Ovalfuss Assembly instruction

PLACES OF STYLE

PLACES OF STYLE Ovalfuss Assembly instruction

Trasman 1138 Bo1 Assembly manual

Trasman

Trasman 1138 Bo1 Assembly manual

Costway JV10856 manual

Costway

Costway JV10856 manual

moss DESIGN Caisson Credenza Assembly instructions

moss DESIGN

moss DESIGN Caisson Credenza Assembly instructions

Aquaglide FULL DECK 15.0 owner's manual

Aquaglide

Aquaglide FULL DECK 15.0 owner's manual

AREBOS AR-HE-SW30 user manual

AREBOS

AREBOS AR-HE-SW30 user manual

Till-Hilft Fulda 87005.330 Assembly instructions

Till-Hilft

Till-Hilft Fulda 87005.330 Assembly instructions

Twoey Outside 2010 quick start guide

Twoey Outside

Twoey Outside 2010 quick start guide

Hettich Easys 200 operating instructions

Hettich

Hettich Easys 200 operating instructions

The bedboss RELAX 404 Series owner's manual

The bedboss

The bedboss RELAX 404 Series owner's manual

Oeseder Möbelindustrie Bern 991 720 Assembly instructions

Oeseder Möbelindustrie

Oeseder Möbelindustrie Bern 991 720 Assembly instructions

Costway HW68469 user manual

Costway

Costway HW68469 user manual

Next ALIX A27743 Assembly instructions

Next

Next ALIX A27743 Assembly instructions

BROSA Hans Assembly guide

BROSA

BROSA Hans Assembly guide

Prodigg MINIKA PBA015T-FUR installation manual

Prodigg

Prodigg MINIKA PBA015T-FUR installation manual

manuals.online logo
manuals.online logoBrands
  • About & Mission
  • Contact us
  • Privacy Policy
  • Terms and Conditions

Copyright 2025 Manuals.Online. All Rights Reserved.