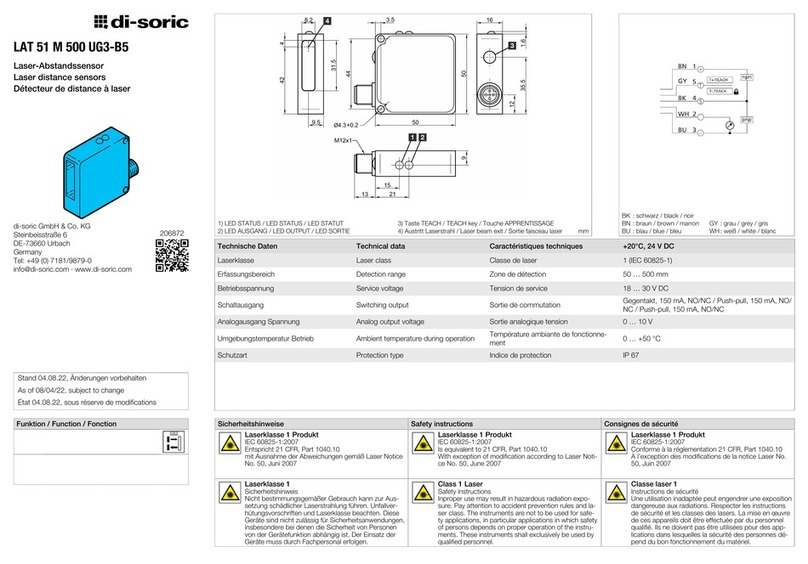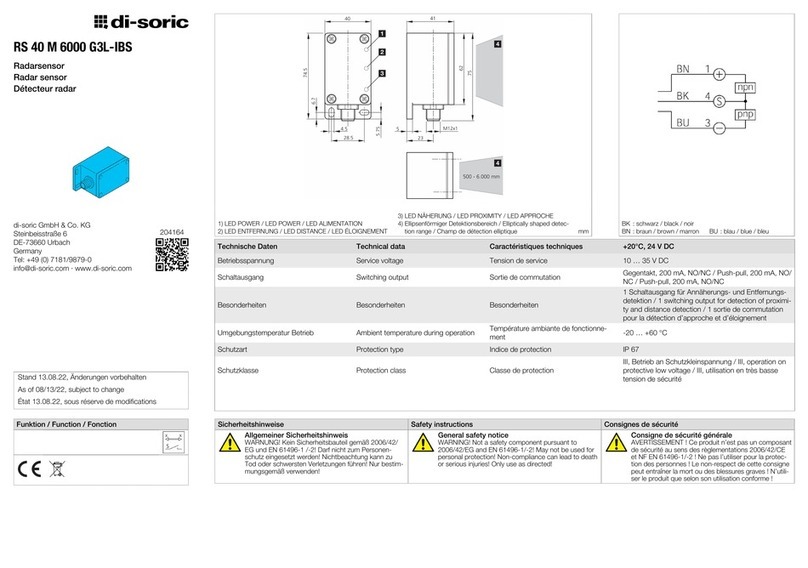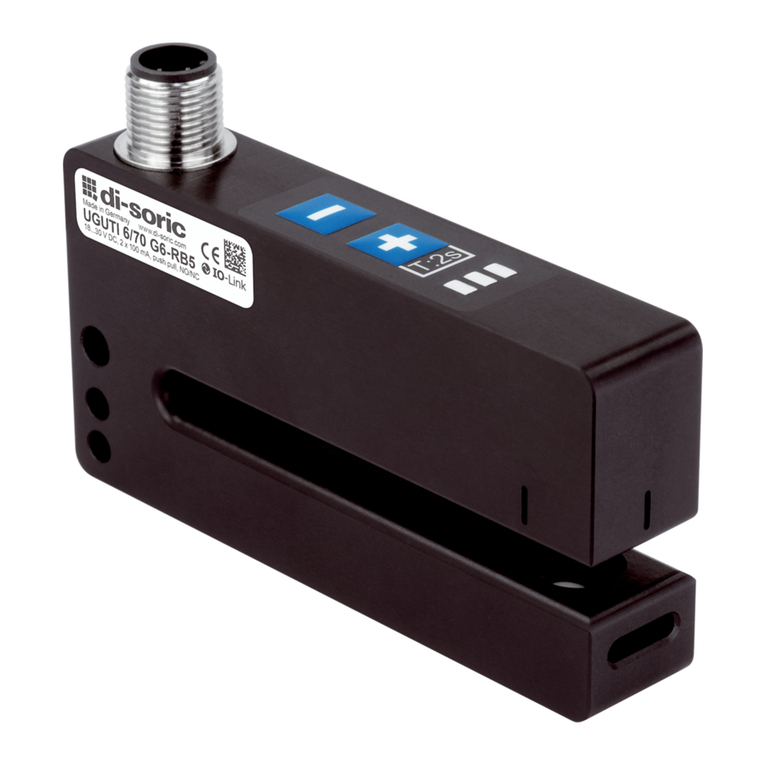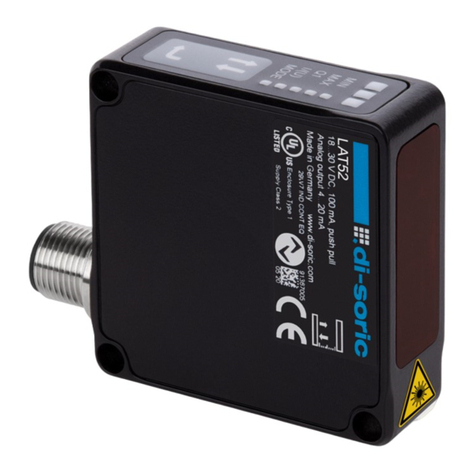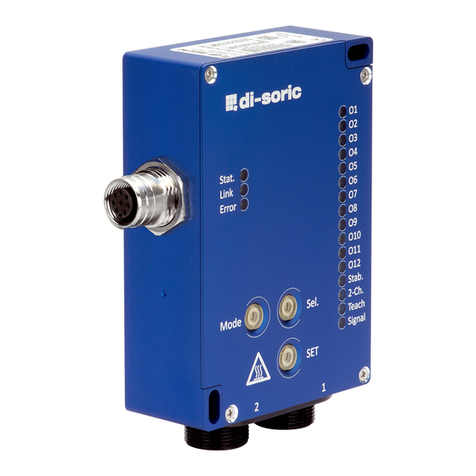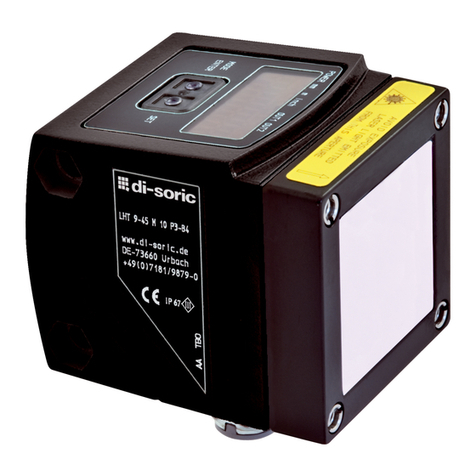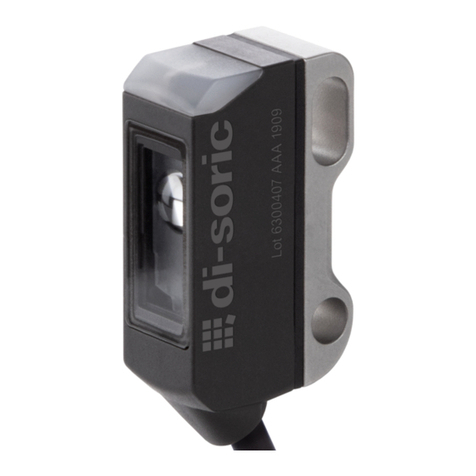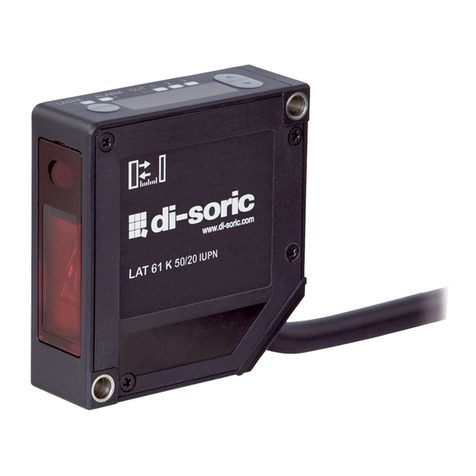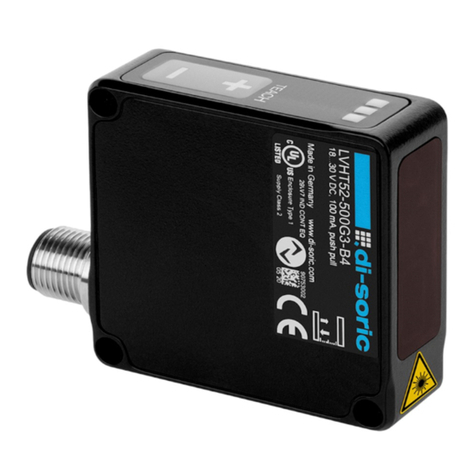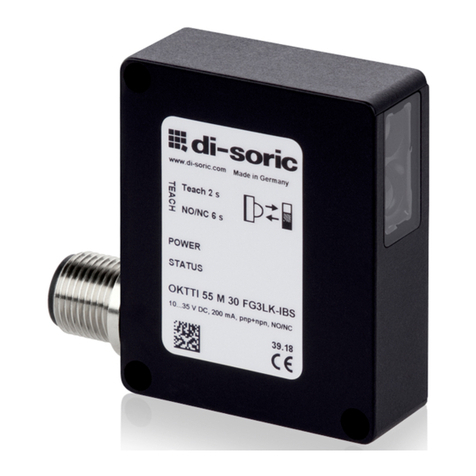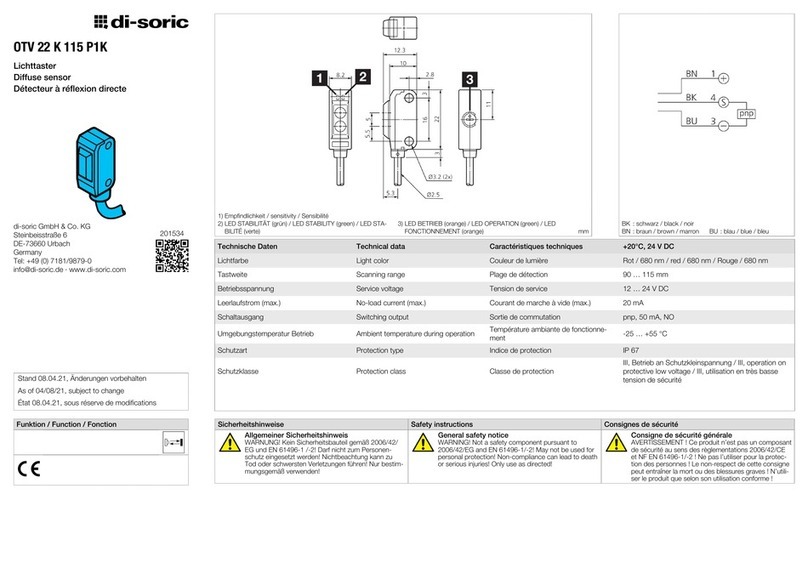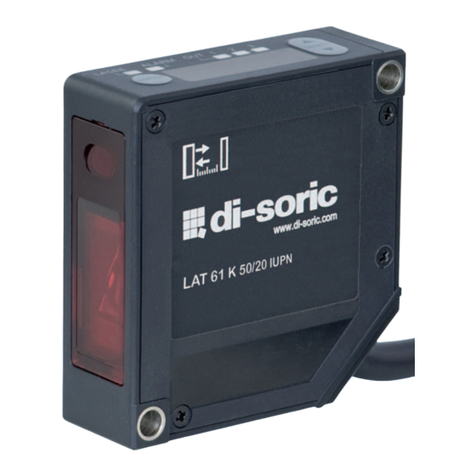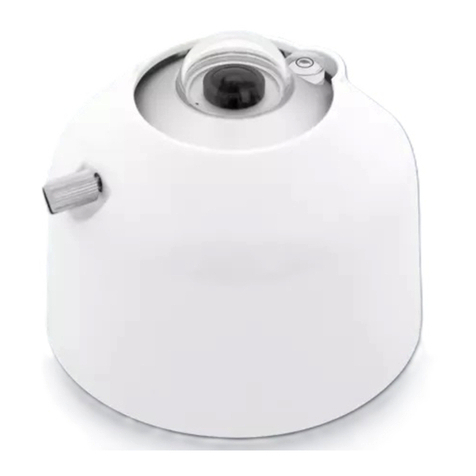
Laser-Lichttaster Laser Diffuse Sensor Détecteur laser à réflexion directe
Umschaltung NO/NC:
Teach-Taste > 6 Sek. betätigen.
Die Status-LED (grün) und die LED-Out (gelb) blinken 2x,
der Ausgang wird umgeschaltet.
Selection NO/NC:
Press teach key for at least 6 sec. Status and transmit LED
are flashing 2x.
The output will be switched.
Sélection du fonctionnement NO/NC:
Maintenez la touche Teach pendant plus de 6 sec.
Les LED clignotent 2x.
Le mode de fonctionnement a correctement été permuté.
Minimaler Teachbereich bestimmen: Determine min. teach area: Apprentissage de la zone de détection mini.:
Der minimale Teachbereich
Teach min.
(kleinstmöglicher
Abstand zwischen SP
min.
und SP
max.
) beträgt 2% von
SP
max.
.
Bei Unterschreitung wird der Teachbereich automa-
tisch symmetrisch auf den minimalen Teachbereich
Teach min.
aufgeweitet.
The minimum teach area
Teach min.
(smallest possible
distance between SP
min.
and SP
max.
) is 2% of SP
max.
.
When falling below the teach area will be automati-
cally symmetrically expanded to the minimum teach
area
Teach min.
.
La zone de détection minimale
Teach min.
(distance la plus
petite possible entre SP
min.
et SP
max.
) est 2% de SP
max.
.
Si la zone de détection apprise est inférieur à cette
valeur, la zone de détection sera automatiquement éten-
du à la zone de détection minimale possible Teach
min
.
Teach min. = min. Teachbereich (
2% von SP
max
)
SP min. = min. Schaltpunkt (Objektabstand)
SP max. = max. Schaltpunkt (Objektabstand)
Berechnungsbeispiel Unterschreitung min. Teachbereich:
SP min. = 296mm
SP max. = 300mm
Teach min. = SP max.x 2 % = 300mmx2 % = 6 mm (±3mm)
Somit ergeben sich folgende Schaltpunkte:
SP 1 = 295mm (298mm -3mm)
SP 2 = 301mm (298mm + 3mm)
Teach min. = min. teach area (
2% of SP
max
)
SP min. = min. switching point (object distance)
SP max. = max. switching point (object distance)
Calculation example for falling below the min. teach area:
SP min. = 296mm
SP max. = 300mm
Teach min. = SP max.x 2 % = 300mmx2 % = 6 mm (±3mm)
The switching points will be the results:
SP 1 = 295mm (298mm -3mm)
SP 2 = 301mm (298mm + 3mm)
Teach min. = zone de détection mini. (
2% of SP
max
)
SP min. = point de commutation mini. (distance de l‘objet)
SP max. = point de commutation maxi. (distance de l‘objet)
Exemple de calcul for falling below the min. teach area:
SP min. = 296mm
SP max. = 300mm
Teach min. = SP max.x 2 % = 300mmx2 % = 6 mm (±3mm)
Les points de commutation auront comme résultat :
SP 1 = 295mm (298mm -3mm)
SP 2 = 301mm (298mm + 3mm)
LED-Anzeige: LED display: Les LED du capteur et du connecteur clignotent :
2x gelb: Teach-Vorgang erfolgreich abgeschlossen, der
Sensor schaltet automatisch in den Betriebs-
modus.
2x yellow: Teach procedure successfully concluded,
sensor switches automatically in operating
mode.
2x jaune : La procédure d’apprentissage s’est déroulée
avec succès, le capteur retourne en mode de
fonctionnement.
4x gelb:
Objekt wurde nicht optimal erfasst!
Mögliche Ursachen:
-
Der Mindest-Teachbereich wurde
unterschritten
-
Schaltpunkte außerhalb dem angegebenen
Teachbereich
4x yellow:
Object was not detected optimally
Possible causes:
-
Minimal teaching range was not
reached
-
Switching points not within the stated
teaching range
4x jaune : L‘objet n‘a pas été détecté de manière optimale.
Causes probables :
-La distance de travail mini. de 2mm n‘est pas
respectée
-Les points de commutation ne sont pas dans la
zone d‘apprentissage
Rücksetzen auf Werkseinstellung: Reset to factory settings: Réinitialisation aux valeurs d‘usine :
Teach-Taste beim Anlegen der Versorgungsspannung be-
tätigen, das Rücksetzen auf Werkseinstellung wird durch
zweimaliges Blinken der LED-Out (gelb) bestätigt.
Press teach button when connecting to supply voltage,
reset to factory setting is confirmed when LED-Out
(yellow) flashes 2 times.
Maintenir le bouton teach avant la mise sous tension.
La réinitialisation est confirmée lorsque la LED de sortie
(jaune) clignote 2 fois.


