manuals.online logo
Brands
  1. Home
  2. •
  3. Brands
  4. •
  5. DUCATI Performance
  6. •
  7. Motorcycle Accessories
  8. •
  9. DUCATI Performance 96681144AA User manual

DUCATI Performance 96681144AA User manual

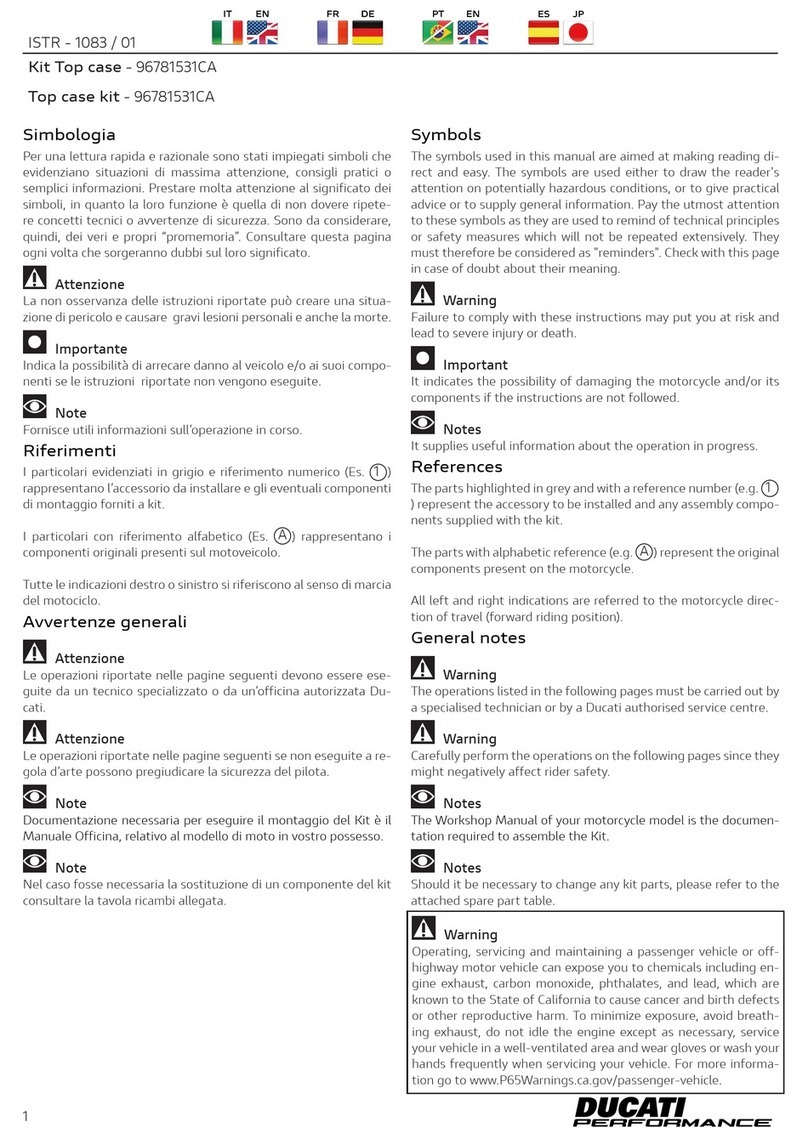
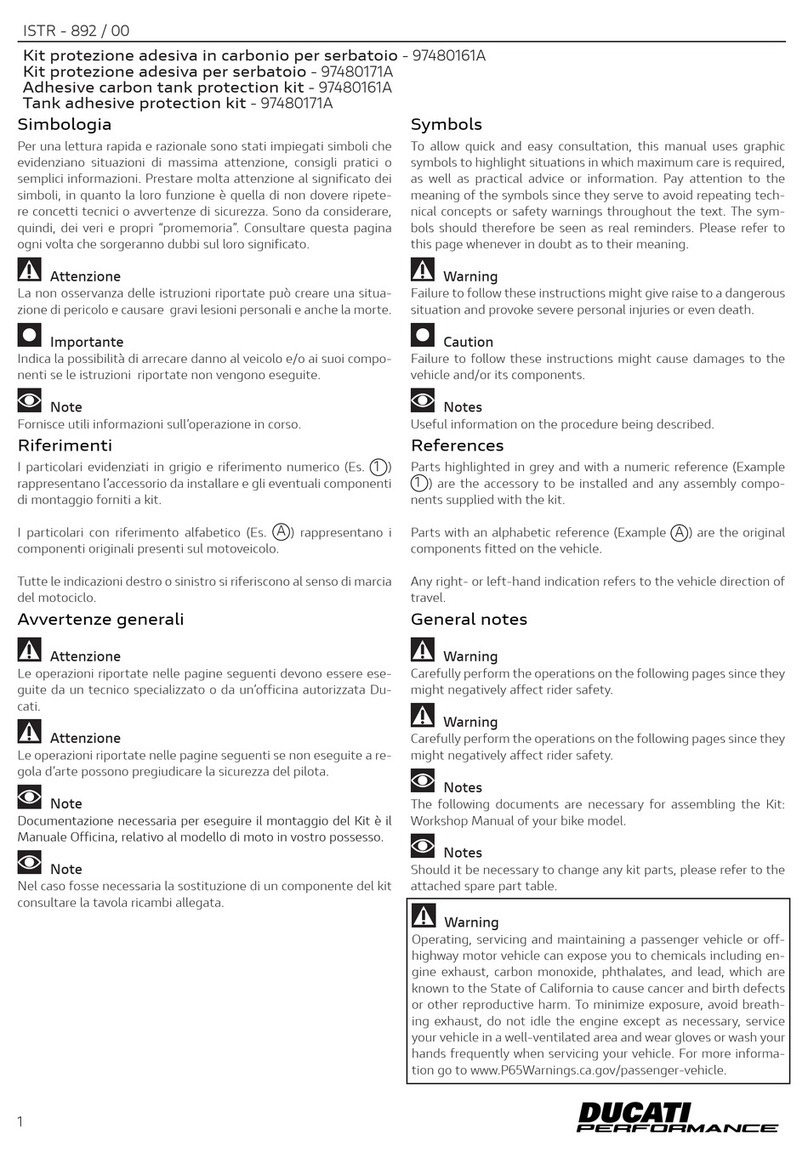
Symbols
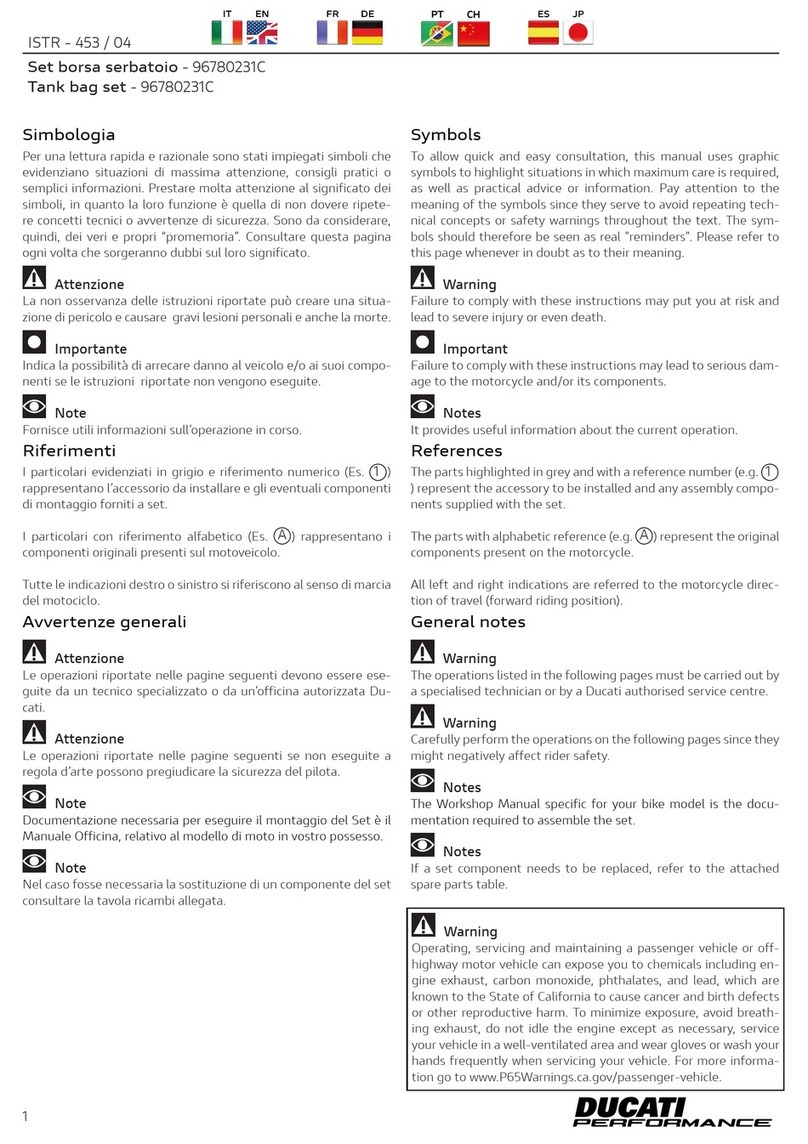
To allow quick and easy consultation, this manual uses graphic
symbols to highlight situations in which maximum care is required,
          
meaning of the symbols since they serve to avoid repeating tech-
nical concepts or safety warnings throughout the text. The sym-
bols should therefore be seen as real "reminders". Please refer to
this page whenever in doubt as to their meaning.

Failure to comply with these instructions may put you at risk and
lead to severe injury or even death.

Failure to comply with these instructions may lead to serious dam-
age to the motorcycle and/or its components.

It provides useful information about the current operation.
References
 1
) represent the accessory to be installed and any assembly compo-
nents supplied with the set.
 A) represent the original
components present on the motorcycle.
-



The operations listed in the following pages must be carried out by
a specialised technician or by a Ducati authorised service centre.




The Workshop Manual specific for your bike model is the docu-
mentation required to assemble the set.

           



highway motor vehicle can expose you to chemicals including en-
gine exhaust, carbon monoxide, phthalates, and lead, which are

or other reproductive harm. To minimize exposure, avoid breath-
ing exhaust, do not idle the engine except as necessary, service
your vehicle in a well-ventilated area and wear gloves or wash your
hands frequently when servicing your vehicle. For more informa-
tion go to www.P65Warnings.ca.gov/passenger-vehicle.
 - 96681144AA


       

simboli, in quanto la loro funzione è quella di non dovere ripete-

 
ogni volta che sorgeranno dubbi sul loro significato.

-


-

Note
Fornisce utili informazioni sull’operazione in corso.
Riferimenti
 1)
rappresentano l’accessorio da installare e gli eventuali componenti
di montaggio forniti a set.
      A) rappresentano i
componenti originali presenti sul motoveicolo.

del motociclo.


-
-
cati.

         

Note


Note
Nel caso fosse necessaria la sostituzione di un componente del set
consultare la tavola ricambi allegata.
 - 96681144AA
1
ISTR - 1076 / 03

          



The set is supplied with all the types of fasteners. Thoroughly
follow the fastening method specified for each single model.


-
mazioni sempre aggiornate.
Note



per ogni singolo modello.
Pos. Denominazione Name
1 Centralina bluetooth 
2 Dual lock Dual lock
3 Adhesive tie guide
4 Nylon tie
5 Dual lock Dual lock
6 
7 
8 Fissaggio rapido dual lock Dual lock quick fastener
2

2
1
6
3
7
8
4
2
5



Loosen        




  -



3
A
B
A1
A2
A2
A2
A2


deflectors.








4

4
B
D
C
B1


  


5
C1
C
D
D1




Operando sul lato destro del motoveicolo, svitare e rimuovere le

6

6
E
E1
E1

Working on the LH side of the motorcycle, loosen and remove no.3


Operando sul lato sinistro del motoveicolo, svitare e rimuovere le


7
F
F1
F1


rear of the motorbike, releasing the relative pins from the no.2



posteriore del motoveicolo, disimpegnando i relativi perni da i n.2

8

8
G
G1
G1
G2



-



fairing. Pull the headlight upwards so that you can remove the no.2






-



9
A
A
B
C
D
D1
E
E







        
          






 
-










A
C
A1
A2
XA
B1
B
B1
B2
B2
B3
E
D
R


-
ously press downward in the area of the latch to release the pin.

S


         


dai fermi anteriori tirandola all’indietro.

11
1
2
A
A1

         








nel riquadro.
12

12
B
C1
C2
B1
R


          
         



           

S

Note

  
         





13
A
A1
Working on the LH side of the motorcycle, loosen and remove no.2




Operando sul lato sinistro del motoveicolo, svitare e rimuovere le
-



14

14
B2
B
B6
B4
B3
B3
B5
B1
B7
R


        


        
bluetooth control unit will be positioned.
S


          


        


15
A1
A1
D
C
A
B




conditions. Take all the necessary measures to avoid damaging any













        


operare.


          
         

    


        

16

16
1
3
X1 X2
1
2
2
2A
3
3A


-





in the figure.


Note
-

          
     
Posizionare il gruppo
          
motoveicolo, come mostrato in figura.


17
M
L
1
1
Y
2
2B
2


          
figure.

Take the exceeding cable and duly arrange it under the windscreen


Connect the diagnosis instrument to the data acquisition socket

-
-
tings" page.
           


come mostrato in figura.






    

-

18

18
1B
1A
O
L
143
N













19
G
G3 G3
G4
G1
G1
G2









Operando sul lato destro del motoveicolo, posizionare la plancia
          


Operando sul lato sinistro del motoveicolo, posizionare la plancia
          




E
E1
E1
F
F1
F1
2 Nm ± 10% 2 Nm ± 10%
2 Nm ± 10%
2 Nm ± 10%

Other DUCATI Performance Motorcycle Accessories manuals

DUCATI Performance 96781310B User manual

DUCATI Performance

DUCATI Performance 96781310B User manual

DUCATI Performance 97480211AA User manual

DUCATI Performance

DUCATI Performance 97480211AA User manual

DUCATI Performance 97380182A User manual

DUCATI Performance

DUCATI Performance 97380182A User manual

DUCATI Performance 96981321AA User manual

DUCATI Performance

DUCATI Performance 96981321AA User manual

DUCATI Performance 96781491AA User manual

DUCATI Performance

DUCATI Performance 96781491AA User manual

DUCATI Performance 96781171B User manual

DUCATI Performance

DUCATI Performance 96781171B User manual

DUCATI Performance 97480171A User manual

DUCATI Performance

DUCATI Performance 97480171A User manual

DUCATI Performance 96680572A User manual

DUCATI Performance

DUCATI Performance 96680572A User manual

DUCATI Performance 96880921AA User manual

DUCATI Performance

DUCATI Performance 96880921AA User manual

DUCATI Performance 96781401A User manual

DUCATI Performance

DUCATI Performance 96781401A User manual

DUCATI Performance 96981341AA User manual

DUCATI Performance

DUCATI Performance 96981341AA User manual

DUCATI Performance Multistrada 1200 User manual

DUCATI Performance

DUCATI Performance Multistrada 1200 User manual

DUCATI Performance 97180791AA User manual

DUCATI Performance

DUCATI Performance 97180791AA User manual

DUCATI Performance 96780551A User manual

DUCATI Performance

DUCATI Performance 96780551A User manual

DUCATI Performance 97380931B User manual

DUCATI Performance

DUCATI Performance 97380931B User manual

DUCATI Performance 96680702A User manual

DUCATI Performance

DUCATI Performance 96680702A User manual

DUCATI Performance 96780231C User manual

DUCATI Performance

DUCATI Performance 96780231C User manual

DUCATI Performance ISTR-1083/01 User manual

DUCATI Performance

DUCATI Performance ISTR-1083/01 User manual

DUCATI Performance 96981261AA User manual

DUCATI Performance

DUCATI Performance 96981261AA User manual

DUCATI Performance 96780861C User manual

DUCATI Performance

DUCATI Performance 96780861C User manual

DUCATI Performance 96880541AA User manual

DUCATI Performance

DUCATI Performance 96880541AA User manual

DUCATI Performance 96780761B User manual

DUCATI Performance

DUCATI Performance 96780761B User manual

DUCATI Performance 97480161A User manual

DUCATI Performance

DUCATI Performance 97480161A User manual

DUCATI Performance 97381951AA User manual

DUCATI Performance

DUCATI Performance 97381951AA User manual

Popular Motorcycle Accessories manuals by other brands

HJC Smart HJC 20B user guide

HJC

HJC Smart HJC 20B user guide

R&G AB0036 Fitting instructions

R&G

R&G AB0036 Fitting instructions

R&G LP0307BK FITTING INSTRUCTION

R&G

R&G LP0307BK FITTING INSTRUCTION

PUIG 21047 Mounting instructions

PUIG

PUIG 21047 Mounting instructions

SHOEI Syncrotec Instructions for use

SHOEI

SHOEI Syncrotec Instructions for use

rizoma Reverse Radial user manual

rizoma

rizoma Reverse Radial user manual

Triumph A9708355 Fitting instructions

Triumph

Triumph A9708355 Fitting instructions

KTM Power Parts 90109945000 quick start guide

KTM Power Parts

KTM Power Parts 90109945000 quick start guide

optrel b320 manual

optrel

optrel b320 manual

SCHUBERTH C3 Limited owner's manual

SCHUBERTH

SCHUBERTH C3 Limited owner's manual

GLOBBER 505-100 manual

GLOBBER

GLOBBER 505-100 manual

hepco & becker 6303544 00 01 quick start guide

hepco & becker

hepco & becker 6303544 00 01 quick start guide

CASCO PF 112 EXTREM User instructions

CASCO

CASCO PF 112 EXTREM User instructions

R&G SS0054 Fitting instructions

R&G

R&G SS0054 Fitting instructions

SW-Motech HTA.18.019.10000 Mounting instructions

SW-Motech

SW-Motech HTA.18.019.10000 Mounting instructions

hepco & becker 650.7507 01 02 Assembling instructions

hepco & becker

hepco & becker 650.7507 01 02 Assembling instructions

probrake KA10-4 Mounting instruction

probrake

probrake KA10-4 Mounting instruction

Yoshimura 070BG131000 manual

Yoshimura

Yoshimura 070BG131000 manual

manuals.online logo
manuals.online logoBrands
  • About & Mission
  • Contact us
  • Privacy Policy
  • Terms and Conditions

Copyright 2025 Manuals.Online. All Rights Reserved.