General Information & Cleaning: Installation:
READ THIS FIRST:
Check the pack and make sure you have all of
the parts listed on the front of this booklet. If
not, contact the outlet where you bought this
product.
This product must be installed by a
competent person in accordance with the
current building and IEE wiring regulations.
As the buyer, installer and/or user of this product
it is your own responsibility to ensure that this
fitting is fit for the purpose for which you have
intended it. Eterna Lighting cannot accept any
liability for loss, damage or premature failure
resulting from inappropriate use.
If in any doubt, consult a qualified electrician.
This product is designed and constructed
according to the principles of the appropriate
British Standard and is intended for normal
domestic service. Using this fitting in any other
environments may result in a shortened working
life, for example where there is prolonged
periods of use or higher than normal ambient
temperatures such as lighting public or shared
spaces or in care facilities.
Switch off the mains before commencing
installation and remove the appropriate circuit
fuse or lock off MCB.
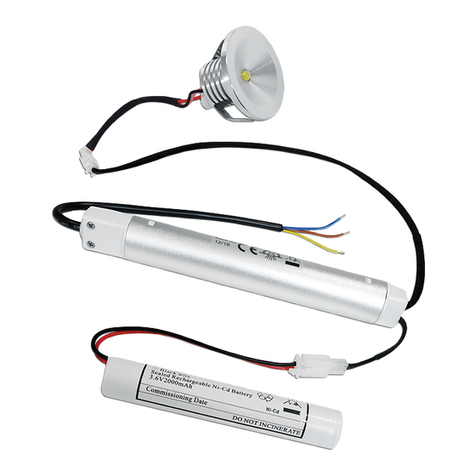
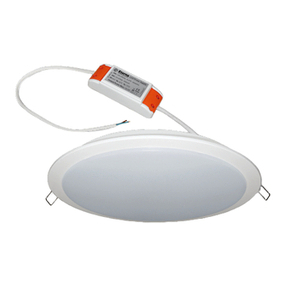
Use only with the recommended SFLDR36
Eterna driver (as shown below) and do not
connect lights directly to the mains.
We recommend the use of an Eterna Driver
SFLDR36 which has a socket connecting system
designed to allow the plug(s) fitted to the
extension lead / light(s) to plug directly in.
Do not overload the driver, check that the total
wattage does not exceed the maximum wattage
stated and ensure the maximum number of
units marked on the driver is not exceeded.
Disconnect the driver from the electrical supply
before flash or high voltage testing.
This unit is suitable for indoor use only.
This driver is designed for permanent connection
to fixed wiring: this must be a suitable circuit
(protected with the appropriate MCB or fuse).
This product is suitable for installation on
surfaces with normal flammability e.g. wood,
plasterboard and masonry. It is not suitable for
use on highly flammable surfaces
Before making fixing hole(s), check that
there are no obstructions hidden beneath the
mounting surface such as pipes or cables.
Do not attach to surfaces which are damp,
freshly painted or otherwise electrically
conductive (e.g. metallic surfaces).
This fitting is double insulated; do not connect
any part to earth.
This product is not intended to be used by
children and persons with sensory, physical
and/or mental impairments that would prevent
them from using it safely.
IMPORTANT— Always switch off at the mains
before commencing any work on the light
fittings and driver.
You are advised at every stage of your
installation to double-check any electrical
connections you have made. After you have
completed your installation there are electrical
tests that should be carried out, these tests are
specified in the current IEE wiring and building
regulations.
If in doubt, consult a qualified electrician.
CLEANING:
Clean this product only with a soft dry cloth
The diffusers may be removed and washed in a
mild detergent solution. Make sure the diffusers
are completely dry before putting them back on
your LED light fitting.
Do not use any chemical or abrasive cleaners.
INSTALLATION:
01) Choose the location for your new fitting taking the above points into consideration.
02) Prepare the route for the cable between the light and the driver.
03) Select the best method of mounting your LED striplight:
A) Surface mount using the “u” clips provided.
B) Horizontally mount using the two wall clips provided.
04) Mark and fix clips to desired position and snap LED fitting into place.
05) Screw and fix the driver through the holes at each end of casing.
06) Connect the driver to a suitable switched mains supply so the fittings can be controlled.
07) The driver is supplied with a 2 metre extension lead with plug and socket fitted. Insert flat plug
into one end of the LED striplight.
08) Additional strip lights can be added and connected together using the 350mm link cable or butt
connector (supplied).
09) Restore power and switch on.
NOTE: Refer to the power loads below before connecting more than one striplight to the driver.
SFLDR36
“U” shaped clips
Wall clips
