manuals.online logo
Brands
  1. Home
  2. •
  3. Brands
  4. •
  5. Eterna
  6. •
  7. Lighting Equipment
  8. •
  9. Eterna EXITBOXM Series Setup guide

Eterna EXITBOXM Series Setup guide

Ifyou experience problems:
If your lightisdefectiveordevelopsafault,pleasereturnittothe placewhere you boughtit.You can call our
Helpline for advice.The Helpline will gladlygiveadviceon anyaspectofanyEterna Lighting product butmay
not be able togivespecific instructions regarding individual installations.
Ifindoubt,consultaqualified electrician.
Helpline:
Tel:01933 673 144Fax: 01933 678 083Email: sales@eterna-lighting.co.uk
For answers tofrequently asked questions (FAQs)and other information visit our web-site
www.eterna-lighting.co.uk
Cleaning:
>Clean this lightfitting onlywithasoftdry cloth
>Donot useanychemical or abrasivecleaners.
Eventually, you may wanttoreplace thislightfitting:
When your lightfitting and or batterypackcometotheend oftheir lifeor you chooseto
updateor upgrade the fitting byreplacing it, pleasedo notdisposeofitwithyour normal
household waste,pleaserecycle where facilitiesexist.When youneed todisposeofthis
fitting,check withyour retailer or local authority for suitable options.Newregulationswill
encourage the recycling ofWastefromElectrical and ElectronicEquipment(European
“WEEEDirective”effectiveAugust2005 ).
Lampreplacement:
>Switchoff the electricityatthe mains.
>Removethe diffuser.
>Twistand withdraw the tube.
>Insert newtube.
>Restore the power and perform operation check.
>Replacediffuser.
Replacementlamptype:
Wattage:8W
Type:T5fluorescenttube
Batteryreplacement:
If after routine operation check, the lampdoes not
remain lit for the three hour period, anew battery
pack may be required.
1) Switchoff the electricityatthe mains.
2) Allow batteries tofully discharge then reconnect
tosupply and allow tocharge for 24 hours.
3) Test again for 3hours,iflight does not remain lit
change the battery packas follows:
4) Toreplacethe battery pack, it isnecessaryto
disconnect the fitting from the mainssupply and
removethe fitting from it’s installation—see
installation instructions inside.
5) Removethe diffuser.
6) Unplug the battery lead fromthe circuitboard.
7) Removethe twoscrews that secure the battery
pack in placefromthe rear ofthe fitting and lift
the battery packawayfromthe case.
8) Writecurrent dateon the new batterypack.
9) Secure the new battery pack in place.
10)Plug battery pack intocircuitboard.
11)Re-fitthe exit lightback intoposition—see
installation instructions inside.
12)Replacediffuser and end panel.
13)Restore power and allow tocharge for 24 hours.
14)Perform full operation check and updatetest
record.
Replacementbatterytype:
2.4V Ni-Cad
7030-0621
PLEASE READ THESE INSTRUCTIONSBEFORE
INSTALLING YOUR NEWFITTING
--
PLEASE RETAINFORFUTUREREFERENCE
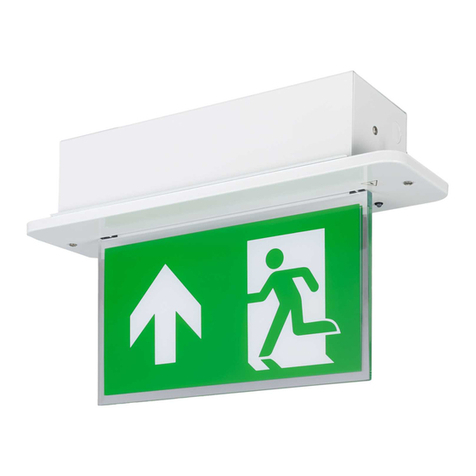
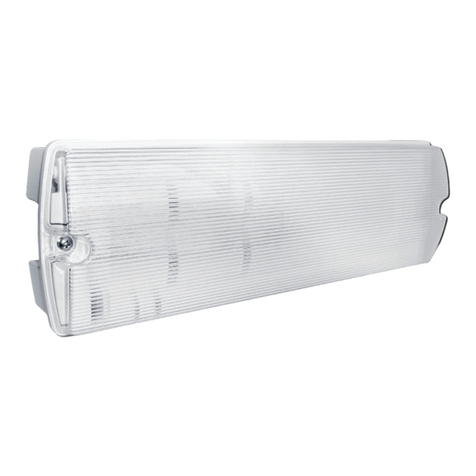
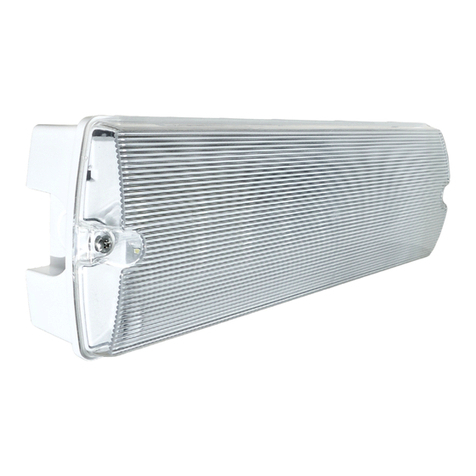
Maintained emergency
exit light8W
convertibletonon-maintainedbyremovinglink
Model(s)
EXITBOXM (EXITBOX 318M )
Specification:
Power 8W
Continuous illumination >3hours
Battery 2.4V 4.5Ah
Recharge time ~20 hours
Over-discharge protection Yes
Read thisfirst:
>Thislightfittingmust beinstalledin
accordance withtheBuildingRegulations.
Thesemaybe obtained fromHMSO orviewed
and downloadedfrom www.odpm.gov.uk
following the link for Building Regulations.
>Switchoff the mainsbefore commencing
installation and removethe appropriatecircuit
fuse.
>Donotconnect toacircuitwhichalsohas
inductiveloadsconnected asspikesgenerated
switching inductiveloadsmaydamage
electronic components within your light fitting..
>Suitable for indoor useonly.
>Thisproduct issuitable for installation on
flammable surfaces(indicated bythe "F"in a
triangle )
>Before making fixing hole(s),checkthatthere
are no obstructionshidden beneaththe
mounting surfacesuchaspipes or cables.
>The chosen location ofyour newfitting should
allowfor the product tobe securelymounted
(e.g.toajoist)and safelyconnected tothe
mains supply (lighting circuit ).
>Ensure thatthe fitting willbe accessible after
installation for maintenance.
>If the location ofyour newfitting requiresthe
provision ofanewelectrical supply,thesupply
must conformwiththe requirements ofthe
Building Regulations.
>Makeconnectionstothe electrical supplyin
accordancewiththe following code:
Live-Brownor Red
Neutral -Blue or Black
Earth-Green and Yellow
>This product must be connected toEarth.
>You are advised ateverystage ofyour
installation todouble-check anyelectrical
connectionsyou havemade.After you have
completed your installation there areelectrical
tests thatshould be carried out:thesetestsare
specified in the Wiring Regulations(BS7671 )
referred toin the Building Regulations. If in
doubt, consult aqualified electrician.
Installation:
1) Undo the screwsattherighthand endofthe
fitting and liftoff.
2) Slide out the front panel.
3) Removethe plasticplug fromone ofthe cable
entry holes.
4) Using thefitting asatemplate,marktheposition
of the fixing holes on your mounting surface.
5) Makefixing holes and fit plugs asappropriate.
6) Secure the fitting tothe mounting surfaceusing
suitable fixings (notsupplied ).
7) Thread the supplycable through the entrypoint
and intothe fitting.
8) Makeconnectionstothe mainssupply
according tothewiring colour code above.
Normally, the supplywill betakenfromthe
lighting circuitand thepermanentliveconnected
tothe liveterminal in the fitting.
9) Writethe current dateon the batterypack.
10)Connect the batterypack tothe circuit board.
11) Tooperatethe fitting in non-maintained mode,
removethe link fromthe terminals “SW”.
12) Ifthe lampistobe switched,removethelink
frombetween the terminalsmarked “SW”and
connect cables toand from your switch.
13) Restore the power supply. The LEDshould light
toindicatecorrect charging.Ifthelink“SW”has
been left in place,the fitting should alsolight. If
you haveconnected aswitchacrossthe
terminals“SW”,test the operation ofyour
switch.
14) Slide the frontpanelback intoposition and
secure the retaining platebackinposition using
the twoscrews.
Operation checks:
Periodictestingshouldbe carriedoutmonthlybysimulating
afailureofsupply,causingthe fittingtobe energisedfrom
it’sbattery.Interruption ofthe supplyshouldbe carriedout
bythe operation ofalocalkeyswitchorotherisolation
device.Duringthisperiodall fittingsshouldbe examined
visuallytoensurethattheyarefunctioningcorrectly.Atthe
endofthe testperiodthe supplyshall be restoredandall
indicatorlampsordevicescheckedtoensurethat the normal
supplyhasbeen restored.
The duration of the simulatedfailureshallbe:-
Safetymarkings:
Eachmonth:
Isolatethe power supplyand checkthelightremains
illuminated for atleast 45 minutes. Endorsethe test
record form supplied.
Every sixmonths:
Isolatethe power supplyand checkthatthe lightis
still illuminated after1hour.Endorsethe test record
form.
Once eachyear:
Isolatethe power supplyand checkthatthe lightis
still illuminated after 3hours. Endorsethe test record
form.
Pleasekeep thisinstruction bookletandtest
record inasafeplace.Afire officer or other
authorised personmaywanttosee your record
of inspection and testing.
EXITBOXM Maintained emergency exit light 050414PA
Installation, maintenance andoperationcheckrecord
Location:
Installationdate: Installationtestduration:
Installedby:
Month
20______ 20______ 20______ 20______ 20______
Sign Date Sign Date Sign Date Sign Date Sign Date
1 Short
2 “
3 “
4 “
5 “
6 1hour
endurance
7 Short
8 “
10 “
11 “
12 3hour
endurance
Test
9 “
This manual suits for next models

1

Other Eterna Lighting Equipment manuals

Eterna PERLED20 User manual

Eterna

Eterna PERLED20 User manual

Eterna VECOMEM3 User manual

Eterna

Eterna VECOMEM3 User manual

Eterna EML3MISO User manual

Eterna

Eterna EML3MISO User manual

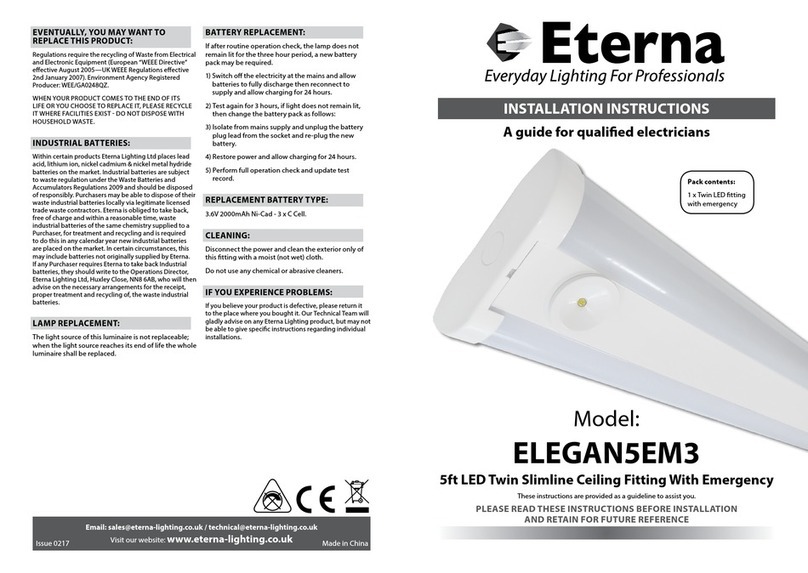
Eterna ELEGAN5EM3 User manual

Eterna

Eterna ELEGAN5EM3 User manual

Eterna SEMEM3 User manual

Eterna

Eterna SEMEM3 User manual

Eterna SEEMLED3M User manual

Eterna

Eterna SEEMLED3M User manual

Eterna D040 Setup guide

Eterna

Eterna D040 Setup guide

Eterna ML5040 User manual

Eterna

Eterna ML5040 User manual

Eterna GDL50SS Setup guide

Eterna

Eterna GDL50SS Setup guide

Eterna MSCSLEDCR User manual

Eterna

Eterna MSCSLEDCR User manual

Eterna BH60BK Setup guide

Eterna

Eterna BH60BK Setup guide

Eterna EMLED3M User manual

Eterna

Eterna EMLED3M User manual

Eterna EAC158EM3 Setup guide

Eterna

Eterna EAC158EM3 Setup guide

Eterna PLDGEM3 User manual

Eterna

Eterna PLDGEM3 User manual

Eterna SAP70MINI User manual

Eterna

Eterna SAP70MINI User manual

Eterna D087 Setup guide

Eterna

Eterna D087 Setup guide

Eterna VECOEM3M User manual

Eterna

Eterna VECOEM3M User manual

Eterna LED4WH Setup guide

Eterna

Eterna LED4WH Setup guide

Eterna TAB10PIRWH User manual

Eterna

Eterna TAB10PIRWH User manual

Eterna RDL12 User manual

Eterna

Eterna RDL12 User manual

Eterna YD630M Setup guide

Eterna

Eterna YD630M Setup guide

Eterna SELDLEM3 User manual

Eterna

Eterna SELDLEM3 User manual

Eterna SFLWW9 Setup guide

Eterna

Eterna SFLWW9 Setup guide

Eterna SQPRISMW User manual

Eterna

Eterna SQPRISMW User manual

Popular Lighting Equipment manuals by other brands

ENERGY FOCUS RedCap LEDFLT8-8 4 BBUF Series manual

ENERGY FOCUS

ENERGY FOCUS RedCap LEDFLT8-8 4 BBUF Series manual

RSA Lighting ACCURUS Housing ACT950 Specification sheet

RSA Lighting

RSA Lighting ACCURUS Housing ACT950 Specification sheet

Unex 120-124-890 operating manual

Unex

Unex 120-124-890 operating manual

DÖRR LED-12 instruction manual

DÖRR

DÖRR LED-12 instruction manual

Chauvet Colorrail IRC user manual

Chauvet

Chauvet Colorrail IRC user manual

Triogen TES18 Installation & operating instructions

Triogen

Triogen TES18 Installation & operating instructions

Rockwell Automation Allen-Bradley GuardShield 450L-B4FN YD... installation instructions

Rockwell Automation

Rockwell Automation Allen-Bradley GuardShield 450L-B4FN YD... installation instructions

Westfalia WeteLux 96 76 78 instruction manual

Westfalia

Westfalia WeteLux 96 76 78 instruction manual

Lightronics FXLE3030W owner's manual

Lightronics

Lightronics FXLE3030W owner's manual

ILP Skyline Bird Spike installation guide

ILP

ILP Skyline Bird Spike installation guide

I-VALO 6231LED installation instructions

I-VALO

I-VALO 6231LED installation instructions

Pfannenberg AB Operating and installation instruction

Pfannenberg

Pfannenberg AB Operating and installation instruction

OCEM MULTI ELECTRIC LETG instruction manual

OCEM

OCEM MULTI ELECTRIC LETG instruction manual

ADJ X-MOVE LED PLUS User instructions

ADJ

ADJ X-MOVE LED PLUS User instructions

Gloworm CX quick start guide

Gloworm

Gloworm CX quick start guide

visplay Xero Twin P/L Assembly and operating instructions

visplay

visplay Xero Twin P/L Assembly and operating instructions

AcueLighting HALO Sport 100 user manual

AcueLighting

AcueLighting HALO Sport 100 user manual

Jandy TruFit JHCBUB owner's manual

Jandy

Jandy TruFit JHCBUB owner's manual

manuals.online logo
manuals.online logoBrands
  • About & Mission
  • Contact us
  • Privacy Policy
  • Terms and Conditions

Copyright 2025 Manuals.Online. All Rights Reserved.