6
41778 REV 0 2016-06-20
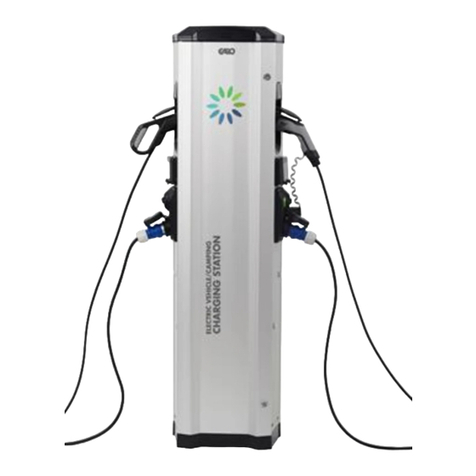
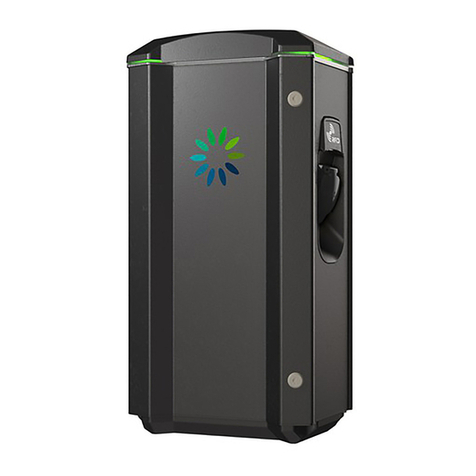
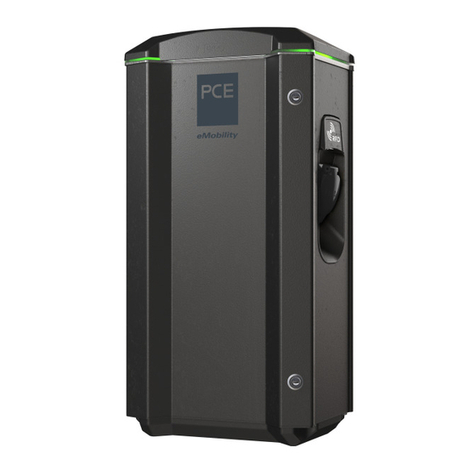
MANUAL CHARGING STATION LS4, CHARGE INDICATION
Charge indicaon
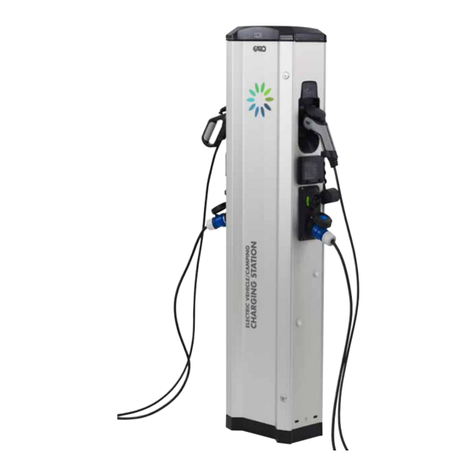
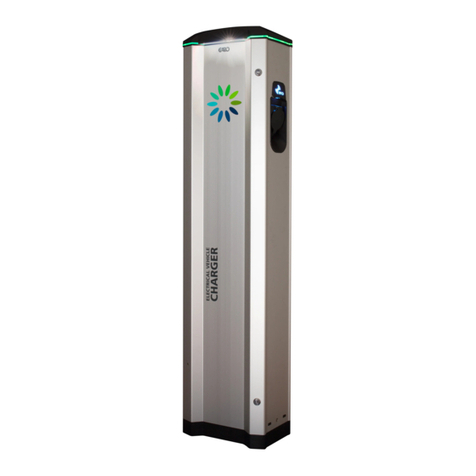
There is a lighng strip for charge indicaon at the top of the LS4
Charging Staon.
The signicance of the colours is described here.
Charging in general
Solid green light: Ready for charging
Blue solid light: Charger connected to vehicle.
RFID funcon (certain models)
1.Connect the cable to the vehicle. The green light will ash 2–
3mes.
2.Keep the RFID tag in front of the RFID symbol on the side from
which you want to charge.
3. Yellow ashing light: the post is reading the RFID tag ID
4.Blue ashes: Charging is starng.
Then solid blue light.
RFID is deacvated on delivery. For commissioning, contact
acered engineer (www.garo.se)
EV outlets are available for use unl their RFIDs are acvated.
Error codes:
Solid red light: Error. Reset earth fault breaker/Supply fuse
Solid yellow light: Reconnect the cable.
Solid white light: Outlet sockets not acvated.
Contact engineer.
No light at all: Check the control fuse to the control card or
supply fuse. If these are switched on, contact a cered
engineer. (www.garo.se)
Red ashing light: RFID not approved.
