GOVECS FLEX 2.0 User manual

USER MANUAL
2.0

3
TABLE OF CONTENTS
Basic information
Introduction.............................................................................4
Safety ......................................................................................5
Safe riding...............................................................................6
VIN ..........................................................................................7
Vehicle overview
Main components ...................................................................8
Control and steering components..........................................9
Controls
Left hand controls.................................................................10
Right hand controls ..............................................................11
Display elements ..................................................................12
App & Downloads..................................................................13
Ignition ..................................................................................14
Settings menu.......................................................................15
External components
Side stand .............................................................................17
Mirrors ..................................................................................18
Automatic steering lock & alarm ........................................19
Battery
Battery swap .........................................................................20
Charging the battery.............................................................21
Safety equipment
Lights ...................................................................................25
Tires ......................................................................................26
Brakes ...................................................................................27
Brakes fluid level ..................................................................28
User instructions
Taking care of the vehicle .....................................................29
Technical data
Maintenance schedule..........................................................30
Technical data.......................................................................32
Reporting safety defects.......................................................33
Technical inspection
Technical inspection & VIN number .....................................34
Technical inspection & Service booklet................................35
EN

45
INTRODUCTION SAFETY
Dear User of the GOVECS scooter,
We are excited that you have made the decision to purchase the
GOVECS scooter and to welcome you among the great number of
GOVECS scooter drivers.
This manual includes instructions concerning proper use,
maintenance, and care of your GOVECS FLEX 2.0. For your own
safety and optimal comfort of usage we advise you to carefully
read this manual before the first use.
Proper maintenance of the vehicle, observing all usage
instructions included in this manual and visiting GOVECS
service stations for regular inspections will ensure faultless
operation of your scooter.
Have a comfortable and safe journey!
FOR YOUR OWN SAFETY GET FAMILIAR WITH THE FOLLOWING INSTRUCTIONS
Whenever this symbol appears in the manual, it indicates a situation where not following the instructions may result in
damage to the scooter or injury to the user.
The batteries installed in GOVECS scooters, are subject to recycling according to the Directive 2006/66/EC of the
European Parliament and of the Council of 6 September 2006 on batteries and accumulators and waste batteries and
accumulators and repealing Directive 91/157/EEC. Damaged, spent and malfunctioning batteries need tobereturned to
the GOVECS service station or collection point authorised by the manufacturer.
• The vehicle is permitted to be driven on public roads in the European Union. Local regulations must be followed regarding age
restrictions, driver’s licence, etc.
• The scooter is designed to be used on hardened roads. It should not be used as an off-road vehicle.
• The battery can be charged in an ambient temperature above 0 degrees Celsius.
• Disassembly of the batteries is not permitted.
• Any repairs to the scooter should only be done by authorised service centers.
GOVECS does not take responsibility for inappropriate use of the vehicle.
• We recommend the user to read this manual carefully in order to use the vehicle in a proper and safe manner.
EN

67
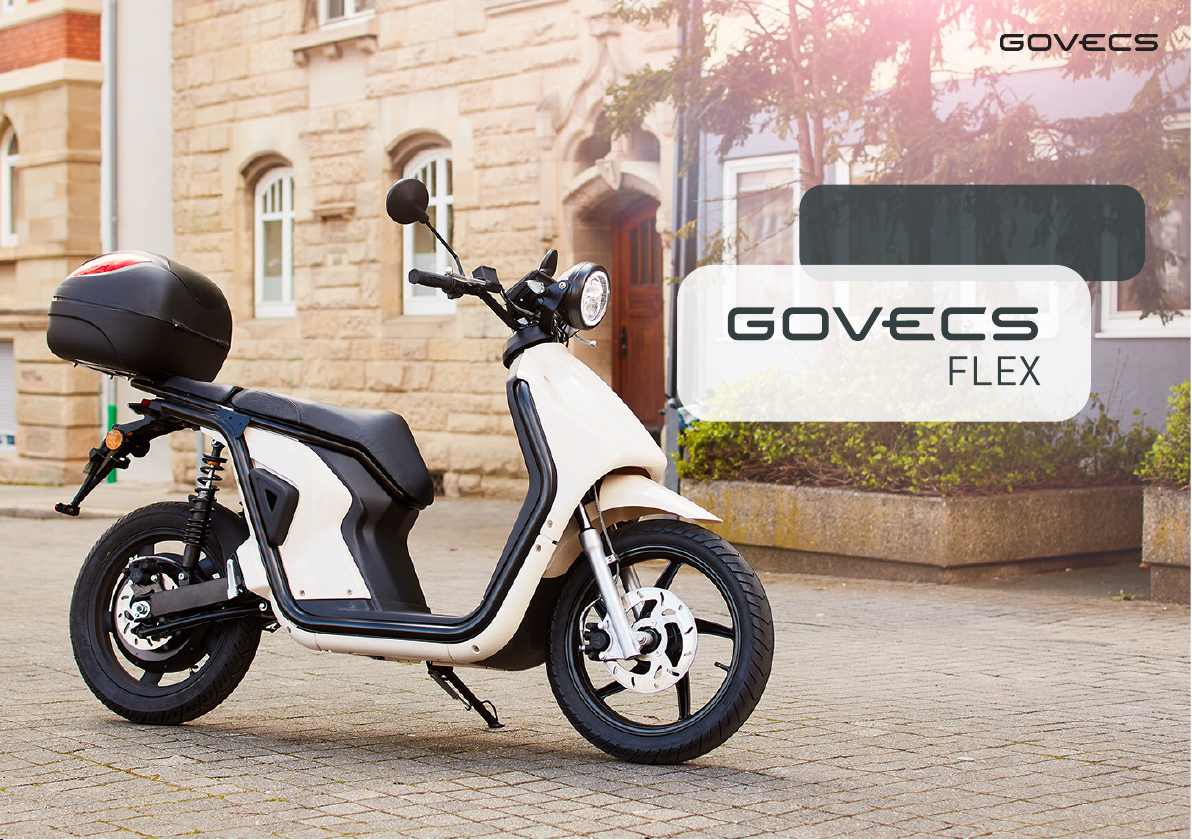
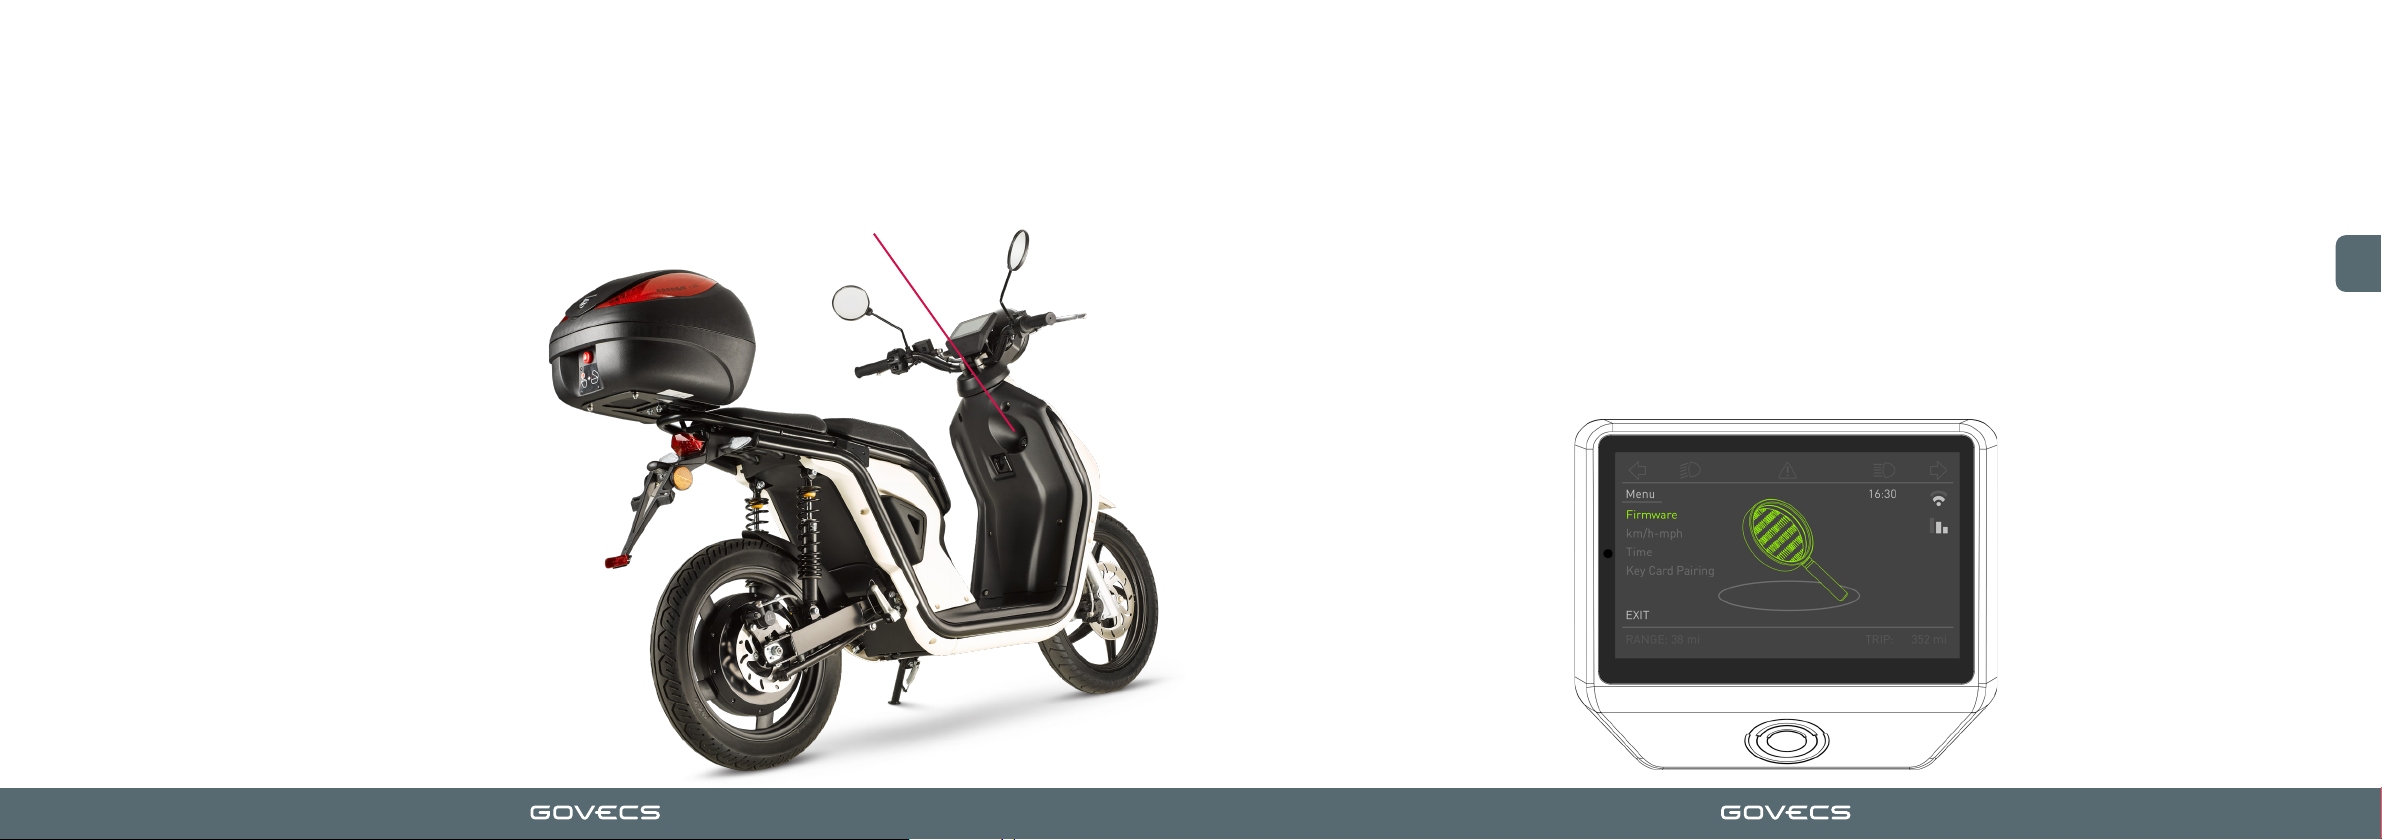
SAFE RIDING VEHICLE IDENTIFICATION NUMBER (VIN)
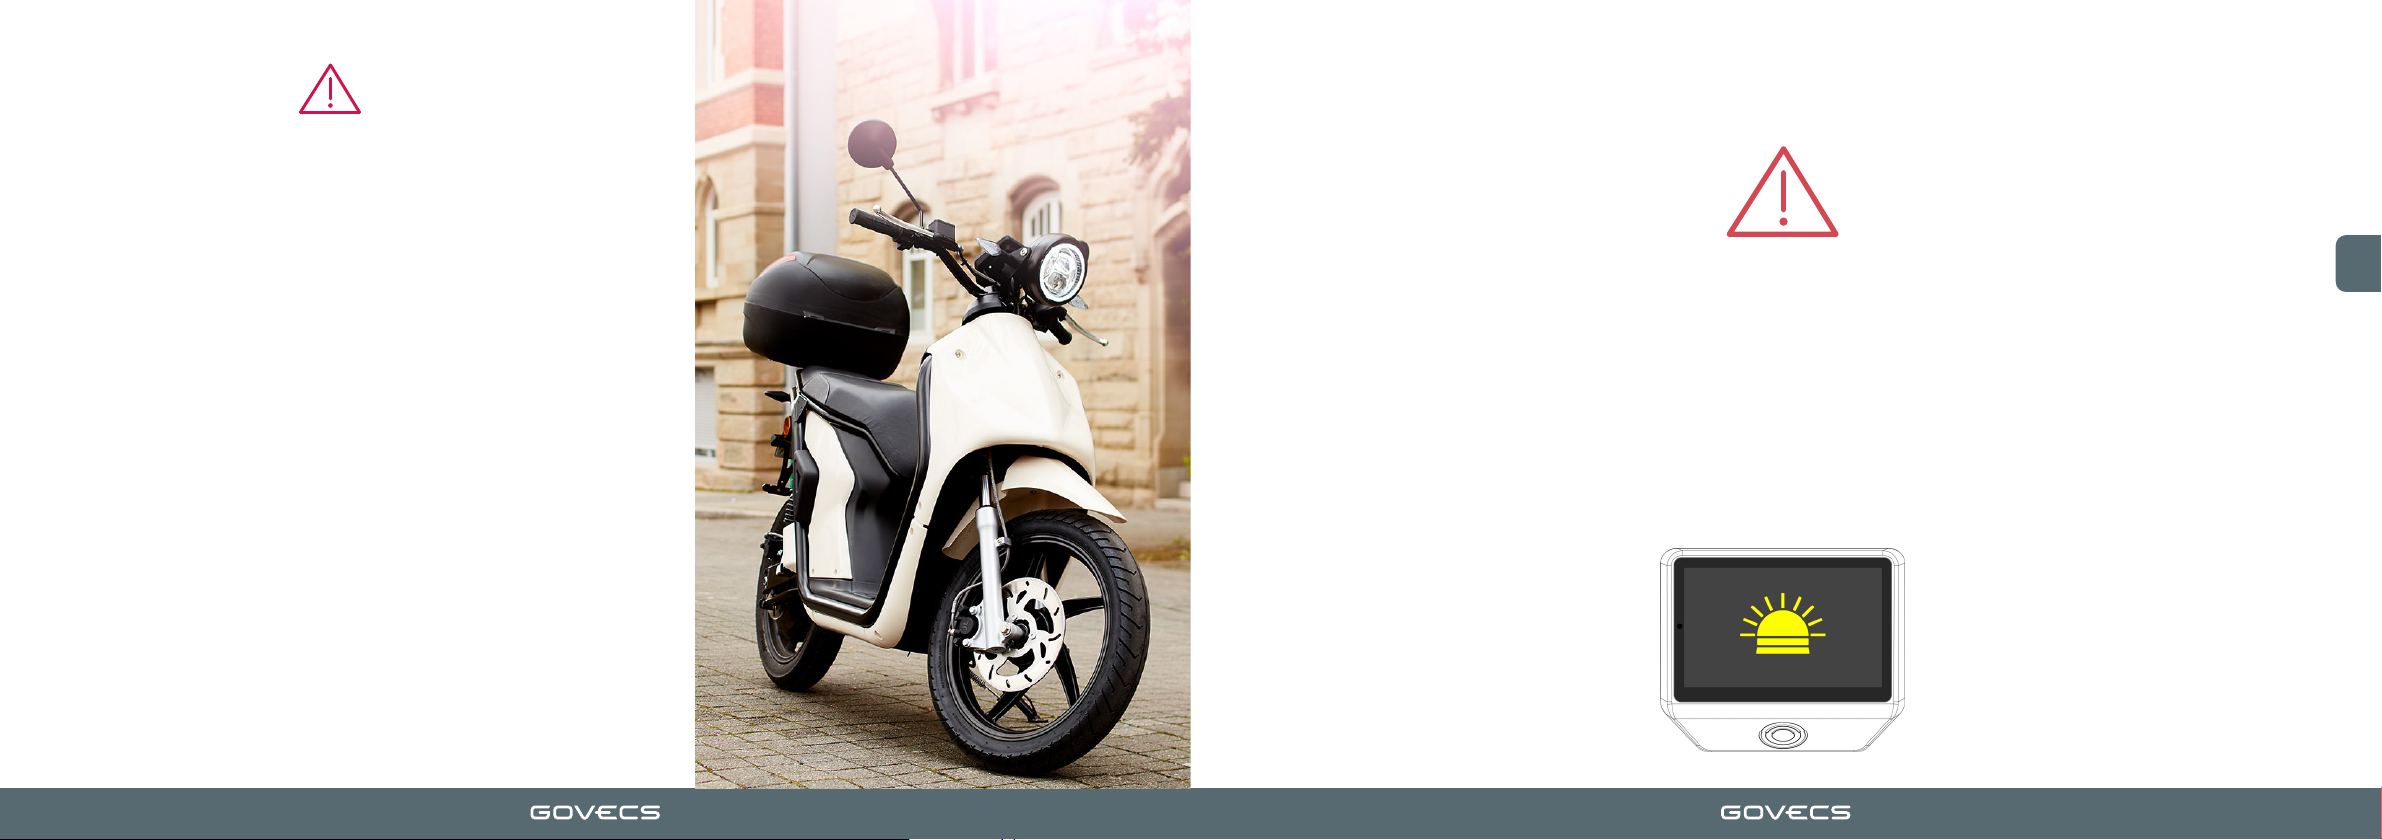
BEFORE FIRST USE
Before first use of the scooter charge the battery
to 100%!
PRERIDE ACTIVITIES
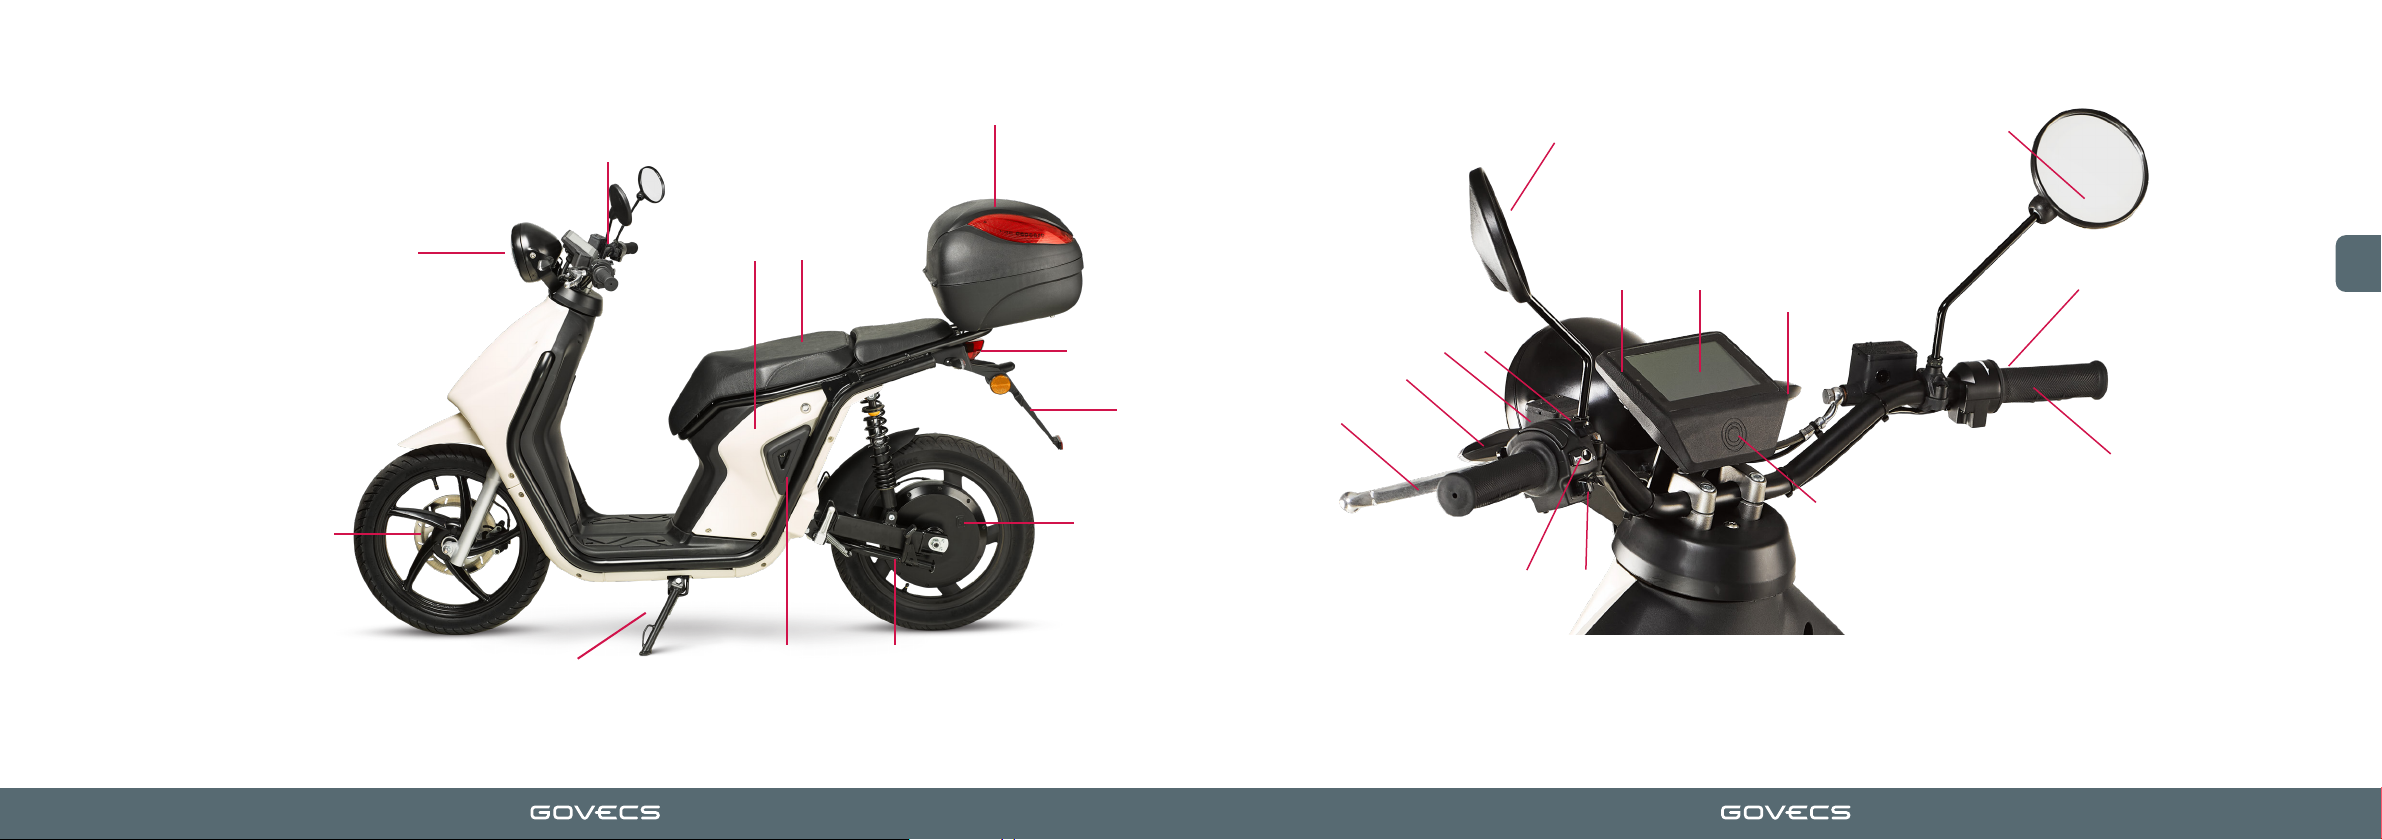
Before riding the scooter make sure that:
• The battery is unplugged from the charger and plugged
into the scooter's system.
• The battery is sufficiently charged.
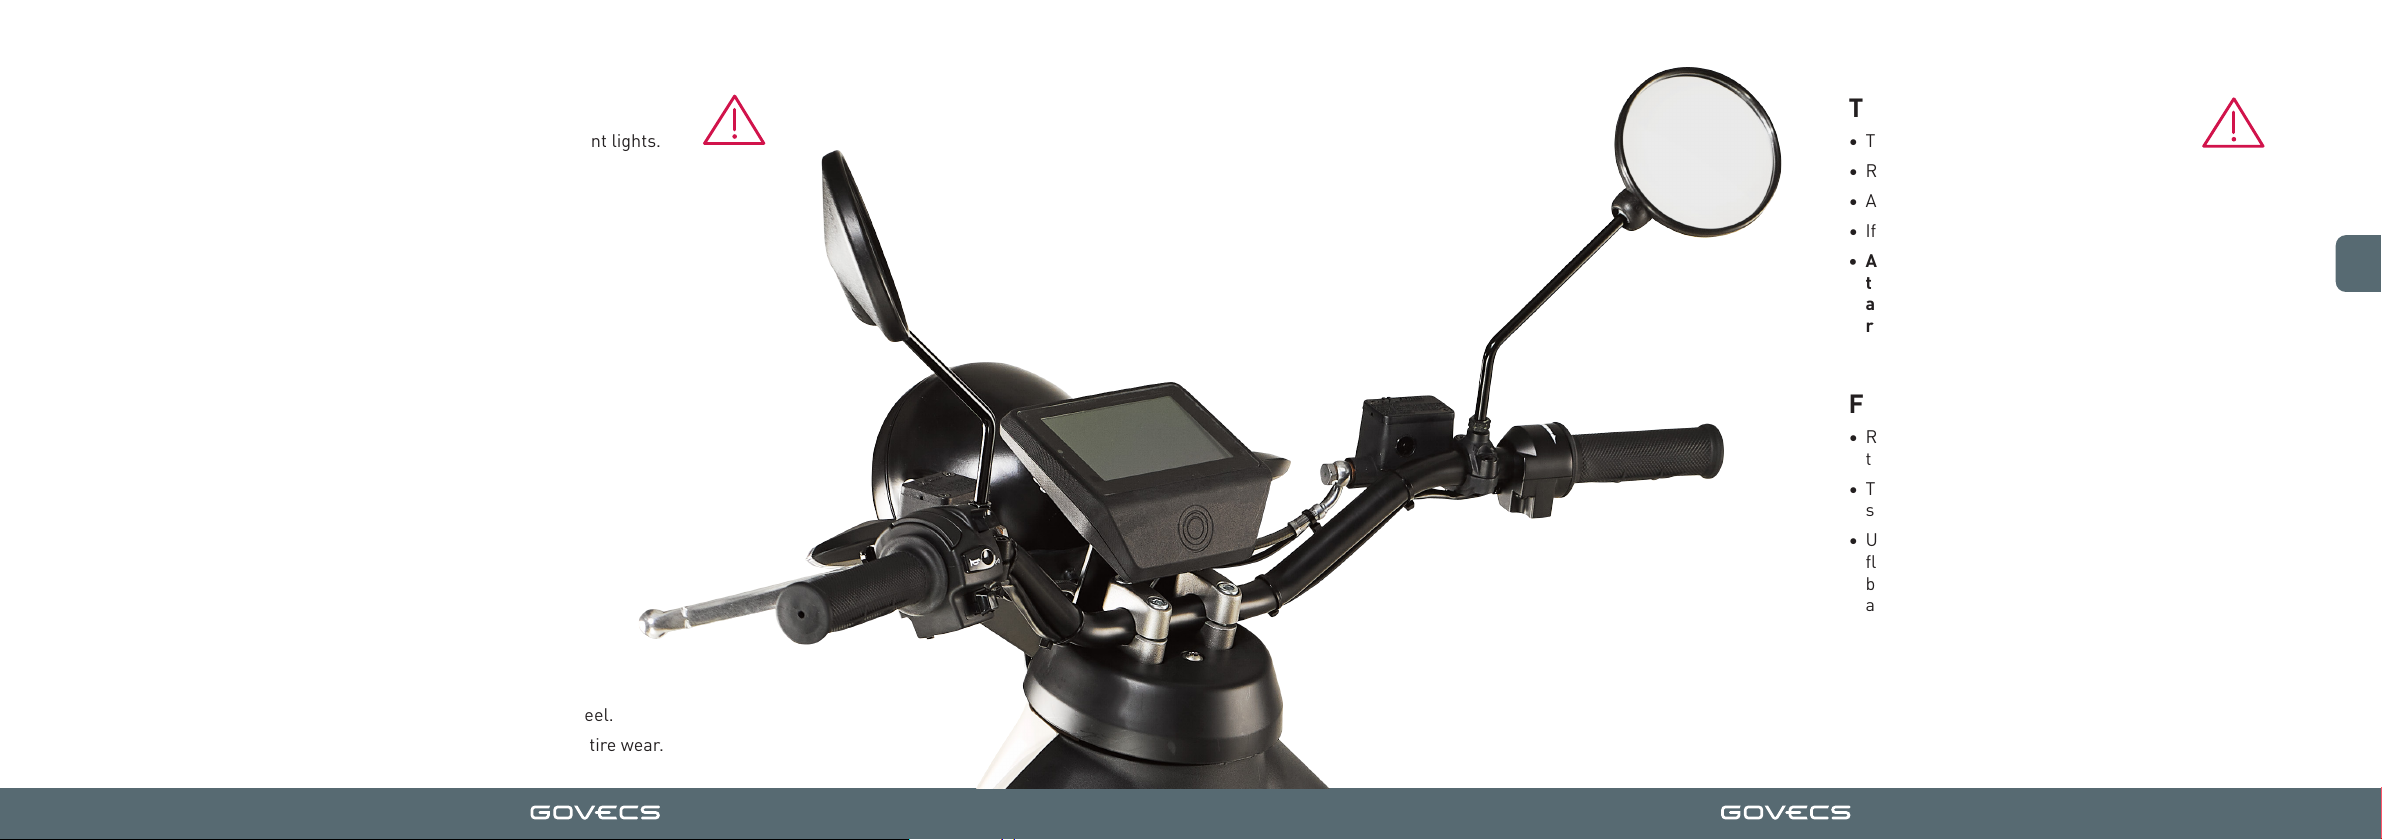
• The lights, turn signals and horn function properly.
• The mirrors are adjusted for your (driver's) convenience.
• The tires have correct air pressure and proper tread depth.
• The brakes work properly.
• The brake fluid level is correct.
• The brake pads and discs are not worn out.
• The handlebar turns fully left and right without resistance.
CLOTHING
• Always wear a homologated motorcycle helmet.
• Wear safe, tight-fitting and comfortable clothing
(optional: kidney belt).
• Wear proper boots (no high heels, flip-flops, or similar open
footgear).
RIDING TECHNIQUE
• Always follow traffic regulations.
• Hold the handlebar with both hands.
• Take special caution when riding on wet surfaces, dirt,
cobblestone, ice or snow.
• Do not use cell phones or other devices that may cause
distraction while riding.
CARGO AND PASSENGERS
• Maximum scooter weight must not exceed 275 kg
(That means maximum 2 batteries, a driver of 75 kg & cargo of
87 kg are allowed on the scooter).
• The scooter is allowed to carry 1 person (1 seat version)
or 2 people (2 seat version).
AFTER RIDING
• Check if the battery needs charging.
• Leave the scooter in a place where it is safe from theft
orvandalism and where it doesn’t block the traffic.
• Park the scooter under a roof or in a garage, where it is
safe from rain and humidity.
The Vehicle Identification Number is located on
the right side at the back of the frame.
EN

89
MAIN COMPONENTS CONTROL AND STEERING COMPONENTS
1. Headlight
2. Steering
3. Driver's seat
4. Topcase
5. Rear light
6. Number plate holder
7. Rear wheel, brake,
in-hub motor
8. Central stand
9. Crash bumper
10. Side stand
11. Front wheel
and front brake
12. Battery (inside)
1
2
3
5
6
7
8
910
11
12
4
1. Mirrors
2. Turn indicators
3. High/low beam
4. MODE switch (front side)
5. Rear brake lever
6. Horn
7. Turn indicators switch
8. Display
9. Throttle
10. Front brake lever
11. Light sensor
12. NFC sensor
1
3
2
5
67
8
9
10
1
4
11 2
12
EN

10 11
LEFT HAND CONTROLS RIGHT HAND CONTROLS
HIGH/LOW BEAM
• Press the button to switch between low and high beam for the front lights.
• Use the high beam according to traffic regulations.
• Be aware that the high beam can blind other drivers.
MODE BUTTON
• Press and hold for 3 seconds to reset the Trip meter.
• Press and hold for 6 seconds to access the settings menu.
TURN SIGNALS
• Push left or right to activate.
• Push back to deactivate.
HORN
• Use the horn according to traffic regulations.
• Be aware that continuous use will damage the horn.
REAR BRAKE LEVER
• Left hand brake lever is responsible for braking with the rear wheel.
• Avoid blocking the rear wheel when braking to prevent excessive tire wear.
THROTTLE
• Twist backwards to accelerate.
• Release to decelerate.
• Always obey traffic regulations and speed limit.
• If possible, avoid turning the throttle too rapidly.
• Avoid braking simultaneously when turning the
throttle from zero speed, since it can temporarily
activate the safety mode (error 18). If this happens,
restart the scooter without using any brake lever.
FRONT BRAKE LEVER
• Right hand brake lever is responsible for braking with
the front wheel.
• The front brake is responsible for most of the
scooter's braking power.
• Use the front brake with caution, as it can cause
flipping over the handlebar during emergency
braking and wheel skid, leading to a possible
accident.
EN

12 13
DISPLAY ELEMENTS APP & DOWNLOADS
Trip meter
Light sensor
Warning sign
Clock
High beam light
Right indicatorLeft indicator
We are working on it right now and soon you can download
the GOVECS FLEX 2.0 App for Android and iOS.
GPS signal
Coverage
Speedometer
Speedometer units
Odometer
NFC card receiver
Low beam light
Current battery level
Current range
Ready-to-go signal
Download the digital user manual here: www.govecs.com/downloads
Or scan the QR-Code:
Description of the warning
Battery count
EN

14 15
IGNITION
Turning the scooter ON
• Get near the scooter and press the Start/Stop button.
• The Start/Stop button is in red colour displayed.
• Hold the NFC card close to the NFC card receiver on the
bottom of the cockpit.
• The Start/Stop button is in blue colour displayed.
• Make sure the side stand is folded so that the "sidestand
out" warning signal is not active.
• The scooter is then ready to drive.
Turning the scooter OFF
• Drive your scooter to a safe parking position.
• Press the Start/Stop button firmly to put the scooter
system to sleep mode.
• Hold the handlebar firmly and get off the scooter.
• Unfold the side stand (or the central stand).
• Turn the handlebar all the way to the left (the scooter is
equipped with an automatic steering lock that protects
the scooter from theft).
• The Start/Stop button goes out.
USING THE NFC CARD
Start/Stop button
SETTINGS MENU
GENERAL OVERVIEW
To access the settings menu press the "Mode" button on the handlebar of the scooter continuously, until the screen changes. To
make use of it, the "Mode" button is used to navigate through the menus and the "Horn" button to enter a sub-menu and confirm a
selection.
The settings menu has 4 sub-menus, listed below:
1. Firmware: Provides information about the firmware versions.
2. Speed units: Switches between km/h and mph.
3. Time: Switches between summer time and winter time.
4. Key Card Pairing: Lets the user control the paired NFC keys with the scooter.
In the following picture the overview of the menu in the cockpit is shown:
EN

16 17
SIDE STAND
POSITIONING THE SCOOTER ON THE SIDE/
CENTRAL STAND
• Place the scooter on an even ground and fully unfold the side
stand/ unfold the center stand by holding and pushing the
scooter rearwards.
• The scooter leans slightly to the side when resting on the stand/The
scooter rests totally vertical on the center stand.
GETTING THE SCOOTER OFF THE STAND
• Hold the handlebar firmly and fold the stand with your leg.
SIDE STAND SENSOR
• The GOVECS FLEX 2.0 is fitted with a sensor that prevents riding
the scooter when the side stand is unfolded.
• When the side stand is folded out, the message "Kickstand out"
appears on the display and the warning sign lights up.
Warning sign
A brand new Flex 2.0 scooter comes with one master key card (in dark petrol colour) and two key cards (in light petrol colour). An example
of the Key Card Pairing menu can be seen at the bottom of the page. To pair the key cards to the scooter please follow the next steps:
1. Start the scooter by pressing the Start/Stop button
2. When in the screen appears the message "Start with Keycard", put the master key card above the NFC card receiver area until you unlock
the scooter and can see the main screen
3. Press and hold the "Mode" button until the settings menu appears
4. Navigate through the menu to "Key Card Pairing". Press the "Horn" button to enter
5. Navigate to "pair new Key Card" and press the horn button to enter
6. Position the master key card in front of the NFC card receiver area, until the message "Master Key Card is identified" appears on the
screen
7. Position the new key card in front of the NFC sign, until the message "new Key Card Paired" appears on the screen. Now this key card is
paired to the scooter
8. Exit the settings menu by navigating to "Exit" and pressing the horn button, until the main screen of the cockpit is seen
NOTES:
•The sub-menu "identify Key Card" shows the serial number of the key card
when put above the NFC card receiver area.
•The sub-menu "show paired Key Cards" presents a list of the paired cards to
this scooter. To erase a paired key card, move to the desired card in the list, click
the Horn button to enter and confirm the deletion by entering the "Yes" option.
Up to nine key cards can be paired to one scooter.
SETTINGS MENU
KEY CARD PAIRING
The master key card should be used only to pair other key cards and not
for the everyday use. In case of loss of the master key card please contact
the nearest Govecs shop or hotline (see last page of this manual).
EN

18 19
MIRRORS
This scooter is originally equipped with two mirrors in order to guarantee
full rear visibility to the driver. However, they must be adjusted to the
driver’s rewuirements before each ride.
ADJUSTING THE MIRRORS
• Loosen the nut at the base of the mirror using a wrench
• Rotate the mirror until you can clearly see the area behind the
scooter
• Make sure you have a clear view of your surroundings
• Secure the mirror nuts tightly using a wrench
CARRYING LARGE LOADS
• Should you carry a large load or a big delivery box on the rear
rack, please ensure both mirrors allow you to see the area
behind you
• If needed, replace the original mirrors with longer/wider ones,
so that the load does not obstruct the rear-view
Adjust both mirrors before each ride.
Do not ride a scooter with damaged or inproperly
adjusted mirrors!
AUTOMATIC STEERING LOCK & ALARM
IMPORTANT NOTICE
This scooter is fitted with an automatic steering lock and an alarm (see image below) that prevents
the scooter from an unauthorised use.
The scooter will automatically lock the steering in its leftmost turning position after switching off.
Do not move the scooter if it has been deactivated (see “Ignition” chapter in this manual),
because it can activate the anti-theft alarm.
NEVER use the scooter if it has not been properly activated. Otherwise the alarm is activated,
making all indicators blink and showing the following state in the cockpit (see image below):
EN

20 21
BATTERY SWAP
Charge the battery to 100% before the first
use of the scooter!
Remember that in order to protect the battery from damage, the
system will start power-derating at 30% state of charge, which
might slightly decrease vehicle's performance.
REMOVING THE BATTERY
You can remove the battery for storage or off-board charging.
• Switch off the scooter (press the start/stop button to
switch it off).
• Place the scooter on an even ground and unfold the side
stand or central stand. Release the seat lock and open it.
You can use the saddle keys, the remote control central
button, or the app to do so.
• Open the saddle.
• Remove the battery using the hand strap.
INSTALLING THE BATTERY
• Put the scooter on the central stand.
• Open the saddle.
• Check that there are no objects in the connector that obstruct
the connection with the battery, and that the connectors are
free of dirt.
• Notice that the sides of the battery are different, so that it can
only be inserted in one position.
• Carefully insert the battery with its correct orientation and
press it lightly.
• Close the seat.
CHARGING THE BATTERY
GENERAL INFORMATION
• The charger is designed for indoor use only.
• Battery charging is only possible in temperatures
above 0ºC in dry conditions.
• Always charge the battery according to GOVECS
instructions.
CHARGING TIME
Charging the batteries can take up to 10 hours, depending
on the number of batteries being charged (one or two),
the state of charge of the batteries as well as the specifi-
cations of the charger used.
ONBOARD CHARGING
To charge the battery (-ies), open the seat and install the Chogori charger
to the charging socket of the battery case, by aligning the arrows in both
parts (See images below) and pushing them. Turn clockwise until a
"click" sound is heard. To remove it, turn anti-clock wise and pull.
BATTERY INFORMATION
The battery displays the state of charge information when
pressing down the button or during charging. The LED
pattern information is shown below. In case of a fault
detection, all LEDs will blink.
• Short press (t<=1s): Wakes up the
battery and show the state of charge.
Each of the 5 LEDs indicate 20% of
charge of the battery.
• Long press (t>=5s): Deactivates the
battery, only if this is done with the
battery outside the scooter. By this
procedure a reset to the battery is
performed.
During charging the batteries inside the scooter, the status of it can be
seen in the cockpit screen (Picture below left). If the charger is only
connected to the scooter, but not to the electrical socket, a message will
appear in the cockpit showing the message "Check connection" (Picture
below right).
EN

22 23
CHARGING THE BATTERY
The following points have to be followed when charging:
• The cable of the charger can be passed through the groove in
the top plastic (see bottom pictures). It is a must that the seat
is closed during charging, and the charger has to be place
outside the scooter during the whole charging process.
• The charger can be positioned in the space between the
frontal battery and the charging connector only for transpor
tation purposes (see right picture).
CHARGING THE BATTERY
OFFBOARD CHARGING
The docking station provides the possibility of charging one battery outside the scooter.
Following are the instructions to use it:
• Identify the docking station and the charger and put it next to each other.
• Approach the blue Chogori connector of the charger to the side of the docking station and
align the two white arrows, then push it. The blue ring will rotate to the left, keep pushing
until it snaps in, makes a click sound and flips back. When correctly done, the blue ring will
be locked and in an upright position (See pictures below).
• Put a battery in the docking station matching the wide side of the battery with the wide side
of the docking station, and the same for the narrow side (See pictures to the right; Narrow
side upper picture and wider side lower picture).
• Plug in the charger to an electrical socket. The charging process will start.
Once the charge process is finished you can take the battery from the docking station. Please
avoid to disconnect the blue Chogori connector when the charger is still in the electrical socket
and the battery is on the docking station.
ATTENTION: The docking station is not waterproof. Use it indoors only.
EN

24 25
CHARGING THE BATTERY
In the following table the charging logic of the LEDs is explained.
LEDs
SOC (%) 1 2 3 4 5
0-10 Blink
10-20 Blink
20-30 ON
30-40 ON Blink
40-50 ON ON
50-60 ON ON Blink
60-70 ON ON ON
70-80 ON ON ON Blink
80-90 ON ON ON ON
90-97 ON ON ON ON Blink
97-100 ON ON ON ON ON
CHARGER INFORMATION
• To do a reset to the charger, press the button in the back side of it, marked in red
in the picture to the right.
• The charger has 4 LEDs; its meaning is explained in the following lines:
• 1st and 2nd LED: light up in orange and indicate an SOC of the batteries of <80%
and >80% respectively
• 3rd LED: lights up in green and indictes SOC of 100%
• 4th LED: lights up in red and indicates missing batteries or finished charging
process
LIGHTS
The energy saving LED diodes do not need
regular maintenance.
In case of damaged LED lights, contact an authorised
service station for repairs.
The scooter is equipped with the following lights:
FRONT
• Daylight running light
• Headlight (high/low beam)
• Left/right turn signals
REAR
• LED Brake light
• LED Position light
• LED Turning lights
• Registration plate light
EN

26 27
TIRES
TIRE PRESSURE
• Front tire: 2,2 bar (220 kPa)
• Rear tire: 2,5 bar (250 kPa)
Air pressure above or below these limits may cause excessive
tire wear and tear. It will have a negative impact on road grip,
vehicle range and safety.
TIRE MAINTENANCE
Before riding, check both tires for damage and eventual air
inflation pressure losses.
Tire inflation pressure should be checked weekly and after
long periods of inactivity.
Regularly check the tread depth. Replace tires when reaching
1mm or lower tread depth.
Tires must never be repaired. In the event of tire wear, tear,
chunk or any other sort of structural or tread damage, replace
them immediately with GOVECS approved tires.
This GOVECS scooter is equipped with tubeless tires:
• Front tire: MITAS C02 2 ¾ -16 44P
• Rear tire: MITAS C09 90/90-16 48P
Never use tires with different ETRTO dimensions, lower load
index or lower speed symbol that those quoted above. Never
swap tires from front to rear and vice versa. NEVER ride
the scooter with tire pressure below 2.0 bar. It can cause
unstable manoeuvrability, lower road grip or even an accident.
BRAKES
BRAKES OPERATION
• Gently and gradually press both brake levers in order to slow down
• Braking too rapidly may cause accidents
• When the road is wet, use preferably the rear brake to avoid front wheel skid
BRAKES INSPECTION
Brake systems must be inspected on a regular basis in order to ensure its
safe operation:
• Check the brake fluid level on both brake pump reservoirs (see next page)
• Inspect the brake hoses for leaks
• Check if brake pad thickness is above 2.4 mm
• Check if brake discs thickness is above 2 mm
• Check free operation of brake levers. Adjust and lubricate when required.
The braking system is critical for the safety of the vehicle and the driver. For
personal safety, one should take good care of brake system condition. This
vehicle is fitted with two independent hydraulic disc brake systems for front
and rear wheel.
EN

28 29
BRAKES FLUID LEVEL
CHECKING THE BRAKES FLUID LEVEL
The brake fluid level must be checked before each ride. In order to do
so:
• Position the scooter in an upright position on even ground.
• Check the fluid level through the glass eye at the brake reservoir.
The brake fluid must always reach above the minimum level line.
• If the brake fluid level is below the minimum line, it indicates
wear or damage to the brake system. If so, please check the break
fluid pipes for damage.
If you notice ANY damage to the brake system,
DO NOT USE THE SCOOTER
and immediately contact the closest
authorized workshop for repairs.
TAKING CARE OF THE VEHICLE
CLEANING
Before cleaning, make sure if the scooter is turned off and discon-
nected from the charger.
• Clean the vehicle with a sponge and warm clear water
• Do not use hard sponges or brushes that may scratch the
panels, display and other delicate components.
• Clean varnished elements with dedicated cleansers only.
• Clean plastic panels with dedicated cleansers only.
• DO NOT use anti-corrosive cleansers on the brake system,
varnished parts or plastic panels.
• Avoid cleaning the scooter with any high-pressure washer,
since it may damage electrical components.
• DO NOT use any liquid product to clean the inside of the
battery storage.
• Remove the detergent with cold water and dry all surfaces.
GOVECS is not responsible for any damage resulting from the use
of pressurizing water for cleaning the vehicle.
MAINTENANCE
• Follow the recommended pre-ride check up (page 6).
• Mind the recommended maintenance schedule (page 25).
• Contact the authorised service station for maintenance.
• Do not make unauthorised modifications to the vehicle.
BATTERY LIFE
The Li-Ion battery is a crucial part of this scooter.
Li-Ion batteries have no memory effect. They can be charged
as often as desired and whatever its SOC (State Of Charge) is.
Follow these instructions for proper maintenance and long
lasting performance:
• Use only the designated charger supplied by GOVECS.
• To charge the battery, connect the charger first to the
vehicle, then to the power supply.
• After charging, always disconnect first the charger from the
power supply, then from the vehicle.
• Place the charger in a well ventilated area while charging to
avoid overheating.
• Avoid using the scooter when the battery is too low.
STORAGE
• Store the vehicle indoors where it is safe from harsh weather
conditions such as rain, snow, pollution and high humidity.
• Do not park the vehicle outdoors, in rain or in wet condi-
tions.
• IMPORTANT: For prolonged storage periods (i.e. overwinter)
we recommend leaving the battery with a state of charge of
70% and unplugging it.
• Check the state of charge every 3 months and charge the
battery to 70% if necessary. Letting the battery discharge
completely during this period may lead to irreparable
damage to the battery.
EN

30 31
MAINTENANCE SCHEDULE PRIVATE VEHICLES
The vehicle must undergo a regular inspection every 3100 miles or every 12 months (whichever comes first). The vehicle must also be
inspected after driving the first 310 miles.
Contact an authorised service centre for inspection.
Do not attempt to repair the scooter on your own.
Not following the maintenance schedule will void warranty.
Every inspection needs to be documented.
0,31 3,1 6,2 9,3 12,4 15,5 18,6 21,7 24,8 27,9 31,0 34,1 37,2
1
Lights front/rear I I I I I I I I I I I I I Check functionality
2
Light mounting IIIIIIIIIIIIICheck stability
3
Horn IIIIIIIIIIIII
Check functionality
4
Indicators left/right I I I I I I I I I I I I I Check functionality
5
Suspension (front) II I I I I I I I I I I I Check for leaks
6
Front fork bearings I I I I R I I I R I I IR
Replace bearings if damaged or every 12.000 mi
7
Brake cables IIIIIIIIIIIII
Check for leaks
8
Front fork
Check for cracks using the procedure from the Service
Manual
9
Firmware version check IIIIIIIIIIIII
Check the firmware versions using the Govecs Service
Tool
10
Front/rear brake pads Replace if damaged
11
Front/rear brake discs Replace if damaged
12
Brake fluid I I I I I I I I I I I I I Replace once a year
13
Tire thread front & rear Replace if damaged
14
Tire pressure I I I I I IIIIIIIIFront: 2.2 bar; Rear: 2.5 bar
15
Spokes and wheel IIIIIIIIIIIIICheck wheel centering, inspect for damage
16
Fenders I I I I I I I I I I I I I Check stability
17
Side stand IIIIIIIIIIIIIFull pivot, sensor working
18
Swingarm I IIIIIIIIIIIICheck stability
19
Bolts & screws IIIIIIIIIIIIICheck if all are secured, check for damage
20
Motor contoller screws IIIIIIIIIIIIITorque confirmation
21
Charger I I I I I I I I I I I I I Check functionality
22
Battery mounting I I I I I I I I I IIIICheck stability
23
Seat lock I I I I I I I I I I I I I Check functionality
24
Test ride IIIIIIIIIIIIICheck performance & functionality
NOTE:
Inspect every 3100 mi
Replace if tire thread depth is less than 1 mm
GOVECS FLEX RECOMMENDED MAINTENANCE SCHEDULE FOR B2C SCOOTERS
Comments
Mileage x 1000 mi
Items
Frequency
R- replace
Inspect every 3100 mi
Inspect & lubricate
every 3100 mi
Inspect every 3100 mi
Perform every 3100 mi
Inspect every 3100 mi
I- inspect (clean, adjust, lubricate if necessary)
Inspect every 3100 mi
Replace if the pads thickness is less than 1.8 mm
Replace if the pads thickness is less than 2.4 mm
Inspect every 3100 mi
Inspect only the first 3
maintenances
Check during the first 3 maintenance checks and during the front fork bearings exchange
Inspect every 3100 mi
MAINTENANCE SCHEDULE COMPANY VEHICLES
Contact an authorised service centre for inspection.
Do not attempt to repair the scooter on your own.
Not following the maintenance schedule will void warranty.
Every inspection needs to be documented.
The vehicle must undergo a regular inspection every 2100 miles or every 12 months (whichever comes first). The vehicle must also be
inspected after driving the first 310 miles.
0,31 2,1 4,2 6,3 8,4 10,5 12,6 14,7 16,8 18,9 21,0 23,1 25,2 27,3
1
Lights front/rear II I IIIIIIIIIIICheck functionality
2
Light mounting II I IIIIIIIIIIICheck stability
3Horn I I IIIIIIIIIIII
Check functionality
4
Indicators left/right II I IIIIIIIIIIICheck functionality
5Suspension (front) II I IIIIIIIIIIICheck for leaks
6Front fork bearings I I I I I R I I I I R I I I
Replace bearings if damaged or every 11.000 mi
7Brake cables II I IIIIIIIIIII
Check for leaks
8Front fork
Check for cracks using the procedure from the Service
Manual
9Firmware version check II I IIIIIIIIIII
Check the firmware versions using the Govecs Service
Tool
10 Front/rear brake pads Replace if damaged
11 Front/rear brake discs Replace if damaged
12 Brake fluid II I IIIIIIIIIIIReplace once a year
13 Tire thread front & rear Replace if damaged
14 Tire pressure II I IIIIIIIIIIIFront: 2.2 bar; Rear: 2.5 bar
15 Spokes and wheel II I IIIIIIIIIIICheck wheel centering, inspect for damage
16 Fenders I I IIIIIIIIIIIICheck stability
17 Side stand II I IIIIIIIIIIIFull pivot, sensor working
18 Swingarm II I IIIIIIIIIIICheck stability
19
Bolts & screws II I IIIIIIIIIIICheck if all are secured, check for damage
20 Motor contoller screws II I IIIIIIIIIIITorque confirmation
21 Charger II I IIIIIIIIIIICheck functionality
22 Battery mounting II I IIIIIIIIIIICheck stability
23
Seat lock II I IIIIIIIIIIICheck functionality
24
Test ride II I IIIIIIIIIIICheck performance & functionality
NOTE:
R- replace
Inspect only the first 3
maintenances
Inspect every 2100 mi
Check during the first 3 maintenance checks and during the front fork bearings exchange
Inspect every 2100 mi
Perform every 2100 mi
I- inspect (clean, adjust, lubricate if necessary)
Inspect every 2100 mi
Replace if the pads thickness is less than 2.4 mm
Inspect every 2100 mi
Replace if the pads thickness is less than 1.8 mm
Inspect every 2100 mi
Replace if tire thread depth is less than 1 mm
Inspect every 2100 mi
Inspect & lubricate
every 2100 mi
GOVECS FLEX RECOMMENDED MAINTENANCE SCHEDULE FOR B2B SCOOTERS
Items
Frequency
Mileage x 1000 mi
Comments
Inspect every 2100 mi
EN

32 33
TECHNICAL DATA
Model GOVECS FLEX 2.0
Vehicle class L1e-B
Top speed 28 mph
Motor type GOVECS BLDC in-hub 3 phase motor 2.3 kW
Range 1 battery: 35 mi / 2 batteries: 57 mi
Battery type GOVECS lithium-ion battery 33.5 Ah, swappable and self-release, 9.4 kg
System voltage 50.4 V
Battery charger Slide-in-charger 7 A
Full charging cycle ca. 5 hours / 1 battery // ca. 8.5 hours / 2 batteries
Display 5“ TFT-Display: Full color, high resolution, bonding screen, shock protected
Lights Full LED
Tire size & type Front: 2¾ R16 , Rear: 90/90 R16 | 16“ Tubeless from Mitas
Braking system Hydraulic disc brakes
Max. slope 15°
Passengers 1+1
Max. payload 163,5 kg (With 2 batteries) / 172,5 kg (With 1 battery)
Vehicle weight 95 kg (without batteries)
Dimensions 1942 x 830 x 1204 mm (L x W x H) I Seat height: 795 mm I Ground clearance 200 mm
Suspension Front: Hydraulic fork and spring, 80 mm stroke; Rear: Hydraulic suspension and spring, 75 mm stroke
Connectivity Full connectivity: Integrated IOT, GPS
Anti-theft Steering wheel lock, alarm protection and theft notification
EN
CONSUMER INFORMATION
SAMPLE PART 575.6, CONSUMER INFORMATION
GOVECS AG
Bavariafilmplatz 7, Geb. 3ª, 82031 Grünwald, Germany
Reporting Safety Defects
If you believe that your vehicle has a defect which could cause a crash or could cause injury or death, you should
immediately inform the National Highway Traffic Safety Administration (NHTSA) in addition to notifying GOVECS AG.
If NHTSA receives similar complaints, it may open an investigation, and if it finds that a safety defect exists in a
group of vehicles, it may order a recall and remedy campaign.
However, NHTSA cannot become involved in any individual problems between you, your dealer, or GOVECS AG.
To contact NHTSA you may either call the Auto Safety Hotline toll-free at 1-800-424-9393 (366-0123 in Washington,
DC area) or write to:
NHTSA
U.S. DEPARTMENT of TRANSPORTATION
400 7 Street SW, (NSA-11)
Washington, DC 20590
You can also obtain other information about motor vehicle safety from the Hotline.
EN

TECHNICAL INSPECTION / TECHNISCHE INSPEKTION / CONTRÔLE TECHNIQUE / TECHNISCHE INSPECTIES TECHNICAL INSPECTION / TECHNISCHE INSPEKTION / CONTRÔLE TECHNIQUE / TECHNISCHE INSPECTIES
34 35
EN
The inspections shall be carried out within a period of 60 mi before or 60 mi after the due date, but at least once a year.
DE
Die Inspektionen sind in einem Zeitraum von 60 mi vor oder 60 mi nach der Fälligkeit, mindestens aber einmal pro Jahr durchzuführen.
FR
Les inspections doivent être effectuées dans un délai de 60 mi avant ou 60 mi après la date prévue, mais au moins une fois par an.
NL
De inspecties worden uitgevoerd binnen een periode van 60 mi vóór of 60 mi na de vervaldatum, maar ten minste eenmaal per jaar.
VIN / FIN / NIV / FRAMENUMMER :________________________________________________
* There are different service intervals for private customers (every 3.100 mi) and business customers (every 2.100 mi).
Business customers are e.g. sharing companies, delivery services, etc.
Inspection *
Inspektion
Contrôle
Inspectie
Mileage
Kilometerstand
Kilométrage
Kilometerstand
Date
Datum
Date
Datum
Next Inspection
Nächste Inspektion
Contrôle suivante
Volgende inspectie
Signature
Unterschrift
Signature
Handtekening
Stamp
Stempel
Cachet
Stempel

TECHNICAL INSPECTION / TECHNISCHE INSPEKTION / CONTRÔLE TECHNIQUE / TECHNISCHE INSPECTIES TECHNICAL INSPECTION / TECHNISCHE INSPEKTION / CONTRÔLE TECHNIQUE / TECHNISCHE INSPECTIES
36 37
Inspection *
Inspektion
Contrôle
Inspectie
Mileage
Kilometerstand
Kilométrage
Kilometerstand
Date
Datum
Date
Datum
Next Inspection
Nächste Inspektion
Contrôle suivante
Volgende inspectie
Signature
Unterschrift
Signature
Handtekening
Stamp
Stempel
Cachet
Stempel
Inspection *
Inspektion
Contrôle
Inspectie
Mileage
Kilometerstand
Kilométrage
Kilometerstand
Date
Datum
Date
Datum
Next Inspection
Nächste Inspektion
Contrôle suivante
Volgende inspectie
Signature
Unterschrift
Signature
Handtekening
Stamp
Stempel
Cachet
Stempel

TECHNICAL INSPECTION / TECHNISCHE INSPEKTION / CONTRÔLE TECHNIQUE / TECHNISCHE INSPECTIES TECHNICAL INSPECTION / TECHNISCHE INSPEKTION / CONTRÔLE TECHNIQUE / TECHNISCHE INSPECTIES
38 39
Inspection *
Inspektion
Contrôle
Inspectie
Mileage
Kilometerstand
Kilométrage
Kilometerstand
Date
Datum
Date
Datum
Next Inspection
Nächste Inspektion
Contrôle suivante
Volgende inspectie
Signature
Unterschrift
Signature
Handtekening
Stamp
Stempel
Cachet
Stempel
Inspection *
Inspektion
Contrôle
Inspectie
Mileage
Kilometerstand
Kilométrage
Kilometerstand
Date
Datum
Date
Datum
Next Inspection
Nächste Inspektion
Contrôle suivante
Volgende inspectie
Signature
Unterschrift
Signature
Handtekening
Stamp
Stempel
Cachet
Stempel
Other manuals for FLEX 2.0
2
Table of contents
Other GOVECS Scooter manuals

GOVECS
GOVECS FLEX 2.0 User manual

GOVECS
GOVECS FLEX User manual

GOVECS
GOVECS ELM OTO KICK User manual

GOVECS
GOVECS FLEX 2.0 User manual

GOVECS
GOVECS E-Schwalbe 2023 User manual

GOVECS
GOVECS GO! S2.4 User manual

GOVECS
GOVECS GO! S 1.2 User manual

GOVECS
GOVECS PRO CARGO User manual

GOVECS
GOVECS Schwalbe User manual