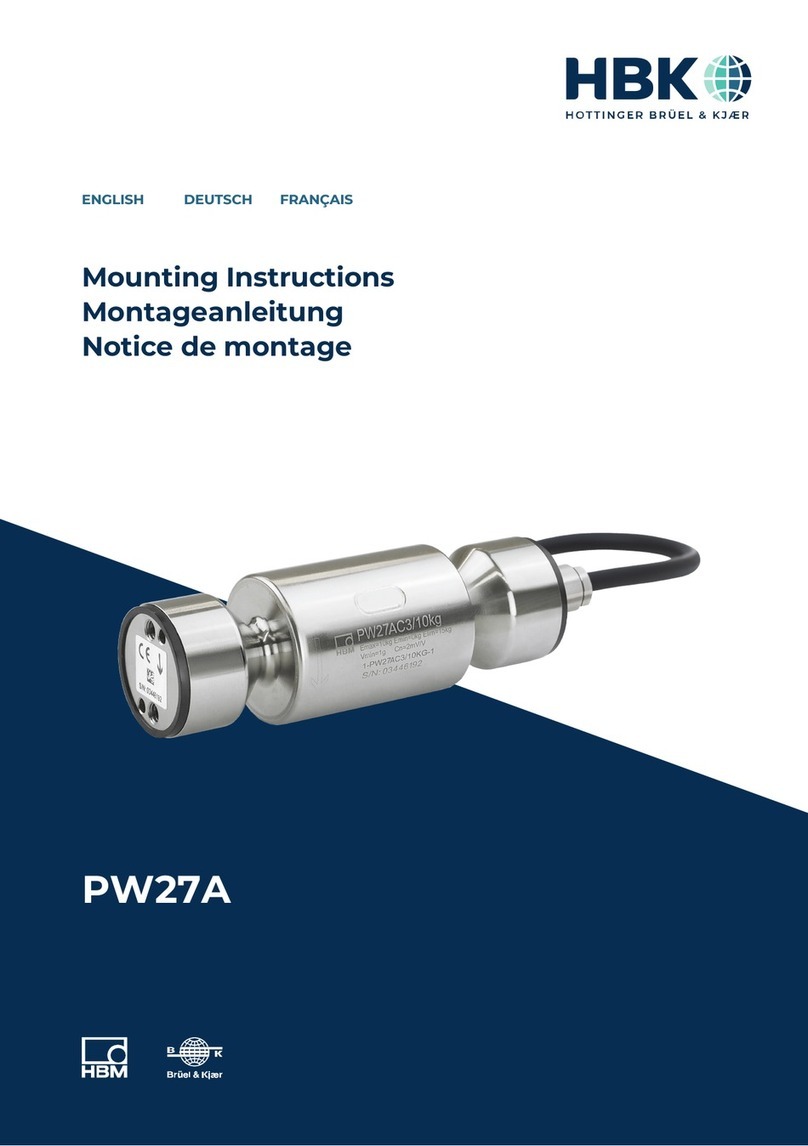
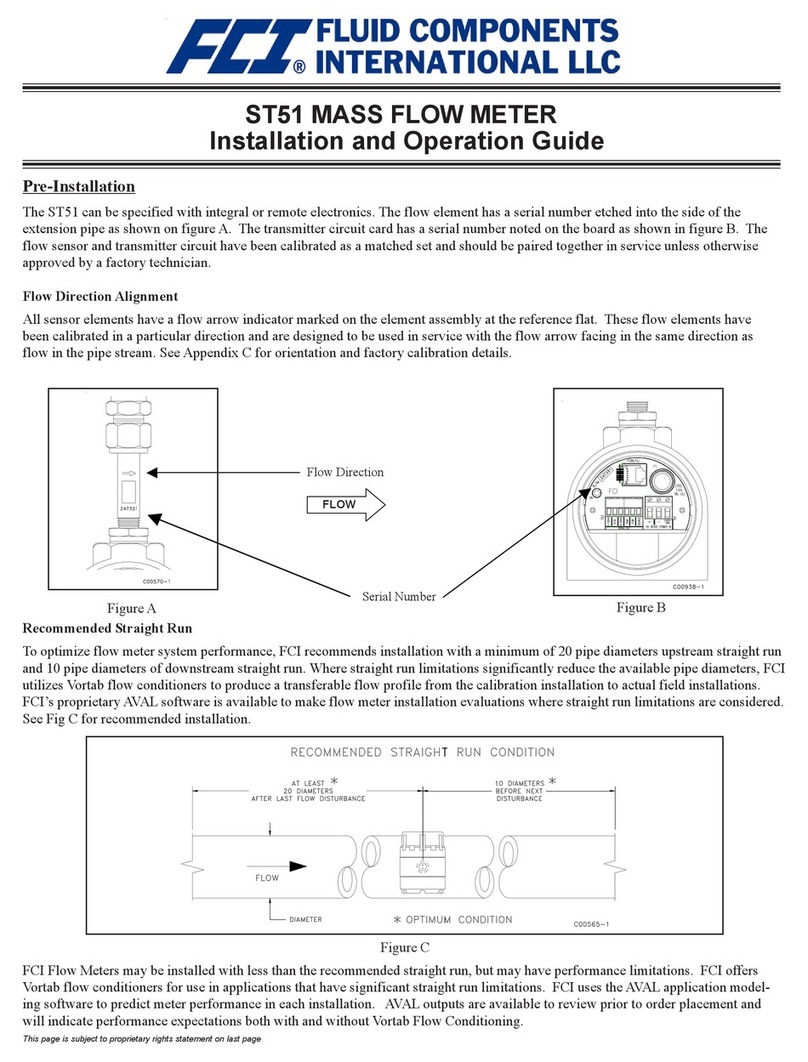
HBK HBM Bruel & Kjaer CANHEAD User manual

CANHEAD
ENGLISH DEUTSCH
Operating Manual
Bedienungsanleitung

Hottinger Brüel & Kjaer GmbH
Im Tiefen See 45
D-64293 Darmstadt
Tel. +49 6151 803-0
Fax +49 6151 803-9100
www.hbkworld.com
Mat.: 7-0102.0010
DVS: A01185 13 X00 00
12.2021
EHottinger Brüel & Kjaer GmbH
Subject to modifications.
All product descriptions are for general information
only. They are not to be understood as a guarantee of
quality or durability.
Änderungen vorbehalten.
Alle Angaben beschreiben unsere Produkte in allge
meiner Form. Sie stellen keine Beschaffenheits- oder
Haltbarkeitsgarantie dar.

CANHEAD
ENGLISH DEUTSCH
Operating Manual

CANHEAD
TABLE OF CONTENTS
2
TABLE OF CONTENTS
1 Safety instructions 4................................................
2 Markings used 7....................................................
2.1 The marking used in this document 7..................................
2.2 The markings used on the product 8...................................
3 Table of types 9....................................................
4 Field of application 10................................................
5 Bus configuration 12.................................................
5.1 Bus configuration with MGCplus 12.....................................
5.2 Device Net specifications 13...........................................
6 Configuration 14....................................................
6.1 Base module (CB1014/CB1015) 15.....................................
6.1.1 Shunt resistor 17.....................................................
6.2 Base module CB1016 20..............................................
6.3 Base module CB1010 20..............................................
6.4 Amplifier module 21..................................................
6.4.1 Removing and installing the amplifier module 22..........................
6.5 Forms of assembly 22................................................
6.5.1 Degree of protection of CANHEAD modules 24...........................
7 Connection 25.......................................................
7.1 Connecting the modules CB1014/CH1015 25............................
7.1.1 Pin assignment CB1014/1015 30.......................................
7.2 Connecting the module CB1016 31.....................................
7.2.1 Pin assignment CB1016 31............................................
7.3 Connecting the module CB1010 31.....................................
7.3.1 Pin assignment CB1010 32............................................
7.3.2 CANHEAD with TEDS (CB1010) 32......................................
7.4 Connecting CANHEAD to MGCplus 33...................................
8 Connecting to MGCplus 36............................................
8.1 How many modules are possible at what cable length? 36..................
9 Configuring with MGCplus 37..........................................
9.1 Configuration through the MGCplus Assistant software 37.................

3
CANHEAD
TABLE OF CONTENTS
10 CANHEAD enhancements 45..........................................
10.1 Enhanced data rate (with MGCplus only) 45..............................
10.2 Enhanced filters 47...................................................
10.3 Synchronous mode (ML801B) 49.......................................

CANHEAD
SAFETY INSTRUCTIONS
4
1 SAFETY INSTRUCTIONS
Appropriate use
A CANHEAD module with connected sensors or transducers is to be used exclusively for
measurement tasks and related control tasks .Use for any purpose other than the above
shall be deemed to be inappropriate.
In the interests of safety, the device should only be operated as described in the Operat
ing Manual. It is also essential to observe the appropriate legal and safety regulations for
the application concerned during use. The same applies to the use of accessories.
Each time, before starting up the equipment, you must first run a project planning and risk
analysis that takes into account all the safety aspects of automation technology. This
particularly concerns personal and machine protection.
Additional safety precautions must be taken in plants where malfunctions could cause
major damage, loss of data or even personal injury. In the event of a fault, these precau
tions establish safe operating conditions.
This can be done, for example, by mechanical interlocking, error signaling, limit value
switches, etc.
Conditions on site
SProtect the device from direct contact with water.
SProtect the CANHEAD system from humidity or effects of the weather such as rain,
snow, etc. The equipment complies with protection class IP20 per DIN EN 60 529.
Connection threads in the housing need to be locked during operation.
SDo not expose the instrument to direct sunlight.
SObserve the maximum permissible ambient temperatures given in the specifications.
SThe permissible relative humidity at 31 ºC is 80 % (non condensing); linear reduction
down to 50 % at 40 ºC.
SThe devices are classed as overvoltage category II, pollution grade 2 equipment.
SPlace the device so that it can easily be disconnected from the mains at any time.
SThe CANHEAD system can be safely operated up to a height of 2000 m
General dangers of failing to follow the safety instructions
The device is a state of the art unit and as such is reliable. The module may give rise to
dangers if it is inappropriately installed and operated by untrained personnel.
Any person instructed to carry out installation, starting up, maintenance or repair of the
module must have read and understood the Operating Manual and in particular the
technical safety instructions.

5
CANHEAD
SAFETY INSTRUCTIONS
Maintenance and cleaning
The CANHEAD system is maintenance‐free.
SBefore cleaning, disconnect the equipment completely.
SClean the housing with a soft, slightly damp (not wet!) cloth. Never use solvents, since
these could damage the labelling on the front panel and the display.
SWhen cleaning, ensure that no liquid gets into the equipment or connections.
Residual dangers
The scope of supply and performance of the CANHEAD system only covers a small area
of measurement technology. In addition, equipment planners, installers and operators
should plan, implement and respond to the safety engineering considerations of
measurement technology in such a way as to minimize remaining dangers. On-site
regulations must be complied with at all times. There must be reference to the remaining
dangers connected with measurement technology.
Safety rules
The supply connection, as well as the signal and sense leads, must be installed in such a
way that electromagnetic interference does not adversely affect device functionality
(HBM recommendation: ”Greenline shielding design”, downloadable from the Internet at
http://www.hbm.com/Greenline).
Automation equipment and devices must be covered over in such a way that adequate
protection or locking against unintentional actuation is provided (such as access checks,
password protection, etc.).
When devices are working in a network, these networks must be designed in such a way
that malfunctions in individual nodes can be detected and shut down.
Safety precautions must be taken both in terms of hardware and software, so that a line
break or other interruptions to signal transmission, such as via the bus interfaces, do not
cause undefined states or loss of data in the automation device.
Conversions and modifications
The device must not be modified from the design or safety engineering point of view
except with our express agreement. Any modification shall exclude all liability on our part
for any damage resulting therefrom.
In particular, any repair or soldering work on motherboards is prohibited. When exchang
ing complete modules, use only original parts from HBM.
The product is delivered from the factory with a fixed hardware and software configura
tion. Changes can only be made within the possibilities documented in the manuals.

CANHEAD
SAFETY INSTRUCTIONS
6
Qualified personnel
Qualified persons means persons entrusted with the installation, fitting, commissioning
and operation of the product who possess the appropriate qualifications for their func
tion.
This device is only to be installed and used by qualified personnel, strictly in accordance
with the specifications and the safety rules and regulations.
This includes people who meet at least one of the three following requirements:
SKnowledge of the safety concepts of automation technology is a requirement and as
project personnel, you must be familiar with these concepts.
SAs automation plant operating personnel, you have been instructed how to handle the
machinery and are familiar with the operation of the equipment and technologies
described in this documentation.
SAs commissioning engineers or service engineers, you have successfully completed
the training to qualify you to repair the automation systems. You are also authorized
to activate, to ground and label circuits and equipment in accordance with safety engi
neering standards.
Maintenance and repair work on an open device with the power on must only be carried
out by trained personnel who are aware of the dangers involved.
It is also essential to comply with the legal and safety requirements for the application
concerned during use. The same applies to the use of accessories.

7
CANHEAD
MARKINGS USED
2 MARKINGS USED
2.1 The marking used in this document
Important instructions for your safety are specifically identified. It is essential to follow
these instructions in order to prevent accidents and damage to property.
Symbol Significance
WARNING This marking warns of a potentially dangerous situ
ation in which failure to comply with safety require
ments can result in death or serious physical injury.
CAUTION This marking warns of a potentially dangerous
situation in which failure to comply with safety
requirements can result in slight or moderate physical
injury.
NOTICE This marking draws your attention to a situation in
which failure to comply with safety requirements can
lead to damage to property.
Important
This marking draws your attention to important in
formation about the product or about handling the
product.
Tip
This marking indicates application tips or other
information that is useful to you.
Information
This marking draws your attention to information
about the product or about handling the product.
Emphasis
See …
Italics are used to emphasize and highlight text and
identify references to sections, diagrams, or external
documents and files.

CANHEAD
MARKINGS USED
8
2.2 The markings used on the product
CE mark
The CE mark enables the manufacturer to guarantee that the
product complies with the requirements of the relevant EC direc
tives (the declaration of conformity is available at
http://www.hbm.com/HBMdoc
).
Statutory marking requirements for waste disposal
National and local regulations regarding the protection of the
environment and recycling of raw materials require old equip
ment to be separated from regular domestic waste for disposal.
For more detailed information on disposal, please contact the
local authorities or the dealer from whom you purchased the
product.

9
CANHEAD
TABLE OF TYPES
3 TABLE OF TYPES
SAmplifier module 1‐CA1030
SBase modules:
Completion
resistor
(W)
Quarter bridge
/ 3‐wire
Quarter bridge
4‐wire
Quarter bridge
4‐wire
Half and full
bridges, DC volt
age sources
Terminal connector RJ45 connector
- - - - CB1010
120 CB1014‐120 CB1015‐120 CB1016‐120 -
350 CB1014‐350 CB1015‐350 CB1016‐350 -
Scope of supply
SBase or amplifier module
SMounting instructions
SWith CB1014 and CB1015: 11 cable bushings each Ø5.2 mm and 7.5 mm
Accessories (not included in scope of supply)
SConnection cable (2 m) 1‐KAB267‐2
(Devicenet cable, with integral connectors for setting up a CAN line)
SCAN termination resistor 1‐CANHEAD‐TERM
SMale and female connectors M12 1‐CANHEAD‐M12
ST‐connector 1‐CANHEAD‐M12‐T
SMounting set 1‐CANHEAD‐MOUNT
SCable by the meter 4‐3301.0180
(Thin Media cable)
SAdapter cable 1‐KAB417
Associated MGCplus components (MGCplus required):
S1‐ML74B
S1‐AP74
SSystem CD ”MGC with ML74 documentation”

CANHEAD
FIELD OF APPLICATION
10
4 FIELD OF APPLICATION
The CANHEAD system is 10‐channel measurement electronics for quarter‐bridge,
half‐bridge, and full‐bridge strain gages, DC voltage sources and strain gage‐based trans
ducers.
The special feature of HBM's CANHEAD concept is the separate assembly of the base
module and the plug‐in amplifier module.
SBase module
Sfor wiring the SG or transducer connection cables
Base modules for SG‐quarterbridges (CB1014, CB1015) are available for all the standard
SG resistance values (120, 350, 700, 1000 Ω).
SAmplifier module
SFor implementing highly‐sensitive and precise measurements
So when installing the strain gages ‐ for example, in experimental stress analysis ‐ the
base module (with all the wiring) is connected to the strain gages first. This allows the
the amplifier module to be used for other measuring tests until its ultimate involvement.
It is also possible to remove the amplifier module without the intelligent base module
losing the measuring point specific data that has been saved.
Amplifier
module
Amplifier
module
Amplifier
module
Base
module
CAN bus and power supply
CANHEAD amplifier modules for single
strain gages or transducers
MGCplus
ML74B amplifier /
AP74 connection
board
Ethernet
up to
12 CANHEADs
per bus line
max. 250 m in 250 kBaud mode; max. 100 m in 500 kBaud mode (details see data sheet)
10 channels per module; with CB1014/15, one
additional channel for temperature compensation
Base
module
Base
module
Fig. 4.1 Block diagram of the overall system with MGCplus

11
CANHEAD
FIELD OF APPLICATION
Notice
Avoid electrostatic discharge! Ensure that any person or object is electrostatically dis
charged by touching a grounded object, before touching the CANHEAD module during mea
surement. Non‐observance may result in invalid measured values being supplied for up to
200 ms.

CANHEAD
BUS CONFIGURATION
12
5 BUS CONFIGURATION
With a bus system, intelligent measurement electronics are interconnected or connected
to the central evaluator and server / PC by a data line.
A CAN bus with a fixed baud rate has been chosen for the transfer of data generated in
the base module and in the amplifier module. This gives the optimum ratio between man
agement data, parameterization data and process data (measured values) with at the
same time faster data transfer rates and greater bus lengths.
The bus allows cyclic and acyclic data to be transferred. This ensures that the synchro
nized AD converter operating in parallel can process in real time. A HBM specific CAN
protocol is used for data transport of up to 12 CANHEADs in one bus line.
5.1 Bus configuration with MGCplus
The master here is the ML74B communications module, to read the data into an MGCplus
system. In conjunction with catman measurement software, this provides a tried and
tested plug‐and‐play solution.
MGCplus
ML74B / AP741))
Termination
resistor
CAN bus linear structure with trunk and drop lines
10
channels
10 channels
max. 12 CANHEAD modules
T‐conn.
no termination
resistor required
10
channels
10
channels
Fig. 5.1 Connection to MGCplus
1) The AP74 connection board in the MGCplus provides an built‐in termination resistor.
The T‐connector 1‐CANHEAD‐M12‐T is used if a drop line is to be established.
Notice
It is preferable to install CAN bus as a line bus. Only use the T‐connector on the input side.

13
CANHEAD
BUS CONFIGURATION
Maximum configuration
per ML74B max. 12 CANHEADs, corresponding to 120 measuring points
Per
MGCplus system 250 e.g. 500 measuring points1)
1) The maximum number of 256 channels per MGCplus system must not be exceeded. The number of
channels may be distributed among several ML74B. The maximum number of channels per CP42 and
CP52 is 256, with up to 512 channels possible if a CP52 is combined with an NT040 power supply.
5.2 Device Net specifications
More detailed specifications for Device Net (bus topology, drop lines, etc.), can be found
on the Internet site www.odva.org →Devicenet →Planning and Installation Manual
Notice
The maximum CAN bus line length must not exceed 250 m at the 250^kBaud setting and
100 m at the 500^kBaud setting, see also technical Datasheet.
A drop line must be no longer than 15 m (but if possible, drop lines should be avoided).
TR TR
Power
Supply
TR
trunk line drop lines
device or node
terminating resistor
Fig. 5.2 Line bus and drop lines (example from the DeviceNet Manual)

CANHEAD
CONFIGURATION
14
6 CONFIGURATION
Each CANHEAD base module has 10 measurement channels. When strain gage bridges
are connected, bridge excitation occurs at a carrier frequency of 600 Hz. Thermoelectric
voltage at the contact points and dc voltage drift are therefore irrelevant. 0.5, 1.0 and 2.5
volts are available as bridge excitation voltages.
CANHEADs designed for 10 channels each have an A/D‐converter (24 bits) per channel,
so that all measurement data recording is time‐synchronized.
The soldered fuse on the right next to the amplifier module is there to protect the device.
If none of the LEDs come on (see Page 34), check this fuse for conductivity (de‐ener
gized).
If the fuse is faulty, the CANHEAD device must be sent to HBM Darmstadt.
The two LEDs correspond to the status LEDs on the back of the CANHEAD (see Fig. 7.7,
Page 34).
Locking the lid
The lid covering the base module housing is lockable; this provides mechanical protec
tion and conforms with EMC requirements.
*) Unlocking the lid:
turn in the opposite direction
Locking the lid *)
Locking the lid *)
Fig. 6.1 Locking and opening the base module

15
CANHEAD
CONFIGURATION
6.1 Base module (CB1014/CB1015)
Shielding plate
Pin assignment
Base modul 2 Sgs per terminal block
Amplifier module
Additional channel for
temperature
compensation
Fig. 6.2 Base module (CB1014) with amplifier module (CA1030)
The number and arrangement of the connection terminals gives the base modules
CB1014 (three‐wire circuit) and CB1015 (four‐wire circuit) a different appearance (see
Chapter 7).for 10 strain gage channels in a quarter bridge circuit
The pin assignment (three‐wire or four‐wire circuit) is depicted in the lid of the base mod
ule (see Fig. 6.2 and Section 7.1.1).
There is an eleventh measurement channel for temperature compensation using a com
pensating strain gage or Pt100.
Notice
When the lid of the CANHEAD is open, you can see a coding resistor on the left next to the
amplifier module. The coding resistor indicates the version of the base module (120 W, 350
W), it does not have an electrical function!

CANHEAD
CONFIGURATION
16
Coding
resistor
Fuse
Amplifier module LED Red
LED Green
Jumper ext.
/
int.
shunt
Shunt1)
1) see chapter 6.1.1
A base module is available for each strain gage nominal resistance value (120, 350 Ω).
All the measuring point specific data is stored in the base module (e.g. CAN bus ID, cali
bration values, user data).
Each module can be identified through an ID that is unique throughout the world. This ID
is permanently stored in the base module.

17
CANHEAD
CONFIGURATION
Strain gage connection
CAN bus connection
Fig. 6.3 Base module (CB1014) for strain gage and CAN bus connection
6.1.1 Shunt resistor
A shunt resistor (1 mV/V) is incorporated in all the CANHEAD base modules for single
strain gages in a quarter bridge circuit (CB1014, CB1015 and CB1016). Use a jumper set
ting to decide whether this internal shunt resistor or an external one, for example a preci
sion resistor with certification, is to be used.
By using the following formula
Sthe requisite shunt for a required misalignment can be determined, or
Sthe misalignment for a given shunt can be determined
Misalignment by means of an internal shunt resistor
v = misalignment V0/Vsin [V/V]
Re= value of the supplementary resistor

CANHEAD
CONFIGURATION
18
Rs= value of the shunt resistor
Given: Re, RsWanted: v
R' = (Re* Rs) / (Re+ Rs) Example: Re= 350 Ω, Rs= 87325 Ω
v = -0.5 * (Re- R') / (Re+ R') v = -0.001 V/V = 1.000 mV/V
Given: Re, v Wanted: Rs
R' = Re* ( ( 0.5 + v ) / ( 0.5 - v) ) Example: Rs= 350 Ω, v = 1.000 mV/V
Rs = 1 / ( 1/R' - 1/Re)R
s= 87325 Ω= 87.325 kΩ
Measurement errors caused by the effect of the cable resistor in the unregulated
three‐wire circuit (CB1014) can be corrected by proper use of the shunt calibration.
Loss of sensitivity = Re/ (Re+ Rcab) Correction by the shunt
calibration in conjunction with
the CANHEAD correction
function (see Chapter 9.1).
Offset error = 1/2 (Rcab / Re) Correction by the CANHEAD
zeroing function
Notice
To enable the CANHEAD correction function to determine the proper correction factor, the
value of the actual shunt resistor being used must be entered in the CANHEAD (the value
of the internal shunt resistor is entered at the factory). See Chapter 9.1, ”Configuration with
the MGCplus Assistant”
This manual suits for next models
4
Table of contents
Languages:
Other HBK Measuring Instrument manuals
Popular Measuring Instrument manuals by other brands
GANN
GANN Hydromette RTU 600 operating manual
MARTINDALE
MARTINDALE FD500 instructions
Elesa
Elesa MPI-R10 operating instructions
Endress+Hauser
Endress+Hauser Proline Prowirl R 200 operating instructions

Associated Research
Associated Research MEG CHEK 2100 owner's manual

Britpart
Britpart DA4512 instruction manual
