manuals.online logo
Brands
  1. Home
  2. •
  3. Brands
  4. •
  5. Helvex
  6. •
  7. Bathroom Fixture
  8. •
  9. Helvex VPH-1 User manual

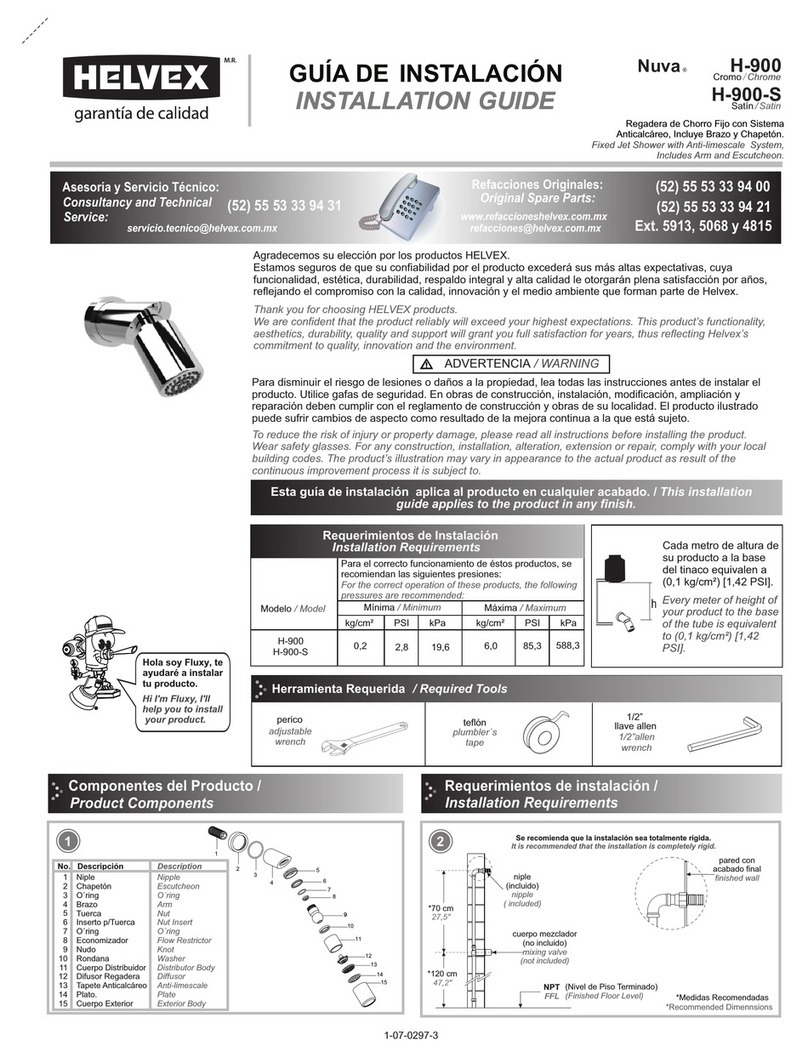
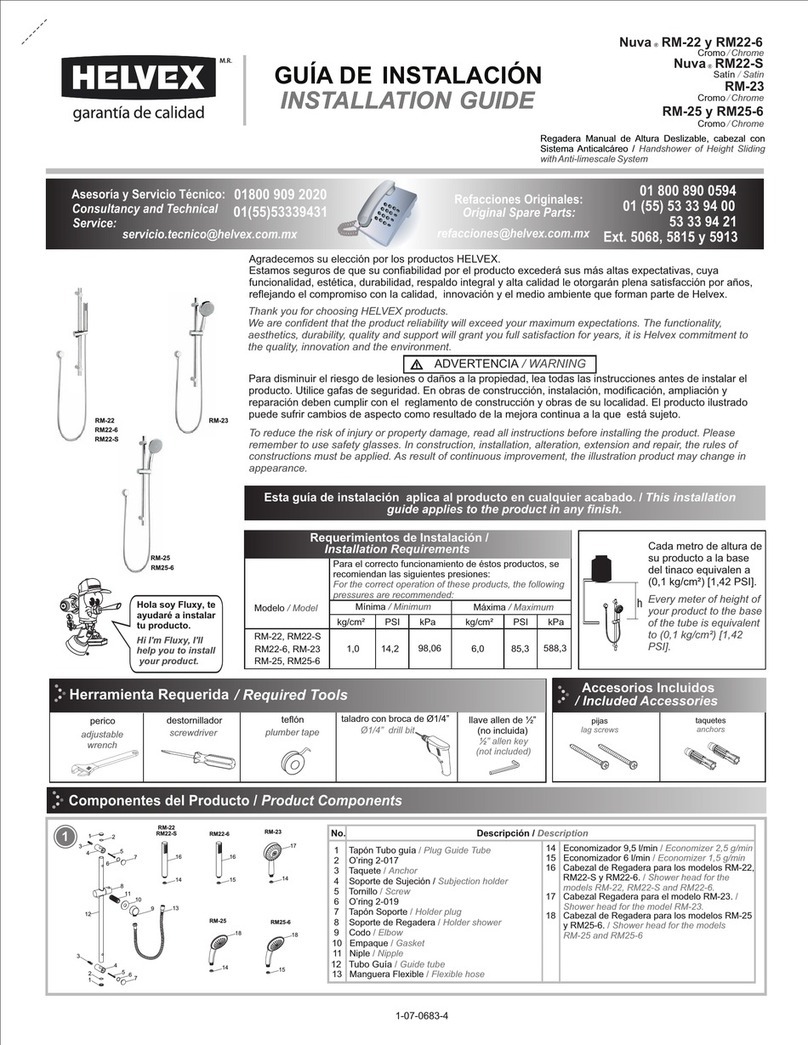
Helvex VPH-1 User manual

Hola soy Fluxy, te
ayudaré a instalar
tu producto.
Hi I'm Fluxy, I'll
help you to install
your product.
INSTALLATION GUIDE
GUÍA DE INSTALACIÓN
1-02-3161-1
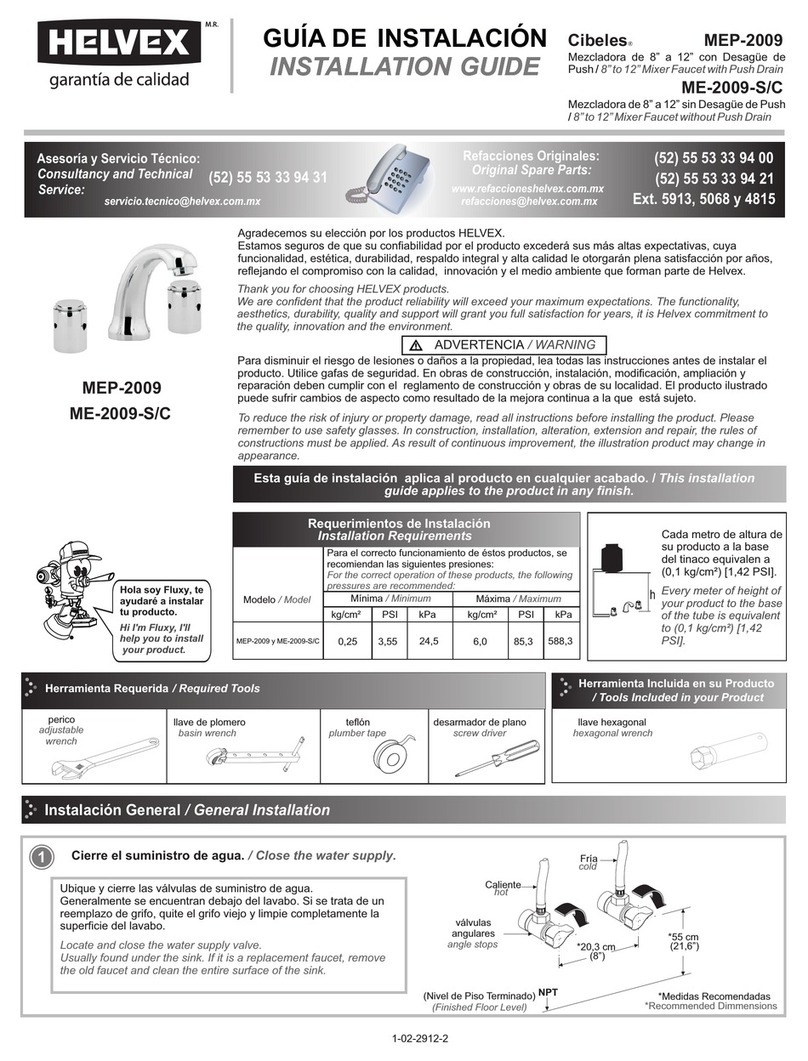
VPH-1
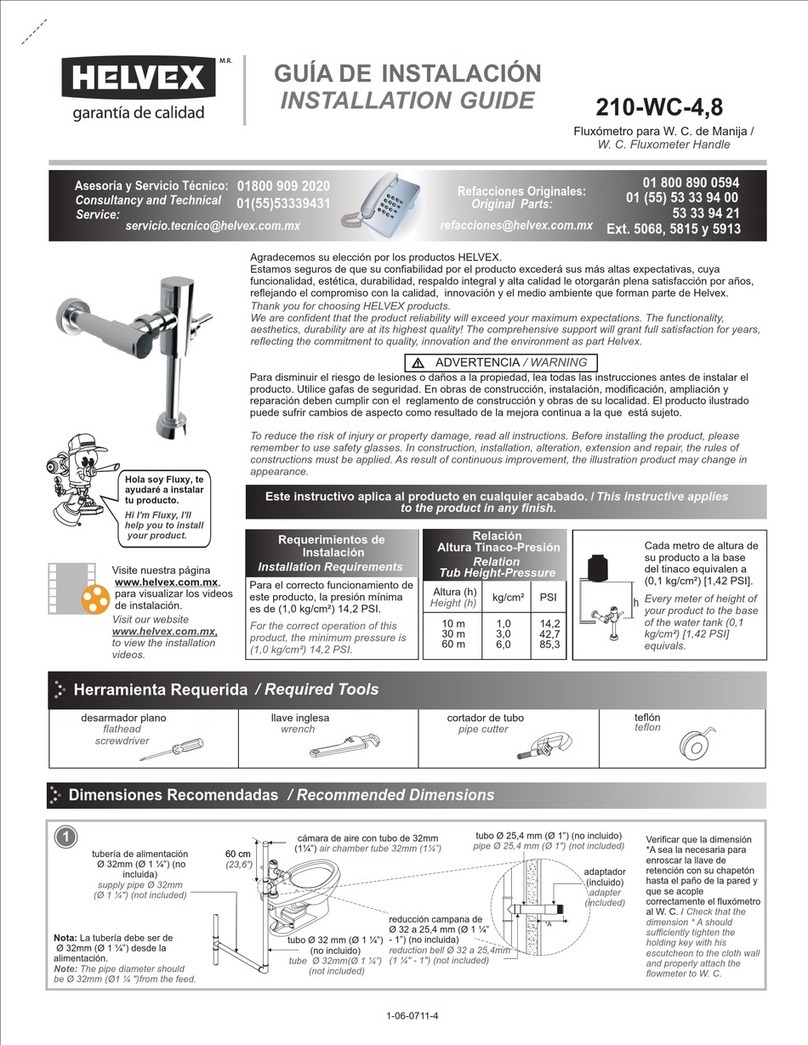
Cada metro de altura de
su producto a la base
del tinaco equivalen a
(0,1 kg/cm²) [1,42 PSI].
Every meter of height of
your product to the base
of the tube is equivalent
to (0,1 kg/cm²) [1,42
PSI].
Para disminuir el riesgo de lesiones o daños a la propiedad, lea todas las instrucciones antes de instalar el
producto. Utilice gafas de seguridad. En obras de construcción, instalación, modificación, ampliación y
reparación deben cumplir con el reglamento de construcción y obras de su localidad. El producto ilustrado
puede sufrir cambios de aspecto como resultado de la mejora continua a la que está sujeto.
Agradecemos su elección por los productos HELVEX.
Estamos seguros de que su confiabilidad por el producto excederá sus más altas expectativas, cuya
funcionalidad, estética, durabilidad, respaldo integral y alta calidad le otorgarán plena satisfacción por años,
reflejando el compromiso con la calidad, innovación y el medio ambiente que forman parte de Helvex.
To reduce the risk of injury or property damage, read all instructions before installing the product. Please
remember to use safety glasses. In construction, installation, alteration, extension and repair, the rules of
constructions must be applied. As result of continuous improvement, the illustration product may change in
appearance.
ADVERTENCIA / WARNING
Esta guía de instalación aplica al producto en cualquier acabado. / This installation
guide applies to the product in any finish.
Thank you for choosing HELVEX products.
We are confident that the product reliability will exceed your maximum expectations. The functionality,
aesthetics, durability, quality and support will grant you full satisfaction for years, it is Helvex commitment to
the quality, innovation and the environment.
Requerimientos de Instalación
Installation Requirements
0,25 3,55 24,5
Requerimientos de Instalación
Installation Requirements
Modelo / Model Mínima / Minimum Máxima / Maximum
kg/cm² PSI kPa kg/cm² PSI kPa
6,0 85,3 588,3
Para el correcto funcionamiento de éstos productos, se
recomiendan las siguientes presiones:
For the correct operation of these products, the following
pressures are recommended:
VPH-1
Llave de Hospital de Cuello de Ganso Giratorio con Pedal
Expuesto, Cromo / Rotary Goose Neck Hospital Faucet
with Exposed Pedal, Chrome
[email protected]
Original Spare Parts:
Consultancy and Technical
(52) 55 53 33 94 31
(52) 55 53 33 94 00
Refacciones Originales:
Asesoría y Servicio Técnico:
Ext. 5913, 5068 y 4815
Service:
(52) 55 53 33 94 21
[email protected]
www.refaccioneshelvex.com.mx
Medidas Recomendadas VPH-1 / VPH-1 Recommended Measures
1
(Nivel de Piso Terminado)
(Finished Floor Level)
llave hexagonal
1-1/16 hexagonal
wrench
1-1/16"
*50 cm
(19,7")
*10 cm - 15 cm
(3,93” - 5,9") *10 cm
(3,93”)
90°
VP-2
VPH-1 VP-2
Llave para Lavabo de Cuello de Ganso con Pedal
Expuesto, Cromo / Goose Neck Sink Faucet
with Exposed Pedal, Chrome
VP-2
Accesorios Incluidos
/ Included Accessories
desarmador
cross
screwdriver
Herramienta Incluida
/ Tools
Herramienta Requerida
llave inglesa teflón
/ Required Tools
wrench plumber
tape 5/64”allen
wrench
llave allen
5/64”
taladro con
broca de Ø ¼”
drill with Ø ¼
drill bit
en su Producto
Included in your Product
lápiz
pencil
desarmador
flathead
screwdriver
cruz plano
Acot. cm (pulg.) / Dim. cm (inch.)
Nota: NO hacer curvas menores a 10 cm /
Note: DO NOT make curves less than 10 cm
Nota: NO doblar resorte a menos de 90° /
Note: DO NOT bend spring less than 90 °
90°
NO sugerido
NOT suggested
llave para aireador
wrench for aerator fixing kit
kit de sujeción
2
2
78
taquete
anchor
pija
dowel
válvula
valve
botón
button
pija
dowel
taquete
anchor pedal
pedal
Inserte la salida y verifique que se
coloque el empaque. / Inssert the
output and check that the gasket.
empaque
gasket
Fije el tubo flexible con las
abrazaderas, marque, perfore, inserte
taquete y pija. / Fix the flexible tubing
with the clamps, mark, drill, insert
anchor and screw.
Inserte los taquetes incluidos y
enrosque las pijas para asegurar el
pedal y la válvula, finalmente coloque
los botónes en el pedal. / Insert the
included anchors and screw the
dowels to secure the pedal and valve,
finally place the buttons on the pedal.
3Desenrosque la tuerca y retire los
componentes por cada modelo. /
Unscrew the nut and remove the
components for each model
Instalación General / General Installation
4 5
6
tuerca
nut
separador
separator
rondana
washer
*10 cm
(3,93”)
válvula
valve
pedal
pedal
resorte
spring
abrazadera
clamp
pija
dowel
taquete
anchor
NO sugerido
NOT suggested
Instale la válvula y el pedal
considerando la profundidad respecto
al paño saliente del mueble, marque
los barrenos y perfore. / Install the
valve and the pedal considering the
depth with respect to the protruding
cloth of the furniture, mark the holes
and drill.
NO sugerido
NOT suggested
Inserte el separador y la rondana y
enrosque la tuerca para fijar la
salida./ Insert the separator and the
washer and tighten the nut to set the
faucet.
Medidas Recomendadas VP-2 / VP-2 Recommended Measures
*4 cm
(1,5")
Ø barreno 3,2 cm max.
Ø 1¼” drill max.
(Nivel de Piso Terminado)
(Finished Floor Level)
*10 cm - 15 cm
(3,93” - 5,9")
Acot. cm (pulg.) / Dim. cm (inch.)
*10 cm
(3,93”)
90°
90°
NO sugerido
NOT suggested
Nota: NO hacer curvas menores a 10 cm
/ Note: DO NOT make curves less than
10 cm
Nota: NO doblar resorte a menos de 90° /
Note: DO NOT bend spring less than 90 °
empaque
gasket
Para el modelo
For the model
VPH-1
Para el modelo
For the model
VP-2
separador
rígido
rigid separator
rondana de
acero
inoxidable
stainless steal
washer
empaque
cónico
conical
gasket
sello de
fijación
fixing seal
tuerca
nut
Para abrir el flujo de agua accione el pedal pisándolo. /
Press the foot pedal to open the water flow.
13
Operación / Operation
12 Abra el suministro de agua para empezar con la operación. /
Open the water supply to start with the operation.
14 Retire el aireador y límpielo. / Remove the aerator and clean.
Mantenimiento Aireador / Aerator Maintenance
aireador
aerator
15 Arme nuevamente. / Assembly.
aireador
aerator
3
Instalación de las Mangueras
/ Installation of Hoses
9
suministro
de agua
water
supply
Abra la llave angular para purgar. /
Open the shut off valve to purge.
Purgue la línea de
suministro de agua antes
de enroscar la manguera.
No olvide mantener el
suministro de agua
cerrado hasta terminar con
la instalacion.
/ Purge the water supply
line before screw the hose.
Do not forget to keep
closing the water supply
untill finish installation.
Enrosque la manguera (incluida) a la
salida y a la válvula del pedal. /
Screw the hose (included) to the
outlet and the pedal valve.
11
10
manguera
(no incluida)
hose (not
included)
manguera
(incluida)
hose
(included)
Enrosque la manguera (no incluida)
al conector del tubo de alimentación
y después al conector de la válvula. /
Screw the hose (not included) onto
the connector on the supply tube and
then onto the connector on the valve.
Recomendaciones de Limpieza / Cleaning Recommendations
In Guadalajara:
Contact:
Enter our free
training courses.
In Monterrey:
En la Ciudad de México:
In Mexico City:
En Monterrey:
En Guadalajara:
01 55 53 33 94 00
Ext. 5804, 5805 y 5806 (0133) 36 19 01 13
Comunícate:
Participa en nuestros
cursos gratuitos
de capacitación.
(0181) 83 33 57 67
(0181) 83 33 61 78
Es muy importante seguir las siguientes instrucciones para conservar los
acabados de los productos HELVEX, con brillo y en perfecto estado:
1. Utilice únicamente agua y un paño limpio.
2. No utilice fibras, polvos, abrasivos, ni productos químicos.
3. No utilice objetos punzo-cortantes para limpiar los acabados.
4. Se recomienda realizar la limpieza de su producto diariamente.
Visite nuestras páginas www.helvex.com.mx para México y www.helvex.com
para el mercado Internacional
It is very important to follow the instructions below to preserve HELVEX products
finishes, shiny and in perfect condition:
1. Use only water and a clean cloth.
2. Do not use fibers, powders, abrasives, or chemicals.
3. Do not use sharp objects to clean the finish.
4. It is recommended to clean your product daily.
Visit our pages www.helvex.com.mx for Mexico and www.helvex.com
for the International market.
HELVEX, S. A. DE C. V. Calzada Coltongo # 293, Col. Industrial Vallejo, Alcaldía Azcapotzalco, C. P. 02300, Ciudad de México.
Posibles Causas y Soluciones / Troubleshooting
Problema / Problem Causas / Causes Soluciones / Solutions
Existe poco flujo de agua. /
There is little water flow
Aireador obstruído / Clogged areator
La presión de opreación no es la adecuada. /
The operating pressure is not adequate.
Las válvula angular no esta totalmente abierta. /
The angle valve is not fully open.
Retire el aireador y límpielo. / Remove the aereator and clean.
Abrir totalmente la válvula angular. (Pag. 3, paso 9)
/ Fully open angle valve (page 3, step 9)
La salida está floja.
/ The faucet is loose.
La tuerca espárrago no esta apretada.
/ The shank nut is not tight.
Apriete firmemente la tuerca del espárrago (Pag. 2, paso 3).
/ Tigthen the nut of shank /Page 2, step 3).
Hay fuga en las conexiones.
/ There are leaks in the
connections.
Posiblemente no estén firmemente apretadas.
/ Possibly not tight.
Apriete firmemente la conexión (Pag. 3, paso 9 al 11) instalación de
mangueras. / Thigten the connection (page 3, step 9 to 11) Install
hoses.
Verifique que la presión mínima de operación sea la correcta (Pag. 1). /
Verify that the minimum operating preasure is correct (Page 1).
No existe flujo de agua al
accionar el pedal.
/ There is no water flow when
the pedal is operated..
El pedal no presenta tensión. /
The pedal has no tension.
ajustar hacia la condición máxima
para control de tensión de chicote
adjust to maximum condition to
control the whip cable tension
El pedal presenta sensación de sobre tensado. /
The pedal has an over-stressed feeling.
Existe flujo de agua sin
accionar el pedal.
/ There is water flow without
pressing the pedal.
ajustar hacia la condición mínima
para control de tensión de chicote
adjust to minimum condition to
control the whip cable tension

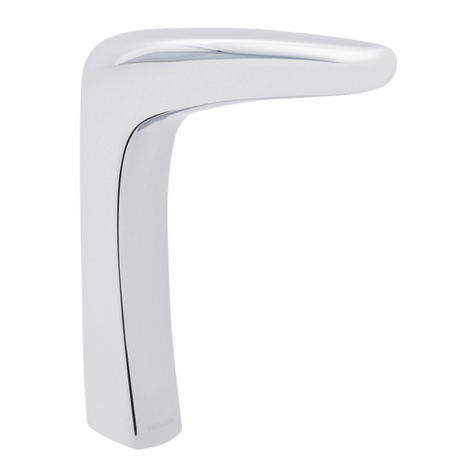
This manual suits for next models

1

Other Helvex Bathroom Fixture manuals

Helvex VCG-2 User manual

Helvex

Helvex VCG-2 User manual

Helvex UH-3300-WA User manual

Helvex

Helvex UH-3300-WA User manual

Helvex Forza TV-304 User manual

Helvex

Helvex Forza TV-304 User manual

Helvex H-106-S User manual

Helvex

Helvex H-106-S User manual

Helvex LAV MARCUS BC W User manual

Helvex

Helvex LAV MARCUS BC W User manual

Helvex UTV-203 User manual

Helvex

Helvex UTV-203 User manual

Helvex 9104 User manual

Helvex

Helvex 9104 User manual

Helvex PIURA PIU-05 User manual

Helvex

Helvex PIURA PIU-05 User manual

Helvex RM-27 User manual

Helvex

Helvex RM-27 User manual

Helvex LV CASSINI User manual

Helvex

Helvex LV CASSINI User manual

Helvex LAV MOREA1 User manual

Helvex

Helvex LAV MOREA1 User manual

Helvex Maxima 20105 User manual

Helvex

Helvex Maxima 20105 User manual

Helvex Premier II E-941 User manual

Helvex

Helvex Premier II E-941 User manual

Helvex H-3007 User manual

Helvex

Helvex H-3007 User manual

Helvex Konos 2107 User manual

Helvex

Helvex Konos 2107 User manual

Helvex Vertika MR-1001 User manual

Helvex

Helvex Vertika MR-1001 User manual

Helvex H-3010 User manual

Helvex

Helvex H-3010 User manual

Helvex PREMIER H3005-TR035-EB User manual

Helvex

Helvex PREMIER H3005-TR035-EB User manual

Helvex H-3300 User manual

Helvex

Helvex H-3300 User manual

Helvex TH-061 User manual

Helvex

Helvex TH-061 User manual

Helvex PIURA PIU-200 User manual

Helvex

Helvex PIURA PIU-200 User manual

Helvex RM-14-SD User manual

Helvex

Helvex RM-14-SD User manual

Helvex Elite MI-01-S/C User manual

Helvex

Helvex Elite MI-01-S/C User manual

Helvex UAT-1 User manual

Helvex

Helvex UAT-1 User manual

Popular Bathroom Fixture manuals by other brands

Costway NP10569 user manual

Costway

Costway NP10569 user manual

König Electronic HC-SH11 manual

König Electronic

König Electronic HC-SH11 manual

Gessi INCISO 58152 Bath Mixing Program

Gessi

Gessi INCISO 58152 Bath Mixing Program

Kohler TRESHAM K-2607X Installation and care guide

Kohler

Kohler TRESHAM K-2607X Installation and care guide

Hans Grohe Ecostat S 15715000 installation instructions

Hans Grohe

Hans Grohe Ecostat S 15715000 installation instructions

Jacuzzi The Essentials 100x80 Preinstallation, installation, maintenance

Jacuzzi

Jacuzzi The Essentials 100x80 Preinstallation, installation, maintenance

Signature Hardware MOSELY 465210 quick start guide

Signature Hardware

Signature Hardware MOSELY 465210 quick start guide

NORMBAU Cavere Care Fixing instructions and directions for use

NORMBAU

NORMBAU Cavere Care Fixing instructions and directions for use

Triton Amber 2 quick guide

Triton

Triton Amber 2 quick guide

Spectrum Brands Pfister Deckard LG42-DAP Quick installation guide

Spectrum Brands

Spectrum Brands Pfister Deckard LG42-DAP Quick installation guide

Kohler AWAKEN 76667T-E installation instructions

Kohler

Kohler AWAKEN 76667T-E installation instructions

Gerber Versa D461723 Assembly

Gerber

Gerber Versa D461723 Assembly

Gessi goccia 24976 manual

Gessi

Gessi goccia 24976 manual

Oceanic OCEAISH1750W0 user manual

Oceanic

Oceanic OCEAISH1750W0 user manual

Porcelanosa SYSTEMPOOL GALLERY USA PRE-INSTALLATION AND INSTALLATION MANUAL

Porcelanosa

Porcelanosa SYSTEMPOOL GALLERY USA PRE-INSTALLATION AND INSTALLATION MANUAL

Steinbach 049020 ORIGINAL OWNER'S MANUAL

Steinbach

Steinbach 049020 ORIGINAL OWNER'S MANUAL

Peerless Faucet P99170LF quick start guide

Peerless Faucet

Peerless Faucet P99170LF quick start guide

RAVAK SUPERNOVA AVDP 3 installation instructions

RAVAK

RAVAK SUPERNOVA AVDP 3 installation instructions

manuals.online logo
manuals.online logoBrands
  • About & Mission
  • Contact us
  • Privacy Policy
  • Terms and Conditions

Copyright 2025 Manuals.Online. All Rights Reserved.