manuals.online logo
Brands
  1. Home
  2. •
  3. Brands
  4. •
  5. Helvex
  6. •
  7. Plumbing Product
  8. •
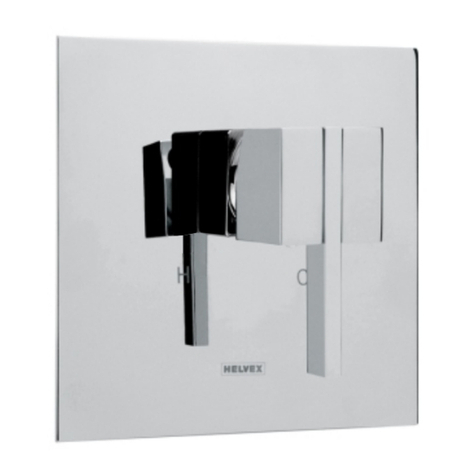
  9. Helvex MR-1005 Clásica User manual

Helvex MR-1005 Clásica User manual

1
Requerimientos de
Instalación
Para el correcto funcionamiento de
este producto, la presión mínima
es de (0,25 kg/cm²) 3,55 psi.
Relación
Altura Tinaco-Presión
2 m
3 m
4 m
PSI
Altura (h)
2,84
4,2
5,6
kg/cm²
0,2
0,3
0,4
Cada metro de altura de
su producto a la base
del tinaco equivalen a
(0,1 kg/cm²) [1,42 psi].
Hola soy Fluxy, te
ayudaré a instalar
tu producto.
Herramienta Requerida
perico
Instalación General
Mezcladora para Empotrar
/ Recessed Mixer
Installation Requirements
For the correct operation of this
product, the minimum pressure is
(0,25 kg/cm ²) 3,55 psi.
Relation
Tub Height-Pressure
Meter of height of your
product to the base of
the tub is equivalent to
(0,1 kg/cm²) [1,42 psi].
Hi I'm Fluxy, I'll
help you to install
your product.
/ Required Tools
adjustable
wrench Allen wrench 2 mm”
Height (h)
Herramienta Incluida en su Producto
/ Tools Included in your Product
llave allen 2 mm”
INSTALLATION GUIDE
GUÍA DE INSTALACIÓN
1-02-2535-2
[email protected]
Original Parts:
Consultancy and Technical
01(55)53339431
01800 909 2020 01 (55) 53 33 94 00
Refacciones Originales:
Asesoría y servicio técnico:
Ext. 5068 y 5815
Clásica
Ubique y cierre las válvulas de suministro de agua.
Locate and close the water supply.
Service:
MR-1005
*24 cm
*4,6 cm
Instalación General / General Installation
*Medidas Recomendadas
Ranure el muro con las dimensiones indicadas en las imágenes. / Slot the wall
with the dimensions shown in the images.
2
* Measures Recommended
*8,5 cm
ranura
groove
Vista Frontal
Front View
Vista Lateral
Side View
teflón
teflon
wall finish
pared con
acabado final
wall finish
profudidad
ADVERTENCIA / WARNING
Para disminuir el riesgo de lesiones o daños a la propiedad, lea todas las instrucciones antes de instalar el
producto. Utilice gafas de seguridad. En obras de construcción, instalación, modificación, ampliación y
reparación deben cumplir con el reglamento de construcción y obras de su localidad. El producto ilustrado
puede sufrir cambios de aspecto como resultado de la mejora continua a la que está sujeto.
Agradecemos su elección por los productos HELVEX.
Estamos seguros de que su confiabilidad por el producto excederá sus más altas expectativas, cuya
funcionalidad, estética, durabilidad, respaldo integral y alta calidad le otorgarán plena satisfacción por años,
reflejando el compromiso con la calidad, innovación y el medio ambiente que forman parte de Helvex.
Thank you for choosing HELVEX products.
We are confident that the product reliability will exceed your highest expectations, whose functionality,
aesthetics, durability, high quality and comprehensive support grant him full satisfaction for years, reflecting
the commitment to quality, innovation and the environment as part Helvex.
To reduce the risk of injury or property damage, read all instructions before installing the product. Use safety
glasses. In construction, installation, alteration, extension and repair must comply with the rules of
construction an your local. The illustrated product may change in appearance as a result of continuous
improvement to which it is subject.
Este instructivo aplica al producto en cualquier acabado. / This instructive applies
to the product in any finish.
2
Retire la guía de instalación. / Remove the cover cap guide
Installation.
Recorte la pestaña de la guía de instalación . / Trimming Eyebrow
installation guide with the help of a cutter (not included).
Instalación General / General Installation
3
Conecte el cuerpo con la tubería, cuidando el sentido de flujo. / Assemble the pipe body, watching the flow direction.
7
*Medidas Recomendadas
* Measures Recommended
4
cuerpo para
soldar
soldering body
guía de instalación
cover cap guide
Installation guía de instalación sin pestaña
installation guide without flange
pestaña
flange
guía de instalación con pestaña
installation guide flange
recorte
cutout
Presente en la pared ranurada y considere la profundidad, para
que el vástago quede libre como se muestra. / Present in the
slotted wall, and consider the depth to which the rod is free as
shown.
Antes de soldar retire la guía de instalación y el valvex V. /
Before welding remove the installation guide and Valvex V.
56
7,5 cm 2,6 cm
guía
de instalación
cover cap guide
Installation
wall finish
pared con
acabado final
cuerpo para
soldar
soldering body
valvex V
guia de instalación
cover cap guide
Installation
Antes de conectar, purgue
la línea de alimentación. / Prior to
connect, purge the supply line.
tubería ½”
(no incluida)
pipe ½ "
(not included)
cámara
de aire
air
chamber
agua
caliente
water
hot
salida para regadera
shower outlet
(Nivel de Piso Terminado)
(Finished Floor Level)
NPT
agua
fría
water
cold
*120 cm
*30 cm
tapón
cap
*70 cm
tubo Ø
½”
tube Ø
½”
Proceda a colocar su acabado final al nivel recomendado de la
guía de instalación. / Proceed to place final finish Recommended
installation guide level.
3
Coloque el valvex V y la guía de instalación. / Place the V
Valvex and installation guide.
10 Enrosque el casquillo chapetón a tope. / Proceed to place final
finish level of the installation guide.
Inserte el chapetón con o´ring, el separador del maneral e inserte
el maneral y sujételo enroscando el opresor con la yuda de la
llave allen de 2 mm (incluida). / Place the O-ring, escutcheon, the
separator grip, insert the handle and secure by tightening the
clamping yuda with the 2mm allen key (included).
8
Ajuste de Instalación
/ Adjustment of Installation
pared con
acabado final
wall finish
Si el nivel de pared, quedó al nivel de mínimo o máximo recomendado recorra el chapetón con o’ring, hacia el nivel de pared con acabado
final. / If the level of wall, stay to the maximum or minimum level recommended scroll escutcheon o'ring to level with wall finish.
Nivel de Instalación Min.
Installation Level Min.
Nivel Instalación Max.
Installation Level Max.
chapetón con o’ring
escutcheon with
o'ring
chapetón con o’ring
escutcheon with
o'ring
pared con
acabado final
wall finish
3,8 cm. 1,4 cm.
12
11
9
casquillo
chapetón
shell
escutcheon
cuerpo armado
armed body
chapetón
con o´ring
escutcheon
with o’ring
llave allen 2 mm
wrench allen 2 mm
opresor
oppressor
maneral
handle
separador del maneral
separator
handle
valvex V
guía
de instalación
cover cap guide
Installation
guía de
instalación
guide
installation
2,6 cm
guía de
instalación
guide
installation
pared con
acabado final
wall finish
01 55 53 33 94 00
Ext. 5804, 5805 y 5806 (0133) 36 19 01 13
Comunícate:
Participa en nuestros
cursos gratuitos
de capacitación.
Problema / Problem Causa / Cause Solución / Solution
La presión de operación no es la adecuada.
The operating pressure is not adequate.
Revise que la presión mínima de operación sea de 0,25 kg/cm².
/ Check that the minimum operating pressure is 3,55 psi.
No sale agua.
No water.
La línea de alimentación principal se encuentra cerrada.
The main power line is closed.
Abra la línea de alimentación principal de paso del agua.
Open the main power line off the water supply.
Basura obstruyendo las líneas de alimentación.
Trash obstructing power lines.
Retire los valvex y purgue la línea .
/ Valvex Remove and purge line .
Existe poco flujo de agua.
There is some water flow.
(0181) 83 33 57 67
(0181) 83 33 61 78
4
Desenrosque el opresor con la llave allen 2 mm (incluida),
retire el maneral, el separador del maneral y el chapetón con
o´ring, posteriormente desenrosque el casquillo chapetón y
retire el valvex V. / Unscrew the oppressor with the 2 mm Allen
key (provided), remove the handle, separator grip, the
escutcheon with O´ring, then unscrew the cap and remove the
escutcheon Valvex V.
In Guadalajara:
Contact:
Enter our free
training courses.
In Monterrey:
En la Ciudad de México:
In Mexico City:
En Monterrey:
En Guadalajara:
HELVEX, S. A. DE C.V. Calzada Coltongo 293, Col. Industrial Vallejo 02300 Del. Azcapotzalco, México, D.F. Tel. (55) 53-33-94-00.
Es muy importante seguir las siguientes instrucciones para conservar los
acabados de los productos HELVEX, con brillo y en perfecto estado:
1. Utilice únicamente agua y un paño limpio.
2. No utilice fibras, polvos, abrasivos, ni productos químicos.
3. No utilice objetos punzo-cortantes para limpiar los acabados.
4. Se recomienda realizar la limpieza de suproducto diariamente.
Nota: Vea nuestros tips en la pag. www.helvex.com.mx
It is very important to follow the instructions below to preserve HELVEX products
finishes, shiny and in perfect condition:
1. Use only water and a clean cloth.
2. Do not use fibers, powders, abrasives, or chemicals.
3. Do not use sharp objects to clean the finish.
4. It is recommended to clean your product daily.
Note: See our tips on: www.helvex.com.mx
Recomendaciones de Limpieza / Cleaning Recommendations
Posibles Causas y Soluciones / Possible Causes and Solutions
Mantenimiento del Valvex V / Valvex V Maintenance
Abra la línea de alimentación principal. Para abrir, cerrar y
regular la temperatura del agua, gire los manerales
respectivamente. / Open the main power line. To open, close and
adjust the water temperature, respectively, operate handles.
13 14
Instalación de las Mangueras
Operación / Operation
llave allen
2 mm”
wrench allen
2 mm”
opresor
oppressor
maneral
handle
separador del
maneral
separator
handle
valvex V
Mod. Sh-1012
casquillo
chapetón
shell
escutcheon
chapetón con o’ring
escutcheon with
o'ring

Other Helvex Plumbing Product manuals

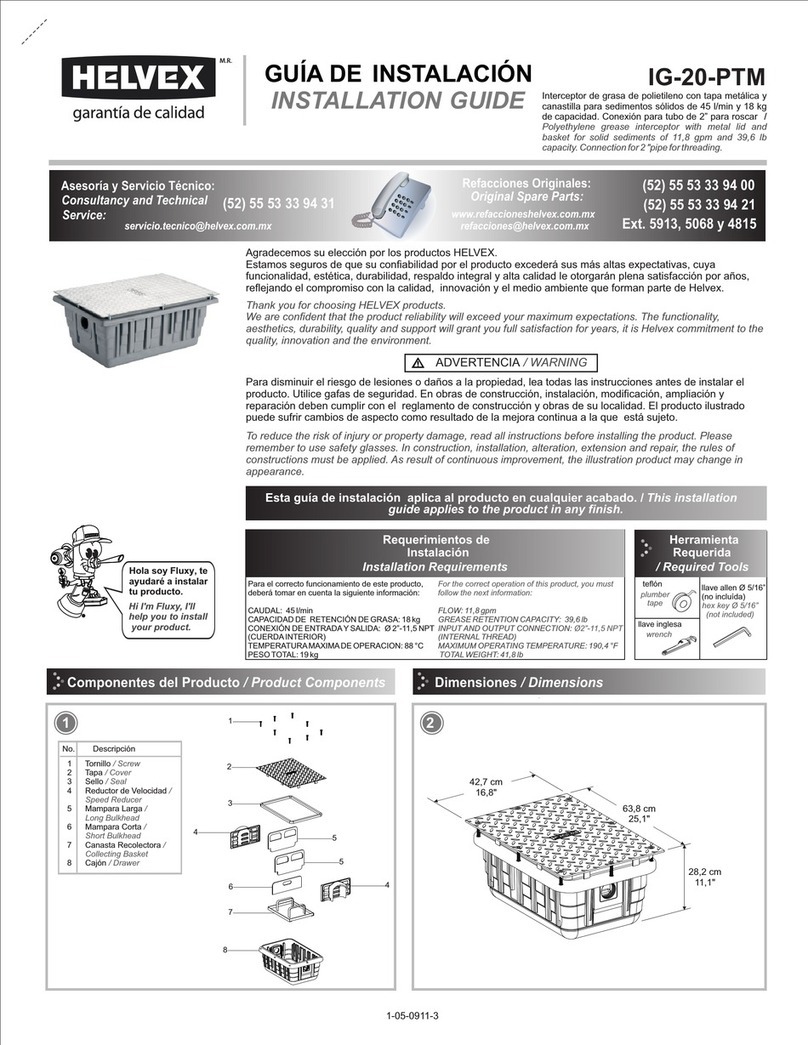
Helvex IG-20-PTM User manual

Helvex

Helvex IG-20-PTM User manual

Helvex UH-105-WOA User manual

Helvex

Helvex UH-105-WOA User manual
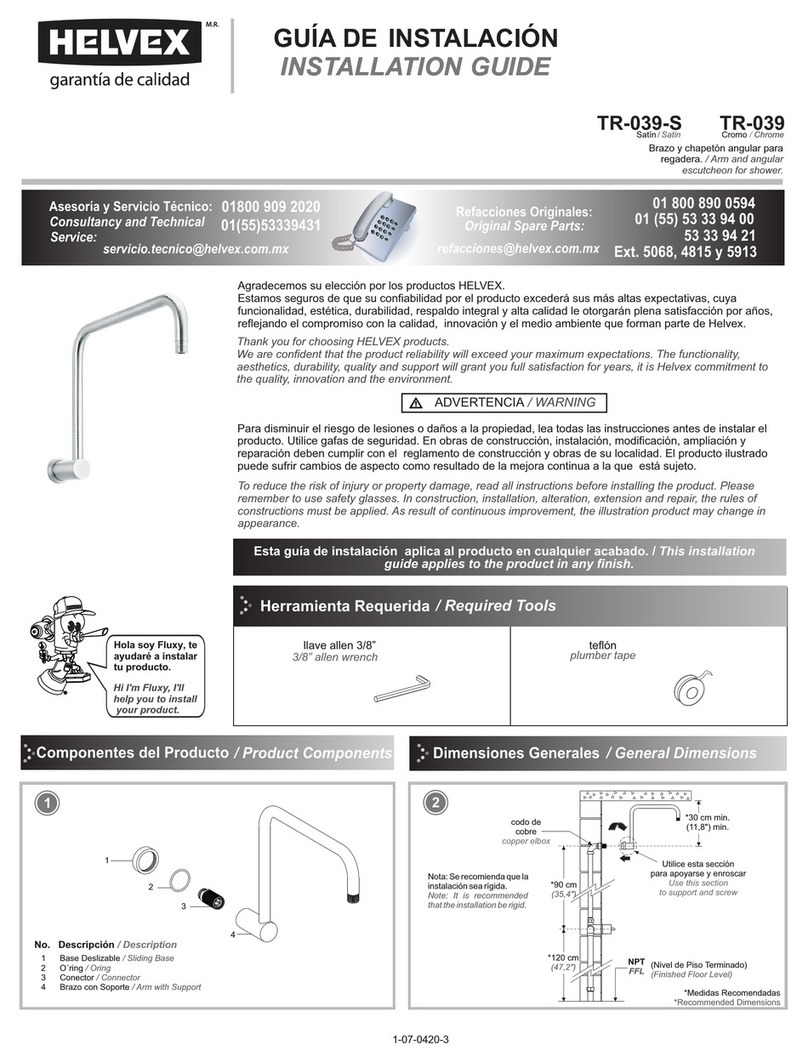
Helvex TR-039-S User manual

Helvex

Helvex TR-039-S User manual
Helvex LV FUTURA1 User manual

Helvex

Helvex LV FUTURA1 User manual
Helvex Kubica E-49 User manual

Helvex

Helvex Kubica E-49 User manual
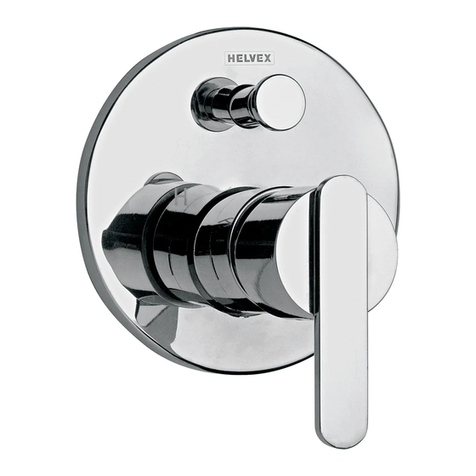
Helvex EXPLORA E-705 User manual

Helvex

Helvex EXPLORA E-705 User manual
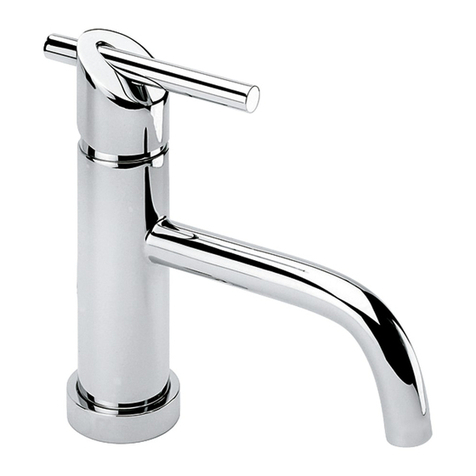
Helvex Nuva EP-99 User manual

Helvex

Helvex Nuva EP-99 User manual
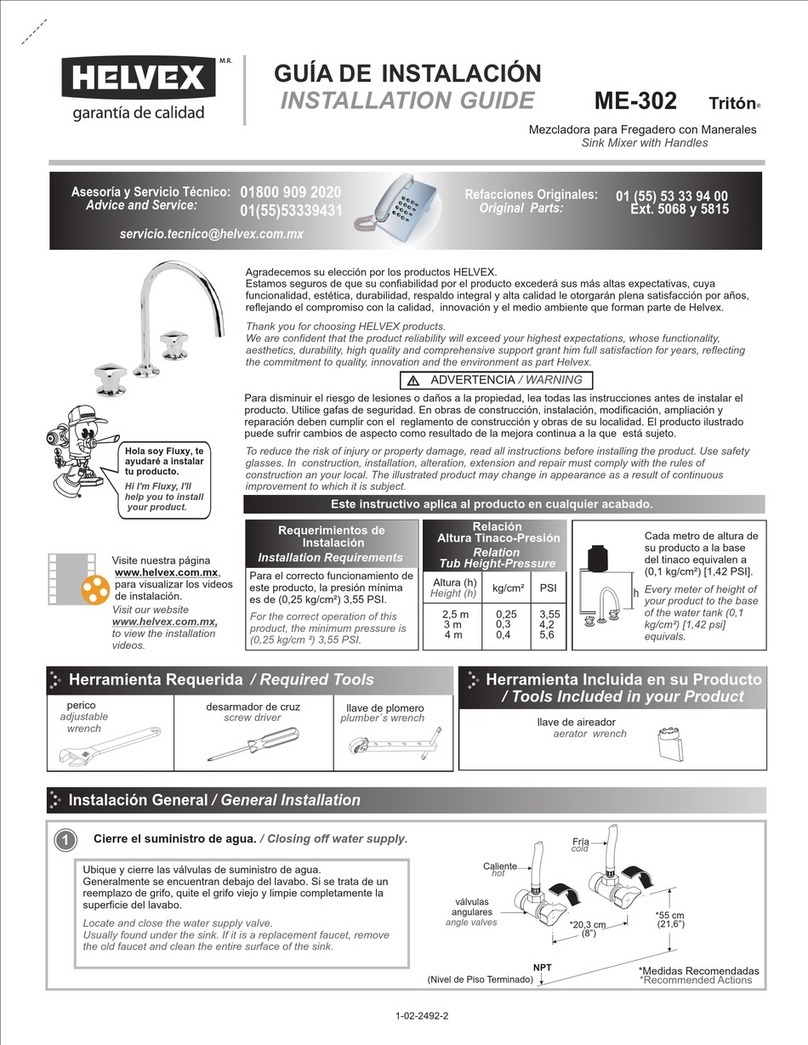
Helvex Triton ME-302 User manual

Helvex

Helvex Triton ME-302 User manual

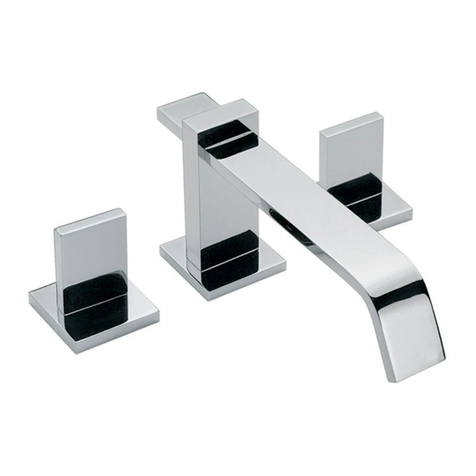
Helvex Kubica H-3006 User manual

Helvex

Helvex Kubica H-3006 User manual
Helvex Vertika MP-1000 User manual

Helvex

Helvex Vertika MP-1000 User manual
Helvex ME-3000 User manual

Helvex

Helvex ME-3000 User manual
Helvex Forza TV-304 Instruction Manual

Helvex

Helvex Forza TV-304 Instruction Manual

Helvex Kúbica 14104 User manual

Helvex

Helvex Kúbica 14104 User manual
Helvex LV ELIPSIS User manual

Helvex

Helvex LV ELIPSIS User manual
Helvex Kubica E-48-S User manual

Helvex

Helvex Kubica E-48-S User manual
Helvex H-3301-C/G User manual

Helvex

Helvex H-3301-C/G User manual
Helvex 342-C User manual

Helvex

Helvex 342-C User manual

Helvex Ergo E-39 User manual

Helvex

Helvex Ergo E-39 User manual
Helvex VP-1 User manual

Helvex

Helvex VP-1 User manual
Helvex AQUA E-762 User manual

Helvex

Helvex AQUA E-762 User manual

Helvex LAV MARCUS BC User manual

Helvex

Helvex LAV MARCUS BC User manual

Helvex KUBICA E-48 User manual

Helvex

Helvex KUBICA E-48 User manual

Helvex 310-32 User manual

Helvex

Helvex 310-32 User manual

Helvex UE-305 User manual

Helvex

Helvex UE-305 User manual

Popular Plumbing Product manuals by other brands

American Standard DXV Percy D35105.104 installation instructions
American Standard

American Standard DXV Percy D35105.104 installation instructions

CUR AQUA 431-305 operating instructions

CUR AQUA

CUR AQUA 431-305 operating instructions

Pura CB106 Installation & user guide

Pura

Pura CB106 Installation & user guide
Viega Prevista Dry Plus 8545.32 Instructions for use

Viega

Viega Prevista Dry Plus 8545.32 Instructions for use

Hans Grohe Flexaplus 58185 Series Instructions for use/assembly instructions
Hans Grohe

Hans Grohe Flexaplus 58185 Series Instructions for use/assembly instructions

Grohe 27 468 installation instructions

Grohe

Grohe 27 468 installation instructions

Spectrum Brands Pfister Kenzo R89-1DF Maintenance & Care Guide

Spectrum Brands

Spectrum Brands Pfister Kenzo R89-1DF Maintenance & Care Guide

Riobel Parabola PBS01BG installation guide
Riobel

Riobel Parabola PBS01BG installation guide

Karibu 66601 Assembly and operating instructions
Karibu

Karibu 66601 Assembly and operating instructions

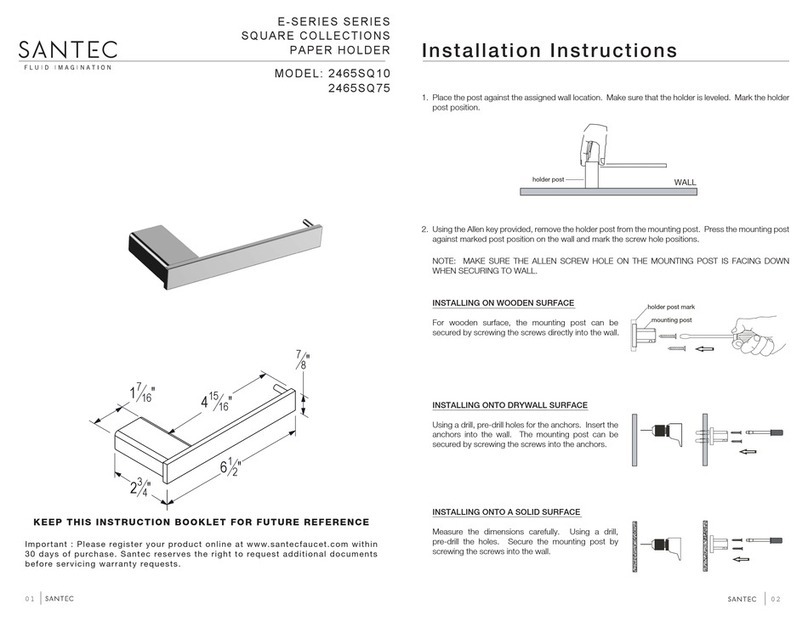
Santec SQUARE E Series installation instructions
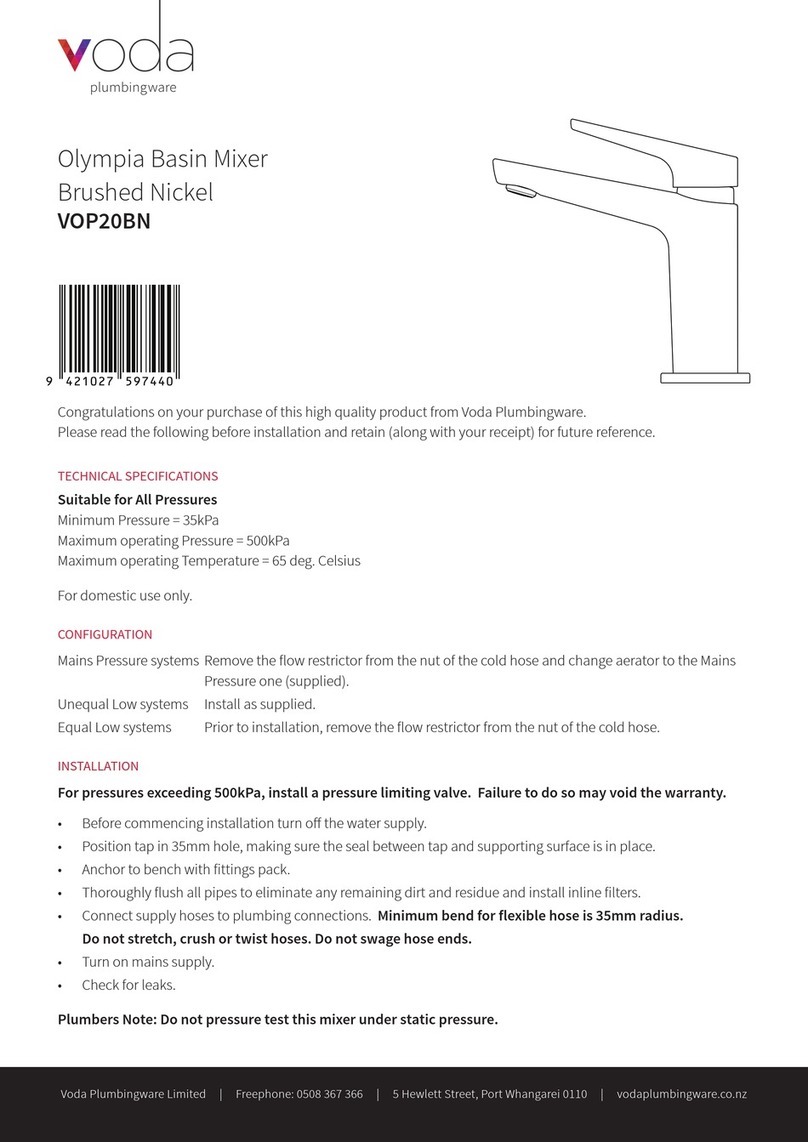
Santec

Santec SQUARE E Series installation instructions

Voda Plumbingware VOP20BN instructions
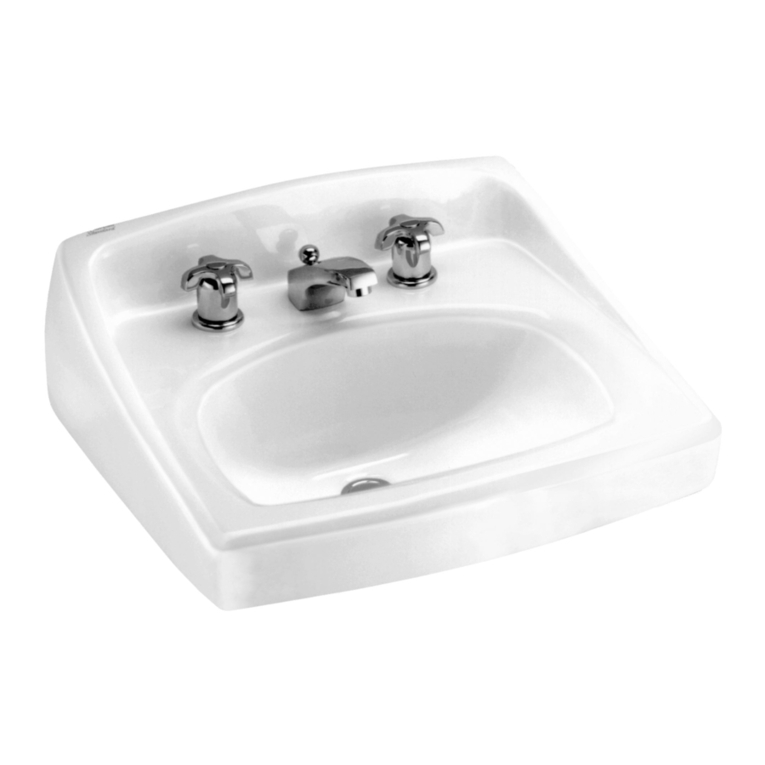
Voda Plumbingware

Voda Plumbingware VOP20BN instructions

American Standard Lucerne 0355.012 Specification sheet
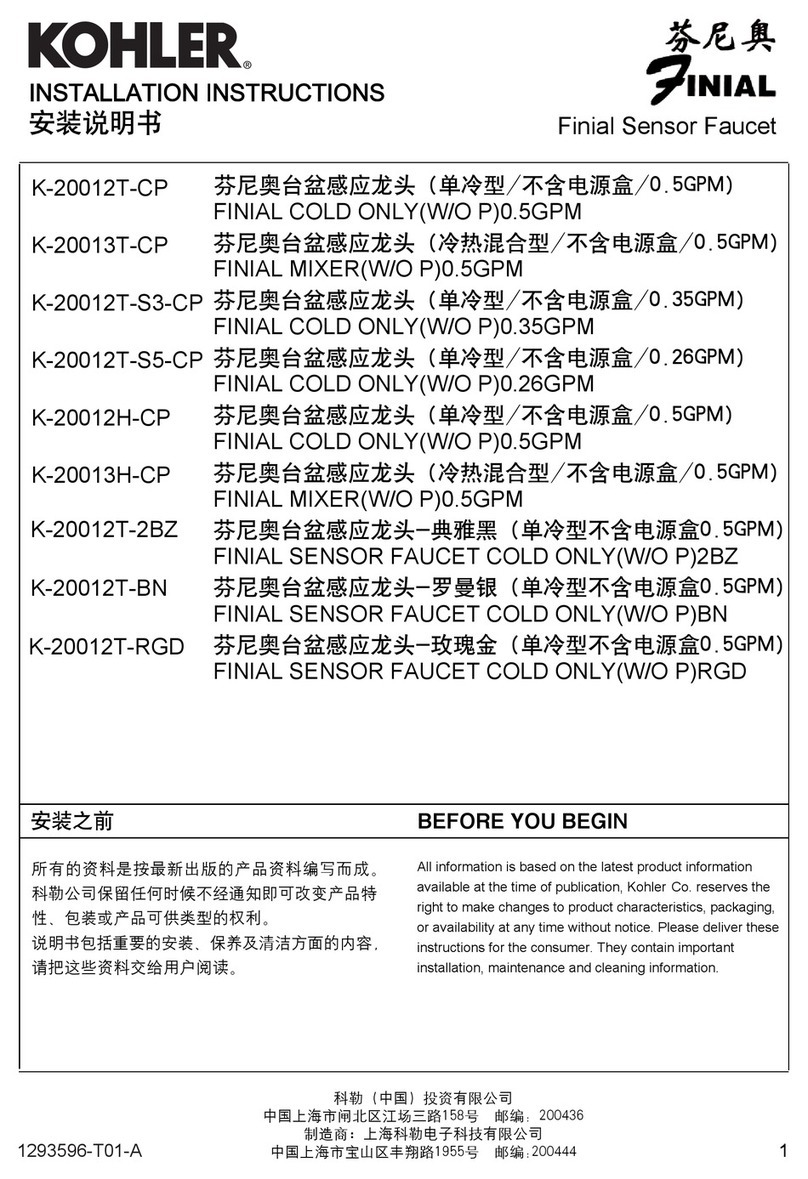
American Standard

American Standard Lucerne 0355.012 Specification sheet

Kohler Finial K-20012T-CP installation instructions
Kohler

Kohler Finial K-20012T-CP installation instructions

Hans Grohe AXOR Citterio M 34455000 Assembly instructions
Hans Grohe

Hans Grohe AXOR Citterio M 34455000 Assembly instructions

aquabrass I-Spray Mounting and operating instructions
aquabrass

aquabrass I-Spray Mounting and operating instructions

Franke F3 Series Installation and operating instructions
Franke

Franke F3 Series Installation and operating instructions

Signature Hardware KEY WEST SHSK82 quick start guide
Signature Hardware

Signature Hardware KEY WEST SHSK82 quick start guide

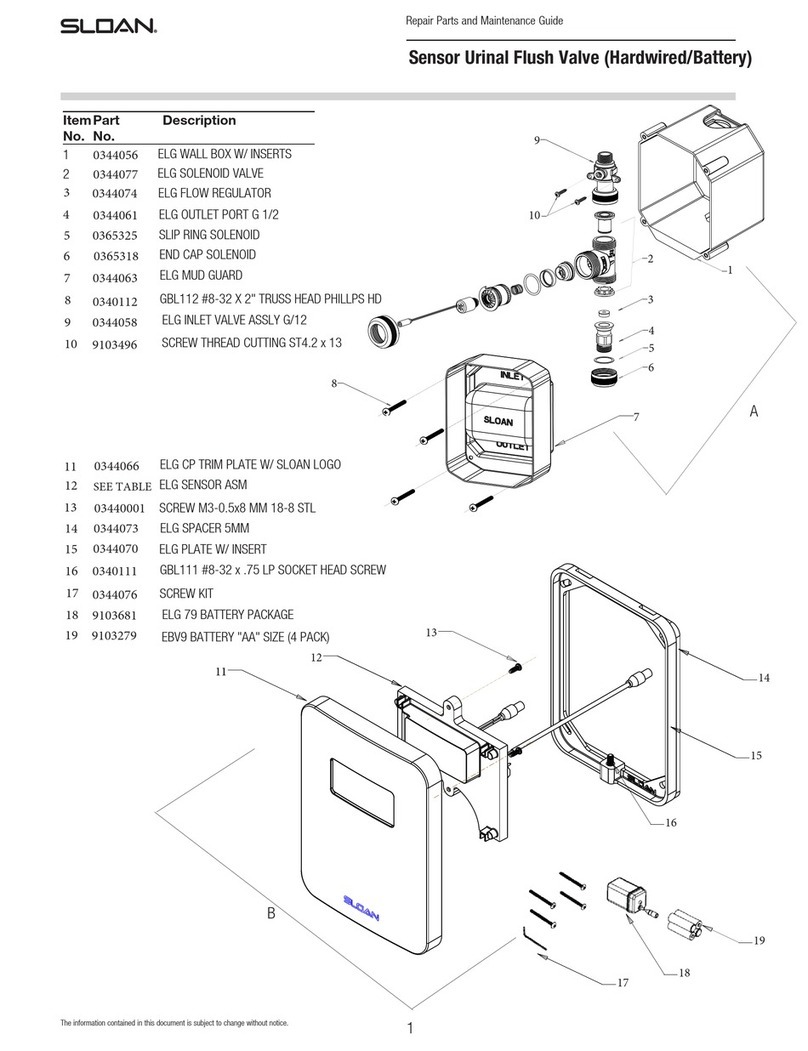
Sloan 0344067 Repair Parts and Maintenance Guide

Sloan

Sloan 0344067 Repair Parts and Maintenance Guide

manuals.online logo
manuals.online logoBrands
  • About & Mission
  • Contact us
  • Privacy Policy
  • Terms and Conditions

Copyright 2025 Manuals.Online. All Rights Reserved.