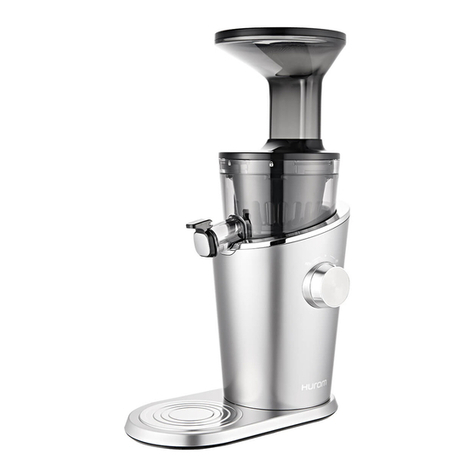
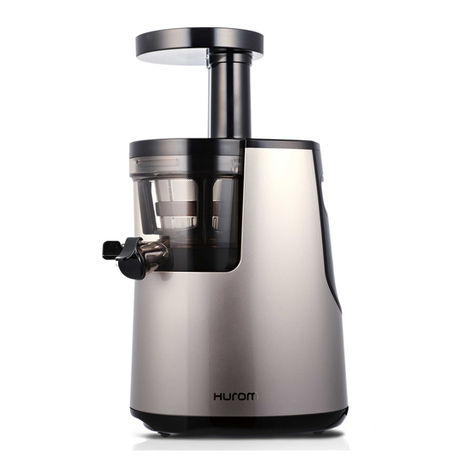
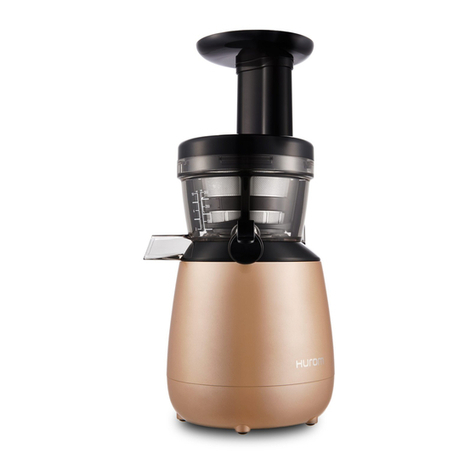
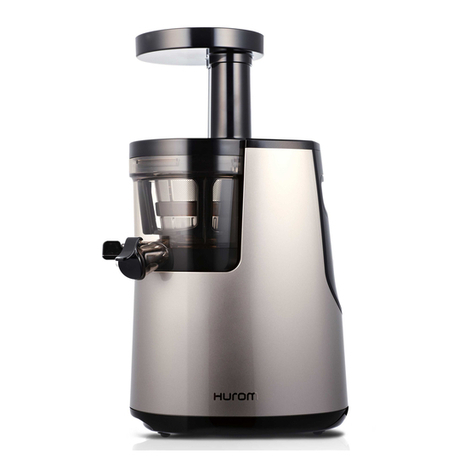
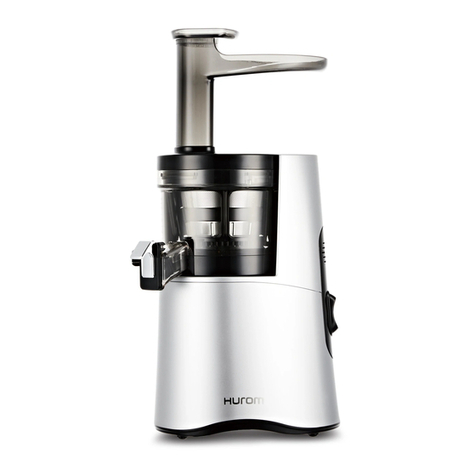
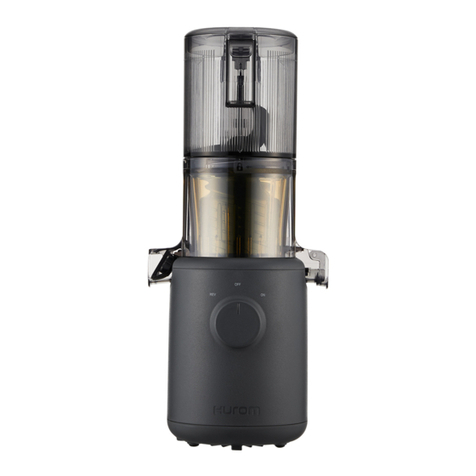
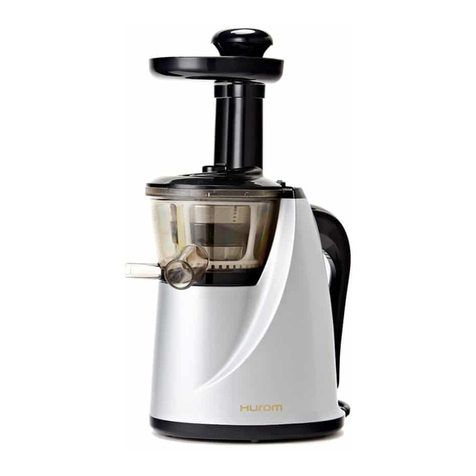
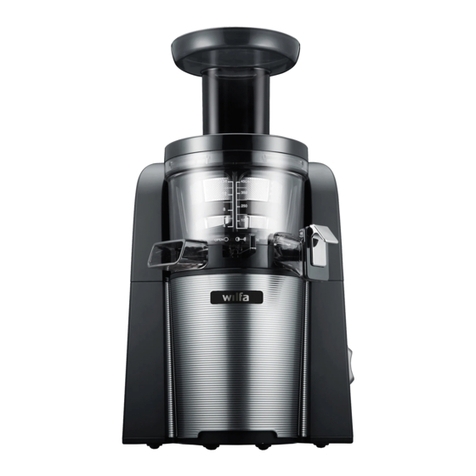
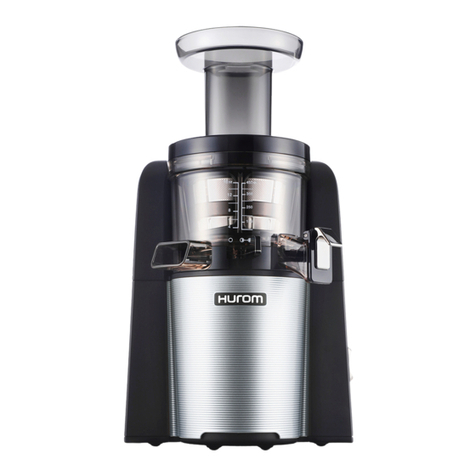
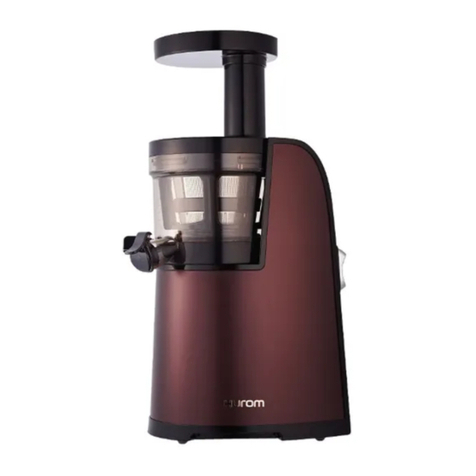
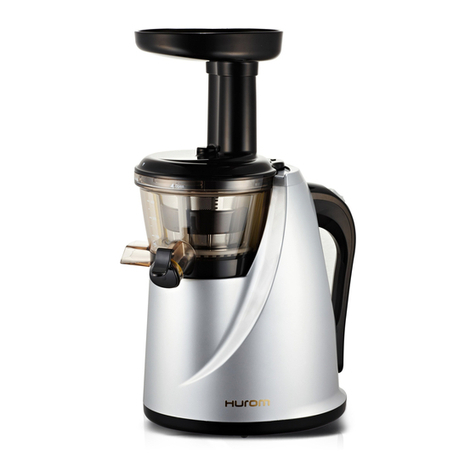
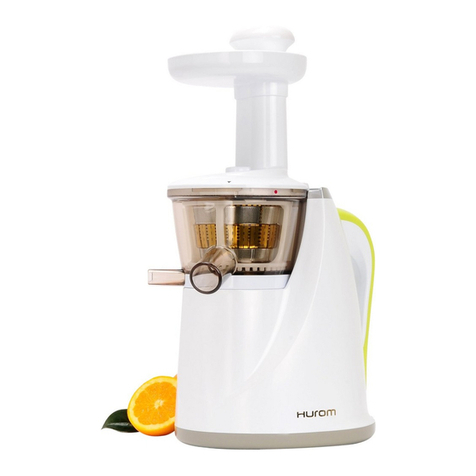
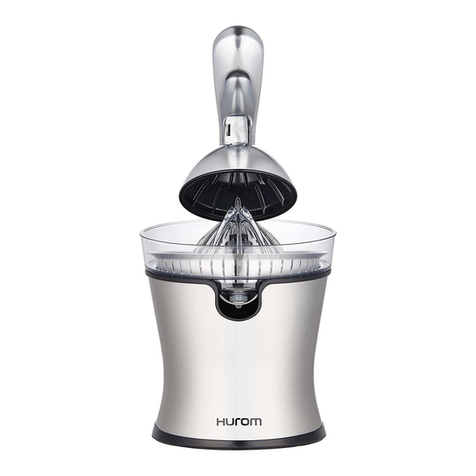
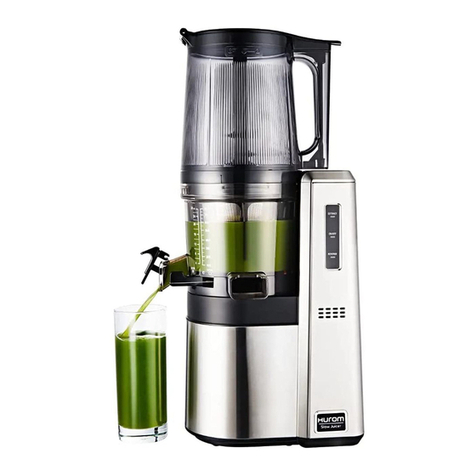
HUROM HW Series User manual

Precautions for Safe Use
Cautions during Operation
Terms of Parts
How to Assemble: Chamber
How to Assemble: Body
How to Use
How to Use Control Lever
How to Use Control Lever by Ingredients
When Squeezing Screw Stops during Operation
How to Prepare Ingredients
How to Disassemble and Clean
Before Requesting Repair
Product Specifications / Warranty
HUROM JUICE RECIPES
02
04
05
06
08
09
10
11
12
13
14
15
16
18
Hurom Juicer (Warranty Included)
01 Read ‘Precautions for safe use’ (Page 2) and use the appliance properly.
02 After finish reading the manual, keep it in a convenient location for future reference.
03 Do not use it abroad which has different power supply and voltage.
04 Any quality improvements are subject to change without notice.
HW Series Instruction Manual

02
1. You should read <Precautions for safe use>.
2. You should follow <Precautions for safe use>.
3. Precautions are classified as following.
WARNING When violating the labeling require-
ment, it may cause serious injury or death.
WARNING When violating the labeling requirement, it may cause serious injury or death.
CAUTION When violating the labeling require-
ment, it may cause serious injury or damage to
the appliance.
Precautions for safe use
Do not plug in nor unplug with wet hanDs. It may cause electric shock or injury.
Do not use other than 230 - 240 V aC. It may cause electric shock, fire or abnormal performance. If the
voltage is different, it may shorten the life of the motor or cause a failure.
plug the power CorD CorreCtly anD push it tight in a wall soCket. It may cause an electric
shock or a fire.
Do not benD, binD, the power CorD, it Must be replaCeD by the ManuFaCturer’s serViCe
Center or siMilarly QualiFieD persons, in orDer to aVoiD a haZarD. If the power cord is damaged,
it may cause electric shock or fire.
neVer alter the applianCe. also, Do not DisasseMble or repair by yourselF. Do not in-
sert Fingers, Foreign substanCes or objeCts suCh as pins into gaps or holes in the boDy.
It may cause a fire, electric shock or failure. For any technical support, contact the authorized local Customer Care Center.
when the power CorD, wire was broken or DaMageD or the plug-in part beCaMe loose,
Do not operate it. It may cause electric shock, fire or injury.
Do not Moisten the boDy or splash water on the boDy. Be careful not to let any liquids or other
substances get into the switch on the appliance.
Do not operate the switCh with wet hanDs. It may cause an electric shock or fire.
For saFety, Must Do grounDing ConneCtion. also, Do not Do the grounDing on gas pipe,
plastiC water pipe, telephone wire, etC. It could cause electric shock, fire, malfunction or explosion. Be sure
to use the electrical outlet with ground connection.
neVer DisasseMble the ChaMber set During operation or insert Fingers, Foreign ob-
jeCts suCh as Forks, spoons, etC. into hopper Chute or juiCe outlet. It may cause injury, accident
or failure.
applianCes Can be useD by persons with reDuCeD physiCal, sensory or Mental Capabili-
ties or laCk oF experienCe anD knowleDge iF they haVe been giVen superVision or instruC-
tion ConCerning use oF the applianCe in a saFe way anD iF they unDerstanD the haZarDs
inVolVeD. ChilDren shall not play with the applianCe. Cleaning anD user MaintenanCe
shall not be MaDe by ChilDren. this applianCe shall not be useD by ChilDren. keep the
applianCe anD its CorD out oF reaCh oF ChilDren.

03
CAUTION When violating the labeling requirement, it may cause serious injury or damage to the appliance.
Do not operate without loCking the hopper properly. It may cause an injury or a failure.
when DeteCting a gas leak, Do not insert the power CorD into its slot. open the
winDow to Ventilate Fully anD iMMeDiately.
It may cause injury or failure.
neVer put a Finger, Fork or spoon, etC. into juiCe outlet. It may cause injury or failure.
iF rotation oF sQueeZing sCrew is stoppeD in norMal operation, press [reV] button
anD holD For 3~5 seConDs anD then aFter reVerse operation is CoMpletely stoppeD,
press [on] button again.
If such a stop event continues during the operation, the parts may be damaged and performance
may be deteriorated due to overheating in a motor. When the problem continues, immediately stop the appliance and contact the local
Customer Care Center.
During the operation, Do not atteMpt to MoVe the boDy, DisasseMble the ChaMber
set or parts anD try to loCk theM.
It may cause an injury or a failure. Any act of event needed, switch off first and unplug the power cord.
when using the applianCe, be CareFul For a neCktie, long neCklaCe, sCarF, etC. not
to be entangleD into hopper Chute.
It may cause injury, failure or breakage.
plaCe the applianCe on a Flat anD stable surFaCe. It may cause injury or failure.
Do not operate the applianCe For More than 30 Minutes at a tiMe.
It may cause a motor failure due to overheating. Cool it down sufficiently about 5 minutes and operate it again.
when plaCing ingreDients into the hopper Chute, only use the pusher proViDeD. It may
cause injury or failure.
Do not allow a seVere shoCk to the applianCe or Drop it. It may cause electric shock, fire or damage.
iF the applianCe giVes oFF an unpleasant sounD or exCessiVe heating, sMoke, stop
using iMMeDiately anD ContaCt the loCal CustoMer Care Center. When using a new appliance,
it gives off a smell and the smell disappears naturally over time.
always unplug the applianCe aFter use. always DisConneCt the applianCe FroM the
supply iF it is leFt unattenDeD anD beFore asseMbling, DisasseMbling or Cleaning.
when unplugging the power CorD, Make sure to holD the power CorD.
Pulling on the wire to
unplug may cause electric shock or fire.
Do not wash at high teMperatures oF 800C(1760F) or higher. Do not put the applianCe
in a Dishwasher, a Dryer or a MiCrowaVe etC.
It may cause a failure or parts deformation.
the applianCe weighs about 9kg. when MoVing the applianCe, ensure to MoVe it
holDing grips tightly at the boDy bottoM with both hanDs.
If attempting to hold chamber or the edge of the body, the body falls causing an injury or failure.
Precautions for safe use

040
Cautions during operation
Withered ingredients or frozen fruit which were stored in the refrigerator for a long time may have less
juice or may not yield an extract.
If not cleaned immediately after use, residue may dry and stick to the device. It might be difficult to
disassemble and clean and may cause performance deterioration. Please wash immediately after use
if possible.
NOTE
We recommend you drink green vegetable juice and fruit juice immediately
after extraction rather than keeping them for long time.
You may use for crushing spice (garlic, red pepper), but not for grinding grain.
It may cause damage or failure.
Do not re-squeeze residues expelled through the pulp outlet.
Soft fruits can be re-squeezed.
Do not press the ingredients with anything except the pusher.
-It may stick to the screw and cause injury and failure.
Never insert finger, fork or spoon etc. into juice outlet during the operation.
- Inserting such as chopsticks etc. into juice outlet during operation may cause
them stuck in the spinning brush and cause damage to the parts.
Do not put in grains and fruits with hard seeds. It may cause injury and failure
of chamber, strainer and squeezing screws. Remove the seeds from the fruits with hard
seeds such as persimmon and japanese apricot before use.
Do not operate the switch with wet hands.
- It may cause electric shock or fire. Do not put foreign objects near the switch.
Do not operate the appliance before putting in the ingredients.
Do not use ice cube. This may cause damage and malfunction.
Inserting an excessive amount of some ingredients (carrot, cabbage, beet, etc.)
may create noise.
Inserting liquids such as milk or soymilk first may cause leakage from the residue outlet.
Extracting soft fruits such as bananas mixed with liquid may cause liquid to leak from the
outlet.
· For stalk vegetables with strong fiber such as water parsleys, celery etc.
should be cut into small size about 3~4cm before putting into the hopper chute.
· Fruits with hard seeds such as persimmon, Japanese apricot, lemon, plum, peach etc.
that are hard to chew with our teeth should be taken out before extraction.
· Do not put in sesame, coffee beans, bark of the tree, Chinese pepper, etc.
which cannot be extracted.
· Do not put in mudfish, shrimp, marsh snail and squid, etc.
· Do not put in fruits preserved in alcohol, sugar, honey, etc.
(grapes, apricot, berries, etc) and enzymes (glasswort, houseleek, etc.).
· Do not grind grains and extract sugar cane juice.
It may cause damage or failure.
05
09 Chamber
Terms of parts
Pulp Container 16
08 Silicon Brush
03 Hopper
04 Squeezing Screw
09-1
Pulp Outlet
10
Control Lever
11 Juice Cap
09-2 Juice Outlet
01 Hopper Chute
05 Fine Strainer
06 Coarse Strainer
07 Spinning Brush
13 Power Cord
12 Body
14 Small
Cleaning Brush
15 Cleaning Brush
17 Juice Container
02 Pusher
18 Safety Sensor (▲)
20 Operating Switch
19 Display

06
How to Assemble: Chamber
2
STEP
After attaching the assembled parts
onto the chamber, rotate them left
and right to make sure their position
is fixed. If the components are not
fully attached, the hopper cannot be
closed.
Assemble Strainer and Spinning
Brush as shown in the picture.
Place the assembled parts from
[1 STEP] into the chamber just like
the same place in the picture.
1
STEP

07
How to Assemble: Chamber
Insert the hopper onto the chamber
and turn clockwise to lock completely.
Press the squeezing screw
into the strainer.
3
STEP
4
STEP
It may operate even when
the hopper is assembled in
the opposite direction.
Note

08
How to Assemble : Body
1. Place the control lever into
position before operating.
2. Assemble the Chamber Set on the Body.
When the Control Lever is placed on ,
the Chamber Set cannot be attached to the Body.
Assemble the Chamber Set on the Body.
After assembling the Chamber Set,
please attach it to the Body.
!
!
※Safety Sensor
Please place the chamber properly between the triangle mark of
the hopper and the engraved display on the body.
Please note that the body will be prevented from turning on by the
safety sensor if not matched to the mark.

09
How to use
When the Control Lever is placed on ,
the Chamber Set cannot be attached to the Body.
Put ingredients gradually in the
hopper chute and press with the pusher.
Press [ON] button to start.
[ON] status light will be turned on.
After extraction is completed,
place the switch in stop position to stop.
All the status lights will be turned
off except [ON].
1
3
5
2
4
Place the control lever
position before operating.
Put the control lever in half-closed
() position before putting the last
ingredients.
The hopper will be opened easily as long as
the residues in the strainer are released.
Always use the Pusher in the slot.
The Body will not operate by itself for safety.
It will only operate when the Chamber Set is
attached.
When using [ON] or [REV] button, make sure
that the squeezing screw stops completely.
ON
REV
정회전
역회전
정지상태
작동스위치 정회전
역회전
off(정지) 정지
누름
정회전
역회전
작동스위치 정회전
역회전
ON
REV
[ON]
ON
[REV]
REV
Press
Stop
[ON]
ON
[REV]
REV

10
How to use control lever
You can open and close the extraction packing easily.
Release the residues in half-closed ( ) position of
the control lever when putting in the last ingredients.
The hopper will be opened easily as long as the
extracted residues are released.
For Simple Cleaning Mode, put the control lever in
half-closed ( ) position and release the residues.
Fully open the control lever [OPEN ○] when
disassembling the chamber and washing. You can
easily and conveniently clean the chamber.
For general ingredients, the extraction rate is good
when you close ( ) the control lever during
operation.
However, for juicing the fruits with hard seeds, such as
grapes, rubus coreanus, and pomegranates, place the
control level into close ( ) and switch into half-
closed ( ) position when the juice begins to come out.
The residues also comes out in close( )
position It is natural phenomenon and not a product
failure. closed ( ) position when juice begins to come
out.
If the hopper cannot be opened easily after use
Put the control lever in half-closed( ) position. Press the [REV] button for about 3-5 seconds and
stop. Repeat 3-5 times, and then the hopper can be opened easily.
If you cannot open the hopper after trying this, please contact the Customer Service Center.
Preparation, Extraction Mode
Completion, Simple Cleaning Mode
Cleaning Mode
!

11
How to use control lever by ingredients
Ingredients
Seed ingredients
Apple, pear, melon, watermelon, strawberry, blueberry, orange, grapefruits, lemon, mango, plum,
peach, cherry, persimmon, pineapple, wheat-grass, parsley, celery, dandelion, carrot, ginger,
potato, beet, tomato, paprika, broccoli, cauliflower, cabbage, kale, spinach (Cooked sweet potato,
pumpkin and bean)
Grapes, pomegranate, blackberry, kiwi
1. Start. position.
1. Start. position.
2. When extraction is almost finished, place the
control lever into, Half-Opened position.
2. When juice starts to come out,
Place the control lever into half-closed position
when juice starts to come out.
!
Extracting with liquids such as milk/soy milk
Sweet potato, nuts, hard fruits and vegetables.
1. Start. position.
When extracting with liquids such
as milk/soy milk, please insert and
extract prepared fruits and vegetables
first, and then add liquid such as milk/
soy milk.
Extracting soft fruits such as bananas
mixed with liquid may cause liquid to
leak from the outlet.

12
<ON>
<REV>
When squeezing screw stops during operation
Even after following the directions above
and still doesn’t work, please unplug the
power cord and disassemble chamber set,
and clean it. And try it again.
Note
[REV] is the button to push back the in-
gredients upward.
[REV] only works while pressing the
button, and the rotation of the squeezing
screw stops If you release the button.
Press [REV] button on the oper-
ating switch for 2~3 seconds and
stop it. Repeat this 3~5times.
Press [ON] button to operate af-
ter reverse operation completely
stops.
When using [ON] or [REV] button, make
sure that the squeezing screw stops
completely.
If rotation is reversed during operation, press the Stop (Reverse) button once to completely stop.
Press the [REV] button again. Due to the nature of the motor, it slowly rotates in the operating direc-
tion without stopping immediately. [Reverse] button only works while pressing the button.
Caution when using operation button
<ON>
<REV>
<STOP>

13
How to prepare ingredients
Fruits like apple, pear, kiwi, oriental melon, etc. put them with seeds and peels.
However, apple seeds contain toxicity, so it better to remove them.
Apple, pear, kiwi, oriental melon
Separate each grape from the cluster. Peel the pomegranate and use flesh only.
Pomegranate, grapes
Peel off the skin of watermelon, orange, grapefruit and cut them into right size.
Watermelon, orange, grapefruit
Fruits like mango, cherry, peach, or plum, etc. have hard seeds which are hard to swallow.
Those seeds might cause stoppage or parts damage, so they must be removed before using it.
Mango, cherry, peach, lemon
Put a handful of wheat or chives in not to be scattered.
Wheat, chives
Cut fibrous ingredients into small sized less than 3cm.
Water parsleys, angelica, celery, kale
* This is a reference about how to trim the ingredients,
so if you have allergy please choose your own proper ingredients which agrees with you.

14
01. Unplug the power cord with dry hands after the
unit has been completely stopped.
02. Remove the chamber set from the main body.
Twist the hopper to open and lift up the parts in order
to disassemble the unit.
03. Use a cleaning brush and wash the chamber set
under running water.
04. Open the control lever (
) and juice cap to
wash the chamber.
05. Wipe the main body with a damp towel or a soft
cloth.
06. The silicone packing can be disassembled and
washed. (Including juice cap packing, chamber
packing, silicone brush)
07. Soak in water diluted with one or two drops of
baking soda or natural bleach for dishes for about 30
minutes to sterilize and clean.
If the unit is not cleaned immediately after use, a residue may dry and stick to the unit. This will make
disassembling and cleaning difficult as well as lead to performance degradation.
Please wash the unit immediately after use. Do not wash with hot or boiling water, an iron scrubber,
abrasive material, sink solvents, or sharp cleaning tools. Do not put it in a dishwasher or dish dryer.
After washing, thoroughly and naturally dry, and store in a clean area.
Note
※ Please thoroughly wash the Chamber and its packing
hole with running water after separating the Chamber
Packing.
How to Disassemble and Clean

15
How to Disassemble and Clean
: Silicone
Spinning brush
Open the juice cap, hold the chamber and juice
cap with one hand, and remove the juice cap
packing with your other hand to disassemble.
Please be careful not to drop or damage the juice
cap and chamber when disassembling the unit.
Pinch the chamber packing with two fingers and
twist to separate.
Please assemble the upper and lower parts
correctly.
If attached backwards or improperly, the
chamber packing may fall out or tear and juice
may leak over the body.
Juice Cap Packing
Chamber packing
Remove the silicone brush from the spinning
brush holder.
Use a cleaning brush and wash the inside and
outside of the spinning brush holder under
running water.
Please follow the recommended method to
separate the silicone brush. Otherwise, it may
cause damage of spinning brush holder and
silicone brush.
Wash the silicone brush under running water
as the same method.
2
1Silicon Brush
Spinning Brush

16
ON
REV
Before requesting repair
Please check the following before requesting repairs. For requests or inquiries on A/S while using the unit, please contact us
through our customer service center or our website (http://www.hurom.com). Please check the serial number or barcode when
you request A/S or components.
03. It does not work.
Make sure the power cord is properly plugged in. Check if the hopper is properly engaged. If the
hopper is not properly engaged, it will not work. Make sure the unit is assembled according to the
manual. Please refer to the assembly guidance page. Contact the customer service center to receive
assistance.
04. It stops during normal operation.
Was an excessive amount of ingredients or thick ingredients inserted? Please refer to manual P12, and
try to reverse the rotation. If the problem cannot be solved by the solution above, please contact the
customer service center to receive assistance.
05. The squeezing screw has a mark or a scratch.
This is a molding mark (gate) that occurs during the manufacturing process. It's perfectly normal, and
is safe to use.
06. Juice is leaking above the main device.
Did you insert too many ingredients? If more ingredients are inserted than can be discharged, the
packing may be pushed lightly, and juice may leak into the gap. Do not forcibly insert a large amount
at once, but split the amount to extract juice.
01. The main body itself will not work.
For your safety, this unit only works when it's
correctly assembled with the chamber set.
02. Please assemble according to the safety
sensor.
For your safety, this unit only works when it's
correctly assembled.

17
Before requesting repair
Please check the following before requesting repairs. For requests or inquiries on A/S while using the unit, please contact us
through our customer service center or our website (http://www.hurom.com). Please check the serial number or barcode when
you request A/S or components.
09. The hopper cannot be opened.
A lot of residue may be left inside the unit. Press the [ON] button to remove residue, or repeat 3-5 times
by pressing the reverse button for 3-4 seconds and stopping to open the hopper. Is a foreign substance
or solid material (solid seeds such as persimmon seeds) inside? Press the [REV] button to make the
residue come up towards the inlet, and remove it. Do not forcibly open. If the unit cannot be opened
with the recommended method, please contact the customer service center.
10. (When extracting juice) the chamber shakes.
It may shake a little due to the power of the motor. Large and small movements occur, depending on
the characteristics of the ingredients (hard or chewy). This is not a defect, since it is normally caused
by the rotating screw. Solid ingredients may seem to create larger movements compared to moist or
soft ingredients. (E.g. Carrot/potato/radish/beet, etc.)
11. Juice leaks into the residue outlet.
Inserting liquids first may cause leakage from the residue outlet.
Extracting soft fruits such as bananas mixed with liquid may cause liquid to leak from the outlet.
This is normal situation, so please insert and extract prepared fruits and vegetables first, and then
add liquid such as milk/soy milk.
08. Do not use in ways other than pressing
on the pusher in the inlet.
It may cause damage, injury, etc.
07. Do not insert too many ingredients at once.
If you insert an excessive amount of ingredients
or thick ingredients, the unit may stop.

Product Specifications
● Product name
Important: To better protect your purchase, fill out and mail this form to a local distributor where
you purchased the appliance and keep the original receipt.
This certifies that the Hurom Slow juicer is covered under warranty by to be free from
defects in material construction and workmanship.
Hurom provides warranty for one (1) year for the motor, chamber, and squeezing screw(except
other parts) from the date of purchase by the original purchaser. Coverage is valid only with proof
of purchase from an Authorized Local Distributor. (No international warranty available)
This warranty does not apply to damages caused by accident, misuse, abuse, commercial use,
alteration, failure to follow operating instructions, or damage caused by parts or service unauthor-
ized by . Damages caused by transportation must be claimed with carrier.
disclaims all responsibilities for consequential damages from incidental losses
caused by use of this appliance.
For service and assistance with technical difficulty, please contact your local customer care center.
● Manufacture’s serial number
● Supplier
● Address
● Model name
● Date of purchase
● Customer name
Warranty
Manufacturer : | Hurom webpage : www.hurom.com
1.4 m
Single-phase induction motor
250 V 5 A
Width 200 mm
Length 282 mm
Height 460 mm
Less than 30 minutes
● Product Name
● Model Name
● Rated Voltage
● Rated Frequency
● Rated Power
Consumption
● RPM
● Weight
Hurom Slow Juicer
HW Series
230 - 240 V
50 Hz
150 W
60 rpm
9 kg
● Cord Length
● Motor
● Fuse
● Outward
Dimension
● Rated
Operating Hour

19
Hurom Juice reciPeS
Good HealtH StartS Here
HUROM JUICE RECIPES
HUROM GUIDE
APPLE PINEAPPLE
PAPRIKA ORANGE
RASPBERRY APPLE
PINEAPPLE CUCUMBER
WHEAT GRASS PEAR
BEET APPLE LEMON
ORANGE CARROT APPLE
PEAR BANANA PINEAPPLE
CABBAGE TOMATO APPLE
ORANGE BOKCHOY BANANA
KIWI SPINACH APPLE
BLUEBERRY MANGO PINE
WHITEGRAPES KALE APPLEMINT
PLUM CARROT PINE
POMEGRANATE ORANGE PINE
GRAPEFRUIT TRIPLE
ORANGE PINE KALE CELERY
TOMATO PINE BEET RASPBERRY
CABBAGE CARROT BEET LEMON
CELERY GRAPE PEAR BLUEBERRY
APPLE WALNUT SOY JUICE
PEAR GINSENG SOY JUICE
KALE BANANA SOY JUICE
PAPRIKA CRANBERRY SOY JUICE
ANGELICA WHITEGRAPE PEAR
20
21
22
23
24
25
26
27
28
29
30
31
32
33
INDEX

20
Hurom Juice reciPeS
Good HealtH StartS Here
HUROM Guide Please read before use
▶ Please use the product after thoroughly reading the user manual.
▶ Please refer to ‘How to Prepare Ingredients(P.13)’
and prepare accordingly.
▶ Please insert the ingredients according to the extraction
order shown in the recipes.
▶ The quantity of each juice recipe is 280ml for one person.
(It may vary depending on the capacity per ingredient,
juice content, extraction method, etc.)
▶ please insert and extract prepared fruits and vegetables first,
and then add liquid such as milk/soy milk.
* Inserting liquids such as milk or soymilk first may cause leakage from the residue outlet.
* Extracting soft fruits such as bananas mixed with liquid may cause liquid to leak from the outlet.
※ How to extract with liquids such as milk/soy milk
※How to use recipes
1 2
Other manuals for HW Series
1
Table of contents
Other HUROM Juicer manuals

HUROM
HUROM HJ SERIES User manual

HUROM
HUROM HV Series User manual

HUROM
HUROM H-100S Series User manual

HUROM
HUROM HP Series User manual

HUROM
HUROM H-AA Series User manual

HUROM
HUROM CJ-B01BSS User manual

HUROM
HUROM H-200 Series User manual

HUROM
HUROM HU-100 Ultem User manual

HUROM
HUROM H-310A User manual

HUROM
HUROM HH series User manual

HUROM
HUROM HH series User manual

HUROM
HUROM HU-100W User manual

HUROM
HUROM HH Elite User manual

HUROM
HUROM HH series User manual

HUROM
HUROM wilfa ANDANTE User manual

HUROM
HUROM HU-100 Ultem User manual

HUROM
HUROM H-200 Series User manual

HUROM
HUROM HW Series User manual

HUROM
HUROM HU-100 Ultem User manual

HUROM
HUROM HU-100 Ultem User manual