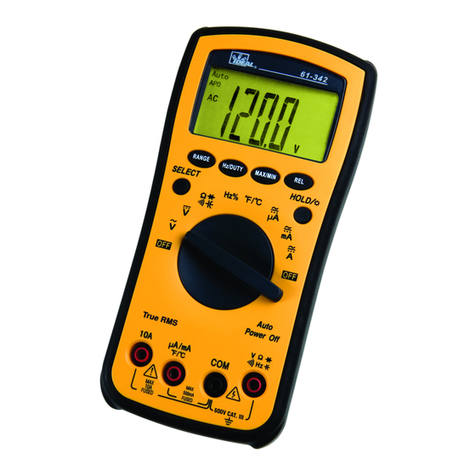
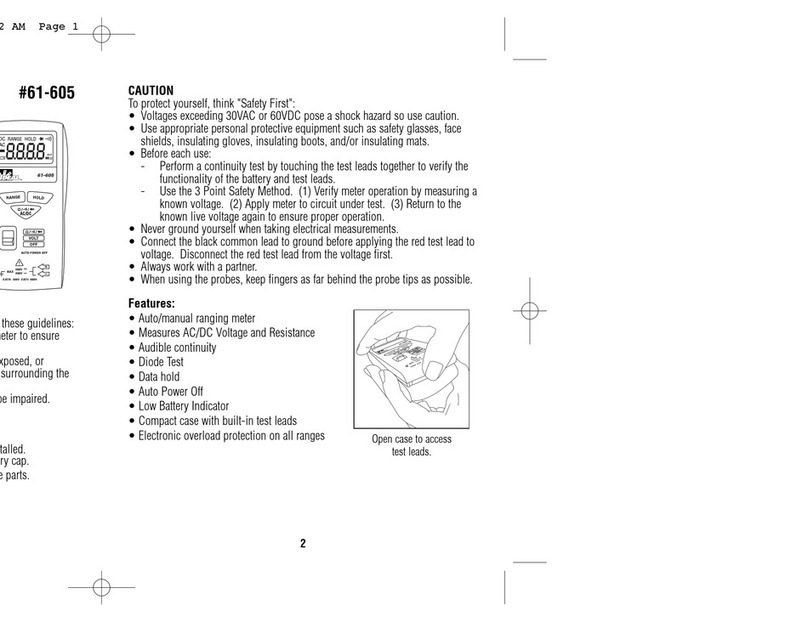
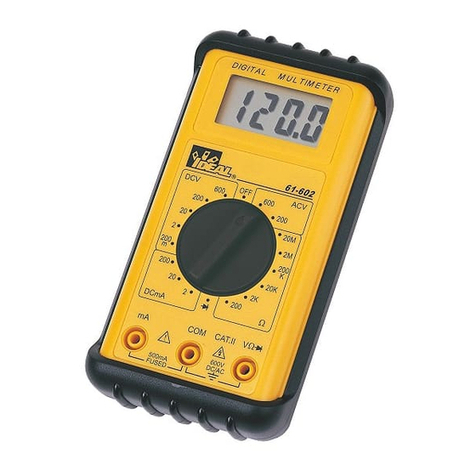
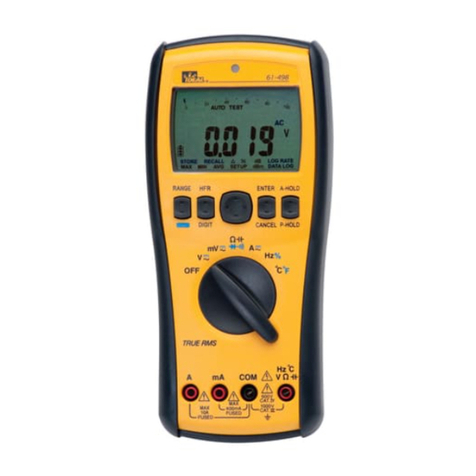
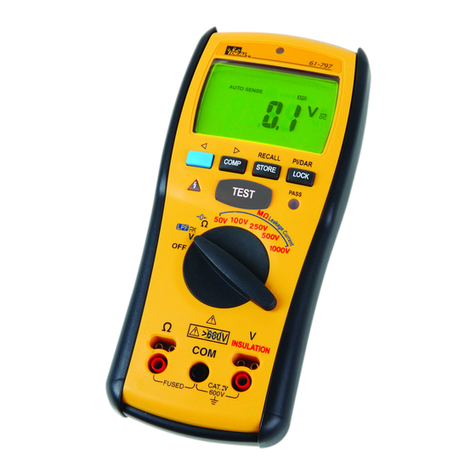
IDEAL ND 2352-1 User manual

#61-633
#61-635
630 Series
Technician Grade Multimeter
ND 2352-1 61-633 630 Series Ins 12/22/04 9:49 AM Page 1

2
1
2
3
4
5
1. LCD Display
2. LCD Menu Function Buttons
3. Function Buttons
4. Rotary Function Switch
5. Input Connectors
ND 2352-1 61-633 630 Series Ins 12/22/04 9:49 AM Page 2

3
WARNING!
1. DO NOT UNDER ANY CIRCUMSTANCES EXCEED THESE
RATINGS:
- Voltage is not to exceed 1000 Volts.
- Resistance, Capacitance, Logic and Continuity functions
are not to be performed on circuits capable of delivering
greater than 600 Volts.
- Current measurements are not to be performed on cir-
cuits capable of delivering greater than 500 Volts
2. To avoid electrical shock hazards and/or damage to the
meter:
- Do not exceed the voltage ratings for the meter. Use
caution when measuring voltage.
- Do not use during electrical storms. AC power sources
with inductive loads or electrical storms may result in
high voltage. High energy transients can damage meter
and present a dangerous shock hazard.
- Turn off power to the circuit or device being measured
before taking resistance and capacitance measurements.
Fully discharge all capacitors before measuring.
3. Ensure meter is in proper working order before using.
Visually inspect meter for damage. Performing a continuity
check can verify proper operation. If the meter reading goes
from overload to zero, this typically means the meter is in
proper working order.
4. Visually inspect leads for damage before using. Replace if
insulation is damaged or leads appear suspect.
5. Never ground yourself when taking electrical measurements.
Do not touch exposed metal pipes, outlets, fixtures etc.
Keep your body isolated from ground by using dry clothing,
rubber shoes, mats, or any other approved insulating mater-
ial. Keep your fingers behind the finger guards on the
probes. Work with others.
6. Before beginning all unknown measurements, set meter to
highest possible range.
7. Before breaking a circuit for testing, turn off the power to the
circuit. When disconnecting from a circuit, disconnect the
hot lead first, then the common lead.
8. Disconnect the meter from the circuit before turning off any
indicator, including motors, transformers and solenoids.
ND 2352-1 61-633 630 Series Ins 12/22/04 9:49 AM Page 3

4
1. Auto range indicator
2. True RMS mode indicator
3. AC, DC and AC+DC mode indicators
4. Low voltage resistance and resistance indicators
5. Continuity check indicator
6. Diode test indicator
7. Zoom indicator for bargraph
8. Sending data indicator (RS-232)
9. Reference mode indicator
10. Auto hold indicator
11. Peak hold indicator
12. Maximum, minimum, and maximum-minimum indicators
13. Loading resistance indicator
14. Period indicators
15. High and low limit indicators with beeper guard
16. Percent indicator
17. Frequency indicator
18. Main display unit indicators
19. Menuline indicators
20. Menuline mark indicators
21. Menu function indicator
22. Low battery indicator
23. Memory indicator
24. High voltage input warning (>60VDC, 300VAC rms)
ND 2352-1 61-633 630 Series Ins 12/22/04 9:49 AM Page 4

5
LCD Menu Function Buttons
• Use the Οbutton to select the row of the function menu.
The rows number is labeled on the right hand side. The
active row is marked with a Οindicator on the left end of
the line.
• Use the F1, F2, F3 and F4 buttons to select the column of
the function menu. The selected menu function will be out-
lined with a .
• The Menu Function Indicator will appear in Recall, Setup,
Setting, High or Low modes. When this is displayed, the
Light, Bar, Digit and Range buttons will be changed to
increase (+), decrease (-), left shift ( ) and right shift ( )
functions.
• Operating results obtained in the various menu functions
which are not stored in memory will be lost when the meter
is taken out of the menu function and returned to active
measurements.
Store
• Pressing the F1 button while the Οindicates row M1 acti-
vates the store function.
• Up to seven data points can be stored.
• Pressing F1 will store the first data point.
• Pressing F1 again will store the second data point, etc.
• The captured data will be displayed in the secondary dis-
play.
• The data points stored in memory will be cleared when
changing ranges, or the measurement on the rotary function
switch.
Recall
• Pressing the F2 button while the Οindicates row M1 acti-
vates the recall function.
• While in recall mode, the and buttons will scroll
through the stored data points.
• Stored data will be displayed on the secondary display.
• Pressing the F2 button while in recall mode returns the unit
to active measurements.
➔
➔
➔
➔
ND 2352-1 61-633 630 Series Ins 12/22/04 9:49 AM Page 5

6
Reset
• Pressing the F3 button while the Οindicates row M1 acti-
vates the reset function.
• The reset button clears all stored data points, and resets the
High and low limits, and REF value to the default settings.
Auto Hold
• Pressing the F4 button while the Οindicates row M1 acti-
vates the auto hold function.
• The auto hold function is activated when a stable reading is
achieved.
• The meter will beep when the meter captures the value in
auto hold.
• The held value will be displayed in the secondary display
with the annunciator.
• Pressing the F4 button while in auto hold mode returns the
unit to active measurements.
Max, Min, Max-Min
• Pressing the F1, F2 or F3 button while the Οindicates row
M2 activates these functions.
• The maximum, minimum and maximum-minimum values
are displayed in the secondary display when these functions
are activated.
• These values are the most recent values, and cleared by the
reset function.
Peak Hold
• Pressing the F4 button while the Οindicates row M2 acti-
vates the peak hold function.
• In peak hold mode, pressing F1, F2 or F3 will display the
peak hold maximum, minimum and maximum-minimum
values.
• The beeper sounds when new minimum or maximum values
are detected.
• Pressing the F4 button while in peak hold mode returns the
unit to active measurements.
AH
ND 2352-1 61-633 630 Series Ins 12/22/04 9:49 AM Page 6

7
High and Low Limit
• Pressing the F1 or F2 button while the Οindicates row M2
activates the high or low limit function.
• The high limits may be set by pressing the F1 button and
using the +, -, and buttons to set the values in the
secondary display.
• The first digit of the high limit value will blink, indicating
that it can be changed.
• Press the and buttons to move left and right through
the high limit value to select the appropriate digit to be
changed.
• The + and – buttons will increase or decrease the value of
the blinking digit.
• Pressing F1 will save the high limit value.
• Repeat this process to set the lower limit using the F2 key.
• Once these values have been set, the high and low limits
will be shown in the secondary displays. The meter will
compare current values to the high and low limits.
• When the current value is outside these limits, the meter
will beep and indicate if it is higher or lower than the set
limits.
▲(Differential) / %
• Pressing the F3 button while the Οindicates row M3 tog-
gles between the (differential) and % functions in com-
parison to the reference value.
• If no value has been set in the REF function, than the mea-
surement displayed upon entering the (differential) and
% functions will be used as the reference value.
• The reference value is displayed in the upper left display.
The actual measurement is displayed in the upper right dis-
play, and the differential or percentage of the reference value
is displayed in the main display.
REF (Reference)
• Pressing the F4 button while the Οindicates row M3 acti-
vates the REF function.
• The reference value may be set using the +, -, and
buttons to set the values in the main display.
➔
➔
➔
➔
▲
▲
➔
➔
ND 2352-1 61-633 630 Series Ins 12/22/04 9:49 AM Page 7

8
REF (Reference) continued
• Press the and buttons to move left and right through
the reference value to select the appropriate digit to be
changed.
• The + and – buttons will increase or decrease the value of
the blinking digit.
• The actual measurement will be displayed in the upper right
display while in the REF function.
• Pressing the F4 button until the will save the reference value
and exit the REF function.
Setup
• Pressing F1 while the Οindicates row F4 enters and exits
the setup mode.
• The parameters within the setup menu are:
A. 1 bEEP – Turns the beeper on or off
B. 2 A.P.O. – Sets the time for auto power off (in minutes)
C. 3 b.LitE – Sets the time for auto back light off (in
minutes)
D. 4 HAZ – Set hazard detect function on or off
E. 5 L.FrEq – Set power line frequency to 50 or 60Hz
F. 6 LoAd – Set the dBm load in the dBm mode
G. 7 rESEt – Resets all setup parameters except power line
frequency setting back to factory default settings
• Press the and buttons to move left and right through
the parameters of the setup menu.
• The + and – buttons change the values of the selected setup
parameter.
• To exit the setup menu without saving changes to the menu
parameters, press the blue button.
• Turning the meter off does not affect changes to the setup
menu.
➔
➔
➔
➔
ND 2352-1 61-633 630 Series Ins 12/22/04 9:49 AM Page 8

9
DBm, dB
• Press the F3 button while the Οindicates row M4 toggles
between dBm and dB mode.
• In dB mode, the measurement value is displayed in the
upper right display, and the dB value is displayed in the
main display.
• In dBm mode, the dBm load is displayed in the upper right
display.
• Press and hold the F3 button for 2 seconds to exit dBm/dB
mode.
Send
• Press the F4 button while the Οindicates row M4 to acti-
vate the data acquisition and send data through the optical
RS232 connection.
• The indicator appears in the display while data is
being sent.
Function Buttons
The meter beeps once for every valid key-press.
Light Button
• The light button is used to turn the backlight on or off.
• Disabled in Recall mode.
BAR Button
• The bar button scrolls through the types of bargraph dis-
plays.
A. Zero at left
B. Zero at left, graph zoomed x10, displayed
C. Bar off
• This button is disabled in Recall mode.
RS232
zoom
ND 2352-1 61-633 630 Series Ins 12/22/04 9:49 AM Page 9

10
Digit Button
• The digit button toggles between 40000 or 4000 counts.
• The display is updated 2 times per second at 40000 counts
and 4 times per second at 4000 counts.
Range Button
• The range button toggles between auto and manual ranging.
• Press the range button for 2 seconds to return to auto
range.
• When is displayed, the meter is in auto range
mode.
ΟButton
• The Οbutton is used to select a row in the menu function.
• The active row is marked with a Οindicator on the left end
of the line.
Blue Button
• The blue button toggles between the black or blue functions
on the rotary function switch.
Auto
ND 2352-1 61-633 630 Series Ins 12/22/04 9:49 AM Page 10

Overload Protection
Function Overload Protection
VAC & VDC 1000V
AAC & ADC 1A/500V
10A/500V
Ohms (Ω) 600VAC/600VDC
Diode 600VAC/600VDC
Continuity 600VAC/600VDC
Unit of Measure Multipliers
For your reference, the following symbols are often used to
make measurement easier:
Symbol Verbal Multiplier
M mega x 1,000,000
k kilo x 1,000
m milli ÷ 1,000
µ micro ÷ 1,000,000
11
ND 2352-1 61-633 630 Series Ins 12/22/04 9:49 AM Page 11

12
Voltage Measurements (DC, AC, AC+DC)
DC Voltage Resolution Accuracy Accuracy
Range (61-633) (61-635)
40mV 1µV +(0.2% +8) +(0.06% +8)
400mV 10µV +(0.2% +2) +(0.06% +2)
4V 100µV
40V 1mV
400V 10mV
1000V 100mV
AC Voltage Frequency Resolution Accuracy Accuracy
Range Range (61-633) (61-635)
400mV 40 ~ 100Hz 10µV ±(1.2% +5) ±(0.7% +5)
100 ~ 1kHz ±(2.0% +5) ±(1.0% +5)
4V 40 ~ 100Hz 100µV ±(1.0% +5) ±(0.7% +5)
100 ~ 1kHz ±(2.0% +5) ±(1.0% +5)
1k ~ 10kHz ±(3.0% +6) ±(2.0% +6)
10k ~ 20kHz - ±(3.0% +7)
20k ~ 50kHz - ±(5.0% +8)
50k ~ 100kHz - ±(10.0% +10)
40V 40 ~ 100Hz 1mV ±(1.2% +5) ±(0.7% +5)
100 ~ 1kHz ±(2.0% +5) ±(1.0% +5)
1k ~ 10kHz ±(3.0% +6) ±(2.0% +6)
10k ~ 20kHz - ±(3.0% +7)
20k ~ 50kHz - ±(5.0% +8)
50k ~ 100kHz - ±(10.0% +10)
400V 40 ~ 100Hz 10mV ±(1.2% +5) ±(0.7% +5)
100 ~ 1kHz ±(2.0% +5) ±(1.0% +5)
1k ~ 10kHz ±(3.0% +6) ±(2.0% +6)
10k ~ 20kHz - ±(3.0% +7)
20k ~ 50kHz - ±(5.0% +8)
750V 40 ~ 100Hz 10mV ±(1.2% +5) ±(0.7% +5)
100 ~ 1kHz ±(2.0% +5) ±(1.0% +5)
ND 2352-1 61-633 630 Series Ins 12/22/04 9:49 AM Page 12

13
dBm (typical): -15dBm ~ 55dBm (0dBm = 1mW into
600Ω)
dBm (typical): -80dBV ~ 50dBV = 1VRMS)
Input Impedance: 10MΩ, <100pF
Overload Protection: 1000VDC, 750VRMS
AC Conversion Type: AC Coupled, True RMS responding
AC+DC Volts: Same as ACVRMS +1.00% + 8 digits
Crest Factor: +1.5% addition error for C.F. from 1.4 ~ 3
+3.0% addition error for C.F. from 3 ~ 4
To Measure Voltage:
1. Plug the Black test lead into the COM port and the Red test
lead into the VΩport.
2. Set the rotary switch to either the V or mV position.
3. Push the blue button to choose between DC, AC, or AC+DC
measurements.
4. Connect the meter in parallel with the load or circuit.
5. Measure the voltage
6. The AC and AC+DC measurements provide a True RMS
measurement.
7. For AC Measurements, the frequency and period of the mea-
sured signal are displayed on the secondary displays.
ND 2352-1 61-633 630 Series Ins 12/22/04 9:49 AM Page 13

Current Measurements (DC, AC, AC+DC)
DC Current Resolution Accuracy Accuracy
Range (61-633) (61-635)
40mA 1uA ±(0.5% +4) ±(0.2% +4)
400mA 10uA
4A 100uA
10A 1mA
AC Current Resolution Accuracy Accuracy
(61-633) (61-635)
40mA 1uA ±(1.2% +4) ±(0.8% +8)
400mA 10uA
4A 100uA
10A 1mA
Voltage Burden: 800mV max. for mA input; 1V max.
for A input.
Input Protection: Equipped with high energy fuse.
1A, 600V, IR 10kV fuse for mA input
15A, 600V, IR 100kV fuse for A input.
AC Conversion Type: AC Coupled, True RMS responding
AC+DC Volts: Same as ACVRMS +1.00% + 8 digits
Crest Factor: +1.5% addition error for C.F. from 1.4 ~ 3
+3.0% addition error for C.F. from 3 ~ 4
14
ND 2352-1 61-633 630 Series Ins 12/22/04 9:49 AM Page 14

15
To Measure Current:
1. Plug the Black test lead into the COM port and the Red test
lead into the mA or A port.
2. Set the rotary switch to either the mA or A position.
3. Push the blue button to choose between DC, AC, or AC+DC
measurements.
4. Connect the meter in series with the load or circuit.
5. Measure the current.
6. The AC and AC+DC measurements provide a True RMS
measurement.
7. For AC Measurements, the frequency and period of the
measured signal are displayed on the secondary displays.
Warning
Limit large current measurements (10~20A to 30 seconds,
and allow two minutes of cooling between readings.
Do not connect to circuits with >600V.
ND 2352-1 61-633 630 Series Ins 12/22/04 9:49 AM Page 15

Resistance and Low Voltage Resistance
Measurements (Ohms)
Resistance Resolution Accuracy Accuracy
Range (61-633) 61-635)
400Ω10mΩ±(0.5% +2) ±(0.3% +2)
4kΩ100mΩ
40kΩ1Ω
400kΩ10Ω
4MΩ100Ω±(0.5% +4) ±(0.3% +4)
40MΩ1kΩ±(5.0% +5) ±(5.0% +5)
Low Voltage
Resistance Accuracy Accuracy
Range Resolution (61-633) 61-635)
4kΩ100mΩ±(1.0% +2) ±(0.6% +2)
40kΩ1Ω
400kΩ10Ω
4MΩ100Ω±(1.0% +4) ±(0.6% +4)
40MΩ1kΩ±(7.0% +5) ±(7.0% +5)
• Open circuit voltage: 3.3V
• Open circuit low voltage: 0.6V
• Input protection: 600V rms
16
ND 2352-1 61-633 630 Series Ins 12/22/04 9:49 AM Page 16

17
To Measure Resistance:
1. Turn the power off to the
circuit or device that is to be measured and discharge all
capacitors before attempting a measurement.
2. Plug the Black test lead into the COM port and the Red test
lead into the VΩport.
3. Set the rotary switch to the "Ω& LVΩSymbols" position.
4. Press the blue button to choose between Ωand LVΩ.
• LV setting reduces the maximum test voltage level to about
0.5V to avoid turning on semiconductor devices.
ND 2352-1 61-633 630 Series Ins 12/22/04 9:49 AM Page 17

18
Frequency and Duty Factor Measurements
Frequency Resolution Accuracy Accuracy
Range (61-633) (61-635)
400Hz 0.01Hz ±(0.01% +1) ±(0.01% +1)
4kHz 0.1Hz
40kHz 1Hz
400kHz 10Hz
4MHz 100Hz
Duty Factor Resolution Accuracy Accuracy
(61-633) (61-635)
20% ~ 80% 0.1% +6 digits +6 digits
Sensitivity: 0.5Vp-p for 15Hz ~ 1MHz
1Vp-p for 1 MHz ~ 4MHz
Min. frequency: 15Hz
Input protection: 600V rms
To Measure Frequency:
1. Plug the black test lead into the COM port and the red test
lead into the VΩport.
2. Set the rotary switch to the Hz %DF position.
3. For duty factor, push the blue button until % is shown on
the main display, and Hz is shown in the upper right sec-
ondary display.
4. Connect the meter in parallel with the load or circuit.
5. Measure frequency or duty factor.
• Duty factor is the percentage of the signal that is high
• The period is displayed in frequency mode
• The period and frequency are displayed in frequency mode
ND 2352-1 61-633 630 Series Ins 12/22/04 9:49 AM Page 18

19
Capacitance Measurements
Range Resolution Accuracy Accuracy
(61-633) (61-635)
4nF 1pF ±(1.9% +20) ±(0.9% +20)
40nF 10pF
400nF 100pF
4µF 1nF
40µF 10nF ±(2.9% +20) ±(1.9% +20)
400µF 100nF
4mF 1µF ±(3.9% +20) ±(2.9% +20)
10mF 10µF
To Measure Capacitance:
1. Turn the power off to the cir-
cuit or device that is to be
measured and discharge all capacitors before attempting a
measurement.
2. Plug the Black test lead into the COM port and the Red test
lead into the VΩport.
3. Set the rotary switch to the µ position.
ND 2352-1 61-633 630 Series Ins 12/22/04 9:49 AM Page 19

20
Temperature Measurements
Temperature Resolution Accuracy Accuracy
Range (61-633) (61-635)
-200°C ~ -100°C 0.1°C N/A 3°C + 1 digit
-100°C ~ -50°C 2°C + 1 digit
-50°C ~ 1200°C 1°C + 1 digit
To Measure Temperature
1. Plug the temperature probe and adapter into the COM the V
port.
2. Set the rotary switch to the °C °F position.
3. For correct reading, ensure that the device being tested con-
tains no voltage.
4. Press the blue button to chose between a °C or °F display.
• The room temperature is displayed n the right secondary
block
• Multiply the accuracy by 2 for °F
• Input protection: 600V RMS
ND 2352-1 61-633 630 Series Ins 12/22/04 9:49 AM Page 20
This manual suits for next models
2
Table of contents
Other IDEAL Multimeter manuals

IDEAL
IDEAL 61-614 User manual

IDEAL
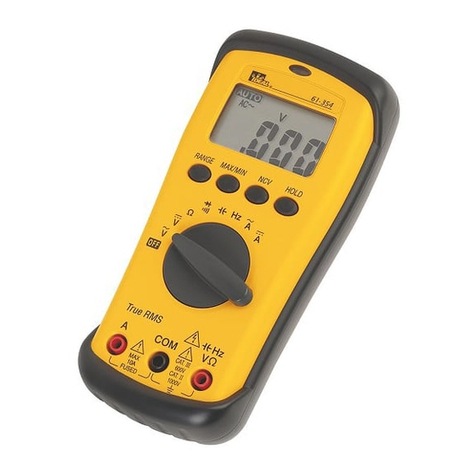
IDEAL 61-354 (TRMS) User manual

IDEAL
IDEAL 602 User manual
IDEAL
IDEAL 61-327 Use and care manual

IDEAL
IDEAL 61-337 Use and care manual

IDEAL
IDEAL 61-497 User manual
IDEAL
IDEAL 480 Series User manual

IDEAL
IDEAL 61-681 User manual

IDEAL
IDEAL ND 2365-1 User manual

IDEAL
IDEAL 61-704 User manual

IDEAL
IDEAL ND 2366-1 User manual

IDEAL
IDEAL ND 1075-2 User manual

IDEAL
IDEAL 61-340 User manual
IDEAL
IDEAL 61-340 User manual

IDEAL
IDEAL 61-312 User manual

IDEAL
IDEAL ND 3405-1 User manual
IDEAL
IDEAL 61-340 User manual

IDEAL
IDEAL ND 2385-1 User manual

IDEAL
IDEAL ND 3511-1 User manual

IDEAL
IDEAL 61-310 User manual