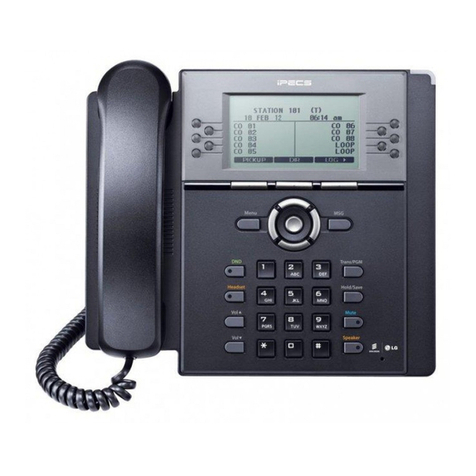
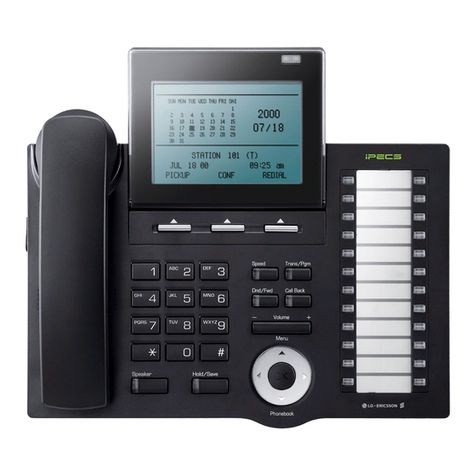
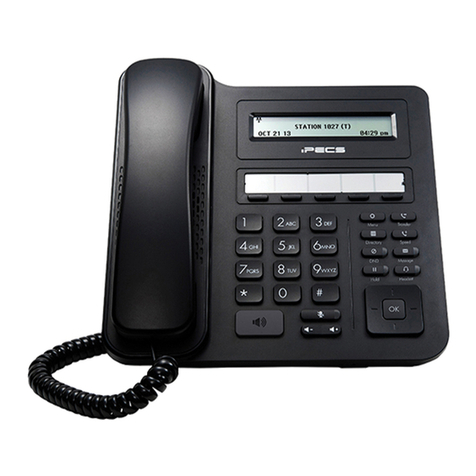
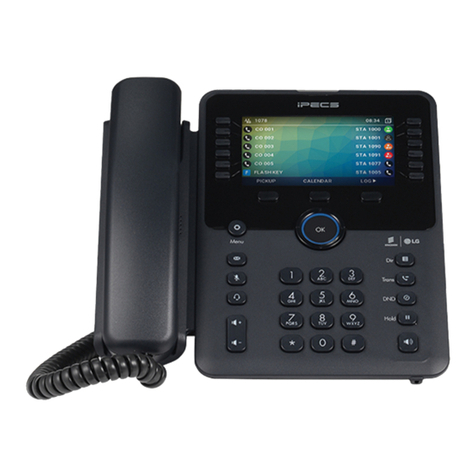
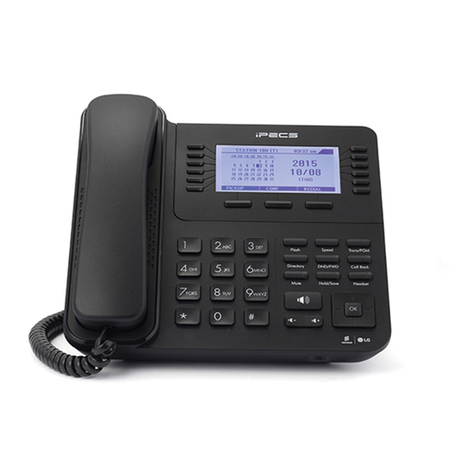
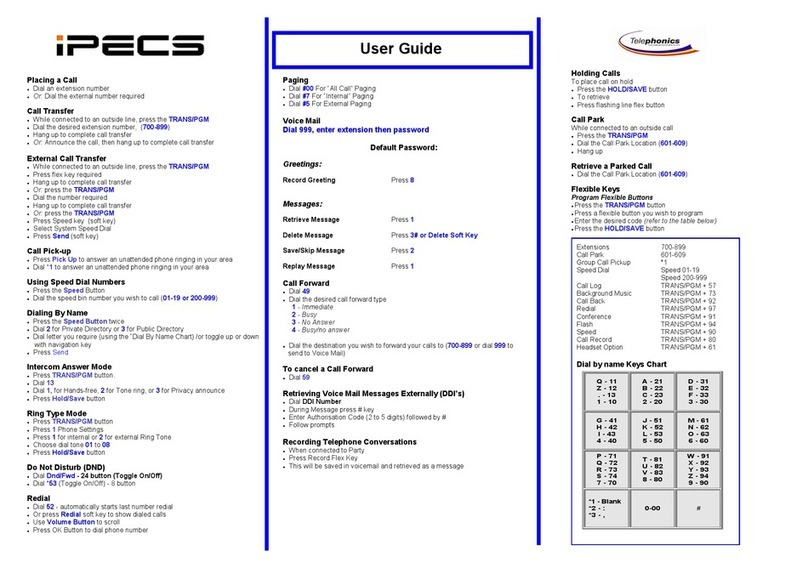
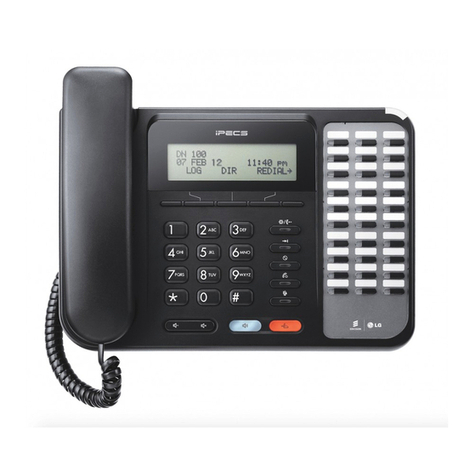
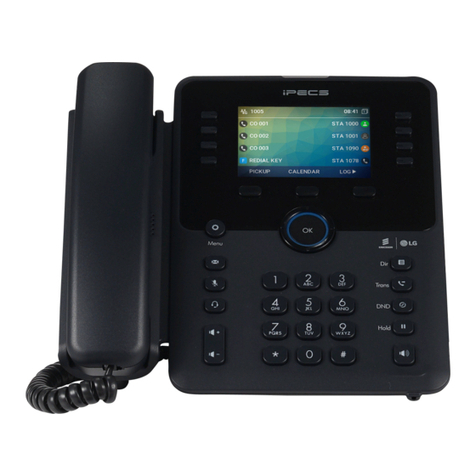
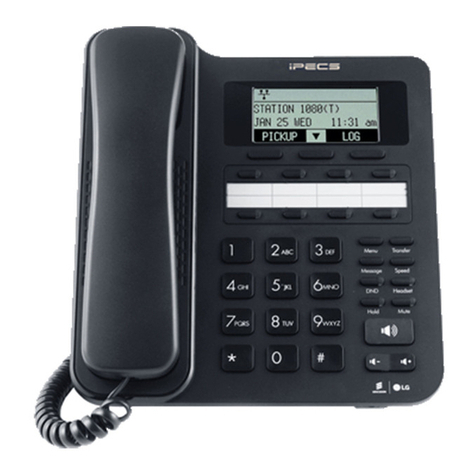
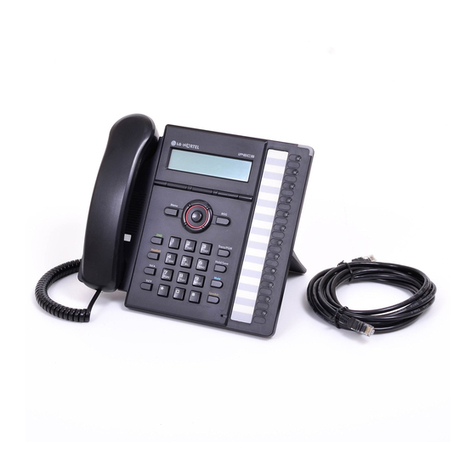
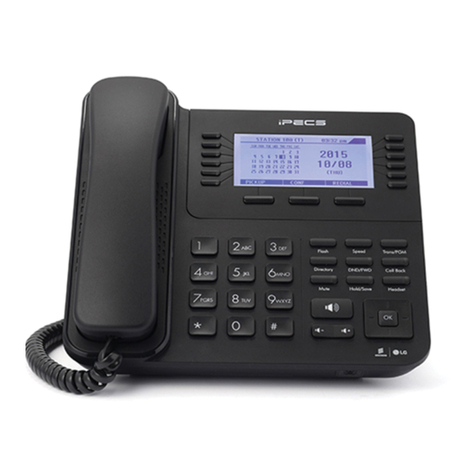
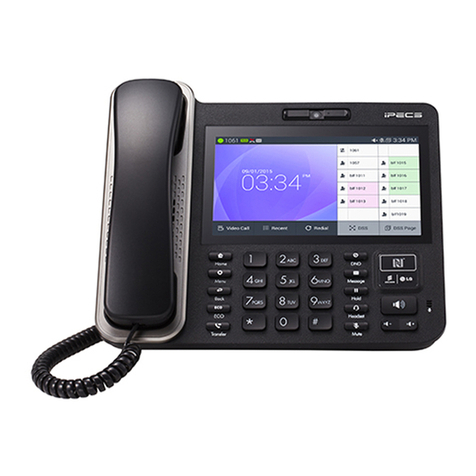
iPECS LIP-9010 User manual

LIP-9000 Series
User Guide
Please read this user guide carefully before
operating your set. Retain it for future reference.


Copyright © 2014 Ericsson-LG Enterprise Co. Ltd., All Rights
Reserved.
This material is copyrighted by Ericsson-LG Enterprise Co. Ltd. Any
unauthorized reproductions, use or disclosure of this material, or any part
thereof, is strictly prohibited and is a violation of Copyright Laws.
Ericsson-LG Enterprise reserves the right to make changes in specifications
at any time without notice.
The information furnished by Ericsson-LG Enterprise in this material is
believed to be accurate and reliable, but is not warranted to be true in all
cases.
Ericsson-LG Enterprise and iPECS are trademarks of Ericsson-LG
Enterprise Co., Ltd.
Document Information
Issue Date Description of Changes
1.0 July 11, 2014 New product release
1.1 August 27,2014 General update
1.2 September 2, 2014 Adapter specification update


LIP-9000 Series User Guide - ST i
Table of Contents
TABLE OF CONTENTS ...............................................................I
BEFORE USE..............................................................................1
ABOUT THIS GUIDE.................................................................................... 1
Introduction of the Document ....................................................... 1
Explanation of Symbol or Word.................................................... 1
1. INTRODUCTION.................................................................2
1.1 GENERAL........................................................................................ 2
1.2 FEATURE INFORMATION................................................................... 2
1.3 FEATURE GROUPINGS..................................................................... 3
1.4 IPECS LIP-9000 PHONE DESCRIPTION........................................... 3
1.4.1 Phone Layout and Functions............................................ 4
1.5 LIP-9000 PHONE INSTALLATION...................................................... 8
1.5.1 Power................................................................................ 8
1.5.2 Information about compatibility headset........................... 9
1.5.3 Wall Mount...................................................................... 10
1.6 BUTTON KIT.................................................................................. 11
2. LCD, SPEAKERPHONE & RELATED FEATURES .........12
2.1 USING THE LCD............................................................................ 12
2.2 DISPLAY MENU ............................................................................. 14
2.2.1 Phone Setting ................................................................. 14
2.2.2 Conference Room........................................................... 15
2.2.3 ICM SMS......................................................................... 16
2.2.4 Network Configuration .................................................... 17
2.2.5Button Program (LIP-9030/9040 Only)........................... 18
2.2.6 Attendant menu............................................................... 19

ii LIP-9000 Series User Guide - ST
2.3 USING THE SPEAKERPHONE .......................................................... 20
2.4 USING A BUTTON KIT .....................................................................21
3. RECEIVING CALLS..........................................................23
3.1 ANSWERING A CALL WHILE IDLE .................................................... 23
3.2 RESPONDING TO A CALL WHILE BUSY............................................ 24
3.3 USING ANSWERING MACHINE EMULATION (AME)........................... 24
3.4 DIFFERENTIAL RING SIGNALS ........................................................ 24
3.5 ANSWERING CALLS AT NIGHT ........................................................ 26
3.6 ANSWERING CALLS TO OTHER STATIONS....................................... 26
3.7 USING DO-NOT-DISTURB (DND) TO BLOCK INCOMING CALLS......... 27
3.8 FORWARDING CALLS.....................................................................27
3.8.1 Forwarding calls to another Station or Voice Mail.......... 27
3.8.2 Forwarding calls to an external number.......................... 28
3.8.3 Forwarding callers to a Text Message............................ 30
4. PLACING CALLS .............................................................32
4.1 INTERNAL CALLS........................................................................... 32
4.1.1 Using Camp-On when calling a busy station.................. 33
4.1.2 Leaving a Message Wait................................................. 33
4.2 EXTERNAL CALLS.......................................................................... 33
4.2.1 Placing external CO/VoIP calls....................................... 33
4.2.2 Waiting for the next available CO/IP line........................ 35
4.2.3 Account Codes: Tracking External calls for billing.......... 35
4.2.4 Disable dialing from your phone..................................... 35
4.2.5 Temporarily override dialing restrictions at a phone....... 36
4.3 USING DIRECTORY........................................................................ 36
4.3.1 Using Last Number Redial (LNR) ...................................36
4.3.2 Using and Entering Saved Number Dial......................... 36
4.3.3 Using System Speed Dial Numbers ............................... 37
4.3.4 Using Station Speed Dial Numbers................................ 37
4.3.5 Using Dial by Name and Entering Your Name ............... 39
4.3.6 Using Automatic Called Number Redial (ACNR)............ 39
5. CALL HANDLING.............................................................41

LIP-9000 Series User Guide - ST iii
5.1 CALL TRANSFER:SENDING A CALL TO A DIFFERENT DESTINATION....41
5.2 CALL HOLD:PLACING A CALL IN A WAITING STATE ........................... 41
5.3 BROKER CALL:SWITCHING BETWEEN TWO CALLS........................... 42
5.4 JOINING MULTIPLE PEOPLE IN A CONFERENCE ............................... 42
5.4.1 Setting up a Conference Room ...................................... 43
5.5 CALL PARK:PLACING A CALL ON HOLD TO PAGE ............................ 44
5.6 TWO-WAY RECORD:RECORDING A CALL........................................ 44
6. SEND & RETRIEVE MESSAGES.....................................45
6.1 RESPONDING TO A STATION MESSAGE WAITING INDICATION ........... 45
6.2 GETTING VOICE MAIL MESSAGES .................................................. 46
6.3 SENDING AND RECEIVING SHORT TEXT MESSAGES ........................ 47
7. REMOTE SYSTEM ACCESS............................................49
7.1 DIRECT INWARD SYSTEM ACCESS (DISA)...................................... 49
7.2 MOBILE PHONE EXTENSION........................................................... 49
8. MISC. FEATURES ............................................................51
8.1 CALL LOG..................................................................................... 51
8.2 CONTRAST ................................................................................... 53
8.3 BACKGROUND MUSIC AND MUSIC ON HOLD....................................54
8.4 USING INTERNAL,EXTERNAL AND MEET-ME PAGING ...................... 54
8.5 PUSH-TO-TALK (PTT) PAGE ......................................................... 55
8.6 WAKE-UP ALARM.......................................................................... 56
8.7 ALARM/DOOR BELL....................................................................... 56
8.8 SYSTEM VOICE MEMO................................................................... 57
8.9 HOT DESK.................................................................................... 58
9. FEATURES & FLEX BUTTONS.......................................59
9.1 ENTERING STATION PROGRAM DATA ............................................. 59
9.2 ASSIGNING FEATURES TO FLEX BUTTONS ...................................... 59
USEFUL INFORMATION ..........................................................61
DISPOSAL OF YOUR OLD APPLIANCE ......................................................... 61
IMPORTANT SAFETY INFORMATION ........................................................... 61
REGULATORY INFORMATION .................................................................... 63

iv LIP-9000 Series User Guide - ST
[EU]............................................................................................. 63
[USA/CSA].................................................................................. 63
OPEN SOURCE SOFTWARE NOTICE.......................................................... 64
GPL License:.............................................................................. 64

LIP-9000 Series User Guide - ST 1
Before Use
About this Guide
This guide is intended for the LIP-9000 Series users, and provides user-
related information.
Introduction of the Document
This guide explains how to install and correctly use LIP-9010, LIP-9020,
LIP-9030 and LIP-9040.
Product figures and screen images used in this guide could be changed
without notice for quality improvement.
Explanation of Symbol or Word
The following is symbols used in this guide. Information presented with
these symbols must be observed for the correct use of the application.
CAUTION
This mark warns a situation in which light injury or product damage
(hardware, software or data damage) could occur if the instructions have
been violated.
NOTE
This word provides additional explanation, emphasis on important
information or reference for related information which is required for the
correct use of the phone.

2 LIP-9000 Series User Guide - ST
1. Introduction
1.1 General
Your telephone is connected to an advanced-technology, highly-versatile,
fully-featured telecom system designed to make office communications
easy and productive. Employing state-of-the-art Voice over Internet
Protocol (VoIP) technology, voice and data converge on a single IP packet
network. Because each iPECS Phone is an IP appliance, it can be moved
easily throughout the office LAN and maintain normal operation.
1.2 Feature Information
We have taken every effort to make this user guide simple and
straightforward. The guide starts with the simpler operations of the iPECS
Phone Speakerphone, moves on to receiving and placing calls, and then to
more advanced features. Each section includes a brief and basic
description of each feature and step-by-step operation instructions.
The operations shown in this guide use the System’s base default
Numbering Plan. Your specific Numbering Plan may be different. Some
features may not be available for you to access or may be subject to certain
limitations based on the set-up of the System (refer to your System
Administrator, or the iPECS Technical Manuals for further information).
NOTE
Under certain operating conditions, this equipment may not be able to make
emergency calls. Alternative arrangements should be made for access to
emergency services.
Chapter 1

LIP-9000 Series User Guide - ST 3
1.3 Feature Groupings
Every effort has been taken to divide the features into a logical and
consistent sequence so that features can be quickly located.
Features have been divided into groups, Receiving Calls, Placing Calls, etc.
Within each group, features are arranged according to the difficulty of
operation and frequency of use.
1.4 iPECS LIP-9000 Phone Description
The iPECS LIP-9000 series phones (shown) incorporate the latest in VoIP
technology and user interface to provide you with a cost effective, simple to
use, productive communications tool.
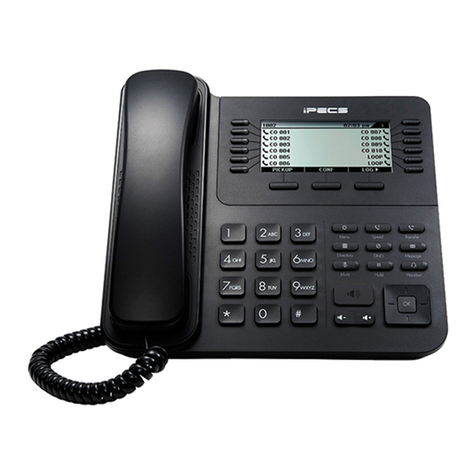
The LIP-9010 includes a 3-line 320 by 48 dot graphic LCD.
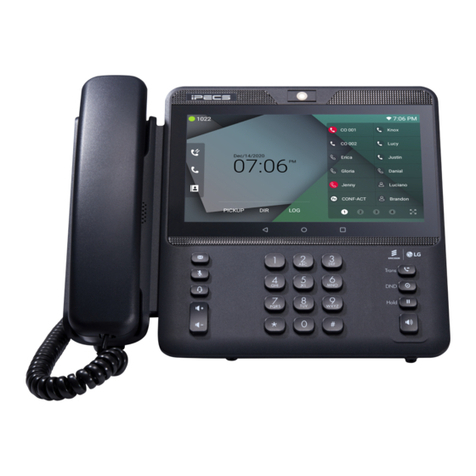
The LIP-9020 includes a 4-line 320 by 80 dot graphic LCD.
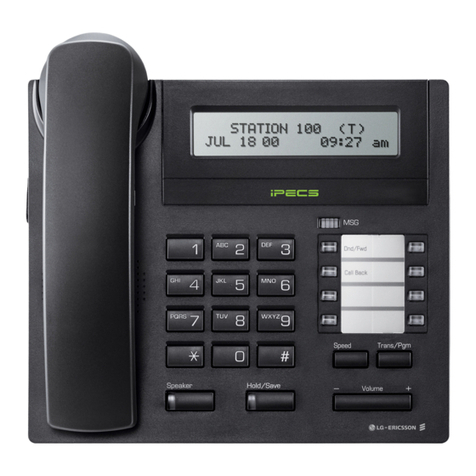
The LIP-9030 includes a 6-line 320 by 112 dot graphic LCD.
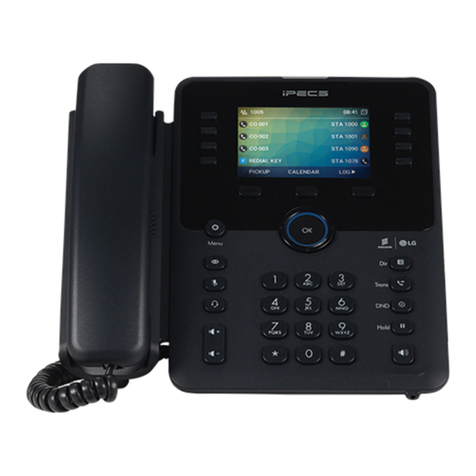
The LIP-9040 includes an 8-line 320 by 144 dot graphic LCD. (Refer
to 1.4.1.1 Phone Layout
LIP-9020, LIP-9030 and LIP-9040 has the bottom line of the display
incorporates an interactive menu accessed with the 3 Soft buttons just
below the display.
)
The Navigation button in the right lower end of the Phone allows you to
move through the menu choices when more than three selections are
available.
Features and functions of your iPECS are accessed using the Fixed or
Flexible buttons, dial pad buttons, or dial codes entered from the dial pad.
And, it also possible by selecting a menu item using the Soft buttons in
case of LIP-9020, LIP-9030 and LIP-9040.
In the remainder of this User Guide, the Fixed or Flexible buttons are shown
with a box surrounding the BUTTON designation while Soft button menu
selections are shown with a Double Underline.

4 LIP-9000 Series User Guide - ST
1.4.1 Phone Layout and Functions
1.4.1.1 Phone Layout
Below is the Layout of each LIP-Phone based on the front view. This layout
may be a bit different among LIP-9010, LIP-9020, LIP-9030 and LIP-9040.
Figure 1: LIP-9010 Front (above)
Figure 2: LIP-9020 Front (above)

LIP-9000 Series User Guide - ST 5
Figure 3: LIP-9030 Front (above)
Figure 4: LIP-9040 Front (above)

6 LIP-9000 Series User Guide - ST
1.4.1.2 Functions
Below gives a brief description of each control buttons or keys on the LIP-
Phone.
1. Ring/Message Indicator: Illuminates when ringing, or message waiting.
2. LCD Display: Phone interface for status, dialing directories, and text
message information.
3. Handset: Use to answer a call using the handset.
4. Speaker: Let you hear the caller’s voce in speakerphone mode.
5. Dial pad buttons: Use to dial a number, select a menu item, or input a
value.
6. Speakerphone button: Toggle the IP phone speakerphone On and Off.
And, it illuminates also when phone is in menu mode.
7. Volume control button: Use to adjust Ring, Headset, Handset, and
Speaker volume.
8. Flexible buttons: Assigns as Line or feature in Phone configuration.
LIP-9010 has 5-flexible buttons.
LIP-9020 has 10-flexible buttons.
LIP-9030 has 8-flexible buttons with maximum 3 pages.
LIP-9040 has 12-flexible buttons with maximum 3 pages.
9. Fixed buttons
Menu button: Accesses the menu for display and changes to the
IP Phone configuration.
Transfer (PGM) button: Transfers the current active call. And,
accesses the Program menu in idle state or it switches the dial pad
input mode in input screen. The dial pad mode displays in the
upper-right corner.
Directory button: Accesses the private or public directory.
Speed button: Assigns the speed number.
Message button: When the MWI LED indicates you have a
message use to access Voice Mail server.
DND (Do Not Disturb): Activates DND so that extension will not
ring. And it deletes a last letter in input screen.

LIP-9000 Series User Guide - ST 7
Headset button: When using a headset, this button toggles the
headset state. When the headset is active, the button LED
illuminates red.
Hold (Save) button: Use to place a call on Hold. Also, use to
access a held call. In menu mode, it saves the user input.
Mute button: Toggles audio from the microphone to the connected
party On and Off.
10. Navigation key
Left: In LIP-9020, 30, and 40 models, use to select the previous
group of softkeys when ◄ appears in the bottom-left of the LCD. In
LIP-9010, use to go to previous step or select ‘no’ when user has to
choose ‘yes’ or ‘no’.
Right: In LIP-9020, 30and 40 models, use to select the next group of
softkeys when ► appears in the bottom-right of the LCD. In LIP-
9010, use to activate Call Log function in standby mode.
Up: Scrolls through the phone’s menu options upward.
Down: Scrolls through the phone’s menu options downward.
11. OK Key: Selects the highlighted choice when navigates through a menu.
12. Softkeys: Softkeys are interactive, changing function based on the IP
Phone status of LIP-9020, 30, and 40. LIP-9010 does not support.

8 LIP-9000 Series User Guide - ST
1.5 LIP-9000 Phone Installation
The phone handset is attached as shown (A). The LIP-9000 has 2 RJ-45
and 10/100 Base-T LAN connection ports (shown). One port is for
connecting to the LAN (D), and the other can be connected to a desktop
data device or PC (B), or another LAN interface terminal.
NOTE
Please read "1.5.2 Information about compatibility headset" before
connecting your headset to ensure safe and proper use.
Figure 5: LIP-Phone Connections
1.5.1 Power
All LIP-9000 series phones can be powered by the AC/DC Adapter shown
‘(C)’ in Figure 5 or over the LAN cable using the POE8 or other 802.3af
compliant switch.
If using the AC/DC Adapter, after connecting the Phone to the LAN, the
Adapter’s DC voltage plug is inserted into the power-input jack in the
underside of the Phone.
To use AC power, use only the Ericsson-LG Enterprise Approved AC power
adaptor (P/N: TKTN9019XXX, See Table 1 on page 9 for details), which
you can order separately.
(A)
(B)
(D)
(C)

LIP-9000 Series User Guide - ST 9
CAUTION
Use either PoE or AC adaptor, not both, for power supply of your LIP Phone.
1.5.1.1 The country-specific Adaptor
Code
Function
TKTN9019901
Korea
TKTN9019902 Europe
TKTN9019903
North America (USA/Canada)
TKTN9019904 Australia
TKTN9019905
UK
TKTN9019906 China
TKTN9019907
South Africa/India
TKTN9019908 Brazil
TKTN9019909
Japan
TKTN9019910 Plus Star
Table 1: LIP-9000 Series country-specific Adaptor
1.5.1.2 PoE Class
PoE Class
LIP Phone
Class 1
LIP-9010
Class 2
LIP-9020, LIP-9030, LIP-9040
Table 2: LIP-9000 Series PoE Class
1.5.2 Information about compatibility headset
We can't guarantee other headsets except the headset list posted on
the web site.
Regarding Headset compatibility, refer to "Headset list for IP phone" on
the web site.
We will update the compatibility list if we finish testing the new one
anytime.

10 LIP-9000 Series User Guide - ST
1.5.3 Wall Mount
The LIP-9000 series phones can be wall mounted as needed. The following
instructions describe how to perform a wall mount installation.
1. Align the wall-mount bracket (not included) over the back of the phone,
then press the bracket forward applying steady pressure until it clicks
into place.
2. Mark and drill two 7mm holes for plastic wall anchors (not included).
3. Insert the two anchors into the holes and insert and tighten the two
screws (not included) leaving about 2.5 mm (1/8-inch) exposed.
4. Slide the LIP-9000 phone over the screws and assure the phone is
secure.
5. Reverse the handset hook and re-install in the phone so that the hook
catches the groove in the handset receiver,
6. Hang the handset up on the handset hook.
NOTE
It may be necessary to remove the phone and tighten or loosen the screws
for a secure mounting.

LIP-9000 Series User Guide - ST 11
1.6 Button Kit
The button kit for the LIP-9000 Series phone provides 12 or 24 additional
line/programmable feature keys. You can place the phone and button kit on
your desktop or you can wall-mount them.
Up to three different types of button kits are supported on a single phone.
The button kits work with the LIP-9020, LIP-9030, and LIP-9040.
Connect power to the phone. The phone and button kit will power up. The
button kit uses the electrical connection of the phone for power.
The available button kit is as follows:
LIP-9012 DSS:12 flexible button with 3 color LED
LIP-9024 DSS:24 flexible button with 3 color LED
LIP-9024 LSS:12 flexible button with 3 color LED and 2 page button
Figure 6: Button kit for LIP-9000 Series
See Button kit for the LIP-9000 Series Quick Installation Guide for more
detailed instruction.

12 LIP-9000 Series User Guide - ST
2. LCD, Speakerphone & Related
Features
2.1 Using the LCD
The LIP-9030 and LIP-9040 each has 6-line and 8-line Liquid Crystal
Display (LCD) which is divided into 3 sections. The upper section, which
consists of a single line, displays station number, various icons, time and
flexible button page number. The middle section displays the string of flex
button or a monthly calendar (LIP-9040 Only). The user can select by
pressing CALENDR Soft button of next page in idle state. It will also provide
called/calling name/number display, feature status and etc.
The lower section, which consists of a single line, is an interactive menu to
guide you through feature access and User Program selections. The
Navigation button is used to move through Display Menu items.
1004 12:41
CO 001 CO 007
CO 002 CO 008
CO 003 CO 009
CO 004 CO 010
CO 005 CO 011
CO 006 CO 012
PICKUP CONF LOG▶
1
Other manuals for LIP-9010
3
This manual suits for next models
3
Table of contents
Other iPECS IP Phone manuals

iPECS
iPECS 1080i User manual

iPECS
iPECS LDP-9240 User manual

iPECS
iPECS LIP-7024LD User manual

iPECS
iPECS 9071 Setup guide

iPECS
iPECS LIP-9070 User manual

iPECS
iPECS LIP-9002 User manual

iPECS
iPECS LIP-7008D User manual

iPECS
iPECS LIP-9002 User manual

iPECS
iPECS LIP-8012D User manual

iPECS
iPECS 1030i User manual

iPECS
iPECS LDP-9008D User manual

iPECS
iPECS LIP-8040E User manual

iPECS
iPECS 1000i Series User manual

iPECS
iPECS 1020i Specification sheet

iPECS
iPECS LIP-9040 User manual

iPECS
iPECS LIP-8008D User manual

iPECS
iPECS LIP-8004D User manual

iPECS
iPECS 1000i Series User manual

iPECS
iPECS 1040i Specification sheet

iPECS
iPECS LIP-8002E User manual