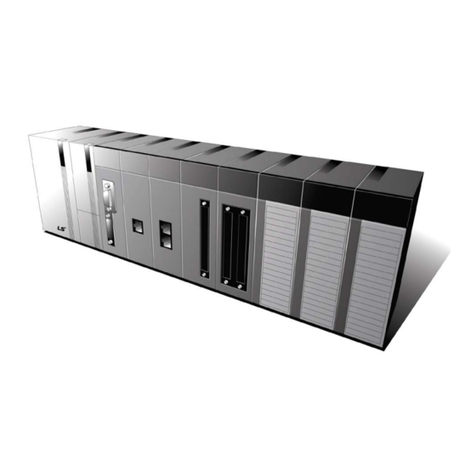
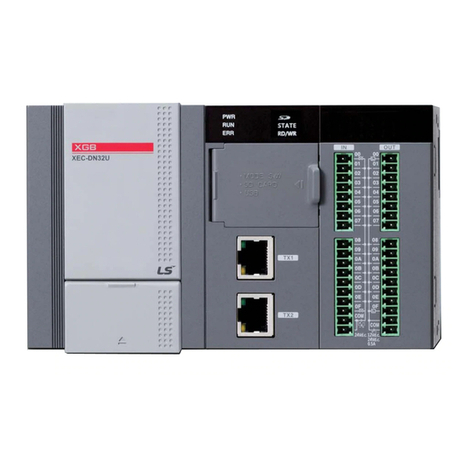
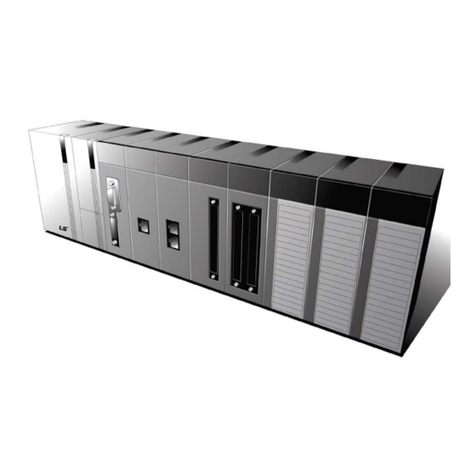
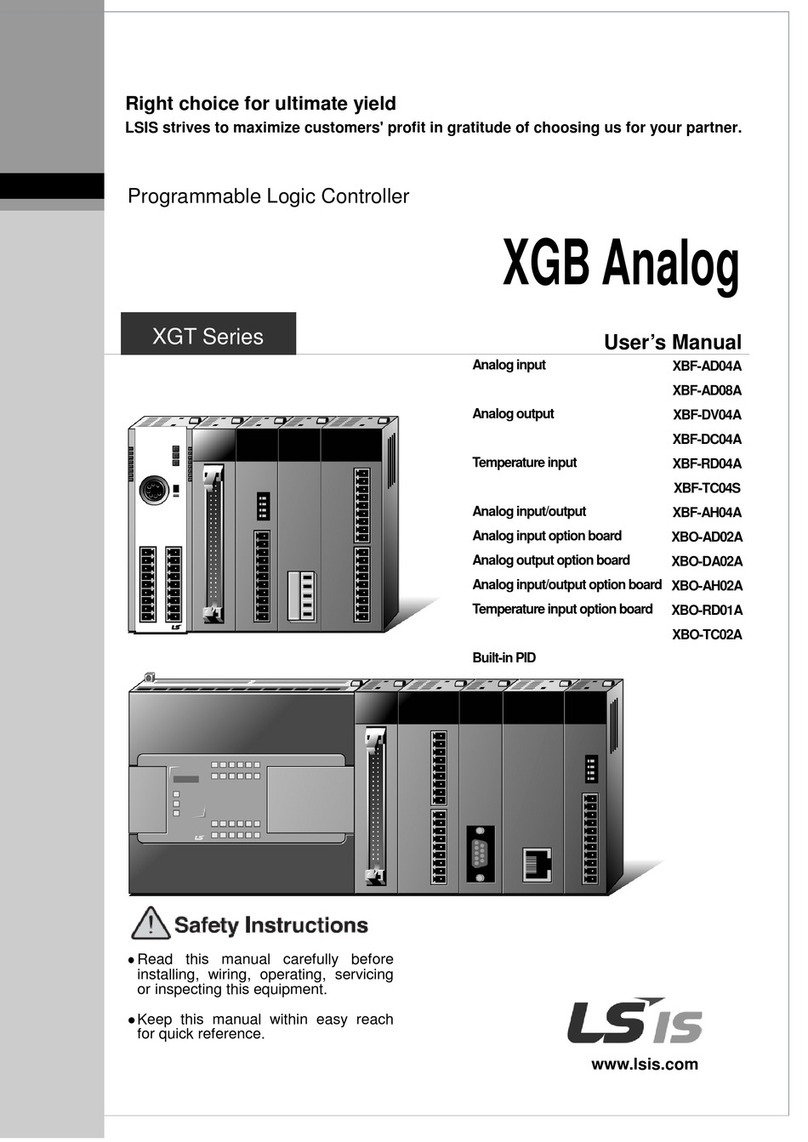
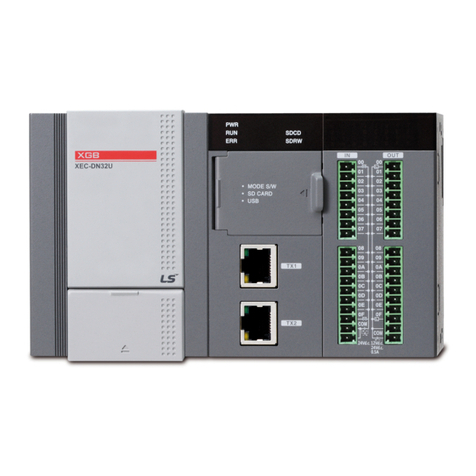
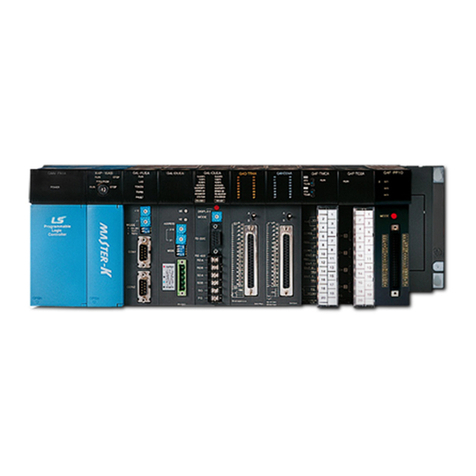
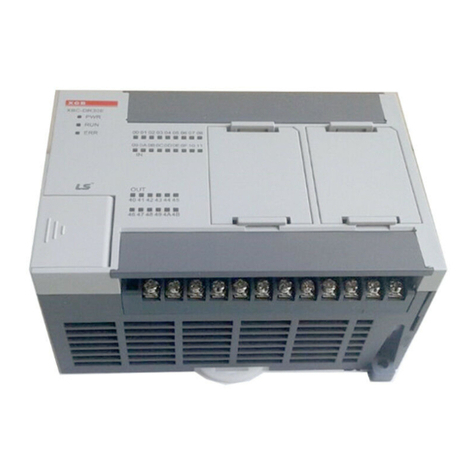
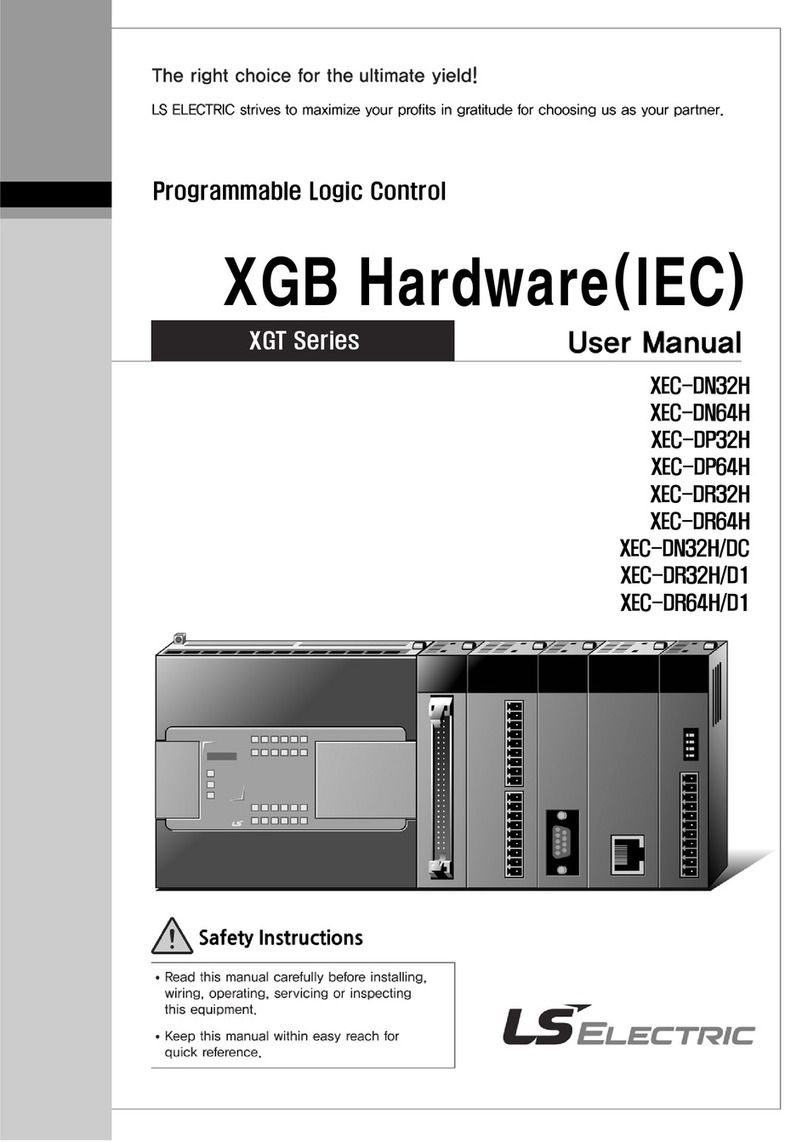
LSIS XEC-DR32H User manual

User’s Manual
○○○○○○ Series
XGB Hardware (IEC)
Programmable Logic Controller
XGT Series
XEC-
DR32H
XEC-
DN32H
XEC-
DP32H
XEC-
DR64H
XEC-
DN64H
XEC-
DP64H
XEC-
DR32H/D1
XEC-
DR64H/D1

Safety Instruction
Before using the product …
For your safety and effective operation, please read the safety instructions
thoroughly before using the product.
►Safety Instructions should always be observed in order to prevent accident
or risk with the safe and proper use the product.
►Instructions are separated into “Warning” and “Caution”, and the meaning of
the terms is as follows;
This symbol indicates the possibility of serious injury
or death if some applicable instruction is violated
This symbol indicates the possibility of slight injury
or damage to products if some applicable instruction
is violated
►The marks displayed on the product and in the user’s manual have the
following meanings.
Be careful! Danger may be expected.
Be careful! Electric shock may occur.
►The user’s manual even after read shall be kept available and accessible to
any user of the product.
Warning
Caution

Safety Instruction
Safety Instructions when designing
Please, install protection circuit on the exterior of PLC to protect
the whole control system from any error in external power or PLC
module. Any abnormal output or operation may cause serious problem
in safety of the whole system.
- Install applicable protection unit on the exterior of PLC to protect
the system from physical
damage such as emergent stop switch,
protection circuit, the upper/lowest limi
t switch, forward/reverse
operation interlock circuit, etc.
- If any system error (watch-dog timer error, module installation error,
etc.) is detected during CPU operation in PLC, the whole output is
designed to be turned off and stopped for system safety. However,
in case CPU error if caused on output device itself such as relay or
TR can not be
detected, the output may be kept on, which may
cause serious problems. Thus, you are recommended to install an
addition circuit to monitor the output status.
Never connect the overload than rated to the output module nor
allow the output circuit to have a short circuit, which may cause a
fire.
Never let the external power of the output circuit be designed to
be On earlier than PLC power, which may cause abnormal output or
operation.
In case of data exchange between computer or other external
equipment and PLC through communication or any operation of
PLC (e.g. operation mode change), please install interlock in the
sequence program to protect the system from any error. If not, it
may cause abnormal output or operation.
Warning

Safety Instruction
Safety Instructions when designing
I/O signal or communication line shall be wired at least 100mm
away from a high-voltage cable or power line.If not, it may cause
abnormal output or operation.
Caution
Use PLC only in the environment specified in PLC manual or
general standard of data sheet. If not, electric shock, fire, abnormal
operation of the product or flames may be caused.
Before installing the module, be sure PLC power is off. If not,
electric shock or damage on the product may be caused.
Be sure that each module of PLC is correctly secured. If the
product is installed loosely or incorrectly, abnormal operation, error or
dropping may be caused.
Be sure that I/O or extension connecter is correctly secured. If
not, electric shock, fire or abnormal operation may be caused.
If lots of vibration is expected in the installation environment,
don’t let PLC directly vibrated. Electric shock, fire or abnormal
operation may be caused.
Don’t let any metallic foreign materials inside the product, which
may cause electric shock, fire or abnormal operation..
Caution

Safety Instruction
Safety Instructions when wiring
Prior to wiring, be sure that power of PLC and external power is
turned off. If not, electric shock or
damage on the product may be
caused.
Before PLC system is powered on, be sure that all the covers of
the terminal are securely closed. If not, electric shock may be caused
Warning
Let the wiring installed correctly after checking the voltage rated
of each product and the arrangement of terminals. If not, fire,
electric shock or abnormal operation may be caused.
Secure the screws of terminals tightly with specified torque when
wiring. If the screws of terminals get loose, short circuit, fire or abnormal
operation may be caused.
*
Surely use the ground wire of Class 3 for FG terminals, which is
exclusively used for PLC. If the terminals not grounded correctly,
abnormal operation may be caused.
Don’t let any foreign materials such as wiring waste inside the
module while wiring, which may cause fire, damage on the product
or abnormal operation.
Caution

Safety Instruction
Safety Instructions for test-operation or repair
Safety Instructions for waste disposal
Don’t touch the terminal when powered. Electric shock or abnormal
operation may occur.
Prior to cleaning or tightening the terminal screws, let all the
external power off including PLC power.
If not, electric shock or
abnormal operation may occur.
Don’t let the battery recharged, disassembled, heated, short or
soldered. Heat, explosion or ignition may cause injuries or fire.
Warning
Don’t remove PCB from the module case nor remodel the module.
Fire,electric shock or abnormal operation may occur.
Prior to installing or disassembling the module, let all the external
power off including PLC power. If not, electric shock or abnormal
operation may occur.
Keep any wireless installations or cell phone at least 30cm away
from PLC. If not, abnormal operation may be caused.
Caution
Product or battery waste shall be processed as industrial waste.
The waste may discharge toxic materials or explode itself.
Caution

Revision History
V
ersion
Date Remark Chapter
V 1.0 2009.2 1. First Edition -
V 1.1 2009.6
1. Add detailed description on High Speed Counter
specification
Ch8.1.1
V 1.2 2009.10 1. Add DC power unit
Ch2.1, Ch2.2
Ch4.1, Ch4.3
Ch7.2.1, Ch7.2.2
Ch8.1.1, Ch8.1.2
Appendix2
V1.5 2010.10
1. Add new module
2. Error in consumption current calculation fixed
3. Error in Momentary power failure and watch dog
fixed
4. Error in program execution fixed
5. Error in memory unit fixed
6. Error in remote function fixed
7. RTC flag, setting method modified
8. Input speciation of main unit fixed
9. Contents related with XGI deleted
10. Voltage reference fixed
11. Contents related with STOP LED deleted
12. APM_SSSB modified
13. XEC-DP32H/DP64H added
Ch2.1, Ch2.2,
Ch2.3.1, Ch4.1
Ch4.3, Ch4.4
Ch5.1.2, Ch5.1.4
Ch5.2.2
Ch5.4.1
Ch6.4
Ch6.12
Ch7.2.1, Ch7.2.2
Ch10.2
Ch10.3
Ch.11
Appendix4
Ch4.1, Ch4.3
Ch7.3.4, Ch7.3.6
Appendix2
V1.6 2014.2
1. Domain Of Homepage Changed
2. Add XEC-DN32H/DC
Front/Back
Cover
Ch2.1, Ch2.2
Ch4.1, Ch4.3
Ch7.2.1, Ch7.3.3
Ch8.1.1
Appendix2
V1.7 2015.7
1. Address & phone number changed
2. Add new module
3. Vibration Specification modified
Back Cover
Ch2.1, Ch2.2,
Ch2.3.3, Ch2.3.4
Ch3.1
The number of User’s manual is indicated the right side of the back cover.
ⓒLSIS Co. ,Ltd.2009All Rights Reserved.

About User’s Manual
About User’s Manual
Thank you for purchasing PLC of LSIS Co.,Ltd.
Before use, make sure to carefully read and understand the User’s Manual about the functions,
performances, installation and programming of the product you purchased in order for correct use and
importantly, let the end user and maintenance administrator to be provided with the User’s Manual.
The Use’s Manual describes the product. If necessary, you may refer to the following description and order
accordingly. In addition, you may connect our website(http://eng.lsis.biz/) and download the information as a
PDF file.
Relevant User’s Manual
Title Description No. of User
Manual
XG5000 User’s
Manual
(XGI/XGR/XEC)
It describes how to use XG5000 software especially about
online functions such as programming, printing, monitoring
and debugging by using XGB (IEC language)
10310000512
XGI/XGR/XEC Series
Instruction &
Programming
It describes how to use the instructions for programming
using XGB (IEC language) series.
10310000510
XGB Hardware
User’s Manual (IEC
language)
It describes how to use the specification of power/input
/output/expansion modules, system configuration and built-in
High-speed counter for XGB main unit.
10310000983
XGB Analog
User’s Manual
It describes how to use the specification of analog
input/analog output/temperature input module, system
configuration and built-in PID control for XGB main unit.
10310000920
XGB Position
User’s Manual
It describes how to use built-in positioning function for XGB
main unit.
10310000927
XGB Cnet I/F
User’s Manual
It describes how to use built-in communication function for
XGB main unit and external Cnet I/F module.
10310000816
XGB Fast Ethernet I/F
User’s Manual
It describes how to use XGB FEnet I/F module.
10310000873

◎
Contents
◎
Chapter 1 Introduction ...................................................................... 1-1~1-5
1.1 Guide to Use This Manual......................................................................................1-1
1.2 Features ................................................................................................................1-2
1.3 Terminology ...........................................................................................................1-4
Chapter 2 System Configuration........................................................... 2-1~2-11
2.1 XGB System Configuration ..................................................................................2-1
2.2 Product List ..........................................................................................................2-2
2.3 Classification and Type of Product Name .............................................................2-4
2.3.1 Classification and type of main unit ..........................................................................2-4
2.3.2 Classification and type of expansion module ...........................................................2-5
2.3.3 Classification and type of special module .................................................................2-6
2.3.4 Classification and type of communication module .....................................................2-7
2.3.5 Classification and Type of Option Module ................................................................2-7
2.4 System Configuration ...........................................................................................2-8
2.4.1 Cnet I/F system ..........................................................................................................2-8
2.4.2 Ethernet system........................................................................................................2-11
Chapter 3 General Specifications ................................................................. 3-1
3.1 General Specifications...........................................................................................3-1
Chapter 4 CPU Specifications.................................................................4-1~4-9
4.1 Performance Specifications ..................................................................................4-1
4.2 Names of Part and Function .................................................................................4-3
4.3 Power Supply Specifications ................................................................................4-4
4.4 Calculation Example of Consumption Current/Voltage...........................................4-6

4.5 Battery .................................................................................................................4-8
4.5.1 Battery specification ...................................................................................................4-8
4.5.2 Notice in using............................................................................................................4-8
4.5.3 Life of battery..............................................................................................................4-8
4.5.4 How to change the battery .........................................................................................4-9
Chapter 5 Program Configuration and Operation Method..................5-1~5-28
5.1 Program Instruction ..............................................................................................5-1
5.1.1 Program execution methods ....................................................................................5-1
5.1.2 Operation processing during momentary power failure ...........................................5-2
5.1.3 Scan time ..................................................................................................................5-3
5.1.4 Scan Watchdog timer ...............................................................................................5-4
5.2 Program Execution ...............................................................................................5-5
5.2.1 Configuration of program ..........................................................................................5-5
5.2.2 Program execution methods......................................................................................5-5
5.2.3 Interrupt .....................................................................................................................5-7
5.3 Operation Mode .................................................................................................5-19
5.3.1 RUN mode ..............................................................................................................5-19
5.3.2 STOP mode ............................................................................................................5-20
5.3.3 DEBUG mode .........................................................................................................5-20
5.3.4 Change operation mode .........................................................................................5-24
5.4 Memory................................................................................................................5-25
5.4.1 Program memory ....................................................................................................5-25
5.4.2 Data memory............................................................................................................5-26
5.4.3 Data retain area setting ..........................................................................................5-26
5.4.4 Data Memory Map....................................................................................................5-28
Chapter 6 CPU Functions......................................................................6-1~6-24
6.1 Type Setting .........................................................................................................6-1
6.2 Parameter Setting ................................................................................................6-2
6.2.1 Basic parameter setting ............................................................................................6-2
6.2.2 I/O parameter setting ................................................................................................6-3
6.3 Self-diagnosis Function ........................................................................................6-4
6.3.1 Saving of error log ....................................................................................................6-4
6.3.2 Troubleshooting ........................................................................................................6-4
6.4 Remote Functions..................................................................................................6-6
6.5 Forced Input/Output On and Off Function ..............................................................6-7
6.5.1 Force I/O setup .........................................................................................................6-7
6.5.2 Processing time and method of Forced Input/Output On and Off ............................6-8
6.6 Direct Input/Output Operation ................................................................................6-9
6.7 Diagnosis of External Device ...............................................................................
6-10
6.8 Allocation of Input/Output Number .......................................................................6-11
6.9 Online Editing ......................................................................................................
6-13
6.10 Reading Input/Output Information......................................................................6-16
6.11 Monitoring ........................................................................................................6-17
6.12 RTC function......................................................................................................6-22
6.12.1 How to use ............................................................................................................6-22
Chapter 7 Input/Output Specifications ...............................................7-1~7-31
7.1 Introduction ..........................................................................................................7-1
7.2 Digital Input Specifications of Main Unit ................................................................7-7
7.2.1 XEC-DR32H / XEC-DN32H input unit (Source/Sink type).........................................7-7
7.2.2 XEC-DR64H / XEC-DN64H input unit (Source/Sink Type)........................................7-8
7.3 Digital Output Specification of Main Unit ...............................................................7-9
7.3.1 XEC-DR32H output unit.............................................................................................7-9
7.3.2 XEC-DR64H output unit...........................................................................................7-10
7.3.3 XEC-DN32H output unit (Sink type).........................................................................7-11
7.3.4 XEC-DP32H output unit (Source type) ....................................................................7-12
7.3.5 XEC-DN64H output unit (Sink type).........................................................................7-13
7.3.6 XEC-DP64H output unit (Source type) ....................................................................7-14
7.4 Digital Input Module Specification .......................................................................7-15
7.4.1 8 point DC24V input module (Source/Sink type) ....................................................7-15
7.4.2 16 point DC24V input module (Sink/Source type) ..................................................7-16
7.4.3 32 point DC24V input module (Source/Sink type) ...................................................7-17
7.5 Digital Output Module Specifications ..................................................................7-18
7.5.1 8 point relay output module......................................................................................7-18
7.5.2 16 point relay output module....................................................................................7-19
7.5.3 8 point transistor output module (Sink type) ............................................................7-20

7.5.4 16 point transistor output module (Sink type) ..........................................................7-21
7.5.5 32 point transistor output module (Sink type) ..........................................................7-22
7.5.6 8 point transistor output module (Source type)........................................................7-23
7.5.7 16 point transistor output module (Source type)......................................................7-24
7.5.8 32 point transistor output module (Source type)......................................................7-25
7.6 Combined Module Digital Input Specification .......................................................7-26
7.6.1 8 point DC24V input part (Source/Sink type)...........................................................7-26
7.7 Combined Module Digital Output Specification.....................................................7-27
7.7.1 8 point relay output part ...........................................................................................7-27
7.8 IO Wiring by Using Smart Link Board...................................................................7-28
7.8.1 Smart link board .....................................................................................................7-28
Chapter 8 Built-in High-speed Counter Function ..............................8-1~8-32
8.1 High-speed Counter Specifications........................................................................8-1
8.1.1 Performance specifications ......................................................................................8-1
8.1.2 Designation of parts ..................................................................................................8-2
8.1.3 Counter Function........................................................................................................8-4
8.2 Installation and Wiring ........................................................................................8-21
8.2.1 Precaution for wiring ...............................................................................................8-21
8.2.2 Example of wiring ...................................................................................................8-21
8.3 Internal Memory .................................................................................................8-22
8.3.1 Special area for High-speed counter ......................................................................8-22
8.3.2 Error code ...............................................................................................................8-27
8.4 Examples: Using High-speed Counter ................................................................8-28
Chapter 9 Installation and Wiring ........................................................9-1~9-18
9.1 Safety Instruction .................................................................................................9-1
9.1.1
Fail safe circuit..........................................................................................................9-3
9.1.2 PLC heat calculation ..................................................................................................9-6
9.2 Attachment/Detachment of Modules .....................................................................9-8
9.2.1 Attachment/Detachment of modules .......................................................................9-8
9.2.2 Caution in handling ..................................................................................................9-13
9.3 Wire.....................................................................................................................9-14

9.3.1 Power wiring.............................................................................................................9-14
9.3.2 I/O Device wiring......................................................................................................9-17
9.3.3 Grounding wiring......................................................................................................9-17
9.3.4 Specifications of wiring cable...................................................................................9-18
Chapter 10 Maintenance ....................................................................10-1~10-2
10.1 Maintenance and Inspection .............................................................................10-1
10.2 Daily Inspection ................................................................................................10-1
10.3 Periodic Inspection ...........................................................................................10-2
Chapter 11 Troubleshooting ............................................................ 11-1~11-12
11.1 Basic Procedure of Troubleshooting ................................................................. 11-1
11.2 Troubleshooting.................................................................................................. 11-1
11.2.1 Troubleshooting flowchart used with when the PWR(Power) LED turns Off. ........11-2
11.2.2 Troubleshooting flowchart used with when the ERR(Error) LED is flickering .......11-3
11.2.3 Troubleshooting flowchart used with when the RUN,STOP LED turns Off. .........11-4
11.2.4 Troubleshooting flowchart used with when the I/O part doesn’t operate normally..11-5
11.3 Troubleshooting Questionnaire ......................................................................... 11-7
11.4 Troubleshooting Examples ............................................................................... 11-8
11.4.1 Input circuit troubles and corrective actions .........................................................11-8
11.4.2 Output circuit and corrective actions......................................................................11-9
11.5 Error Code List..................................................................................................11-11
Appendix 1 Flag List .............................................................App. 1-1~App.1-8
Appendix 1.1 Special Relay (F) List .....................................................................App. 1-1
Appendix 1.2 Communication Relay (L) List ........................................................App. 1-5
Appendix 1.3 Network Register (N) List ..............................................................App. 1-8
Appendix 2 Dimension.............................................................App.2-1~App.2-4
Appendix 3 Compatibility with GLOFA...................................App.3-1~App.3-7

Appendix 4 Instruction List...................................................App.4-1~App.4-13
Appendix 4.1 Basic Function.................................................................................App.4-1
Appendix 4.2 MK(MASTER-K) Function .............................................................App.4-10
Appendix 4.3 Array Operation Function .............................................................App.4-10
Appendix 4.4 Basic Function Block................................................................... App.4-11

Chapter 1 Introduction
1.1 Guide to Use This Manual
This manual includes specifications, functions and handling instructions for the XGB series PLC.
This manual is divided up into chapters as follows.
No. Title Contents
Chapter 1 Introduction Describes configuration of this manual, unit’s features and
terminology.
Chapter 2 System Configurations
Describes available units and system configuration in the XGB
series.
Chapter 3 General Specifications Describes general specifications of units used in
the XGB
series.
Chapter 4 CPU Specifications
Describes performances, specifications and operations.
Chapter 5 Program
Configuration and
Operation Method
Chapter 6 CPU Module Functions
Chapter 7 Input/Output Specifications Describes operation of basic and input/output.
Chapter 8 Built-in High-speed Counter
Function
Describes built-in high-speed counter functions.
Chapter 9 Installation and Wiring
Describes installation, wiring and handling instructions for
reliability of the PLC system.
Chapter 10 Maintenance Describes the check items and method for long-
term normal
operation of the PLC system.
Chapter 11 Troubleshooting Describes various operation errors and corrective actions.
Appendix 1 Flag List Describes the types and contents of various flags.
Appendix 2 Dimension Shows dimensions of the main units and expansion modules.
Appendix 3 Compatibility with
GLOFA
Describes the compatibility with GLOFA.
Appendix 4 Instruction List Describes the special relay and instruction list.
1-1

Chapter 1 Introduction
1.2 Features
The features of XGB system are as follows.
(1) The system secures the following high performances.
(a) High Processing Speed
(b) Max. 384 I/O control supporting small & mid-sized system implementation
Item Specification Reference
Operation processing
speed
83ns / Step -
Max IO contact point 384 points
Program capacity 200KB -
Max. no. of expanded
base
10 stages -
(c) Enough program capacity
(d) Expanded applications with the support of floating point.
(2) Compact : the smallest size comparing to the same class model of competitors.
(a) Compact panel realized through the smallest size.
Item Type Size (W * H * D)
Reference
Main unit XEC-Dx32H 114 * 90 * 64
XEC-Dx64H 180 * 90 * 64
Extension module XBE-,XBF-,XBL- 20 * 90 * 60 Basis of minimum size
(3) Easy attachable/extensible system for improved user convenience.
(a) Easy attachable to European terminal board and convenient-to-use MIL connector method improving
convenient wiring.(“S” type main unit and expanded module)
(b) By adopting a removable terminal block connector (M3 X 6 screw), convenience of wiring may be
increased.
(c) By adopting connector coupling method, modules may be easily connected and separated.
(4) Improved maintenance ability with kinds of register, built-in RTC (“H” type), comment backup and etc
(a) Convenient programming environment by providing analogue register, array and structure.
(b) Improved maintenance ability by operating plural programs and task program through module program.
(c) Built-in Flash ROM enabling permanent backup of program without any separate battery.
(d) Improved maintenance ability by types of comment backup.
(e) Built-in RTC function enabling convenient history and schedule management
1-2

Chapter 1 Introduction
(5) Optimized communication environment.
(a) With max. 2 channels of built-in COM (excl. loader), up to 2 channel communication is available without
any expanded of module.
(b) Supporting various protocols to improve the convenience (leaseddedicated, Modbus, user-defined
communication)
(c) Communication module may be additionally increased by adding modules (up to 2 rackstages such as
Cnet, Enet and etc).
(d) Convenient network-diagnostic function through network & communication frame monitoring.
(e) Convenient networking to upper systems through Enet or Cnet.
(f) High speed program upload and download by USB Port
(6) Applications expanded with a variety of I/O modules.
(a) 8, 16, 32 points modules provided (if relay output, 8/16 points module).
(b) Single input, single output and combined I/O modules supported.
(7) Applications expanded through analogue-exclusive dedicated register design and full attachable
mechanism.
(a) All analogue modules can be attachable on extension base. (H type: up to 10 racks stages available)
(b) With analogue exclusive dedicated register(U) and monitoring exclusive dedicated function, convenient
use for I/O is maximized (can designate operations using easy programming of U area and monitoring
function)
(8) Integrated programming environment
(a) XG 5000: intensified program convenience, diverse monitoring, diagnosis and editing function
(b) XG - PD: COM/network parameters setting, frame monitoring, protocol analysis function
(9) Built-in high speed counter function
(a) Providing high High-speed counter 1phase, 2phase and more additional functions.
(b) Providing parameter setting, diverse monitoring and diagnosis function using XG5000.
(c) Monitoring function in XG5000 can inspect without program, inspecting external wiring, data setting and
others.
(마침표)
(10) Built-in position control function
(a) Supporting max 100Kpps 2 axes.
(b) Providing parameter setting, operation data collection, diverse monitoring and diagnosis by using
XG5000.
(c) Commissioning by monitoring of XG5000, without program, inspecting external wiring and operation data
setting.
1-3

Chapter 1 Introduction
(11) Built-in PID
(a) Supporting max. 16 loops.
(b) Setting parameters by using XG5000 and supporting loop status monitoring conveniently with trend
monitor.
(c) Control constant setting through the improved automatic Auto-tuning function.
(d) With many other additional functions including PWM output, ∆MV, ∆PV and SV Ramp, improving the
control preciseness.
(e) Supporting types of control modes such as forward/backward mixed operation, 2-stage SV PID control,
cascade control and etc.
(f) A variety of warning functions such as PV MAX and PV variation warning securing the safety.
1.3 Terminology
The following table gives definition of terms used in this manual.
Terms Definition Remark
Module A standard element that has a specified function which configures
the system. Devices such as I/O board, which inserted onto the
mother board.
Example)
Expansion module,
Special module,
Communication
module
Unit
A single module or group of modules that perform an
independent operation as a part of PLC systems.
Example)
Main unit,
Expansion unit
PLC System
A system which consists of the PLC and peripheral devices.
A user program can control the system. -
XG5000 A program and debugging tool for the MASTER-K series.
It executes program creation, edit, compile and debugging.
(PADT: Programming Added Debugging Tool) -
XG - PD
Software to execute description, edition of basic parameter, high
speed link, P2P parameter, and function of communication
diagnosis
-
I/O image area Internal memory area of the CPU module which used to hold I/O
status.
Cnet Computer Network -
FEnet Fast Ethernet Network -
Pnet Profibus-DP Network -
Dnet DeviceNet Network -
RTC Abbreviation of ‘Real Time Clock’. It is used to call general IC that
contains clock function. -
Watchdog Timer
Supervisors the pre-set execution times of programs and warns if
a program is not competed within the pre-set time. -
1-4

Chapter 1 Introduction
Terms Definition Remark
Sink Input
Current flows from the switch to the PLC input terminal if a input
signal turns on.
Z: Input
impedance
Source Input
Current flows from the PLC input terminal to the switch after a
input signal turns on.
-
Sink Output
Current flows from the load to the output terminal and the PLC
output turn on.
-
Source Output
Current flows from the output terminal to the load and the PLC
output turn on.
-
−
Output
Contact
1-5

Chapter 2 System Configuration
The XGB series has suitable to configuration of the basic, computer link and network systems.
This chapter describes the configuration and features of each system.
2.1 XGB System Configuration
XGB series System Configuration is as follows. Expanded I/O module and special module are available to
connect maximum 7 stages for “S” type and 10 stages for “H” type. Expanded communication module is
available to connect maximum 2 stages.
Item Description
Total I/O points
•XEC-DxxxH : 32~384 points
Maximum number of
expansion
modules
Digital I/O module
•
Max. 10
Special module
•
Max. 10
Comm. I/F module
•
Maximum 2
Items
Main unit
•refer to 2.2 Product List
Expansion
module
Digital I/O module
Special module
Communication I/F
module
Option
module
Memory module
* XG5000 V3.0 or above is required for XEC
Main Unit
I/O Module
Special Module
Communication Module
2-1
This manual suits for next models
7
Table of contents
Other LSIS Controllers manuals

LSIS
LSIS XP10BKA/DC User manual

LSIS
LSIS XGT Series User manual

LSIS
LSIS XGL-CH2A User manual

LSIS
LSIS XEC-DN32U User manual

LSIS
LSIS XGT Series User manual

LSIS
LSIS XGT Series User manual

LSIS
LSIS XGT Series User manual

LSIS
LSIS XDL-L7SA002X User manual

LSIS
LSIS XDL-L7NH Series User manual

LSIS
LSIS XGT Series User manual

LSIS
LSIS XEC-DN32H/DC User manual

LSIS
LSIS XBF-AD04A User manual

LSIS
LSIS Master-K K200S User manual

LSIS
LSIS XGT Series User manual

LSIS
LSIS SV-iS7 series User manual

LSIS
LSIS XBC-DR20SU User manual

LSIS
LSIS MASTER-K200S Owner's manual

LSIS
LSIS XBC-DN32U User manual

LSIS
LSIS LSLV-S100 Series User manual

LSIS
LSIS XGL-EFMT User manual