ELECTRONICS FOR SPECIALISTS ELECTRONICS FOR SPECIALISTS ELECTRONICS FOR SPECIALISTS ELECTRONICS FOR SPECIALISTS ELECTRONICS FOR SPECIALISTS ELECTRONICS
MONACOR INTERNATIONAL GmbH & Co. KG • Zum Falsch 36 • 28307 Bremen • Germany
Copyright©by MONACOR INTERNATIONAL. All rights reserved. A-1583.99.02.05.2018
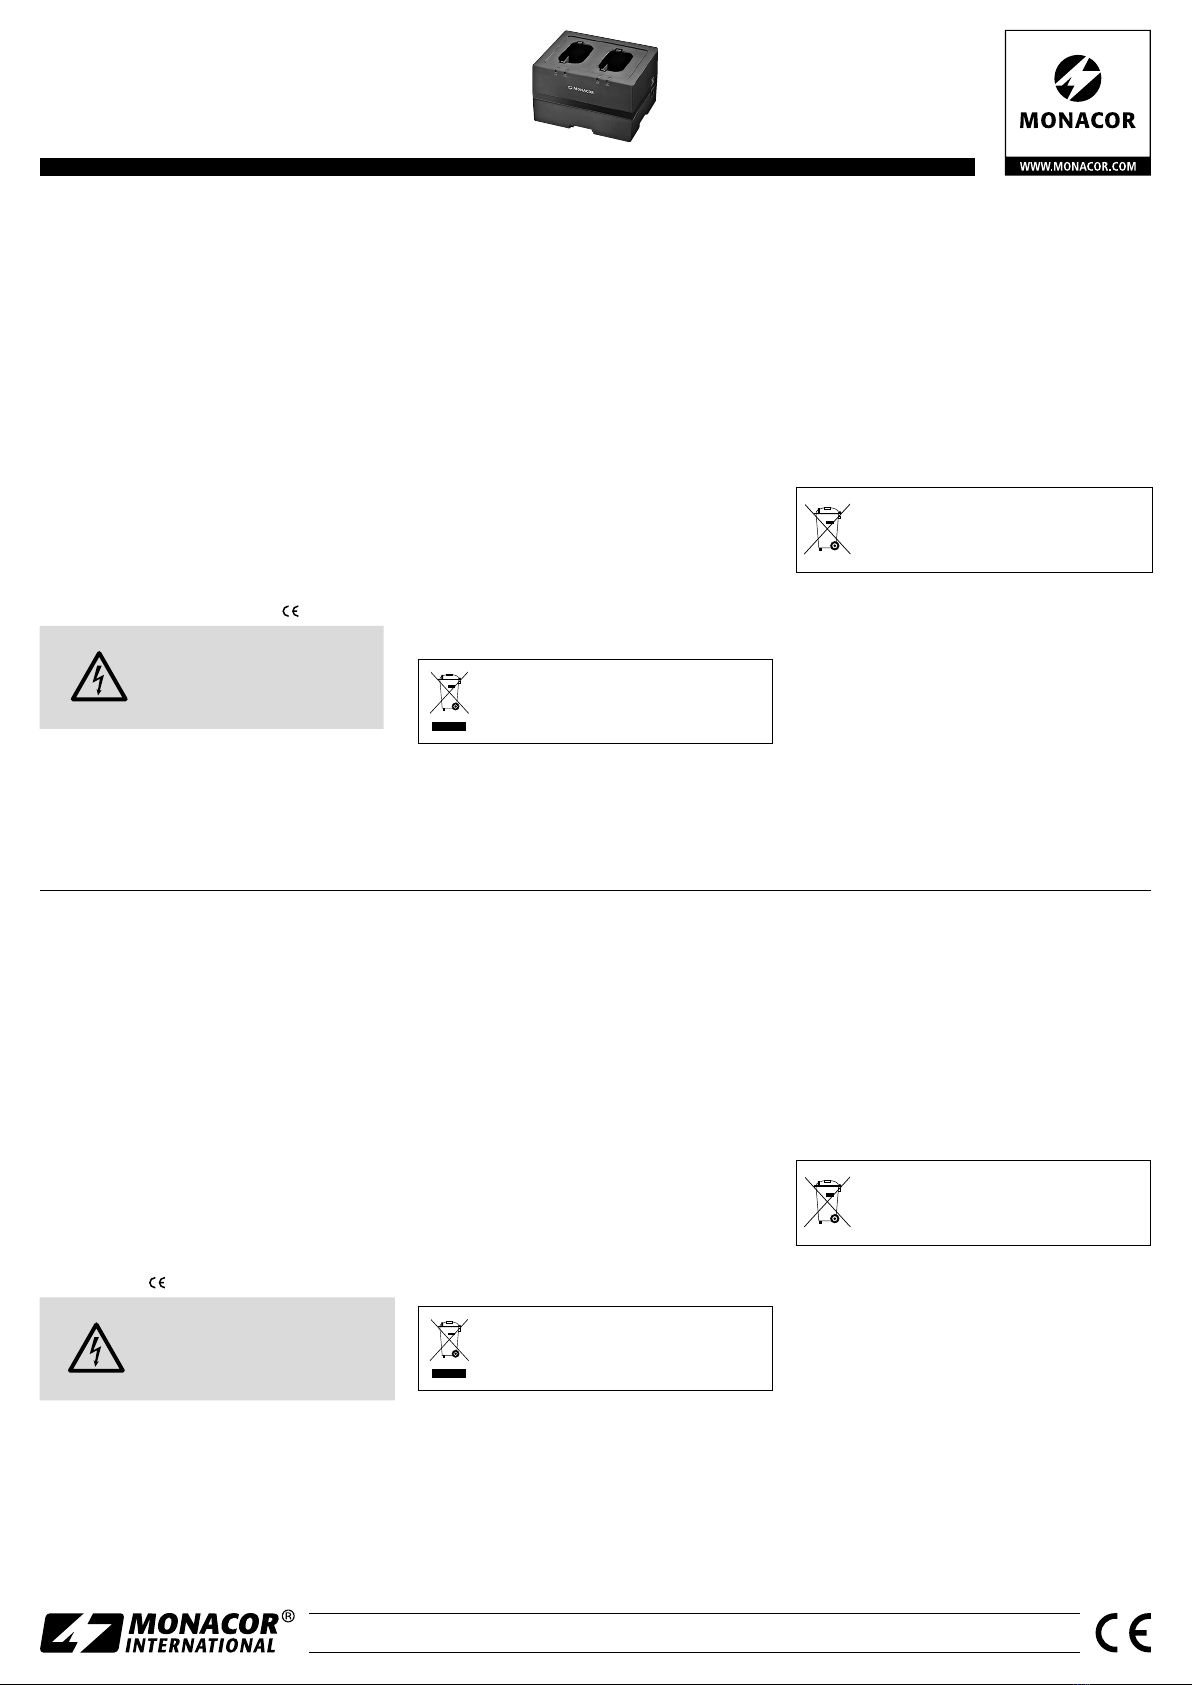
ATS-50PS
Référence numérique • Codice 25.0080
Stazione di carica per i ricevitori
ATS-50R e i trasmettitori ATS-50T
Queste istruzioni sono rivolte all’utente senza
conoscenze tecniche specifiche. Vi preghiamo
di leggerl e attentamente prima della messa in
funzione e di conservarle per un uso futuro.
1 Possibilità d’impiego
Il caricatore rapido intelligente ATS-50PS serve per
caricare le batterie ricaricabili dei trasmettitori e
ricevitori del sistema radio ATS-50. L’impiego del
caricatore è estremamente comodo: per caricarle, le
batterie non devono essere tolte dal trasmettitore/
ricevitore; l’apparecchio viene sistemato con le bat-
terie montate nella sede di carica.
2 Avvertenze di sicurezza
Gli apparecchi (caricatore e alimentatore) sono con-
formi a tutte le direttive rilevanti dell’UE e pertanto
portano la sigla .
AVVERTIMENTO L’alimentatore è alimentato con
pericolosa tensione di rete. Non
intervenire mai personalmente al
suo interno. Esiste il pericolo di una
scarica elettrica.
•
Con questo caricatore si devono caricare solo bat-
terie ricaricabili al NiMH. Le batterie non ricaricabili,
durante il tentativo di caricarle, possono perdere
l’acido o scoppiare!
•
Per la ricarica inserire nel ricevitore o nel trasmet-
titore solo batterie dello stesso tipo e sostituire le
batterie sempre a coppia.
•
Impiegare gli apparecchi solo all’interno di locali e
proteggerli dall’acqua gocciolante e dagli spruzzi
d’acqua, da alta umidità dell’aria e dal calore
(temperatura d’impiego ammessa fra 0 e 40°C).
•
Non mettere in funzione il caricatore e staccare
subito l’alimentatore dalla presa di rete se:
1. il caricatore o l’alimentatore presentano dei
danni visibili;
2. dopo una caduta o dopo eventi simili sussiste il
sospetto di un difetto;
3. gli apparecchi non funzionano correttamente.
Per la riparazione degli apparecchi rivolgersi sem-
pre ad un’officina competente.
•
Per la pulizia usare solo un panno morbido,
asciutto; non impiegare in nessun caso prodotti
chimici o acqua.
•
Nel caso d’uso improprio, di collegamenti sbagliati,
d’impiego scorretto o di riparazione non a regola
d’arte degli apparecchi, non si assume nessuna re-
sponsabilità per eventuali danni consequenziali a
persone o a cose e non si assume nessuna garanzia
per gli apparecchi.
Se si desidera eliminare gli apparecchi
definitivamente, consegnarli per lo smal-
timento ad un‘istituzione locale per il
riciclaggio.
3 Ricaricare le batterie
1) Collegare l’alimentatore con la presa DC IN, sul
lato della stazione di carica, e inserirlo in una presa
di rete (230V/50 Hz). In questo modo, la stazione
di carica è accesa.
2) Sistemare gli apparecchi (trasmettitore o ricevitore)
con le batterie montate nelle sedi di carica.
3) Durante la carica, la spia rosso ON per la relativa
sede rimane accesa. (Se lampeggia, significa che
le batterie nel trasmettitore/ricevitore sono inserite
male oppure che sono state inserite delle batterie
non ricaricabili – in questo caso togliere l’apparec-
chio immediatamente dalla sede di carica.)
4) Se le batterie di un apparecchio sono completa-
mente cariche, si accende la spia verde OK per la
relativa sede di carica.
5) Per spegnere la stazione di carica, staccare l’ali-
mentatore dalla presa.
N.B.: Se il caricatore viene separato dall’alimentazione,
prima di una nuova messa in funzione dovrebbero passare
per lo meno 5 secondi per permettere il reset dell’apparec-
chio.
Non gettare le batterie scariche o difet-
tose nelle immondizie di casa bensì negli
appositi contenitori (p.es. presso il vostro
rivenditore).
4 Dati tecnici
Procedura di carica:. . . . . . ad impulsi con controllo
∆V e timer
Corrente di carica: . . . . . . 450 –500 mA
Durata di carica con
batterie ricaricabili
al NiMH 1300 mAh: . . . . . ca. 3 –4 ore
Temp. d’esercizio: . . . . . . . 0 –40 °C
Alimentazione: . . . . . . . . . ⎓12 V/500 mA
tramite alimentatore
in dotazione con
100– 240V/50 – 60 Hz
Dimensioni (l × h × p): . . . 106 × 71 × 84mm
Peso:. . . . . . . . . . . . . . . . . 165 g
Con riserva di modifiche tecniche.
Station de charge pour
les récepteurs ATS-50R et
les émetteurs ATS-50T
Cette notice s‘adresse aux utilisateurs sans connais-
sances techniques particulières. Veuillez lire la pré-
sente notice avant le fonctionnement et conser-
vez-la pour pouvoir vous y reporter ultérieurement.
1 Possibilités d’utilisation
Le chargeur rapide intelligent ATS-50PS permet de
charger les accumulateurs des émetteurs et récep-
teurs du système de transmission sans fil ATS-50.
La manipulation du chargeur est particulièrement
facile : pour charger, il n’est pas nécessaire de re-
tirer les accumulateurs de l’émetteur/du récepteur,
l’appareil est placé dans le compartiment de charge,
accumulateurs insérés.
2 Conseils de sécurité
Les appareils (chargeur et bloc secteur) répondent
à toutes les directives nécessaires de l’Union euro-
péenne et portent donc le symbole .
AVERTISSEMENT Le bloc secteur est alimenté par
une tension dangereuse. Ne tou-
chez jamais l’intérieur de l’appa-
reil car vous pourriez subir une
décharge électrique.
•
Avec ce chargeur, seuls des accumulateurs NiMH
peuvent être chargés. Des batteries non rechar-
geables peuvent couler ou exploser si on essaie de
les charger !
•
Dans l’émetteur ou le récepteur, ne placez que des
accumulateurs de même type et remplacez tou-
jours les accumulateurs par paire.
•
Les appareils ne sont conçus que pour une utilisa-
tion en intérieur. Protégez-les de tout type de pro-
jections d’eau, des éclaboussures, d’une humidité
élevée et de la chaleur (plage de température de
fonctionnement autorisée : 0– 40°C).
•
Ne faites pas fonctionner le chargeur et débran-
chez immédiatement le bloc secteur lorsque :
1. le chargeur ou le bloc secteur présente des dom-
mages.
2. après une chute ou accident similaire…, vous
avez un doute au sujet de l’état de l’appareil.
3. des dysfonctionnements apparaissent.
Dans tous les cas, faites appel à un technicien spé-
cialisé pour effectuer les réparations.
•
Pour nettoyer l’appareil, utilisez uniquement
un chiffon sec et doux, en aucun cas de produit
chimique ou d’eau.
•
Nous déclinons toute responsabilité en cas de
dommages matériels ou corporels résultants si les
appareils sont utilisés dans un but autre que celui
pour lequel ils ont été conçus, s’ils ne sont pas cor-
rectement branchés ou utilisés ou s’ils ne sont pas
réparés par un technicien habilité ; en outre, la ga-
rantie deviendrait caduque.
Lorsque les appareils sont définitivement re-
tirés du service, vous devez les déposer dans
une usine de recyclage de proximité pour
contribuer à leur élimination non polluante.
3 Charge des accumulateurs
1) Reliez le bloc secteur à la prise DC IN, située sur le
côté de la station de charge et reliez-le à une prise
secteur (230V/50 Hz). La station est ainsi allumée.
2) Placez les appareils (émetteurs/récepteurs) dans les
compartiments de charge avec les accus insérés.
3) Pendant la charge, la LED rouge ON brille pour
le compartiment de charge correspondant. (Si elle
clignote, les accumulateurs dans l’émetteur ou le
récepteur sont mal positionnés ou des batteries
non rechargeables sont utilisées à la place des ac-
cumulateurs – retirez alors immédiatement l’appa-
reil du compartiment).
4) Lorsque les accumulateurs d’un appareil sont en-
tièrement chargés, la LED verte OK pour le com-
partiment correspondant brille.
5) Pour éteindre la station de charge, débranchez le
bloc secteur de la prise secteur.
Conseil : Si le chargeur est coupé de son alimentation, il faut
laisser passer 5 secondes pour réinitialiser l’appareil avant
une nouvelle mise en fonction.
Ne jetez pas les accumulateurs usagées ou
défectueux dans la poubelle domestique.
Déposez-les dans un container spécifique
ou ramenez-les à votre détaillant.
4 Caractéristiques techniques
Procédé de charge : . . . . . charge par impulsion
avec surveillance ∆V et
programmateur
Courant de charge . . . . . . 450 –500 mA
Durée de charge pour accu-
ulateurs NiMH 1300mAh : 3 –4 heures environ
Température fonc. :. . . . . . 0 –40 °C
Alimentation :. . . . . . . . . . ⎓12V/500 mA par
bloc secteur livré relié à
100– 240V/50 – 60 Hz
Dimensions, poids :. . . . . . 106×71 ×84 mm, 165g
Tout droit de modification réservé.
FrançaisItaliano


