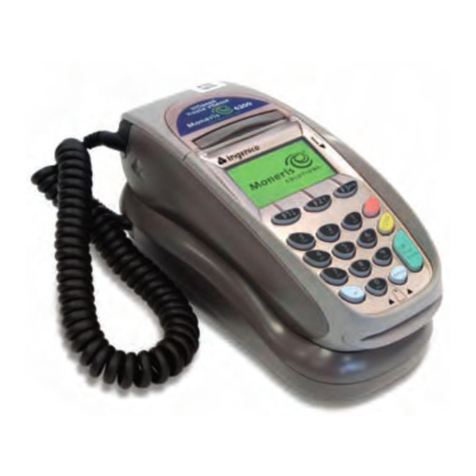
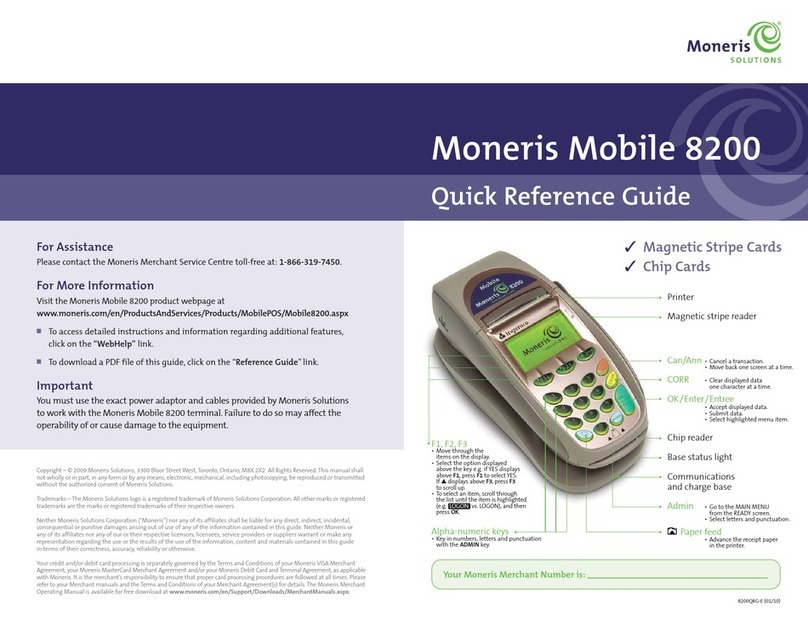
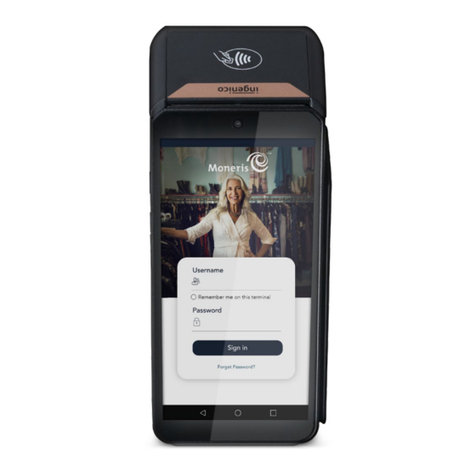
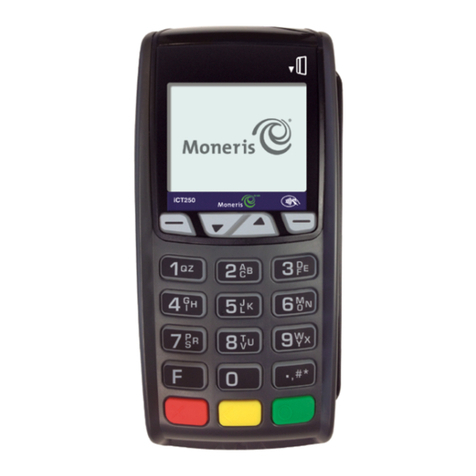
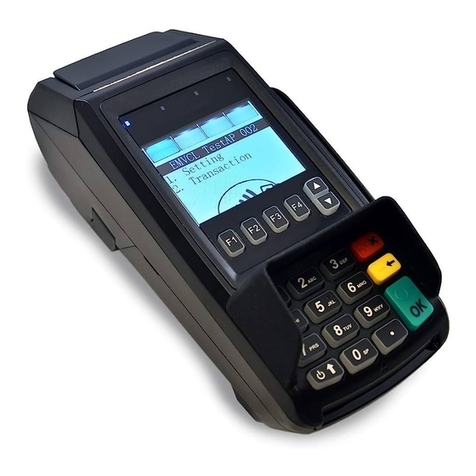
Performing FINANCIAL TRANSACTIONS on the Moneris HiSpeed 6200 REPRINT TRANSACTIONS
Credit/Debit Purchase [100]
Sale of goods or services using a credit or debit card.
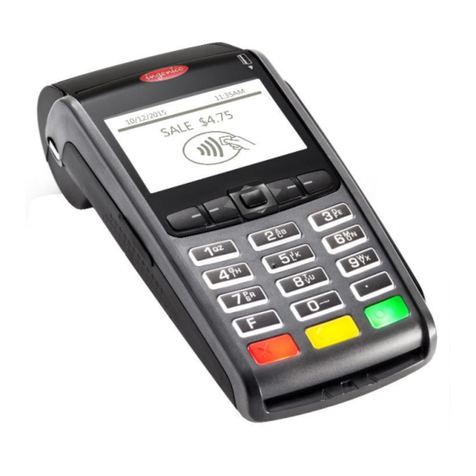
To begin the transaction, key in the Purchase amount, press OK, and
follow the prompts on the 6200 or the 7800.
NOTE: - If CASH BACK? appears, the customer can select a displayed
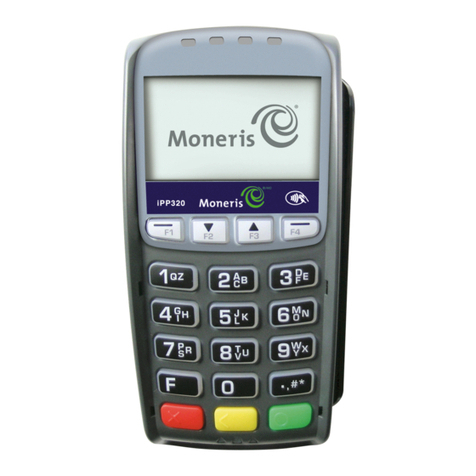
amount (F1 or F2 on 6200 or CHQ or SAV/EP on 7800).OR
Select OTHER (F3 on 6200 or ALPHA on 7800),and key in a
different amount, and press OK.The Cashback amount is
displayed on the APPROVED screen.
- If ENTER TIP AMOUNT appears on the 6200 or
TIP AMOUNT appears on the 7800, the customer can key in
the Tip amount,and press OK.Or simply press OK to leave
the amount as $0.00.
- If TIP? appears, the customer can: Select a displayed
percentage (F1 on 6200 or CHQ on 7800).OR Select
OTHER (F3 on 6200 or ALPHA on 7800) and then select:
•%(F1 on 6200 or CHQ on 7800), key in a different
percentage,and press OK. OR
•$(F3 on 6200 or ALPHA on 7800), key in a specific
dollar amount, and press OK.
The customer then presses OK again to accept the final
Purchase + Cashback (debit only) + Tip amount.
Credit/Debit Refund [101]
Credits a cardholder’s account for a previous Credit or Debit
Purchase.
To begin the transaction,press the Admin key, and select
TRANSACTIONS. Select REFUND,and follow the prompts.
NOTES: - The Original Authorization # is the 6-digit AUTH# on
the original receipt.
- Credit Refund:You sign the Cardholder copy.
Credit/Debit Void
Purchase Void [106]: cancels the original credit or debit Purchase
Refund Void [107]: cancels the original credit or debit Refund
IMPORTANT: The Void must be performed in the same batch as
the original transaction. Neither the original nor
the Void transaction will appear on the cardhold-
er’s statement.
To begin the transaction,press the Admin key, and select
TRANSACTIONS. Select either VOID-PURCHASE or VOID-REFUND,
and follow the terminal’s prompts.
NOTE: - The amount of the Void must equal the full amount of
the original Purchase or Refund.
- The Original Authorization # is the 6-digit AUTH# on the
original receipt.
- Credit Purchase Void:you sign the Cardholder copy.
- Credit Refund Void: the customer signs the Merchant
copy.
Credit Pre-Authorization [102] & Advice [103]
If the final amount of a credit Purchase is not known (e.g., in a
hotel or car rental agency),do NOT perform a Purchase transaction.
Instead, perform a Pre-Authorization for the current Purchase
amount:
1. Press the Admin key, and select TRANSACTIONS. Select PRE-AUTH,
and follow the prompts on the terminal.
NOTE: - If a signature line is printed on the Pre-Auth receipt,
the cardholder must sign the receipt.
- If the AUTHORIZATION AMOUNT $###.##-OK?,the
SELECT LANGUAGE,or the SELECT APPLICATION prompt
appears on the 6200 or the 7800, the cardholder must
respond to the prompt(s).
When the final amount of the Purchase is known,perform a
Pre-Auth Advice for the final amount using the same Card number.
2. Press the Admin key, and select TRANSACTIONS. Select
P-A ADVICE,and press F1 (YES), and follow the prompts on the
terminal.
NOTE: - The chip card does not need to be present for an Advice
transaction.
- The Original Sequence Number is part of the Pre-Auth
Receipt number. For example, if the Receipt number is
S35111111-001-002-003-0,
then the Sequence number is 002003
- If the ENTER ORIGINAL AMOUNT entry screen appears,
confirm the displayed amount matches the amount on
the Pre-Auth receipt,and press OK.
- If the ENTER TIP AMOUNT entry screen appears,key in the
amount the cardholder wrote on tip line on the Pre-Auth
receipt,and press OK.
- If the FINAL AMOUNT $##.## - OK? prompt appears,
confirm the displayed amount matches the amount the
cardholder wrote on the TOTAL line on the Pre-Auth
receipt,and press OK.
- If the FIND ORIGINAL TRANSACTION prompt appears at
the end of the transaction, press F1 (YES) to process
another Advice, or press F3 (NO) to return to the READY
screen.
Credit Force Post [103]
Completes a Voice Authorized Purchase on a credit card.
1. Press the Admin key, and select TRANSACTIONS. Select P-A
ADVICE,press F3 (NO),and follow the prompts on the terminal.
NOTE: - At the ENTER ORIGINAL AUTHORIZATION # entry screen,
key in the Voice Authorization number that you wrote
on the Paper Sales Draft when you called for voice
authorization.
Pre-Auth Advice List [109]
This prints a list of all uncompleted Pre-Auth transactions (i.e.,an
Advice has not been performed to complete the Pre-Auth). Use this
to select and complete or delete Pre-Auth transactions.
1. Press the Admin key, select TRANSACTIONS,and select
P-A ADV LIST.
2. Swipe your POS Admin card to display unmasked Card numbers.
OR Press OK to print masked Card numbers.
3. Enter your search criteria: Clerk ID, Pre-Auth amount,Transaction
date, or Batch number:
a. Key in a value, and press OK.OR Simply press OK to select
all transactions.
The P-A ADVICE LIST menu appears with a list of transactions
that match the selection criteria.
PA#### $999.99.
#### = last four digits of the Card number
$999.99 = the last five digits of the Pre-Auth amount.
4. Scroll down through the list (pressF1) to highlight the Pre-Auth
that you want to complete or delete,and then press OK to
select it.
The transaction detail screen appears.
5. Confirm that the details displayed (last 11 digits of the credit
card, theTransaction date, and the amount) match the Pre-Auth
that you want to complete or delete.
6. To perform an Advice to complete the Pre-Auth that you selected:
a. Press F1 (COMPL).
The ENTER ORIGINAL AMOUNT entry screen appears.
b. Follow the prompts, and refer to the Note area in the Credit
Pre-Authorization [102] & Advice [103] section in this Guide.
To delete the Pre-Auth you selected:
a. Press F3 (DELETE).
The terminal displays the DELETE PRE-AUTH? screen.
b. Press F3 (DELETE) again to confirm the deletion.
The P-A ADVICE LIST menu appears with an updated list of
transactions.
Cheque Authorization [105]
Contacts a cheque authorization service that verifies whether a
cheque should be accepted based on the customer’s identification.
To begin the transaction,press the Admin key, and select
TRANSACTIONS. Scroll down and select CHEQUE AUTH,and then
follow the prompts on the terminal.
NOTE: - For credit card ID,the list of ID types is provided by the
cheque authorization service.
- For driver’s licence, the list of Province and State codes is
provided by the cheque authorization service.
- Write the Approved # on the cheque.
- Receipts are not printed for Cheque Authorizations.
All instructions in this Guide begin at the READY screen.To access the READY screen from any other screen,press the Can/Ann key repeatedly on the 6200 until the READY screen appears. ReprintLastCustomer ReceiptorLast Report[29]
This prints a duplicate of the last printout. If the last transaction
was a financial transaction, the Cardholder copy of the receipt is
reprinted.If it was a report from the Moneris Host (e.g., Merchant
Subtotals), the report is reprinted.
1. Press the Admin key,select ADMIN, and select REPRINT.The
terminal prints a“*DUPLICATE*”copy of the most recent receipt
or report.
2. Press Can/Ann twice to return to the READY screen.
NOTE: If REPRINT does not appear on the ADMIN FUNCS menu,
there is nothing to reprint.
Reprint Merchant Receipt [66]
This prints a duplicate of the Merchant copy of the receipt.
1. Press the Admin key,select REPORTS,and select
TRANS INQ.
• If prompted,swipe your POS Admin card to print the
unmasked Card number on the duplicate receipt.
Do NOT press OK.
• If prompted,key in your Clerk ID.
2. Identify the transaction:
a. Press OK for all card types (ALL CARDS).
b. Key in the Card number, and press OK.
c. Key in the dollar amount,and press OK.
d. Scroll down to the correct type of transaction, andpress OK.
e. Key in the date of the transaction, and press OK.
3. Press F3 (DISPLAY).
4. Scroll down to the correct transaction,and press OK.
5. Press F3 (REPRINT).
The Merchant copy of the receipt is printed.
NOTE: If the transaction was a credit Purchase or a credit Refund
Correction and Signature Line is turned on, the signature
line is printed.
Helpful Hints
• To scroll through menus:use F1 to move down;use F3 to move
up.
• To select an item, scroll through the list until the item is
highlighted (e.g., .LOGON. vs.LOGON) then press OK.
• If the backlight goes off (i.e., the display and buttons lose
their green glow),press any key. NOTE:The keys continue to
function even when the backlight is off.
