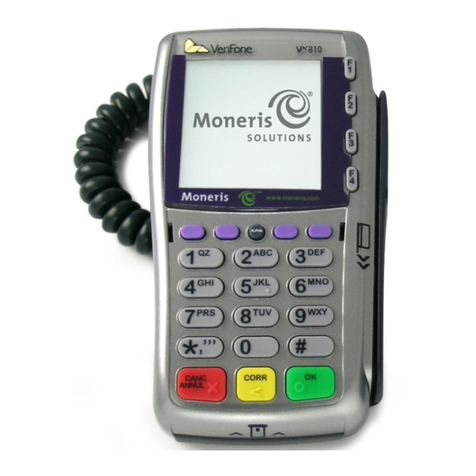
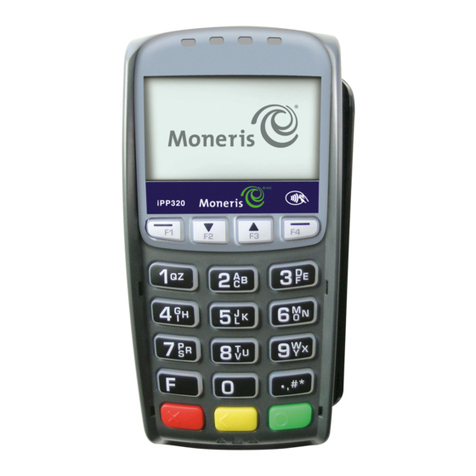
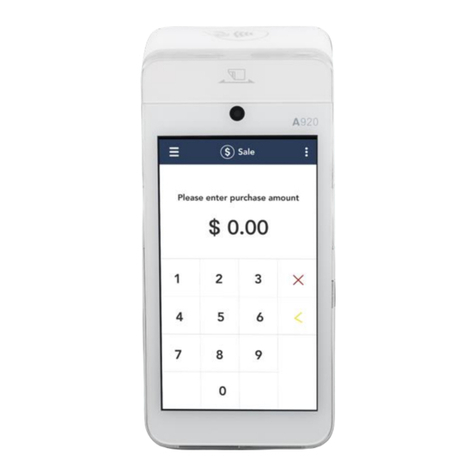
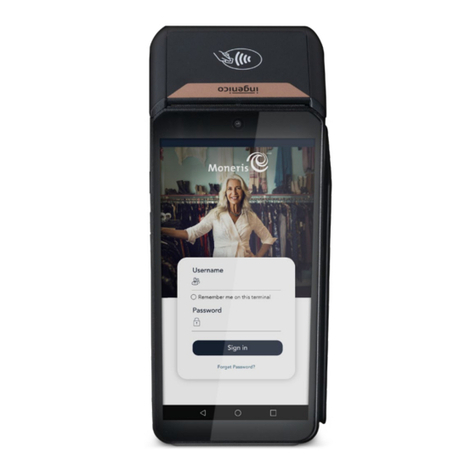
8
Performing transactions
All instructions in this guide begin at the READY
screen. To access the READY screen from any other
screen, press the Can/Ann key repeatedly until the
READY screen appears.
Guidelines for nancial transactions
1. Determine the transaction to be processed (e.g.
Purchase or Refund).
2. Establish the means of payment (credit or debit).
3. Enter the card data on the POS device (see pages 6
and 7).
4. Follow the terminal prompts* (see pages 9–13).
5. Process receipts (see page 14).
*Prompts may vary depending on variables such as terminal setup,
merchant setup and card type.
Note: Some debit cards may display Cashback and/or
Account Selection and PIN prompts after the terminal
has been returned to you; hand the terminal back to the
customer to respond to these prompts.
Admin code shortcuts
To bypass scrolling through menus to select a
transaction, use the Admin codes to jump directly to
a transaction. Admin codes can be found in this guide
in square brackets beside the transaction name
(e.g. Logon [02] means the Admin code for logging
on is 02).
To use an Admin code:
1. Press Admin until “ENTER ADMIN CODE” appears.
2. Key in the Admin code, and press OK. The
transaction appears.
To print a list of all Admin codes:
1. Press Admin until “ENTER ADMIN CODE” appears.
2. Key in 40, and press OK. The list prints.
Transactions
9
Financial transactions
Purchase [100]
Credit or debit purchase of goods or services.
1. If PURCHASE is the default key in a Purchase
amount, and press OK. (If PURCHASE is not the
default, press Admin, select TRANSACTIONS, and
then select PURCHASE.)
2. Follow the prompts, but note:
• If “CUSTOMER PRESS OK TO CONTINUE” appears,
pass the terminal to the customer (see page 12).
• If “CONTINUE ON PINPAD” appears, pass the
PINpad to the customer (see page 12).
3. Process receipts (see page 14).
Pre-Authorization [102]
Authorization if the nal Purchase amount is
unknown (e.g. hotel or car rental).
1. If PRE-AUTH is the default key in a Pre-Auth
amount, and press OK. (If PRE-AUTH is not the
default, press Admin, select TRANSACTIONS, and
then select PRE-AUTH.)
2. Follow the prompts, but note:
• If “CUSTOMER PRESS OK TO CONTINUE” appears,
pass the terminal to the customer (see page 12).
• If “CONTINUE ON PINPAD” appears, pass the
PINpad to the customer (see page 12).
3. Process receipts (see page 14).
Note: When the nal Purchase amount is known, you
must perform an Advice for the nal amount using
the same card number (see page 10).
