manuals.online logo
Brands
  1. Home
  2. •
  3. Brands
  4. •
  5. Nav TV
  6. •
  7. Automobile Accessories
  8. •
  9. Nav TV IOT-RVC Manual

Nav TV IOT-RVC Manual

BHM
09/05/19
NTV-DOC347
Agreement: End user agrees to use this product in compliance with all State and Federal laws. NAV-TV Corp. would not be held liable for
misuse of its product. If you do not agree, please discontinue use immediately and return product to place of purchase. This product is
intended for off-road use and passenger entertainment only.
1 | P a g e
IOT-RVC Interface
3950 NW 120th Ave, Coral Springs, FL 33065 TEL 561-955-9770 FAX 561-955-9760
www.nav-tv.com i[email protected]m
IOT-RVC
NTV-KIT951
Overview
The IOT-RVC interfaces a backup camera input (and 1 additional video input) to the factory
media screen in select GM vehicles equipped with either the MYLINK or CUE (8” only) IOS or
IOT media systems (2019+ only). With KIT800, HDMI input is available with this unit.
Kit Content
Power/CAN Harness
LVDS
Output
cable
HD-LINK Optional KIT800
BHM
09/05/19
NTV-DOC347
Agreement: End user agrees to use this product in compliance with all State and Federal laws. NAV-TV Corp. would not be held liable for
misuse of its product. If you do not agree, please discontinue use immediately and return product to place of purchase. This product is
intended for off-road use and passenger entertainment only.
2 | P a g e
Interface Connectors
Dip Switch Settings (configure prior to installation)
Dip SW:
1
2
3
4
5
6
7
8
UP
HDMI
OFF
CVBS
OFF
SEE BELOW
NOT USED
DOWN
ADDING
HDMI*
CVBS
ON
NOT USED
X
X
Dip SW:
3
4
5
UP
X
X
DOWN
X
Dip SW:
3
4
5
UP
DOWN
X
X
X
Dip SW:
3
4
5
UP
X
X
DOWN
X
Dip SW:
3
4
5
UP
X
X
DOWN
X
Power/CAN
OUOUT
Dip Switches
*HDMI input requires KIT800
LVDS I/O
HDMI Cable from HD-LINK
NOT USED
NOT USED
OEM RVC and adding
aftermarket Front Camera
Adding aftermarket rear
camera ONLY
OEM RVC ONLY (adding
HDMI INPUT)
Adding aftermarket
RVC & aftermarket FVC
BHM
09/05/19
NTV-DOC347
Agreement: End user agrees to use this product in compliance with all State and Federal laws. NAV-TV Corp. would not be held liable for
misuse of its product. If you do not agree, please discontinue use immediately and return product to place of purchase. This product is
intended for off-road use and passenger entertainment only.
3 | P a g e
Gray Connector (LAN)
wire side view
Black Connector (power)
wire side view
Interface Installation (GM Truck)
THIS INTERFACE INSTALLS AT THE RADIO TUNER, NOT AT THE SCREEN!
1. Locate the IOS/IOT GM radio tuner. For
pickup trucks, this should be located behind
the glove box, mounted vertically, up high.
2. The 2 connectors required for wiring the unit in
are circle here (right):
3. From the provided Power/CAN harness, connect the following:
Interface Wire
Function
Connector Color
Connect to OEM
Black
Ground (-)
Black (A)
Black (PIN 3)
Red
Constant 12v (+)
Black (A)
Red (PIN 1)
Blue
CAN HIGH
Gray (B)
Gray/Green (PIN 20)
12v Constant (+) (Red)
Ground (-) (Black)
GM-LAN (Gray/Green)
BHM
09/05/19
NTV-DOC347
Agreement: End user agrees to use this product in compliance with all State and Federal laws. NAV-TV Corp. would not be held liable for
misuse of its product. If you do not agree, please discontinue use immediately and return product to place of purchase. This product is
intended for off-road use and passenger entertainment only.
4 | P a g e
4. No other wired connections are needed for a basic install. If adding a camera, the purple
wire outputs 12v in reverse only (vehicle muse be running) for power to camera.
5. Disconnect the OEM LVDS cable (gray connector, blue cable. Red lock tab must be
unlocked first) and insert the male side into the radio tuner. Connect the OEM cable to
the female end of the provided LVDS I/O cable.
6. Connect the blue end of the provded cable to
port LVDS port on the IOT-RVC interface.
7. Connect the reverse camera (if added) and front camera (if applicable) to the proper
RCAs (RVC: ‘CAMERA’and FVC: ‘CVBS IN’)
8. Proceed to ‘IOT-RVC Operation
BHM
09/05/19
NTV-DOC347
Agreement: End user agrees to use this product in compliance with all State and Federal laws. NAV-TV Corp. would not be held liable for
misuse of its product. If you do not agree, please discontinue use immediately and return product to place of purchase. This product is
intended for off-road use and passenger entertainment only.
5 | P a g e
IOT-RVC Operation
•After all connections are made and dip switches set properly, start the vehicle. Placing
the vehicle in reverse will show the connected rear camera, with dynamic guidelines
overlaid onto the media screen.
•If adding a front camera, this must be activated by setting DIP SWITCH #2 to ON. Forcing
this camera on at any time is performed by holding the Voice Recognition (2 sec) button
or pressing the phone Hang-Up button on the steering wheel (shown below).
•The module will cycle through video modes in this order: OEM>HDMI>AV1>OEM, and
will only show inputs that are active. Use the same buttons to return to OEM screen.
Hold (2 seconds)
Press & Release
BHM
09/05/19
NTV-DOC347
Agreement: End user agrees to use this product in compliance with all State and Federal laws. NAV-TV Corp. would not be held liable for
misuse of its product. If you do not agree, please discontinue use immediately and return product to place of purchase. This product is
intended for off-road use and passenger entertainment only.
6 | P a g e
Adding HD-LINK Adapter (HDMI Input, optional)
Follow the instructions below when adding the HDMI adapter (HD-LINK: KIT800) to enable
HDMI input to the OEM screen:
1. Disconnect the main power plug from the IOT-RVC interface.
2. Put dip switch #1 in the DOWN position.
3. Reconnect the main power plug.
4. Connect the black wire to ground (-) and the red
wire to ACC power (+) from the main power
connector on the HD-LINK adapter. The RCA’s on
this plug provide audio from the HDMI source.
5. Activate the HDMI input by holding the Voice
Recognition button (2 seconds) or pressing the
Hang-Up button once on the steering wheel.

This manual suits for next models

1

Other Nav TV Automobile Accessories manuals
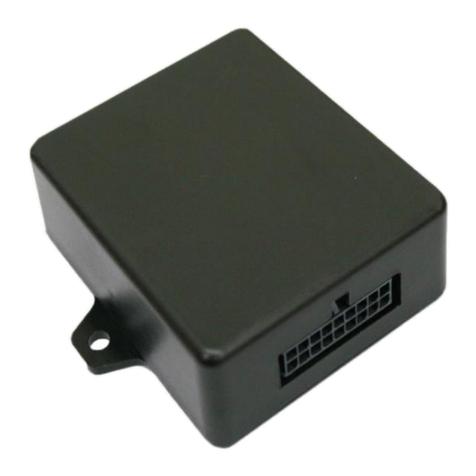
Nav TV C.O.D-F53 User manual

Nav TV

Nav TV C.O.D-F53 User manual

Nav TV TOYCAM NTV-KIT057 Manual

Nav TV

Nav TV TOYCAM NTV-KIT057 Manual

Nav TV BMW12-DYNAMIC KIT Manual

Nav TV

Nav TV BMW12-DYNAMIC KIT Manual

Nav TV PCM3CAM Manual

Nav TV

Nav TV PCM3CAM Manual

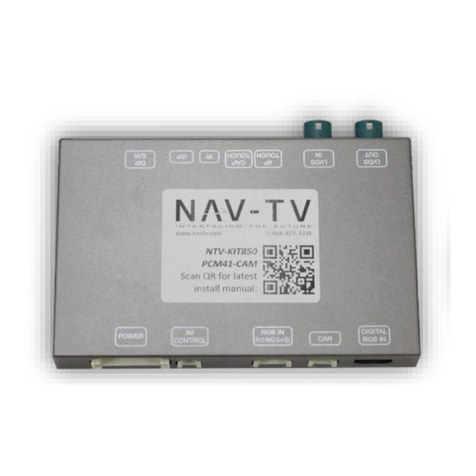
Nav TV PCM41-CAM Manual

Nav TV

Nav TV PCM41-CAM Manual

Nav TV TOOKI-MB User manual

Nav TV

Nav TV TOOKI-MB User manual

Nav TV Ford 4” UNI-CAM User manual

Nav TV

Nav TV Ford 4” UNI-CAM User manual

Nav TV MY-CUE User manual

Nav TV

Nav TV MY-CUE User manual
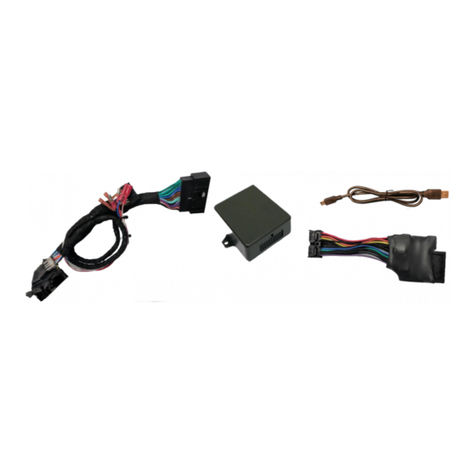
Nav TV IOB-RVC User manual

Nav TV

Nav TV IOB-RVC User manual

Nav TV NTV-KIT899 User manual

Nav TV

Nav TV NTV-KIT899 User manual

Nav TV CHRY UNI-CAM User manual

Nav TV

Nav TV CHRY UNI-CAM User manual

Nav TV BNT-Audio V2 User manual

Nav TV

Nav TV BNT-Audio V2 User manual

Nav TV W204PGM User manual

Nav TV

Nav TV W204PGM User manual

Nav TV MB25 User manual

Nav TV

Nav TV MB25 User manual

Nav TV V2P-II User manual

Nav TV

Nav TV V2P-II User manual

Nav TV AUDI-P60H Manual

Nav TV

Nav TV AUDI-P60H Manual

Nav TV MOST-H.U.R. MB V2 User manual

Nav TV

Nav TV MOST-H.U.R. MB V2 User manual

Nav TV MOST-HUR31 User manual

Nav TV

Nav TV MOST-HUR31 User manual

Nav TV NTG3 Technical specifications

Nav TV

Nav TV NTG3 Technical specifications

Nav TV GM-LVDS User manual

Nav TV

Nav TV GM-LVDS User manual

Nav TV UCT84 F-CAM User manual

Nav TV

Nav TV UCT84 F-CAM User manual

Nav TV AUDI A6 User manual

Nav TV

Nav TV AUDI A6 User manual

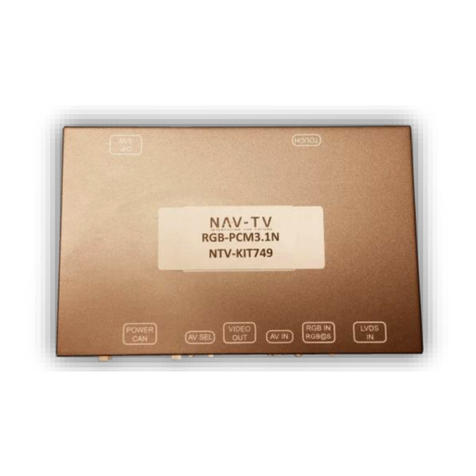
Nav TV RGB-PCM3.1N User manual

Nav TV

Nav TV RGB-PCM3.1N User manual
Nav TV AUDI-VC User manual

Nav TV

Nav TV AUDI-VC User manual

Popular Automobile Accessories manuals by other brands

Curt Group RETRAC 207770 installation manual

Curt Group

Curt Group RETRAC 207770 installation manual

Toyota PZ434-14790-3Z manual

Toyota

Toyota PZ434-14790-3Z manual

Scosche motorMOUTH II quick start guide

Scosche

Scosche motorMOUTH II quick start guide

Whelen Engineering Company ION installation guide

Whelen Engineering Company

Whelen Engineering Company ION installation guide

Honeywell Thor CV31 quick start guide

Honeywell

Honeywell Thor CV31 quick start guide

TEXA TMD MK3 DIAG manual

TEXA

TEXA TMD MK3 DIAG manual

APS GR18GEC00U Installation instruction

APS

APS GR18GEC00U Installation instruction

Eight C5UQ1 user manual

Eight

Eight C5UQ1 user manual

Monacor Carpower CAP-20 quick guide

Monacor

Monacor Carpower CAP-20 quick guide

Kuda-Phonebase 7110 Installation instruction

Kuda-Phonebase

Kuda-Phonebase 7110 Installation instruction

Thule Elite G2 3rd Rail Kit instructions

Thule

Thule Elite G2 3rd Rail Kit instructions

CTEK NANOGRID AIR user manual

CTEK

CTEK NANOGRID AIR user manual

DVB Off-ROAD MTO Series installation manual

DVB

DVB Off-ROAD MTO Series installation manual

Prime Design FEA-0001 Assembly instructions

Prime Design

Prime Design FEA-0001 Assembly instructions

Cruz Evo Rack Alu A30-140 Assembly instructions

Cruz

Cruz Evo Rack Alu A30-140 Assembly instructions

INNO TR Series installation instructions

INNO

INNO TR Series installation instructions

Advantech TREK-743 user manual

Advantech

Advantech TREK-743 user manual

Audi Genuine Accessories 80A.071.128 installation instructions

Audi

Audi Genuine Accessories 80A.071.128 installation instructions

manuals.online logo
manuals.online logoBrands
  • About & Mission
  • Contact us
  • Privacy Policy
  • Terms and Conditions

Copyright 2025 Manuals.Online. All Rights Reserved.