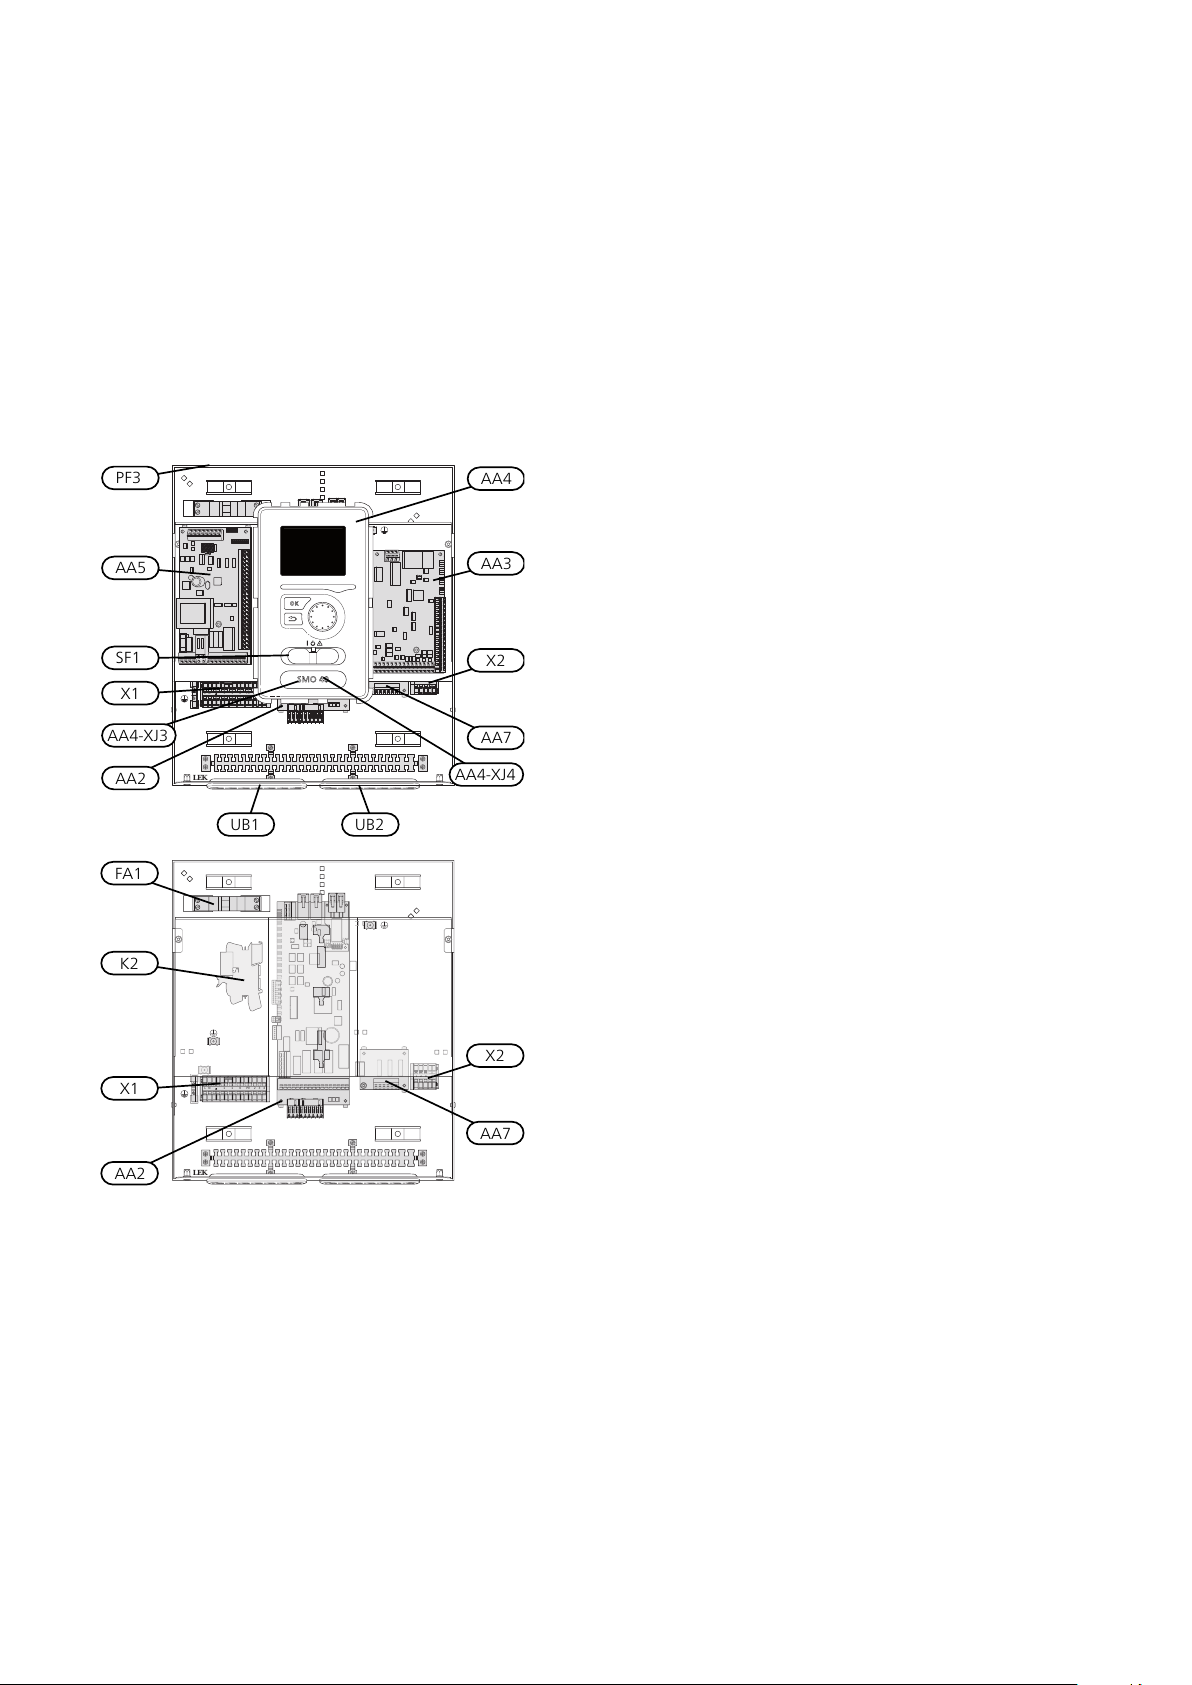
Nibe SMO 40 User guide

IHB EN 1918-6
231764
INSTALLER MANUAL
Control module
NIBE SMO 40 UK

Quick guide
Navigation
Ok button (confirm/select)
Back button (back/undo/exit)
Control knob (move/increase/reduce)
A detailed explanation of the button functions can be found on page 37.
How to scroll through menus and make different settings is described on page 39.
Set the indoor climate
2X
MY INSTALLATION
INDOOR CLIMATE HOT WATER
INFO
The mode for setting the indoor temperature is accessed by pressing the OK button twice, when in the start
mode in the main menu.
Increase hot water volume
2X
1X INDOOR CLIMATE HOT WATER
MY INSTALLATION INFO
To temporarily increase the amount of hot water (if a hot water heater is installed to your SMO 40), first turn
the control knob to mark menu 2 (water droplet) and then press the OK button twice.

41 Important information
4Safety information
4Symbols
4Marking
5Serial number
5Recovery
5Country specific information
6Inspection of the installation
7System solutions
92 Delivery and handling
9Wall installation
9Supplied components
103 The Control Module Design
10Component positions
10Electrical components
114 Pipe connections
11General
12Compatible NIBE air/water heat pumps
12Symbol key
13Temperature sensor installation on pipe
13Fixed condensing
13Docking alternatives
195 Electrical connections
19General
20Accessibility, electrical connection
21Cable lock
22Connections
27Optional connections
33Connecting accessories
346 Commissioning and adjusting
34Preparations
34Commissioning
34Commissioning with additional heating only
34Check the reversing valve
34Check AUX socket
34Cooling mode
35Start-up and inspection
377 Control - Introduction
37Display unit
38Menu system
418 Control
41Menu 1 - INDOOR CLIMATE
42Menu 2 - HOT WATER
42Menu 3 - INFO
43Menu 4 - MY SYSTEM
44Menu 5 - SERVICE
569 Service
56Service actions
6010 Disturbances in comfort
60Info-menu
60Manage alarm
62Additional heating only
6311 Accessories
6612 Technical data
66Dimensions
67Technical specifications
68Energy labelling
69Electrical circuit diagram
76Item register
3Table of ContentsNIBE SMO 40
Table of Contents

Safety information
This manual describes installation and service proced-
ures for implementation by specialists.
The manual must be left with the customer.
This appliance can be used by children
aged from 8 years and above and persons
with reduced physical, sensory or mental
capabilities or lack of experience and
knowledge if they have been given super-
vision or instruction concerning use of the
appliance in a safe way and understand
the hazards involved. Children shall not
play with the appliance. Cleaning and user
maintenance shall not be made by children
without supervision.
Rights to make any design or technical
modifications are reserved.
©NIBE 2019.
SMO 40 must be installed via an isolator
switch. The cable area has to be dimensioned
based on the fuse rating used.
If the supply cable is damaged, only NIBE,
its service representative or similar author-
ised person may replace it to prevent any
danger and damage.
Symbols
NOTE
This symbol indicates danger to person or ma-
chine .
Caution
This symbol indicates important information
about what you should consider when installing
or servicing the installation.
TIP
This symbol indicates tips on how to facilitate
using the product.
Marking
The CE mark is obligatory for most products sold in
the EU, regardless of where they are made.
CE
Classification of enclosure of electro-technical equip-
ment.
IP21
Danger to person or machine.
!
Read the User Manual.
NIBE SMO 40Chapter 1 | Important information4
1 Important information

Serial number
The serial number can be found on the top of the cover
for the control module and in the info menu (menu 3.1).
LEK
Serial number
Caution
You need the product's (14 digit) serial number
for servicing and support.
Recovery
Leave the disposal of the packaging to the in-
staller who installed the product or to special
waste stations.
Do not dispose of used products with normal
household waste. It must be disposed of at a
special waste station or dealer who provides this type
of service.
Improper disposal of the product by the user results in
administrative penalties in accordance with current le-
gislation.
Country specific
information
UNITED KINGDOM
This installation is subject to building regulation approval,
notify the local Authority of intention to install.
Use only manufacturer’s recommended replacement
parts.
For more information see nibe.co.uk.
Benchmark places responsibilities on both manufactur-
ers and installers. The purpose is to ensure that custom-
ers are provided with the correct equipment for their
needs, that it is installed, commissioned and serviced
in accordance with the manufacturers instructions by
competent persons and that it meets the requirements
of the appropriate Building Regulations. The Benchmark
Checklist can be used to demonstrate compliance with
Building Regulations and should be provided to the
customer for future reference.
Installers are required to carry out the installation, com-
missioning and servicing work in accordance with the
Benchmark Code of practice which is available from the
Heating and Hotwater Industry Council who manage
and promote the Scheme. Visit centralheating.co.uk for
information.
Warranty and insurance information
Thank you for installing a new NIBE heat pump in your
home.
NIBE heat pumps are manufactured in Sweden to the
very highest standard so we are pleased to offer our
customers a comprehensive guarantee.
The product is guaranteed for 24 months for parts and
labour from the date of installation or 33 months from
the date of manufacture, whichever is the shorter.
The NIBE guarantee is based on the unit being installed
and commissioned by a NIBE accredited installer, ser-
viced every year and the Benchmark documents com-
pleted. Where this condition is not met, any chargeable
spare parts or components issued within the applicable
guarantee period still benefit from a 12 month warranty
from the date of issue by the manufacturer.
We recommend the installer completes and returns as
soon as possible, your guarantee registration card or
completes the guarantee form on the NIBE website
www.nibe.co.uk.
5Chapter 1 | Important informationNIBE SMO 40

Inspection of the installation
Current regulations require the heating installation to be inspected before it is commissioned. The inspection must
be carried out by a suitably qualified person. In addition, fill in the page for the installation data in the User Manual.
DateSignatureNotesDescription
✔
Electrical connections
Communication, heat pump
Connected supply 230 V
Outside sensor
Room sensor
Temperature sensor, hot water charging
Temperature sensor, hot water top
Temperature sensor, external flow line
Temperature sensor, external return line
Charge pump
Shuttle valve
AUX1
AUX2
AUX3
AUX4
AUX5
AUX6
AA3-X7
Dipswitch
Miscellaneous
Checking additional heater
Checking the function of the reversing
valve
Checking charge pump function
Completed installation check of heat
pump and associated equipment
NIBE SMO 40Chapter 1 | Important information6

System solutions
COMPATIBLE PRODUCTS
The following combinations of products are recommended for control by SMO 40.
LEK
LEK
LEK
LEK
LEK
LEK
LEK
LEK
Volume vesselAddition
Water heater
Circ. pumpAccumulator
with hot water
heater
HW controlAir/water heat
pump
Control mod-
ule
UKV 40
UKV 100
UKV 200
UKV 300
UKV 500
ELK 15
ELK 26
ELK 42
VPB 200
VPB 300
VPBS 300
VPB 500
VPB 750-2
VPB 1000
CPD 11-25/65
CPD 11-25/75
VPA 450/300
VPAS 300/450
VPA 300/200
VPA 450/300
VPAS 300/450
VST 05
AMS 10-6 /
HBS 05-6
SMO 40
AMS 10-8 /
HBS 05-12
F2040 – 6
F2040 – 8
F2120 – 8
VST 11
AMS 10-12 /
HBS 05-12
F2040 – 12
F2120 – 12
F2120 – 16
VPB 500
VPB 750-2
VPB 1000
VST 20
AMS 10-16 /
HBS 05-16
F2040 – 16
F2120 – 20
7Chapter 1 | Important informationNIBE SMO 40

COMPATIBLE AIR/WATER HEAT PUMPS
NIBE SPLIT HBS 05
HBS 05-6
Part no. 067 578
AMS 10-6
Part no. 064 205
HBS 05-12
Part no. 067 480
AMS 10-8
Part no. 064 033
HBS 05-12
Part no. 067 480
AMS 10-12
Part no. 064 110
HBS 05-16
Part no. 067 536
AMS 10-16
Part no. 064 035
F2040
F2040-8
Part no. 064 109
F2040-6
Part no. 064 206
F2040-16
Part no. 064 108
F2040-12
Part no. 064 092
F2120
F2120-12 1x230V
Part no. 064 136
F2120-8 1x230V
Part no. 064 134
Check the software version of compatible older NIBE
air/water heat pumps, see page 12.
NIBE SMO 40Chapter 1 | Important information8

Wall installation
NOTE
For wall mounting, use screws suitable for the
surface.
120
10
310 35
410
360
215
70
120
Use all mounting points and install SMO 40 upright flat
against the wall without any part of the control module
protruding beyond the edge of the wall.
Leave at least 100 mm free space around the control
module to facilitate access and cable routing on installa-
tion and service.
Caution
Screws for removing the front cover are
reached from underneath.
Supplied components
Room sensorOutside sensor
LEK
Temperature sensorInsulation tape
LEK
Cable tiesAluminium tape
LEK
LEK
LEK
Current sensorHeating pipe paste
Installatörshandbok
SMO 40
Tillbehörskort
Tillbehör
IHB SMO 40 Accessory board
9Chapter 2 | Delivery and handlingNIBE SMO 40
2 Delivery and handling

Component positions
L N 1 1 0 2 3 4PE
1 2 3 4
LEK
AA2
AA4-XJ3
X1
SF1
AA5
PF3 AA4
AA3
X2
AA7
AA4-XJ4
L N 1 1 0 2 3 4PE
1 2 3 4
LEK
1
2
3
4
AA2
X1
K2
FA1
X2
AA7
UB2UB1
Electrical components
Base cardAA2
Input circuit boardAA3
Display unitAA4
AA4-XJ3 USB socket
AA4-XJ4 Service outlet (No function)
Accessory cardAA5
Extra relay circuit boardAA7
Miniature circuit breaker, 10 AFA1
Emergency mode relayK2
Terminal block, incoming electrical supplyX1
Terminal block, AUX4 - AUX6X2
SwitchSF1
Serial number platePF3
Cable grommet, incoming supply electricity, power
for accessories
UB1
Cable gland, signalUB2
Designations in component locations according to standard IEC 81346-
1 and EN 81346-2.
NIBE SMO 40Chapter 3 | The Control Module Design10
3 The Control Module Design

General
Pipe installation must be carried out in accordance with
applicable regulations. See manual for compatible NIBE
air/water heat pump for installation of the heat pump.
The pipe dimension should not be less than the recom-
mended pipe diameter according to the table below.
However, each system must be dimensioned individually
to achieve the recommended system flows.
MINIMUM SYSTEM FLOWS
The installation must be dimensioned at least to manage
the minimum defrosting flow at 100% pump operation,
see table.
Minimum re-
commended
pipe dimen-
sion (mm)
Minimum re-
commended
pipe dimen-
sion (DN)
Minimum
flow during
defrosting
(100% pump
speed (l/s)
Air/water
heat pump
22200.27F2120-8
(1x230V)
28250.35F2120-12
(1x230V)
Minimum re-
commended
pipe dimen-
sion (mm)
Minimum re-
commended
pipe dimen-
sion (DN)
Minimum
flow during
defrosting
(100% pump
speed (l/s)
Air/water
heat pump
22200.19F2040-6
22200.19F2040-8
22200.29F2040-12
28250.39F2040-16
Minimum re-
commended
pipe dimen-
sion (mm)
Minimum re-
commended
pipe dimen-
sion (DN)
Minimum
flow during
defrosting
(100% pump
speed (l/s)
Air/water
heat pump
22200.19HBS 05-6/
AMS 10-6
22200.19HBS 05-12/
AMS 10-8
22200.29HBS 05-12/
AMS 10-12
28250.39HBS 05-16/
AMS 10-16
NOTE
An undersized system can result in damage to
the machine and lead to malfunctions.
11Chapter 4 | Pipe connectionsNIBE SMO 40
4 Pipe connections

Compatible NIBE
air/water heat pumps
Compatible NIBE air/water heat pump has to be
equipped with a control board that, as a minimum, has
the software version given in the following list. The
control board’s version is shown in the heat pump’s
display (if applicable) at start-up.
Software versionProduct
55F2015
55F2016
118F2020
55F2025
55F2026
all versionsF2030
all versionsF2040
all versionsF2120
55F2300
all versionsNIBE SPLIT HBS 05:
AMS 10-6 + HBS 05-6
AMS 10-8 + HBS 05-12
AMS 10-12 + HBS 05-12
AMS 10-16 + HBS 05-16
Symbol key
MeaningSymbol
Shut-off valve
Tapping valve
Trim valve
Shunt / reversing valve
Safety valve
Tundish
Temperature sensor
Expansion vessel
Pressure gauge
P
Circulation pump
Particle filter
Auxiliary relay
Compressor
Heat exchanger
Radiator system
Domestic hot water
Under floor heating systems
Cooling system
NIBE SMO 40Chapter 4 | Pipe connections12

Temperature sensor
installation on pipe
LEK
LEK
The temperature sensors are fitted using heat conduct-
ing paste, cable ties (the first cable tie is secured to the
pipe in the middle of the sensor and the other cable tie
is mounted approx. 5 cm after the sensor) and alumini-
um tape. Then insulate them using the enclosed insula-
tion tape.
NOTE
Sensor and communication cables must not
be laid near power cables.
Fixed condensing
If SMO 40 is to control the air/water heat pump in rela-
tion to the water heater with fixed condensing, you must
connect an external supply temperature sensor (BT25),
according to the description on page 26. Place the
sensor in a suitable location in the tank In addition, you
must perform the following menu settings.
Menu setting (local variations
may be required)
Menu
Desired temperature in the
tank.
1.9.3.1 - min. flow line temp.
heating
Desired temperature in the
tank.
5.1.2 - max flow line temper-
ature
intermittent5.11.1.2 - charge pump
(GP12)
manual4.2 - op. mode
Docking alternatives
SMO 40 can be connected with other products from
NIBE in several different ways, some of which are
shown below (accessories may be required).
Further option information is available at www.nibe.co.uk
and in the respective assembly instruction for the ac-
cessory used. See page 63 for a list of accessories that
can be used with SMO 40.
Installations with SMO 40 can produce heating and hot
water. Cooling can also be produced, depending on
which heat pump is used.
On cold days of the year when the access to energy
from the air is reduced the additional heating can com-
pensate and help to produce heat. The additional heating
is also good to have as assistance if the heat pump ends
up outside its working range or if it has been blocked
for any reason.
NOTE
The heating medium side and the domestic
hot water side must be fitted with the neces-
sary safety equipment in accordance with the
applicable regulations.
This is the outline diagram. Actual installations
must be planned according to applicable
standards.
13Chapter 4 | Pipe connectionsNIBE SMO 40

EXPLANATION
SMO 40AA25
Outdoor sensor1)
BT1
Temperature sensor, hot water charging1)
BT6
Temperature sensor, hot water top1)
BT7
Temperature sensor, external supply line1)
BT25
Room sensor1)
BT50
Temperature sensor, external supply line after
electric heater
BT63
Temperature sensor, external return line1)
BT71
Circulation pump, Heating mediumGP10
Reversing valve, Hot water/Heating medium2)
QN10
Non-return valveRM2
Pool system 1 to 2CL11 till 12
Unit box with accessory card2)
AA25
Temperature sensor, pool2)
BT51
Exchanger, poolEP5
Circulation pump, poolGP9
Particle filter, poolHQ4
Three way valve, pool2)
QN10
Trim valveRN10
Additional heatEB1
Expansion vesselCM5
Immersion heaterEB1
Safety valveFL10
Auxiliary relay/Contactor2)
KA1
Trim valveRN11
Shut-off valveQM42 to 43
Shunt valve for additional heatQN11
Heat pump systemEB101 on 104
Unit box with accessory card2)
AA25
Temperature sensor, return line3)
BT3
Temperature sensor, condenser supply line3)
BT12
Heat pumpEB101 to
104
Safety valve, heating mediumFL2
Safety valveFL10
Charge pump2)
GP12
Drain valve, Heating mediumQM1
Shut-off valve, Heating medium, FlowQM31
Shut off valve, Heating medium, ReturnQM32
FilterballQZ2
Non-return valveRM11
Climate system 2 to 3EP21 to 22
Unit box with accessory card2)
AA25
Temperature sensor, heating medium supply2)
BT2
Temperature sensor, heating medium return2)
BT3
Circulation pump2)
GP10
Shunt valve2)
QN25
Cooling systemEQ1
Unit box with accessory card2)
AA25
Temperature sensor, cooling supply line2)
BT64
Single jacket accumulator tank, coolingCP6
Circulation pump, coolingGP13
Reversing valve, Cooling/Heating2)
QN12
Hot water circulationQZ1
Unit box with accessory card2)
AA25
Temperature sensor, outgoing hot water2)
BT70
Circulation pump, domestic hot water circula-
tion
GP11
Mixer valve, hot waterFQ1
Mixing valve, hot water circulationFQ3
Non-return valveRM1
Non-return valveRM23 to 24
Trim valveRN1
Trim valveRN20 to 21
Miscellaneous
Expansion vessel closed, Heating mediumCM1
Buffer vessel (UKV)CP5
Accumulator tank with hot water heatingCP10 to 11
Hot water/additional water heaterEB10
Immersion heaterEB20
Safety valve, Heating mediumFL2
Auxiliary relay/ContactorKA1
Trim valveRN10,
RN43,
RN60 to 63
1) Included in and supplied SMO 40
2) Included in and supplied accessory
3) Included in and supplied NIBE heat pump (can vary depending on
heat pump).
Designations according to standard IEC 61346 and EN81346-2.
NIBE SMO 40Chapter 4 | Pipe connections14

COMPATIBLE NIBE AIR/WATER HEAT PUMP TOGETHER WITH SMO 40 – DOCKING
STEP-CONTROLLED ADDITIONAL HEAT BEFORE THE REVERSING VALVE FOR HOT WATER
-FL2
-CM1
-EB101
-QM1
-QM31
-BT1
-AA25
-AA25
-AA25
-BT63
-KA1
-EB1
-FL10
-QZ2
-BT3
-BT12
-GP12
-AA25
-RN10
-CP10
-AA25-QN10
-AA25-BT7
-AA25-BT6
-EB1
Caution
NIBE does not supply all components in this
outline diagram.
This installation alternative is suitable for simpler install-
ations with a focus on low installation costs.
SMO 40 (AA25) starts and stops the heat pump (EB101)
to meet the heat and hot water demand of the installa-
tion. At simultaneous heating and hot water demand
the reversing valve switches (AA25-QN10) periodically
between the climate system and the water heater/accu-
mulator tank (CP10). When the hot water heater/accu-
mulator tank is fully charged (CP10), the reversing valve
switches (AA25-QN10) to the climate system.
Additional heat (EB1) is connected automatically when
the power demand for the installation exceeds the heat
pump capacity. This is used for both heating and char-
ging hot water.
The additional heat can also be used if a higher temper-
ature in the hot water is required than the heat pump
can produce.
15Chapter 4 | Pipe connectionsNIBE SMO 40

COMPATIBLE NIBE AIR/WATER HEAT PUMP TOGETHER WITH SMO 40 – DOCKING
STEP-CONTROLLED ADDITIONAL HEAT AFTER REVERSING VALVE FOR HOT WATER AND
ACCESSORY FOR EXTRA CLIMATE SYSTEM, POOL AND COOLING
-EB20
-KA1
-FL2
-CM1
-EB101
-QM1
-QM31
-BT1
-AA25
-AA25 -AA25
-FL10
-BT3
-BT12
-GP12
-AA25 -QZ2
-RN10
-EP5
-GP9 BT51 POOL
-HQ4
-AA25
-CL11
-GP10
-BT3
-BT2
-QN25
-EP21
-AA25
-RN10
-CP10
-AA25-QN10
-AA25-BT7
-AA25-BT6
-BT25
-EB1
-CP5
-GP10
-KA1
-BT71
-EB1
-AA25
-CL11-QN19
-GP13
-CP6
-BT64
-EQ1-QN12
-EQ1
-BT50
Caution
NIBE does not supply all components in this
outline diagram.
This installations alternative is suitable for more complex
installations with a focus on comfort.
SMO 40 (AA25) starts and stops the heat pump (EB101)
to meet the heat and hot water demand of the installa-
tion. At simultaneous heating and hot water demand
the reversing valve switches (AA25-QN10) periodically
between the climate system and the water heater/accu-
mulator tank (CP10). When the water heater/accumulator
tank is fully charged (CP10), the reversing valve switches
(AA25-QN10) to the climate system and pool. When the
pool needs heating the reversing valve (CL11-QN19)
switches from the climate system to the pool system.
Additional heat (EB1) is connected automatically when
the energy demand exceeds the heat pump capacity.
Immersion heater (EB20) in the water heater/accumulat-
or tank (CP10) is used during the time to produce hot
water if the heat pump (EB101) is used for heating the
building at the same time.
The immersion heater (EB20) can also be used if a
higher temperature of hot water is required than the
heat pump can produce.
During cooling operation (requires compatible heat
pump), the reversing valve (EQ1-QN12) switches to the
cooling system (EQ1). If several demands occur while
there is a cooling demand, the installation reacts differ-
ently. In event of a hot water demand, the reversing
valve (EQ1-QN12) switches back and hot water is pro-
duced until the demand is fulfilled. In event of a heating
demand, the reversing valve (EQ1-QN12) instead
switches periodically between the demands. When the
cooling demand is met, the reversing valve switches
back to basic mode (heat/hot water).
Active cooling (in 4-pipe system) is selected in menu
5.4 - soft in/outputs.
NIBE SMO 40Chapter 4 | Pipe connections16

COMPATIBLE NIBE AIR/WATER HEAT PUMPS TOGETHER WITH SMO 40 AND ELECTRIC
HEATER AFTER REVERSING VALVE FOR HOT WATER AS WELL AS POOL AND EXTRA
CLIMATE SYSTEM (FLOATING CONDENSING)
-AA25-BT71
-AA25-BT25
-CM1
-FL2
>-EB101
-QM1
-BT3
-BT12 -QM31
-GP12
-AA25
-FL10 -RM11
-BT1
-AA25
-AA25 -QZ2
-QZ2
-QZ2
-QZ2
-CP10
-AA25-BT6
-AA25-BT7
-RN63
-RN62
-CP11
-RN60
-RN61
-QZ1
-GP11
-RN20
-RM23
-RM24
-EB10
-FQ1 -BT70
-AA25
-RN21
-BT3
-BT2
-EP21
-GP10
-QN25
-AA25
-GP10
-BT3
-BT2
-EP22
-QN25
-AA25
-CM5 -FL10
-QM42
-QM43-RN11
-EB1
-EB1
POOL1
POOL2
-RN10 -GP9 -BT51 -HQ4
-EP5
-CL11
-AA25
-CL11-QN19
-CP6
-BT64
-AA25
-EQ1
-GP13
-RM11
>-EB102
-QM1
-BT3
-BT12 -QM31
-GP12
-EB102
-FL10
-EB103-AA25
>-EB103
-QM1
-QM31
-GP12
-EB103
-FL10 -RM11
-BT3
-BT12
-RN10 -GP9 -BT51 -HQ4
-EP5
-CL12
-EQ1
-QN12
-CL12
-QN19
>-EB104
-QM1
-BT3
-BT12 -QM31
-GP12
-EB104
-FL10 -RM11
-AA25-QN10
-CP5
-AA25-GP10
-RN43
Caution
NIBE does not supply all components in this
outline diagram.
Caution
Different types of demand (heating, hot water
etc.) mean different supply and return temper-
atures as well as different flows to the heat
pump.
When connecting pipes in installations with
several compressors and different heating de-
mands, ensure that these are separated so that
different return temperatures are not mixed.
Otherwise this can affect the heating installa-
tion's efficiency.
This installations alternative is suitable for more complex
installations with a focus on comfort.
SMO 40 (AA25) starts and stops the heat pumps
(EB101) and (EB102) to meet the heating and hot water
demands of the installation. The heat pump (EB103) is
used for heating and pool heating and heat pump
(EB104) is used for cooling, heating and pool heating.
At simultaneous heating and hot water demand the re-
versing valve switches (AA25-QN10) periodically
between the climate system and the water heater/accu-
mulator tank (CP10). When the hot water heater/accu-
mulator tank is fully charged (CP10), the reversing valve
switches (AA25-QN10) to the climate systems. When
the pool needs heating the reversing valve (CL11-QN19)
or (CL12-QN19) switches from the climate system to
the pool system.
Additional heat (EB1) is connected automatically when
the energy demand exceeds the heat pump capacity.
Additional water heating is obtained from the additional
water heater (EB10).
During cooling operation (requires compatible heat
pump), the reversing valve (EQ1-QN12) switches to the
cooling system (EQ1). If several demands occur while
there is a cooling demand, the installation reacts differ-
ently. In the event of a heating demand, the reversing
valve (EQ1-QN12) instead switches periodically between
the demands. When the cooling demand is met, the
reversing valve switches back to basic mode (heat/hot
water). In the event of a pool heating demand, the re-
versing valve (EQ1-QN12) switches back at the same
17Chapter 4 | Pipe connectionsNIBE SMO 40

time as the reversing valve (CL12-QN19) switches to
the pool system (CL12) and pool heating is produced
until the demand is fulfilled.
NIBE SMO 40Chapter 4 | Pipe connections18

General
• Disconnect SMO 40 before insulation testing the
house wiring.
• If the building is equipped with an earth-fault breaker,
SMO 40 should be equipped with a separate one.
• SMO 40 must be installed via a circuit breaker with a
minimum breaking gap of 3 mm.
• For the electrical wiring diagram for the control mod-
ule, see page .69.
• Use a three core, screened cable for communication
with the heat pump.
•Communication and sensor cables to external connec-
tions must not be laid close to high current cables.
• The minimum area of communication and sensor
cables to external connections must be 0.5 mm² up
to 50 m, for example EKKX, LiYY or equivalent.
• When cable routing into SMO 40, cable grommets
(UB1 and UB2, marked in image) must be used.
NOTE
The switch (SF1) must not be moved to "" or
" " until the boiler water has been filled in the
system. The compressor in the heat pump and
any external additional heat can be damaged.
NOTE
Electrical installation and any servicing must
be carried out under the supervision of a quali-
fied electrician. Disconnect the current using
the circuit breaker before carrying out any ser-
vicing. Electrical installation and wiring must
be carried out in accordance with the applicable
provisions. When installing SMO 40, NIBE’s
air/water heat pump and any additional heat
must be disconnected from the power supply.
Caution
See outline diagram for your system for phys-
ical location of the temperature sensor that is
to be installed.
Caution
The relay outputs on the accessory board (AA5)
may be subjected to a max load of 2 A (230 V)
in total.
L N 1 1 0 2 3 4PE
1 2 3 4
LEK
SF1
AA5
FA1
UB2UB1
MINIATURE CIRCUIT-BREAKER
The control module operating circuit and parts of its in-
ternal components are internally fused by a miniature
circuit breaker (FA1).
19Chapter 5 | Electrical connectionsNIBE SMO 40
5 Electrical connections

Accessibility, electrical
connection
The cover of the control module is opened using a Torx
25 screwdriver. Assembly takes place in the reverse
order.
LEK
LEK
3
1
2
TIP
The cover to access the base board is opened
using a Torx 25 screwdriver.
LEK
LEK
3
1
2
The display may need to be moved for easier access
when connecting electrics. This is easily done by follow-
ing these steps.
1.
LEK
LEK
LEK
LEK
b
a
Press in the catch on the upper rear side of the dis-
play unit towards you (a) and move the display unit
upwards (b) so that the mountings unhook from the
panel.
2.
LEK
LEK
LEK
LEK
b
a
Lift the display unit from its mountings.
3.
LEK
LEK
LEK
LEK
b
a
Align the two lower mountings on the reverse of
the display unit with the two upper holes in the
panel as illustrated.
NIBE SMO 40Chapter 5 | Electrical connections20
Other manuals for SMO 40
4
Table of contents
Other Nibe Control Unit manuals
Popular Control Unit manuals by other brands

R&S
R&S OSP operating manual

Dectris
Dectris EIGER 2 S 500K-RW Technical specifications

SMC Networks
SMC Networks VT325 Series Operation manual

PCB Piezotronics
PCB Piezotronics 070M70 Installation and operating manual

Asco
Asco 8042 Series Installation & maintenance instructions

Groth
Groth 1201B Installation, operation and maintenance manual