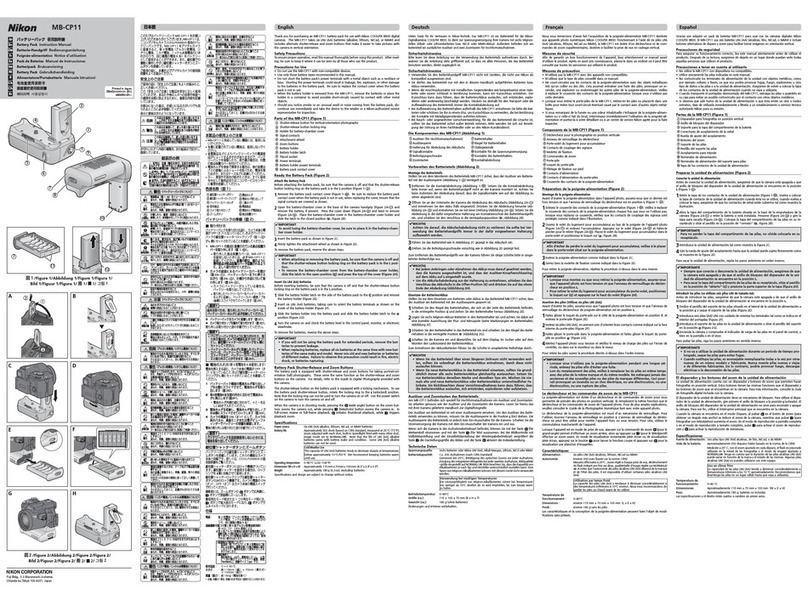
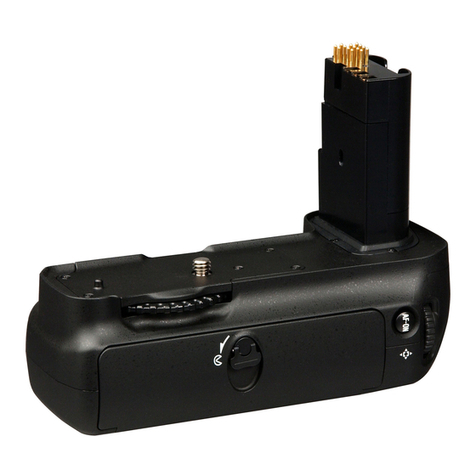
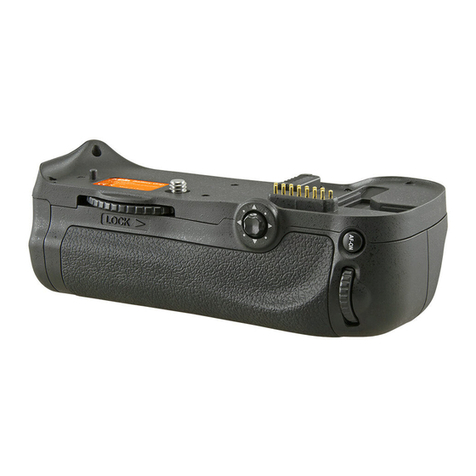
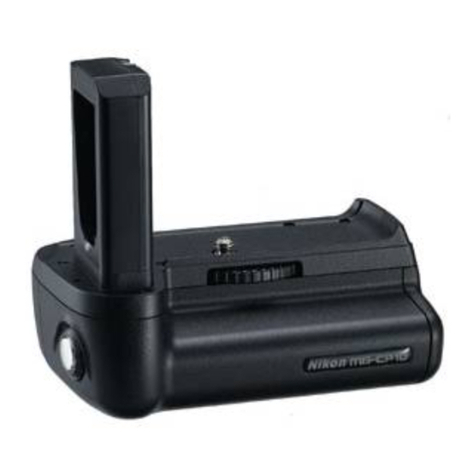
Nikon MB-D10 User manual

Aq
w
e
r
t
y
u
io
!0
!9
!4
!1
!2
@2
!3
!5
!6
!7
@0
!8
@1

C
D
B E
w
q
q
w
q
w

F G H I
q
w
q
w
q
w

1
Safety Precautions ......................................................2
Precautions for Use .....................................................2
Introduction ...............................................................4
The MB-D10 and Accessories........................................4
The MB-D10 and Supplied Accessories .....................4
The BL-3 Battery-Chamber Cover (Available
Separately) ............................................................4
Parts of the MB-D10 ....................................................5
The MB-D10 Shutter-Release Button, Multi Selector,
Command Dials, and AF-ON Button .........................5
The MB-D10 Control Lock ........................................5
Using the Battery Pack ................................................6
Attaching the Battery Pack .....................................6
Removing the Battery Pack.....................................6
Inserting Batteries .................................................7
Removing Batteries................................................9
Specications............................................................ 10
Table of Contents
MB-D10 Multi-Power Battery Pack
User’s Manual

2
To ensure proper operation, read this manual
thoroughly before using this product.
After
reading, be sure to keep it where it can be seen
by all those who use the product.
Safety Precautions
• The MB-D10 is for use with compatible cameras
only.
• Do not use with batteries and battery holders not
recommended in this manual.
The MB-D10 can
not be used with rechargeable EN-EL3a/EN-EL3
Li-ion batteries.
• The MB-D10 can be used with the MS-40 AA
battery holder for the MB-40 multi-power bat-
tery pack, but performance will be impaired and
the number of photographs that can be taken
with a single set of batteries will drop.
• To prevent electrical shorts caused by metal ob-
jects touching the power terminals, replace the
contact cap when the MB-D10 is not in use.
• When a battery holder or the optional BL-3 bat-
tery-chamber cover is removed from the MB-D10,
remove the batteries or place the holder or cover
in the holder case to prevent electrical shorts
caused by contact with other metal objects.
Precautions for Use
• The memory card access lamp may light up
when the MB-D10 is attached or removed from
the camera, but this is not malfunction.
• Should you notice smoke or an unusual smell
or noise from the battery pack, discontinue use
immediately.
After removing the batteries, take
the device to the retailer or a Nikon-authorized
service representative for inspection.
• The MB-D10 is not equipped with a power
switch.
Use the camera power switch to turn
the power on or off.

3
Notice for Customers in the U.S.A.
Federal Communications Commission (FCC) Radio Frequency Interference Statement
Notice for Customers in Canada
CAUTION
This Class B digital apparatus complies with
Canadian ICES-003.
ATTENTION
Cet appareil numérique de la classe B est con-
forme à la norme NMB-003 du Canada.
This equipment has been tested and found to
comply with the limits for a Class B digital device,
pursuant to Part 15 of the FCC rules.
These limits
are designed to provide reasonable protection
against harmful interference in a residential instal-
lation.
This equipment generates, uses, and can
radiate radio frequency energy and, if not installed
and used in accordance with the instructions, may
cause harmful interference to radio communic-
ations.
However, there is no guarantee that inter-
ference will not occur in a particular installation.
If
this equipment does cause harmful interference to
radio or television reception, which can be deter-
mined by turning the equipment off and on, the
user is encouraged to try to correct the interference
by one or more of the following measures:
• Reorient or relocate the receiving antenna.
• Increase the separation between the equipment
and receiver.
• Connect the equipment to an outlet on a circuit
different from that to which the receiver is con-
nected.
• Consult the dealer or an experienced radio/TV
technician for help.
CAUTION
Modications: The FCC requires the user to be noti-
fied that any changes or modifications made to
this device that are not expressly approved by
Nikon Corporation may void the user’s authority
to operate the equipment.
Nikon Inc.,
1300 Walt Whitman Road, Melville, New York
11747-3064, U.S.A.
Tel.: 631-547-4200
4
The MS-D10EN is inserted in the MB-D10 at
shipment.
See “Inserting Batteries” for informa-
tion on removing the battery holder.
Thank you for your purchase of an MB-D10
multi-power battery pack for use with all
Nikon single-lens reflex digital cameras that
list the MB-D10 as a compatible accessory in
the camera manual.
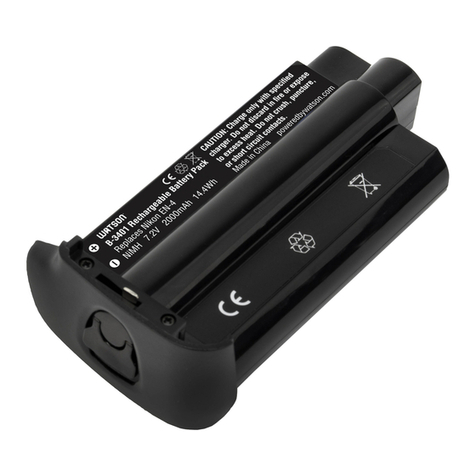
The MB-D10 takes one
EN-EL3e, EN-EL4a, or EN-EL4 rechargeable
battery or eight AA batteries (alkaline, Ni-MH,
lithium, or nickel-manganese) and includes an
alternate shutter-release button, AFON button,
multi selector, and main and sub-command
dials for taking pictures in “tall” (portrait) orien-
tation.
Camera menu options allow the user
to choose whether the camera battery or the
batteries in the MB-D10 are used first; see the
camera manual for details.
Introduction The MB-D10 and Accessories
The MB-D10 and Supplied Accessories
Confirm that the following items are supplied with the MB-D10 (batteries are sold separately).
MB-D10 MS-D10EN holder for
EN-EL3e batteries
MS-D10 holder for
AA batteries
Holder case
BL-3 battery-chamber cover
The BL-3 Battery-Chamber Cover (Available Separately)
A BL-3 battery-chamber cover (available separately) is required when using EN-EL4a or EN-EL4
batteries.
• User’s manual
(this manual)
• Warranty
Contact cap

5
qContact cap
wHolder for camera contact cover
eSignal contacts
rAFON button
tMain command dial
yMulti selector
uAttachment wheel
iBattery-chamber cover
oBattery-chamber latch
!0 Battery chamber
!1 Mounting screw
!2 Power terminals
!3 Shutter-release button
!4 Control lock
!5 Sub-command dial
!6 Tripod socket
!7 MS-D10EN holder for EN-EL3e batteries
!8 Power terminals
!9 Power terminals (EN-EL3e battery holder)
@0 MS-D10 holder for AA batteries
@1 Power terminals (AA battery holder)
@2 BL-3 battery-chamber cover (available sep-
arately)
Parts of the MB-D10 (Figure A)
The MB-D10 Shutter Release Button, Multi Selector, Command Dials, and AF-ON Button
The MB-D10 is equipped with a shutter-release button (Figure A- ), multi selector (Figure A- ),
main command dial (Figure A- ), sub-command dial (Figure A- ), and AFON button (Figure A- )
for use when taking photographs in vertical (“tall,”or portrait) orientation.
These controls perform
the same functions as the corresponding controls on the camera.
See the camera manual for
more information.
Changes to [
Multi selector center button]
, [
Multi selector]
, [
Photo info/playback]
, and [
Customize
command dials]
in the camera Custom Settings menu (Group f) also apply to the multi selector
and command dials on the MB-D10.
The function performed by the AFON button on the MB-D10
can be selected using the [
AF-ON for MB-D10]
option in Group a.
See the camera manual for
details.
The MB-D10 Control Lock
The control lock (Figure A- ) locks the con-
trols on the MB-D10 to prevent unintended
use.
Before using these controls to take photo-
graphs in vertical (portrait) orientation, select
●to release the lock as shown at right.
The control lock is not a power switch.
Use the
camera power switch to turn the camera on
and off.

6
Using the Battery Pack
Attaching the Battery Pack
Before attaching the battery pack, be sure that the camera is off and that the MB-D10 control lock
(Figure A- ) is in the Lposition.
1Remove the contact cap (Figure A- ) from the battery pack.
2The contacts for the MB-D10 are in the base of the camera, where they are protected by a con-
tact cover.
Remove the contact cover as shown in Figure B- and place it in the contact cover
holder on the MB-D10 (Figure B- ).
3Insert the MB-D10 (Figure C), keeping the MB-D10 mounting screw (C- ) aligned with the
camera tripod socket (C- ).
There is no need to remove the battery from the camera before
connecting the MB-D10.
At default settings, the battery inserted in the camera will be used
only after the battery in the MB-D10 is exhausted.
The [
Battery order]
option in the camera
Custom Settings menu (Group d) can be used to change the order in which the batteries are
used.
See the camera manual for details.
4Tighten the attachment wheel by rotating it in the direction shown by the LOCK arrow (Figure
D).
Be sure to place the camera contact cover in the contact cover holder to prevent loss.
A PB-6D and PK-13 auto-extension ring are required when using PB-6 bellows with the MB-D10.
Removing the Battery Pack
To remove the MB-D10, turn the camera off
and set the control lock on the MB-D10 to L,
then loosen the attachment wheel and re-
move the MB-D10.
Be sure to replace the con-
tact cover on the camera and the contact cap
on the MB-D10 when the battery pack is not
in use.

7
Inserting Batteries
Inserting Batteries
The MB-D10 can be used with one EN-EL3e, EN-EL4a, or EN-EL4 rechargeable Li-ion battery, or with eight AA batteries.
A BL-3 battery-chamber
cover (available separately) is required when using an EN-EL4a or EN-EL4 battery.
Before inserting batteries, be sure that the camera is off and that the MB-D10 control lock is in the Lposition.
1Turn the MB-D10 battery-chamber latch to and remove the battery holder (Figure E).
2Ready the batteries as described below.
EN-EL3e: Matching the indentations on the battery to the projections on the MS-D10EN holder, insert the battery with the arrow (▲) on the bat-
tery toward the battery holder power terminals (Figure F- ).
Press the battery lightly downward and slide it in the direction of the arrow until
the power terminals click into place (Figure F- ).
EN-EL4a/EN-EL4: If the battery release on the optional BL-3 battery-chamber cover is positioned so that the arrow ( ) is visible, slide the battery
release to cover the arrow (Figure G- ).
Insert the two projections on the battery into the matching slots on the BL-3 (Figure G- ) and slide the
BL-3 battery lock release to reveal the arrow.
AA: Place eight AA batteries in the MS-D10 battery holder as shown in Figure H, making sure that the batteries are in the correct orientation.
3Insert the battery or battery holder in the MB-D10 and latch the battery-chamber cover (Figure I).
Make sure the battery or holder is fully inserted
before turning the latch.
4Turn the camera on and check the battery level in the control panel or viewfinder. If the camera does not turn on, check that the battery is cor-
rectly inserted.

8
Battery Level
The camera displays battery level as follows:
EN-EL3e, EN-EL4a, and EN-EL4 Batteries
Control panel Viewnder Description
L— Battery fully charged.
K
—Battery partially
discharged.
J
I
HdLow battery.
Ready
spare batteries.
H
(blinks)
d
(blinks)
Battery exhausted.
Shutter release
disabled.
AA Batteries
Control panel Viewnder Description
L—
Charge remaining.
IdLow batteries.
Ready
spare batteries.
H
(blinks)
d
(blinks)
Batteries exhausted.
Shutter release
disabled.
The[Batteryorder]option
in the camera Custom
Settings menu (Group d)
can be used to change
the order in which the batteries are used. When
the camera is drawing power from the MB-D10, a
icon is displayed in the control panel.
To ensure that the camera
shows the correct battery
level when AA batteries
are used, choose the ap-
propriate option for the
[MB-D10 battery type]
option in the camera Custom Settings menu
(Group d). If the correct option is not selected,
the camera may fail to function as expected.
Option Battery type
1LR6 (AA alkaline) AA alkaline (LR6)
2HR6 (AA Ni-MH) AA Ni-MH (HR6)
3FR6 (AA lithium) AA Lithium (FR6)
4ZR6 (AA Ni-Mn) AA nickel-manganese
(ZR6)
Remove the batteries when the MB-D10 is not
in use.
Battery Info
The [
Battery info]
option
in the camera setup
menu displays infor-
mation on EN-EL3e,
EN-EL4a, and EN-EL4
batteries (the camera
battery is listed on the left, the MB-D10 on the
right).
Only the battery level is listed when AA
batteries are used.
See the camera manual for
details.

9
Removing Batteries
Removing Batteries
Be careful not to drop batteries, the holder, or the optional battery-chamber cover.
1Turn the MB-D10 battery-chamber latch to and remove the battery holder (Figure E).
2Remove the battery or batteries from the holder or optional battery-chamber cover.
EN-EL3e
While pressing the holder PUSH button, slide
the battery toward the button.
The battery
can then be removed as shown.
EN-EL4a/EN-EL4
Slide the battery release in the direction in-
dicated by the arrow ( ) and remove the
battery-chamber cover.
AA Batteries
Remove the batteries as shown.
Be careful
not to drop the batteries when removing
them from the holder.

10
Specications
Power source One EN-EL3e, EN-EL4a, or EN-EL4 rechargeable Li-ion battery or eight LR6
alkaline, HR6 Ni-MH, FR6 lithium, or ZR6 nickel-manganese AA batteries
Operating temperature 0 – 40 °C (32 – 104 °F)
Dimensions (W × H × D) Approx. 150.5 × 52 × 75.5 mm/5.9 × 2.0 × 3.0 in.
Weight Approx. 290 g (10.2 oz), with MS-D10EN but excluding batteries
Specifications and design are subject to change without notice.
EN-EL3e, EN-EL4a, and EN-EL4 Batteries
The performance of EN-EL3e, EN-EL4a, and EN-EL4 batteries drops at temperatures below about 10 °C
(50 °F).
Be sure the battery is fully charged and keep a warm spare battery on hand ready to exchange
as necessary.
Cold batteries will recover some of their charge when warmed.
AA Batteries
Due to their limited capacity, AA LR6 alkaline and ZR6 nickel-manganese batteries should be used
only when no other alternative is available.
Use is not recommended at low temperatures.
In gen-
eral, AA batteries have less capacity than other power sources when used in the MB-D10; EN-EL3e,
EN-EL4a, and EN-EL4 batteries are recommended for best performance.
The capacity of AA batteries varies with make and storage conditions and may in some instances be
extremely low; in some cases, AA batteries may cease to function before their expiry date.
Note that
the capacity of AA batteries may drop at temperatures below 20°C (68 °F).
Frame Advance Rate
EN-EL4a/EN-EL4 and AA batteries support higher frame advance rates than the EN-EL3e. For more
information on frame advance rates, see the camera manual.
Other manuals for MB-D10
2
Table of contents
Other Nikon Batteries Pack manuals