9. MulTipeg
The MulTipeg is made from titanium, and has an integrated grip for the driver on top. Inspect the MulTipeg for damage before use. Damaged MulTipegs should not
be used due to the risk of erroneous measurements.
There are different MulTipegs available made to fit different implant systems and types. Please refer to the updated list from the supplier.
10. Technical function
For bringing the measurement pin into vibration, short magnetic pulses are sent from the instrument tip. The magnetic pulses interact with the magnet inside the
measurement pin and cause the pin to vibrate. A pickup in the instrument picks up the alternating magnetic field from the vibrating magnet, calculate the
frequency and from that, the ISQ value.
11. Implant stability
An implant can have different stabilities in different directions. Make sure to measure from different directions around the top of the MulTipeg.
12. ISQ-value
The stability of the implant is presented as an “ISQ value”. The higher the value, the more stable the implant. The ISQ is described in numerous clinical studies. A
list of studies can be ordered from the supplier.
13. Batteries & charging
The instrument contains 2 NiMH battery cells that have to be charged before use. A full charge takes approximately 3 hours. From fully charged, the instrument can
measure continuously for 60 minutes before it needs to be recharged. The yellow LED is lit when the battery needs recharging. When the battery reaches a critical
level, the instrument shuts off automatically. When the batteries are charging, the blue LED is lit. When the batteries are fully charged, the light goes off. The
charger should not be plugged in while measuring due to the risk of power line interference making it difficult to measure.
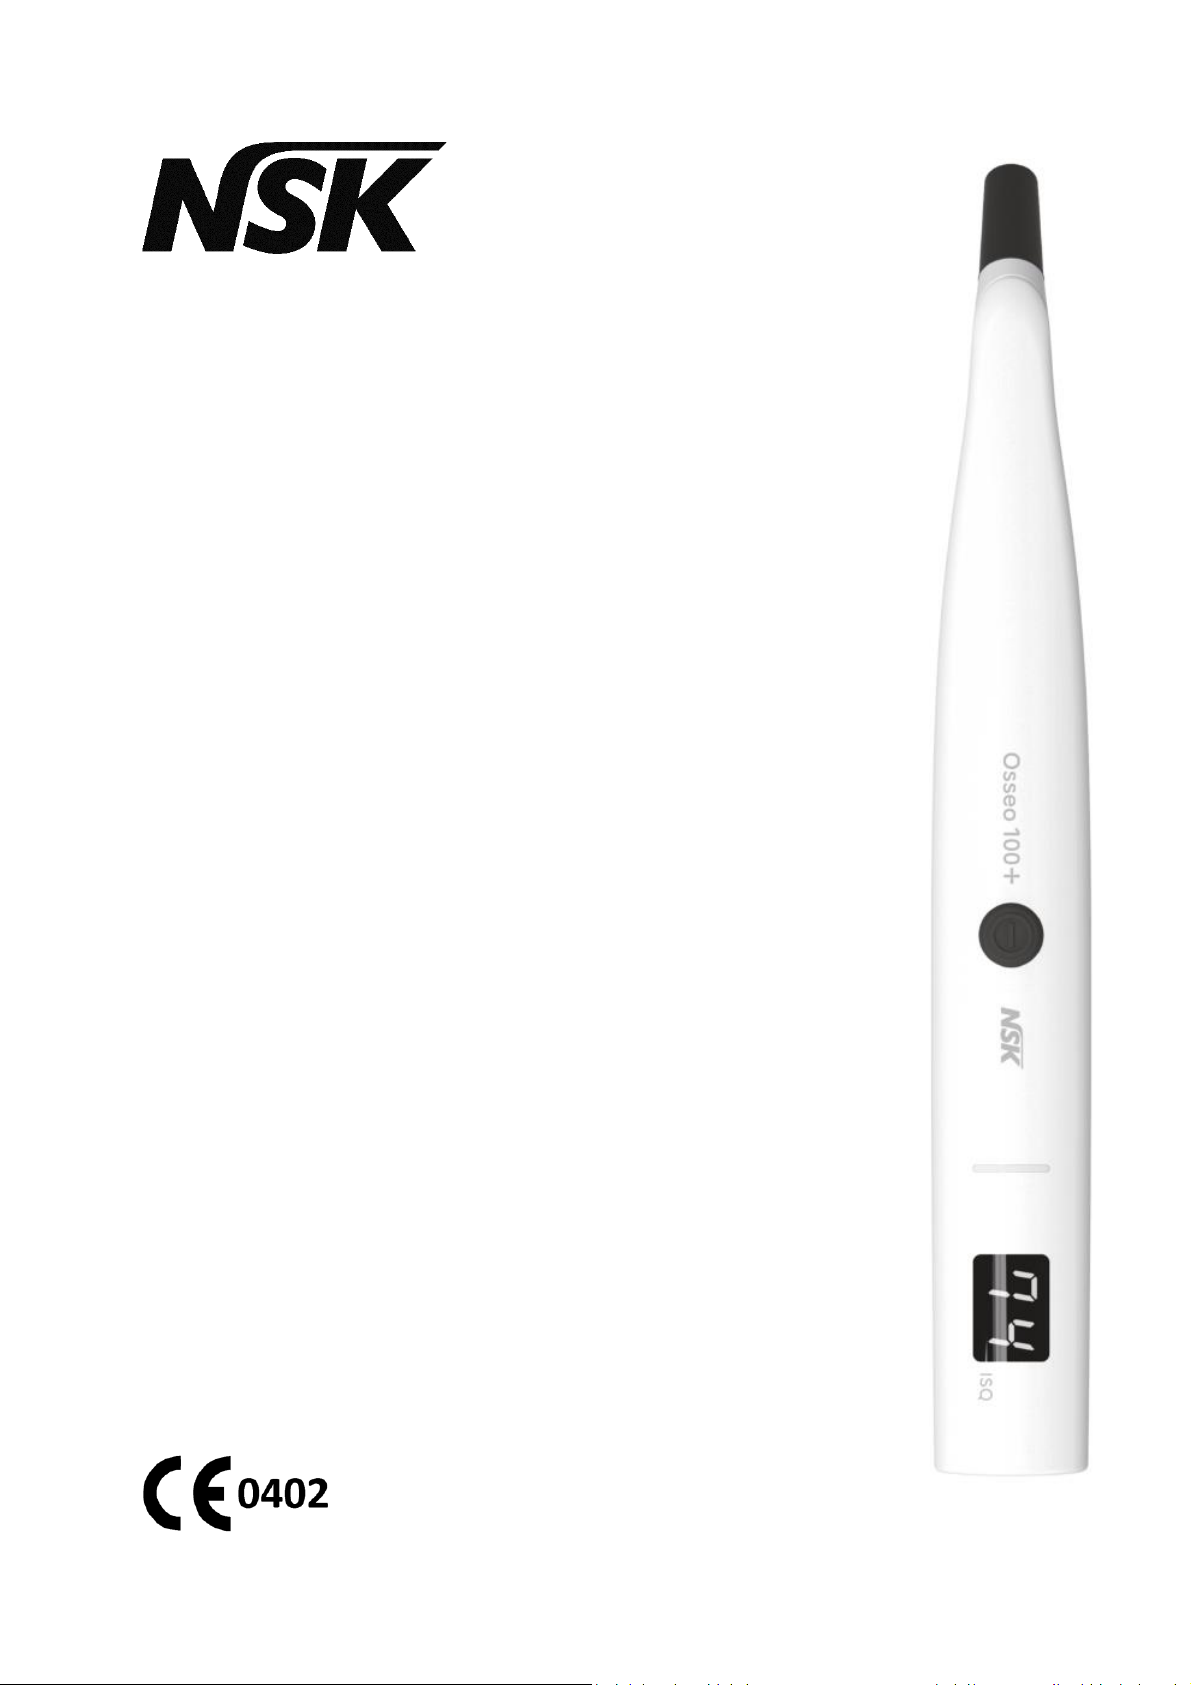
14. Usage
14.1 Instrument on/off
To turn the instrument on, press the operating key. A short beep should be heard and then all display segments are lit up for a short while. Check that all display
segments are lit.
The software version is then shown briefly before the instrument starts to measure. If any error code (EX, where “X” is the error number) is shown during start up,
please refer to the section “Troubleshooting”.
To turn off, press and hold the operating key until the instrument turns off. The instrument will power down automatically after 1 minute of inactivity.
14.2 Measurement
A MulTipeg (fig 3) is mounted onto the implant by using the MulTipeg driver (fig 2). Use hand-tightening with 6-8 Ncm of tightening torque. Turn on the instrument
and hold the tip close to the top of the pin (fig 5). When a signal is received, a beep is heard and then the ISQ-value is shown on the display for a short while before
the instrument starts to measure again.
If electromagnetic noise is present, the instrument cannot measure. The electromagnetic noise warning is audible as well as visible on the display. Try to remove
the source of the noise. The source could be any electric equipment close to the instrument.
14.3 ISQ Bluetooth transfer
Connection to other equipment can result in unidentified risks to patients, operators or others. Identification, analysis, evaluation and control of these risks are the
responsibilities of the user. Changes to this or the paired device can introduce new risks that require additional analysis.
14.3.1 Bluetooth pairing
To establish Bluetooth data transfer, the instrument has to be paired with a pairable instrument. The pairing only needs to be done once.
To pair, turn on the instrument and press and hold the key for at least 3 seconds until the instrument enters pairing mode, ”PA” is shown on the display and the
beeper sounds while pairing. To abort pairing attempts, press the key again. When pairing is completed, a beep is heard and measurements starts. After 2 minutes
of pairing attempts without succesful pairing, the instrument will return to measurement mode.
14.3.2 Sending ISQ value
If the Osseo100+ is paired, the displayed ISQ and battery status is automatically sent to the paired device.
15. Cleaning and maintenance
15.1 Recommended disinfectants
The following disinfectants are recommended for the instrument, the MulTipeg and the MulTipeg Driver:
•Schülke & Mayr: Mikrozid AF Liquid
•Dürr: FD 322
•Metrex: CaviCide
Follow the instructions for use for the disinfectant that is used. Do not autoclave the instrument