3
Table of Contents
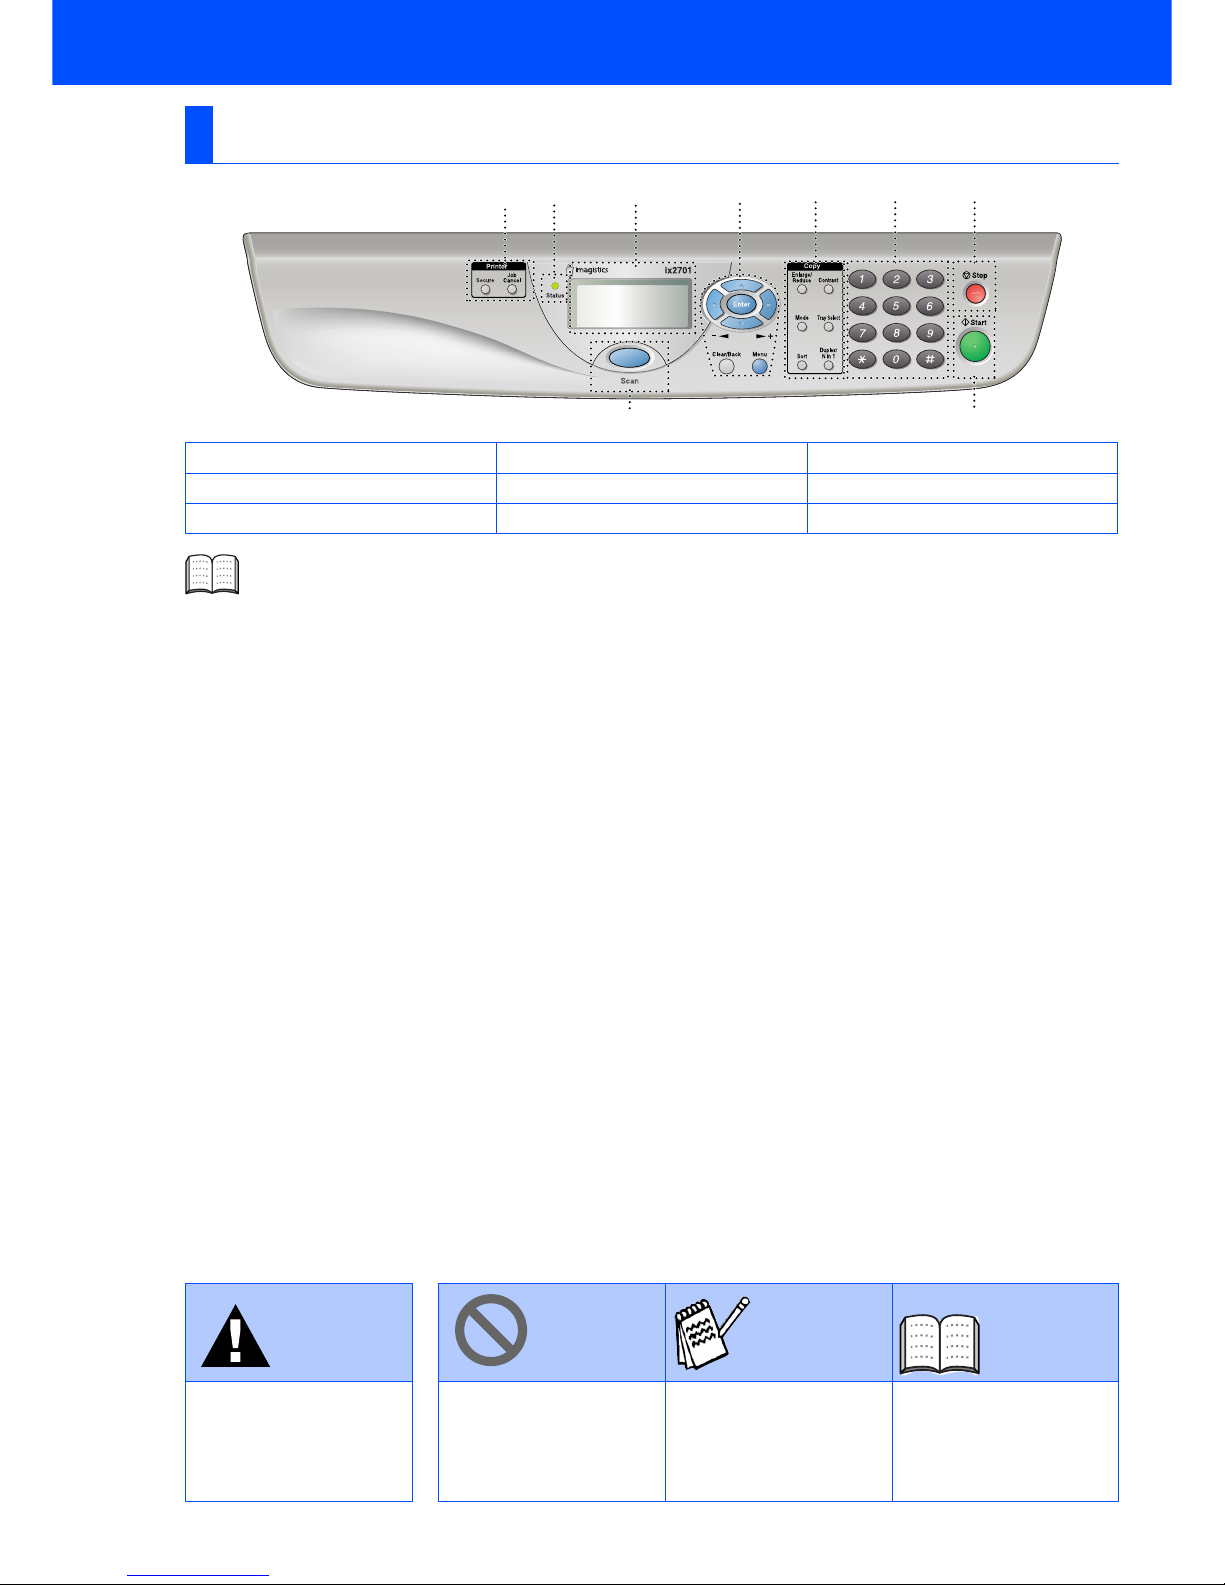
Setting Up the Machine
1. Install the Automatic Document Feed (ADF) Support ................................... 4
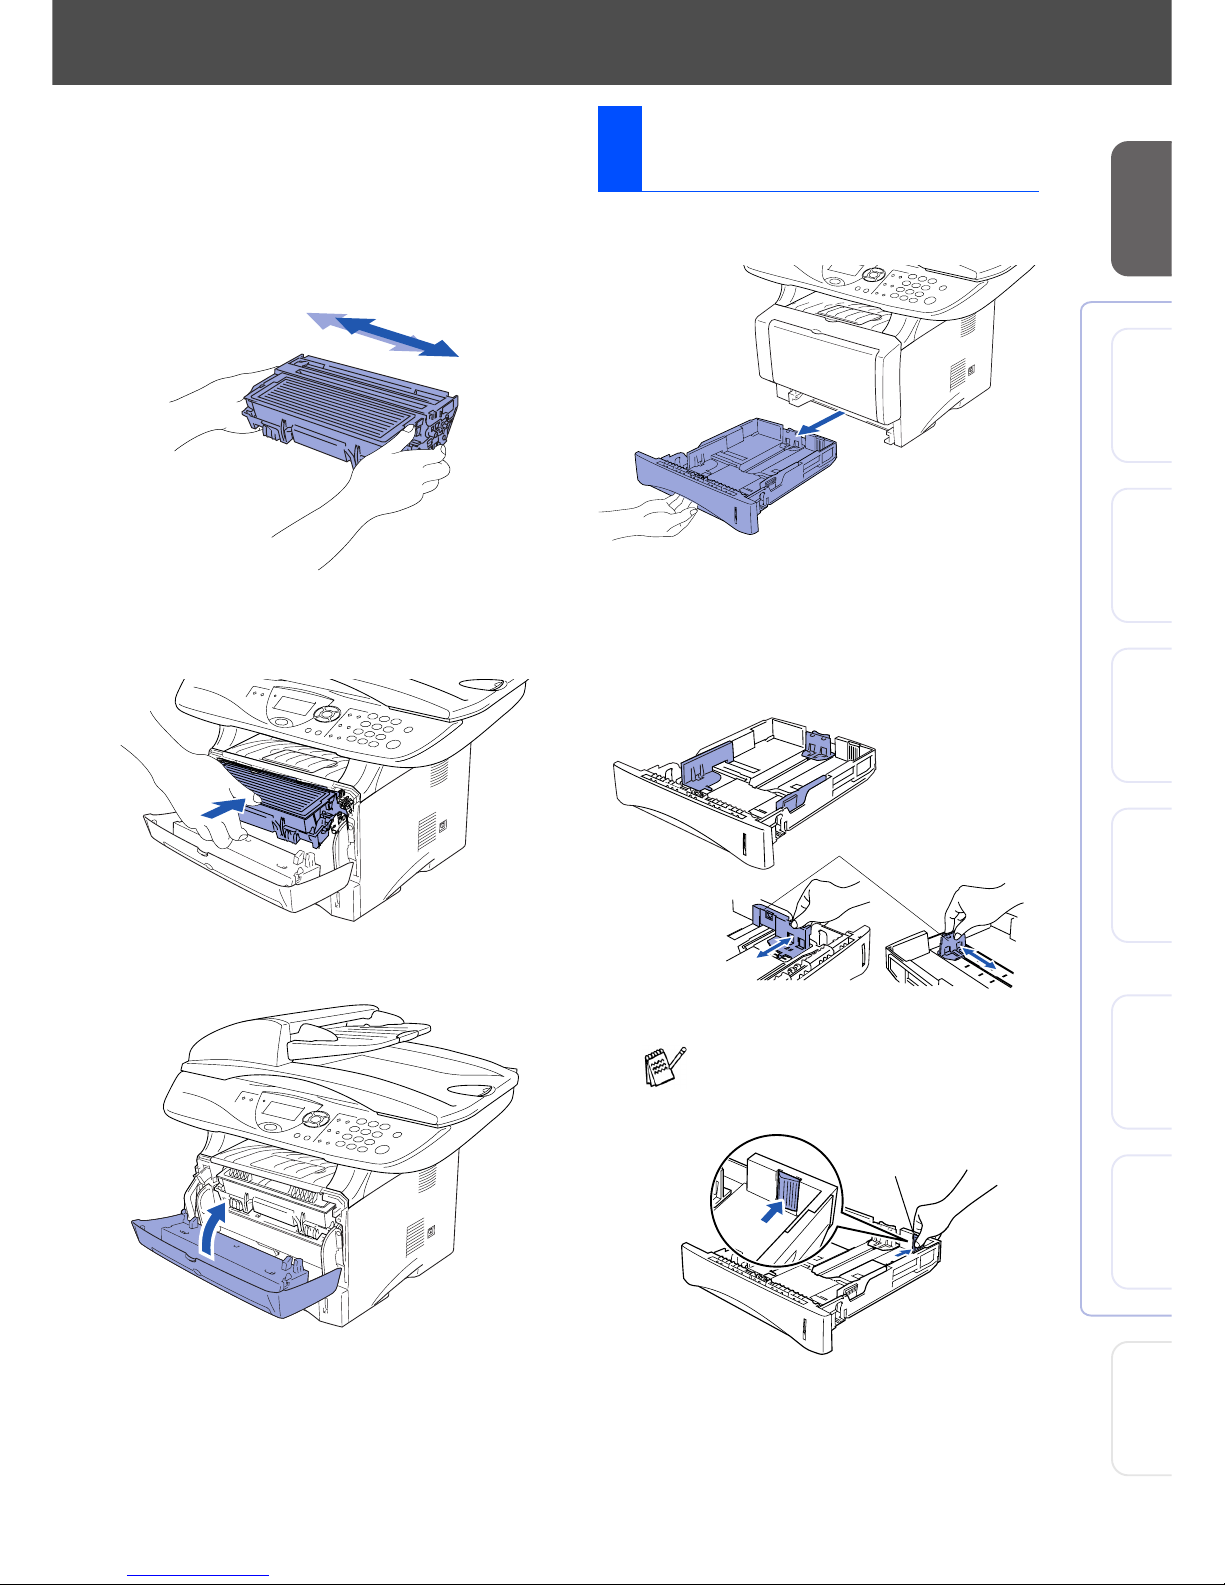
2. Install the Drum Unit Assembly .......................................................................4
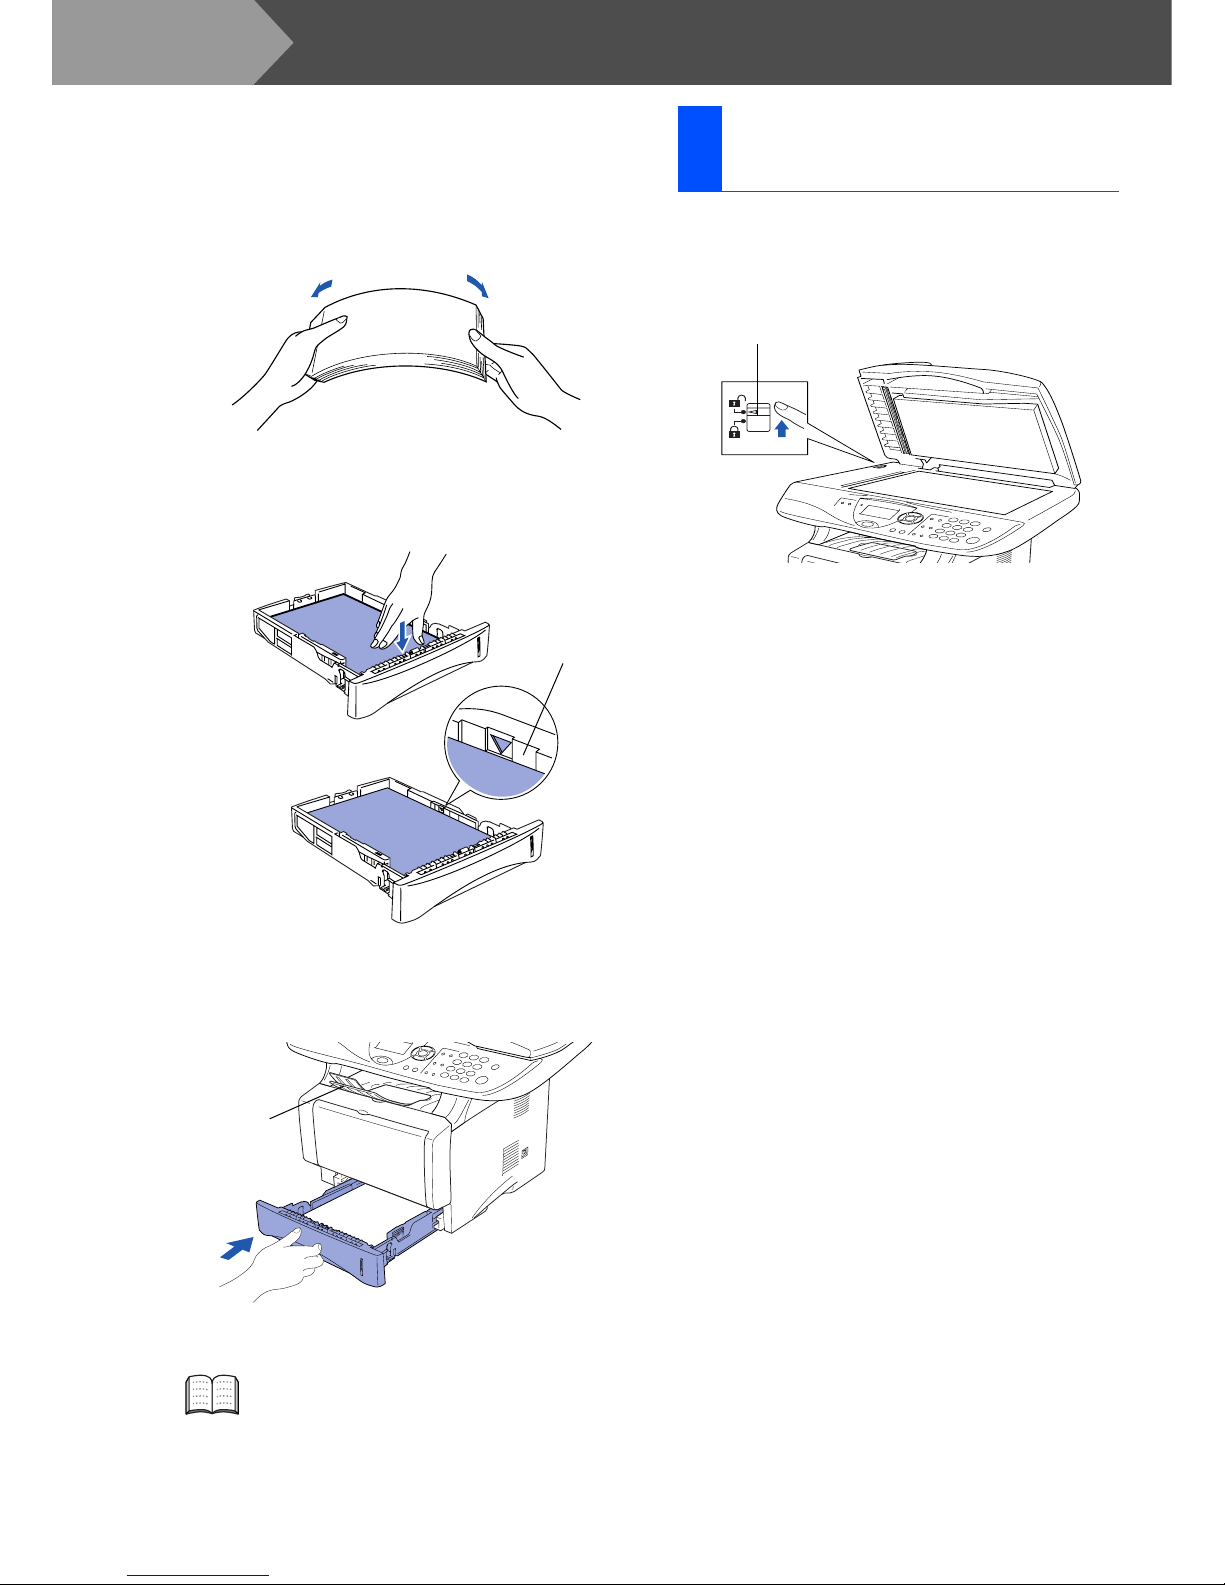
3. Load Paper in the Paper Tray ..........................................................................5
4. Release the Scanner Lock ................................................................................ 6
5. Install Power Cord .............................................................................................7
6. Selecting Your Language .................................................................................7
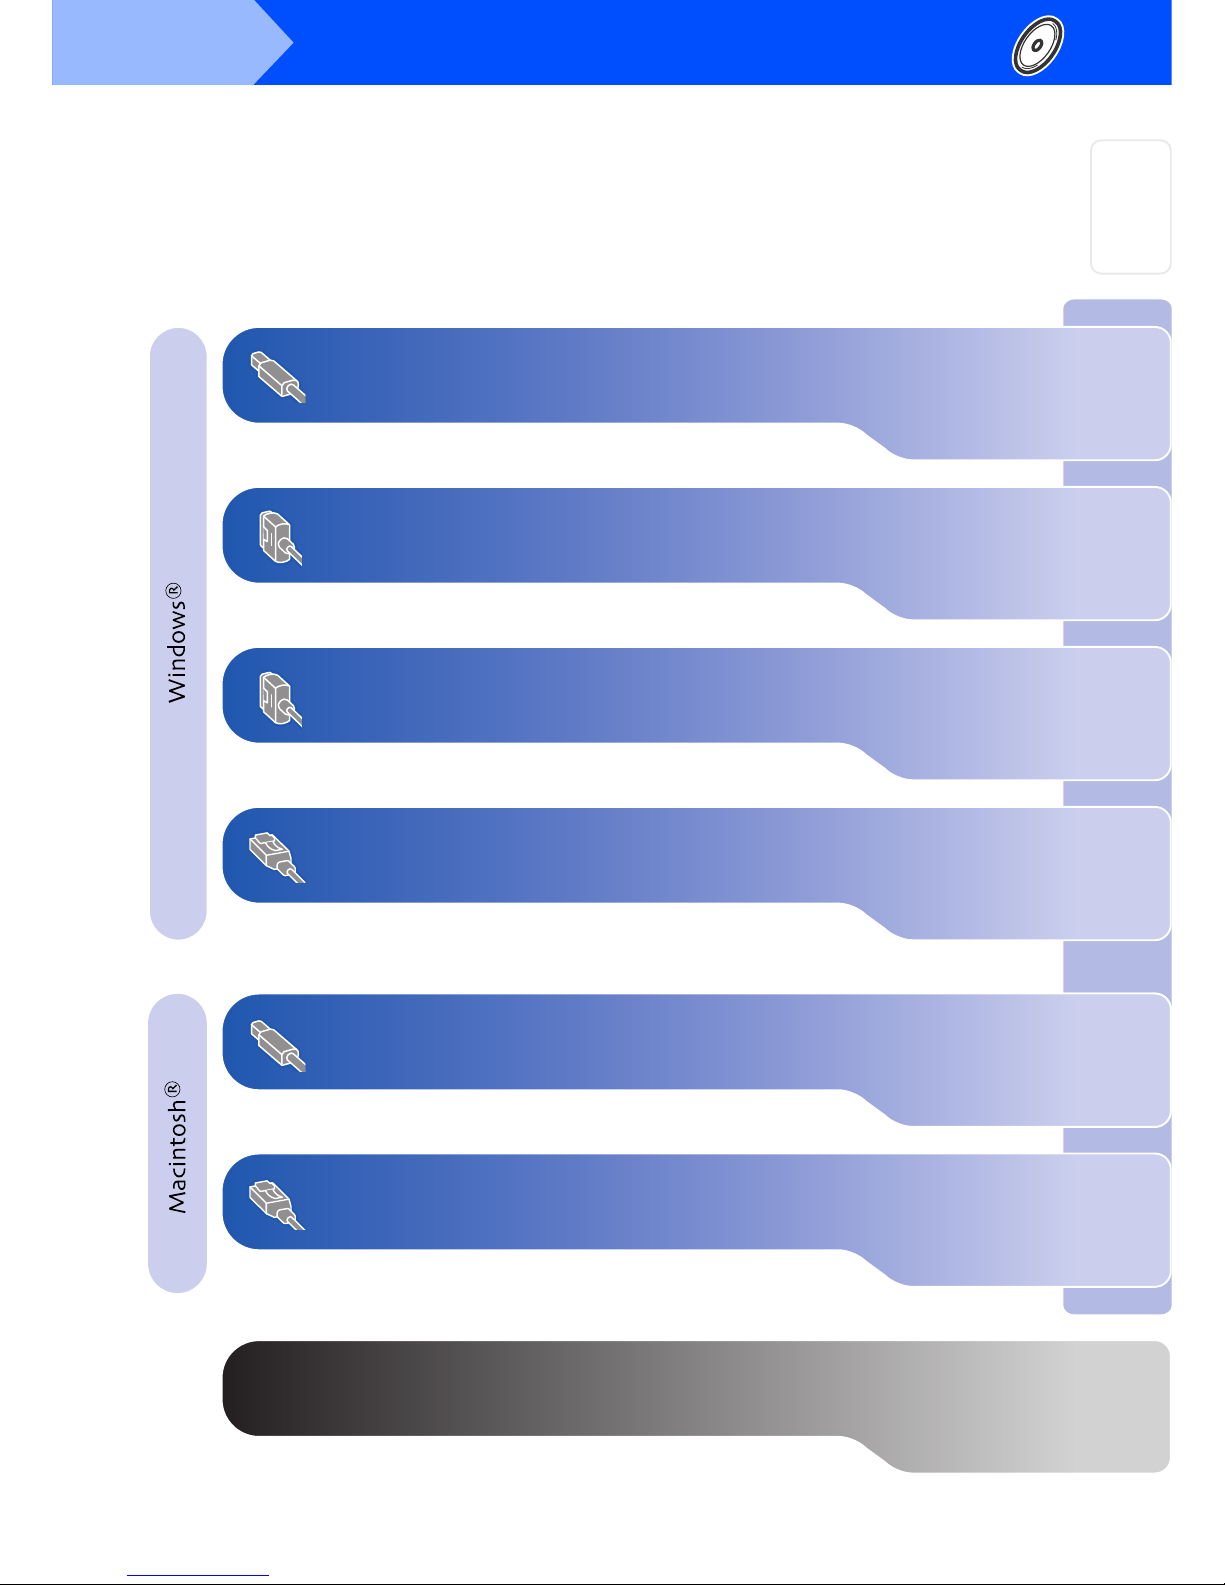
Installing the Driver & Software
Supplied CD-ROM (Multi-Function Suite) ........................................................... 8
For USB Interface Cable Users
(For Windows®98/98SE/Me/2000 Professional/XP) ...............................10
■For Windows® 98/98SE/Me Users Only ...........................................................13
■For Windows® 2000 Professional Users Only ................................................15
■For Windows® XP Users Only ..........................................................................18
For Parallel Interface Cable Users
(For Windows®95/98/98SE/Me/2000 Professional/XP) ..........................21
■For Windows® 95/98/98SE/Me Users Only ......................................................24
■For Windows® 2000 Professional Users Only ................................................25
■For Windows® XP Users Only ..........................................................................28
For Windows NT®Workstation Version 4.0 Users ................................ 31
For Network Interface Cable Users
(For Windows®95/98/98SE/Me/NT/2000 Professional/XP) .................... 34
For USB Interface Cable Users ................................................................ 38
■For Mac OS® 8.6 to 9.2 ......................................................................................38
■For Mac OS® X 10.1/10.2.1 or greater ..............................................................40
For Network Interface Cable Users ......................................................... 42
■For Mac OS® 8.6 to 9.2 ......................................................................................42
■For Mac OS® X 10.1/10.2.1 or greater ..............................................................44
■For Administrators
Network User's Guide Chapter Map ................................................................. 46
Installing the BRAdmin Professional Configuration Utility (Windows
®
Users Only)
.47
Setting your IP Address, Subnet Mask and Gateway using BRAdmin Professional
(Windows
®
Users Only)
........................................................................................ 48
Options ................................................................................................................ 49
Replacement Consumables ............................................................................... 49
Step 1
Step 2