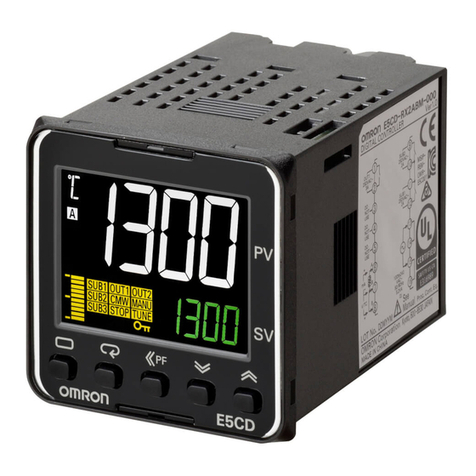
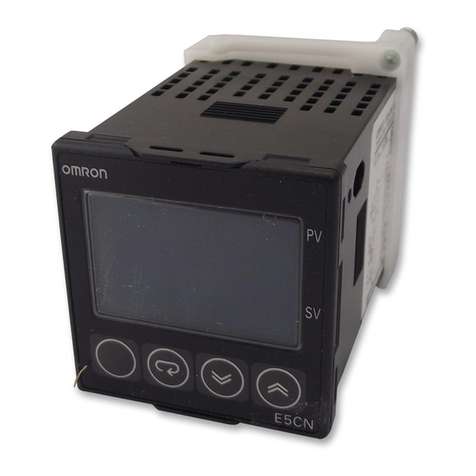
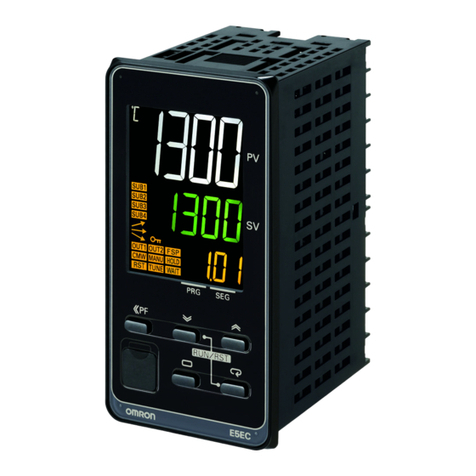
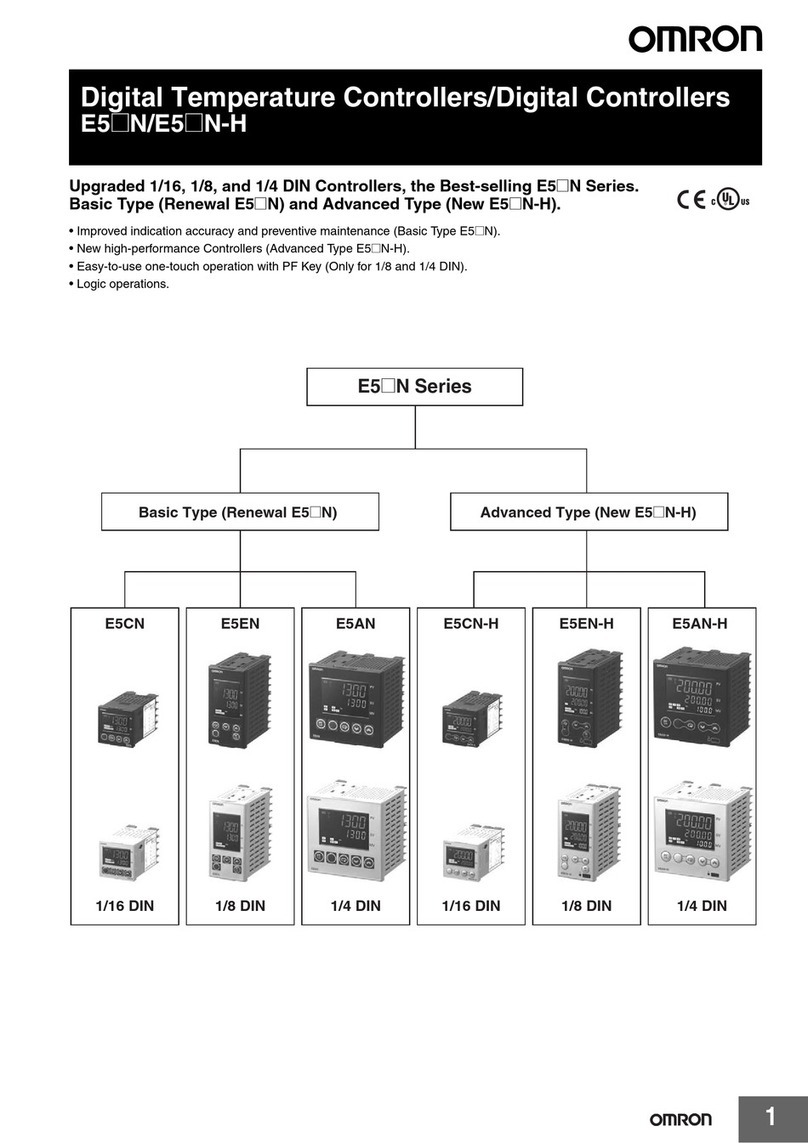
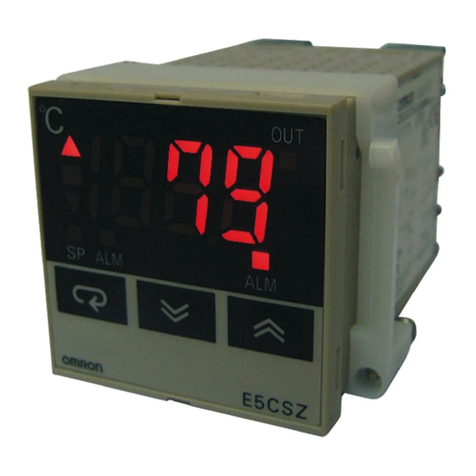
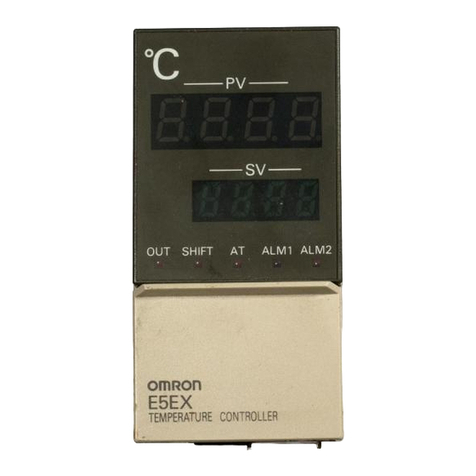
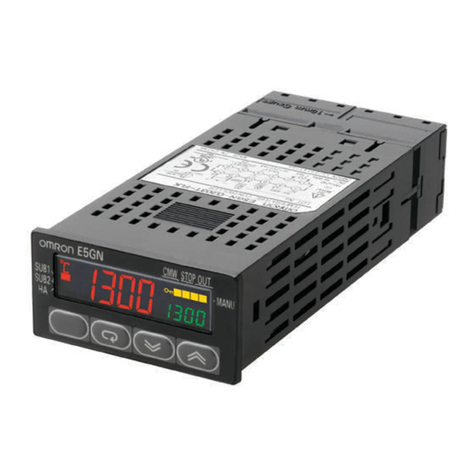
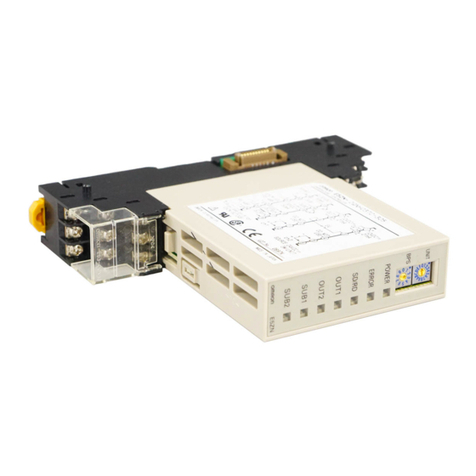
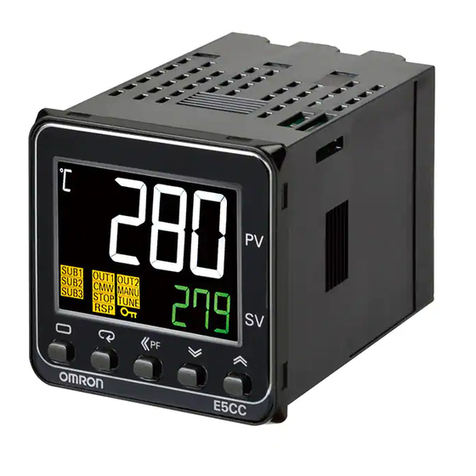
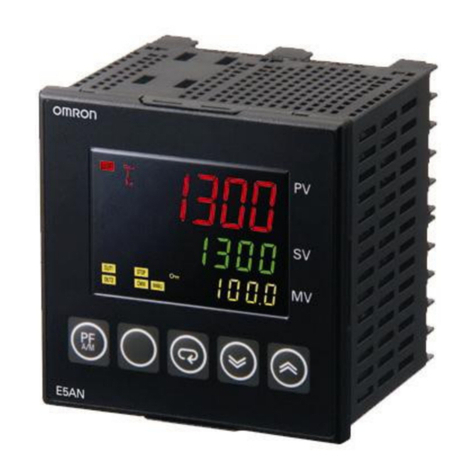
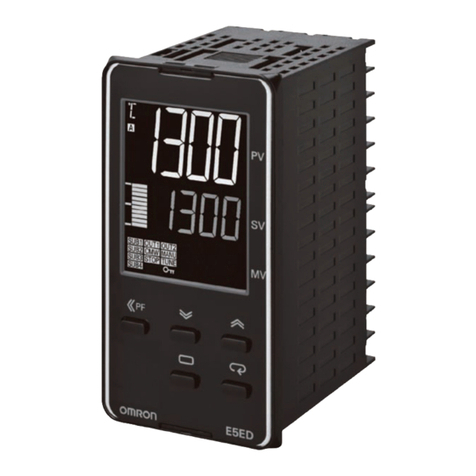
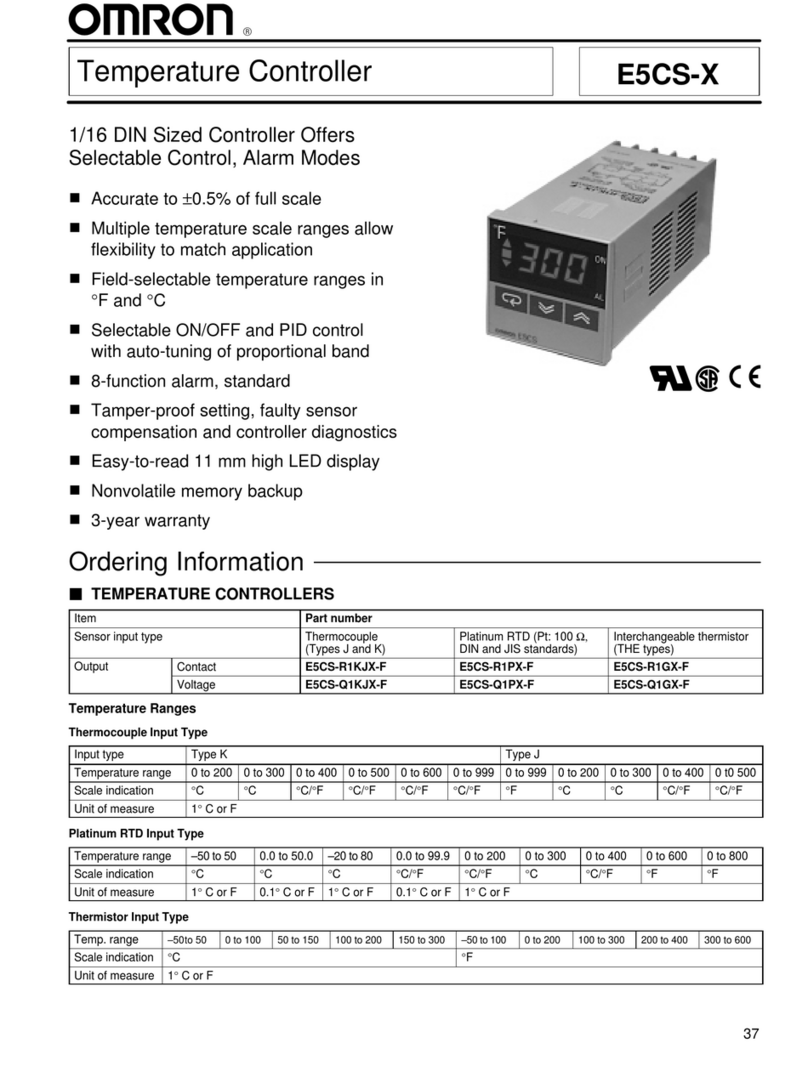
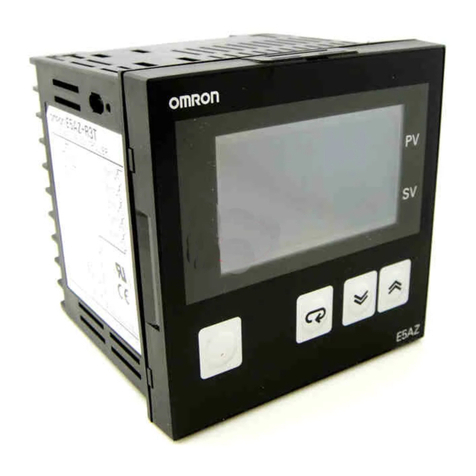
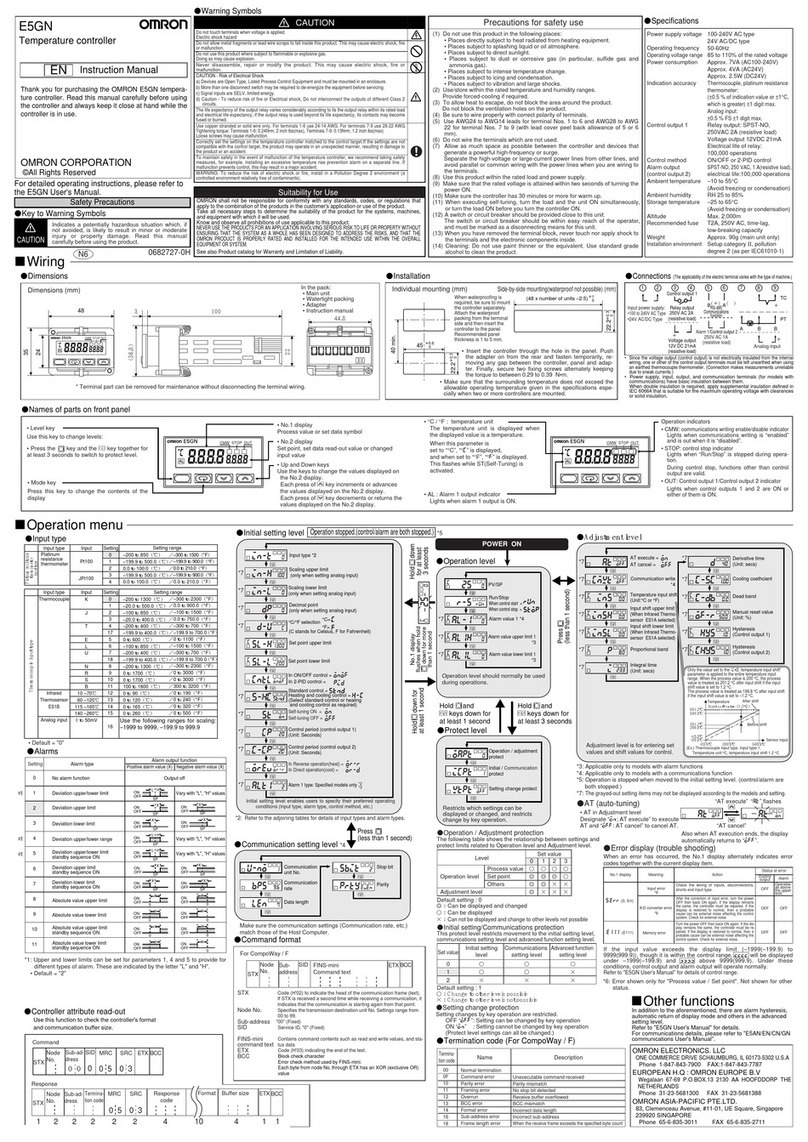
Omron E5 N H - Parts list manual

ZX-T Series
Cat. No. H08E-EN-01
Digital
Temperature Controllers
Getting Started Manual
Cat. No. H08E-EN-01 Note: Specifications subject to change without notice.
Authorized Distributor:
Printed in Europe
Cat. No. H08E-EN-01 Digital Temperature Controllers E5CN/E5AN/E5EN/E5GN Getting Started Manual
E5CN
E5AN
E5EN
E5GN


E5CN/E5AN/E5EN/E5GN
Digital Temperature Controllers
Getting Started Manual
Basic Type
Revised August 2010
This manual needs the H04E+E5CN(-U) and H03E+E5EN/AN datasheet for
selection and installation. (This manual is a selection from the full manual H156)

iv

v
Preface
The E5CN, E5CN-U, E5AN, E5EN, and E5GN are Digital Temperature Controllers. The E5CN and
E5CN-U are both compact temperature controllers, with the E5CN featuring screw terminal connec-
tions, and the E5CN-U featuring socket pin connections. The E5GN can be connected using screw ter-
minals or screwless clamp terminals. The main functions and characteristics of these Digital
Temperature Controllers are as follows:
• Any of the following types of input can be used: thermocouple, platinum
resistance thermometer, infrared sensor, analog voltage, or analog cur-
rent.
• Either standard or heating/cooling control can be performed.
• Both auto-tuning and self-tuning are supported.
• Event inputs can be used to switch set points (multi-SP function), switch
between RUN and STOP status, switch between automatic and manual
operation, start/reset the simple program function, and perform other
operations. (Event inputs are not applicable to the E5CN-U.)
• Heater burnout detection, heater short (HS) alarms, and heater overcur-
rent (OC) functions are supported. (Applicable to E5CN, E5AN, E5EN,
and E5GN models with heater burnout detection function.)
• Communications are supported. (Applicable to E5CN, E5AN, E5EN, and
E5GN models with communications.)
• User calibration of the sensor input is supported.
• The structure is waterproof (IP66). (Not applicable to the E5CN-U.)
• Conforms to UL, CSA, and IEC safety standards and EMC Directive.
• The PV display color can be switched to make process status easy to
understand at a glance.
This manual describes the E5CN, E5CN-U, E5AN, E5EN, and E5GN for basic functions. Read this
manual thoroughly and be sure you understand it before attempting to use the Digital Temperature
Controller and use the Digital Temperature Controller correctly according to the information provided.
Keep this manual in a safe place for easy reference. Refer to the full manual for advanced settings:
E5CN/E5AN/E5EN/E5GN Digital Temperature Controllers User’s Manual (Cat. No. H156).
Refer to the following manual for further information on communications: E5CN/E5AN/E5EN/E5GN
Digital Temperature Controllers Communications Manual Basic Type (Cat. No. H158).
Refer to the following manual for information on the Advanced Type Controllers: E5CN/E5AN/E5EN-H
Digital Temperature Controllers User's Manual Advanced Type (Cat. No. H157).
Visual Aids
The following headings appear in the left column of the manual to help you locate different types of
information.
Note Indicates information of particular interest for efficient and convenient opera-
tion of the product.
1,2,3... 1. Indicates lists of one sort or another, such as procedures, checklists, etc.
vi
©OMRON, 2010
All rights reserved. No part of this publication may be reproduced, stored in a retrieval system, or transmitted, in any form, or
by any means, mechanical, electronic, photocopying, recording, or otherwise, without the prior written permission of
OMRON.
No patent liability is assumed with respect to the use of the information contained herein. Moreover, because OMRON is con-
stantly striving to improve its high-quality products, the information contained in this manual is subject to change without
notice. Every precaution has been taken in the preparation of this manual. Nevertheless, OMRON assumes no responsibility
for errors or omissions. Neither is any liability assumed for damages resulting from the use of the information contained in
this publication.

vii
1) It takes approximately two seconds for the outputs to turn ON from after the power supply is turned ON.
Due consideration must be given to this time when incorporating Temperature Controllers into a control
panel or similar device.
2) Make sure that the Temperature Controller has 30 minutes or more to warm up after turning ON the power
before starting actual control operations to ensure the correct temperature display.
3) When executing self-tuning, turn ON power for the load (e.g., heater) at the same time as or before
supplying power to the Temperature Controller. If power is turned ON for the Temperature Controller
before turning ON power for the load, self-tuning will not be performed properly and optimum control will
not be achieved. When starting operation after the Temperature Controller has warmed up, turn OFF the
power and then turn it ON again at the same time as turning ON power for the load. (Instead of turning the
Temperature Controller OFF and ON again, switching from STOP mode to RUN mode can also be used.)
4) Avoid using the Controller in places near a radio, television set, or wireless installing. The Controller may
cause radio disturbance for these devices.
The E5CN, E5CN-H, E5AN, E5AN-H, E5EN, and E5EN-H comply with Lloyd's standards. When applying the
standards, the following installation and wiring requirements must be met in the application.
■Application Conditions
1) Installation Location
The E5CN, E5CN-H, E5AN, E5AN-H, E5EN, and E5EN-H comply with installation category ENV1 and
ENV2 of Lloyd's standards. Therefore, they must be installed in a location equipped with air condition-
ing. They must therefore be installed in a location equipped with air conditioning. They cannot be used
on the bridge or decks, or in a location subject to strong vibration.
2) Wiring Conditions
Install the recommended ferrite core and wrap the line around it three turns for the applicable lines
(e.g., power supply cable line and signal lines) of the models listed in the following table. (See illustra-
tions.) Install the ferrite cores as close to the terminal block of the E5@N as possible. (As a guideline,
the ferrite core should be within 10 cm of the terminal block.)
●Lines Requiring Ferrite Cores
●Recommended Ferrite Core
Note This part is available from Omron stock.
Precautions for Operation
Shipping Standards
Model Signal and power lines provided with ferrite cores
E5CN, E5CN-U, or E5CN-H Input power supply
E5EN, E5AN, E5EN-H, or
E5AN-H
Input power supply and I/O lines (control outputs (1 and 2), communications,
event inputs (1 to 4), transfer output, and external power supply (Advanced
Type models do not have an external power supply.)
Manufacturer Seiwa Electric Mfg. Co., Ltd.
Model E04RA310190100

viii
●Ferrite Core Connection Examples
1. E5CN/E5CN-H
2. E5AN/E5EN/E5AN-H/E5EN-H
A
B
+
+
−
+
−
−
+
−
●B
●
V
DO NOT
USE
DO NOT
USE
DO NOT
USE
mA
●
6
7
8
9
10
11
12
13
14
15
1
3
2
4
5
Input power
supply
Auxiliary
output 1
Auxiliary output 2
Control output 1
Auxiliary outputs
(relay outputs)
Analog input TC/Pt universal input
Power suppl
y
AC/DC
3 turns
1
2
3
4
5
6
7
8
9
10
21
22
23
24
25
26
27
28
29
30
21
22
23
24
25
26
27
28
29
30
21
22
23
24
25
26
27
28
29
30
11
12
13
14
15
16
17
18
19
20
EV4
EV3
+
−
+
−
+
−
+
−
+
−
−
+
−
+
DO NOT USE
DO NOT USE
DO NOT USE
B
V
CT2
CT1
EV1
EV2
CT1/CT2
DO NOT
USE
DO NOT
USE
DO NOT
USE
B
A
DO NOT
USE
DO NOT
USE
DO NOT
USE
B (+)
A (−)
DO NOT USE
B (+)
A (−)
11
12
13
21
22
11
12
13
21
22
RS-485RS-232C
SD
RD
SG
DO NOT USE
DO NOT USE
mA
Input power
supply
Control output 1
Auxiliary output 3
Auxiliary output 2
Auxiliary output 1
Transfer output 4 to 20 mA DC
(Load: 600 Ωmax.)
Communications
Event Inputs
Control
Output 2
Control
Output 2
External Power
Supply
External power supply
12 VDC, 20 mA
Connected to
communications or
event inputs 1 and 2.
Connected to
control output 2
or external
power supply.
Power
supply
Connected to
control output 1.
Connected to event
inputs 3 and 4.
Connected to
transfer output.
Analog input
TC/Pt universal input
AC/DC
3 turns
3 turns
3 turns
3 turns
3 turns
3 turns

ix
Be sure to thoroughly read and understand the manual provided with the product, and check the fol-
lowing points.
Note The tightening torque is 0.5 N·m for the E5CN-U and 0.43 to 0.58 N·m for the
E5GN. The terminal torque is 0.5 to 0.6 N·m for auxiliary output 2 on the
E5GN.
Preparations for Use
Timing Check point Details
Purchasing the prod-
uct
Product appearance After purchase, check that the product and packaging are not dented or
otherwise damaged. Damaged internal parts may prevent optimum
control.
Product model and speci-
fications
Make sure that the purchased product meets the required specifica-
tions.
Setting the Unit Product installation loca-
tion
Provide sufficient space around the product for heat dissipation. Do not
block the vents on the product.
Wiring Terminal wiring Do not subject the terminal screws to excessive stress (force) when
tightening them.
Make sure that there are no loose screws after tightening terminal
screws to the specified torque of 0.74 to 0.90 N·m (see note).
Be sure to confirm the polarity for each terminal before wiring the termi-
nal block and connectors.
Power supply inputs Wire the power supply inputs correctly. Incorrect wiring will result in
damage to the internal circuits.
Operating environ-
ment
Ambient temperature The ambient operating temperature for the product is −10 to 55°C (with
no condensation or icing). To extend the service life of the product,
install it in a location with an ambient temperature as low as possible. In
locations exposed to high temperatures, if necessary, cool the products
using a fan or other cooling method.
Vibration and shock Check whether the standards related to shock and vibration are satis-
fied at the installation environment. (Install the product in locations
where the conductors will not be subject to vibration or shock.)
Foreign particles Install the product in a location that is not subject to liquid or foreign
particles entering the product.

x
Conventions Used in This Manual
Model Notation
The E5CN-@@@, E5CN-@@@U, E5AN-@@@, E5EN-@@@, and E5GN-@@@ are given as the E5CN,
E5CN-U, E5AN, E5EN, and E5GN when they share functionality.
The following notation is used when specifying differences in functionality.
Note: (1) Excluding the E5GN.
(2) Excluding the E5CN.
(3) The E5AN and E5EN only.
Meanings of Abbreviations
The following abbreviations are used in parameter names, figures and in text explanations. These
abbreviations mean the following:
Note: (1) A heater short indicates that the heater remains ON even when the control output from the Tempera-
ture Controller is OFF because the SSR has failed or for any other reason.
(2) “EU” stands for Engineering Unit. EU is used as the minimum unit for engineering units such as °C,
m, and g. The size of EU varies according to the input type.
For example, when the input temperature setting range is –200 to +1300°C, 1 EU is 1°C, and when
the input temperature setting range is –20.0 to +500.0°C, 1 EU is 0.1°C.
For analog inputs, the size of EU varies according to the decimal point position of the scaling setting,
and 1 EU becomes the minimum scaling unit.
Notation Options
E5@N-@@@B Two event inputs
E5@N-@@@03 RS-485 communications
E5@N-@@H One of HB, HS, and heater overcurrent detection
E5@N-@@HH Two of HB, HS, and heater overcurrent detection (See note 1.)
E5@N-@Q Control output 2 (voltage output) (See note 1.)
E5@N-@@P External power supply to ES1B (See note 1.)
E5@N-@@@01 RS-232C communications (See note 2.)
E5@N-@@F Transfer output (See note 3.)
Symbol Term
PV Process value
SP Set point
SV Set value
AT Au t o - t u n i n g
ST Self-tuning
HB Heater burnout
HS Heater short (See note 1.)
OC Heater overcurrent
LBA Loop burnout alarm
EU Engineering unit (See note 2.)

xi
TABLE OF CONTENTS
SECTION 1
Introduction. . . . . . . . . . . . . . . . . . . . . . . . . . . . . . . . . . . . . . . 1
1-1 Names of Parts. . . . . . . . . . . . . . . . . . . . . . . . . . . . . . . . . . . . . . . . . . . . . . . . . . . . . . . . . . . . 2
1-2 I/O Configuration and Main Functions . . . . . . . . . . . . . . . . . . . . . . . . . . . . . . . . . . . . . . . . . 6
1-3 Setting Level Configuration and Key Operations . . . . . . . . . . . . . . . . . . . . . . . . . . . . . . . . . 12
1-4 Communications Function. . . . . . . . . . . . . . . . . . . . . . . . . . . . . . . . . . . . . . . . . . . . . . . . . . . 15
1-5 Insulation Block Diagrams . . . . . . . . . . . . . . . . . . . . . . . . . . . . . . . . . . . . . . . . . . . . . . . . . .17
SECTION 2
Preparations . . . . . . . . . . . . . . . . . . . . . . . . . . . . . . . . . . . . . . 19
2-1 Installation . . . . . . . . . . . . . . . . . . . . . . . . . . . . . . . . . . . . . . . . . . . . . . . . . . . . . . . . . . . . . . . 20
2-2 Using the Support Software Port . . . . . . . . . . . . . . . . . . . . . . . . . . . . . . . . . . . . . . . . . . . . . . 26
SECTION 3
Basic Operation. . . . . . . . . . . . . . . . . . . . . . . . . . . . . . . . . . . . 29
3-1 Initial Setting Examples. . . . . . . . . . . . . . . . . . . . . . . . . . . . . . . . . . . . . . . . . . . . . . . . . . . . . 30
3-2 Setting the Input Type . . . . . . . . . . . . . . . . . . . . . . . . . . . . . . . . . . . . . . . . . . . . . . . . . . . . . . 32
3-3 Selecting the Temperature Unit . . . . . . . . . . . . . . . . . . . . . . . . . . . . . . . . . . . . . . . . . . . . . . . 34
3-4 Selecting PID Control or ON/OFF Control . . . . . . . . . . . . . . . . . . . . . . . . . . . . . . . . . . . . . . 34
3-5 Setting Output Specifications . . . . . . . . . . . . . . . . . . . . . . . . . . . . . . . . . . . . . . . . . . . . . . . .34
3-6 Setting the Set Point (SP) . . . . . . . . . . . . . . . . . . . . . . . . . . . . . . . . . . . . . . . . . . . . . . . . . . . 39
3-7 Using ON/OFF Control . . . . . . . . . . . . . . . . . . . . . . . . . . . . . . . . . . . . . . . . . . . . . . . . . . . . .40
3-8 Determining PID Constants (AT, ST, Manual Setup) . . . . . . . . . . . . . . . . . . . . . . . . . . . . . . 42
3-9 Alarm Outputs . . . . . . . . . . . . . . . . . . . . . . . . . . . . . . . . . . . . . . . . . . . . . . . . . . . . . . . . . . . . 49
3-10 Using Heater Burnout, Heater Short, and Heater Overcurrent Alarms . . . . . . . . . . . . . . . . . 53
3-11 Setting the No. 3 Display. . . . . . . . . . . . . . . . . . . . . . . . . . . . . . . . . . . . . . . . . . . . . . . . . . . . 61
SECTION 4
Applications Operations. . . . . . . . . . . . . . . . . . . . . . . . . . . . . 63
4-1 Shifting Input Values . . . . . . . . . . . . . . . . . . . . . . . . . . . . . . . . . . . . . . . . . . . . . . . . . . . . . . . 64
4-2 Alarm Hysteresis . . . . . . . . . . . . . . . . . . . . . . . . . . . . . . . . . . . . . . . . . . . . . . . . . . . . . . . . . . 68
4-3 Setting Scaling Upper and Lower Limits for Analog Inputs. . . . . . . . . . . . . . . . . . . . . . . . . 69
4-4 Executing Heating/Cooling Control . . . . . . . . . . . . . . . . . . . . . . . . . . . . . . . . . . . . . . . . . . . 70
4-5 Using Event Inputs . . . . . . . . . . . . . . . . . . . . . . . . . . . . . . . . . . . . . . . . . . . . . . . . . . . . . . . . 74
4-6 Setting the SP Upper and Lower Limit Values . . . . . . . . . . . . . . . . . . . . . . . . . . . . . . . . . . . 79
4-7 Using the SP Ramp Function to Limit the SP Change Rate . . . . . . . . . . . . . . . . . . . . . . . . . 81
Index. . . . . . . . . . . . . . . . . . . . . . . . . . . . . . . . . . . . . . . . . . . . . 85
Revision History . . . . . . . . . . . . . . . . . . . . . . . . . . . . . . . . . . . 88

xii
About this Manual:
This manual describes the E5CN/CN-U/AN/EN Digital Temperature Controllers and includes the sec-
tions described below.
Please read this manual carefully and be sure you understand the information provided before
attempting to set up or operate an E5CN/CN-U/AN/EN Digital Temperature Controller.
• Overview
Section 1 introduces the features, components, and main specifications of the E5CN/CN-U/AN/EN/
GN Digital Temperature Controllers.
•Setup
Section 2 describes the work required to prepare the E5CN/CN-U/AN/EN/GN Digital Temperature
Controllers for operation, including installation and wiring.
• Basic Operations
Section 3 describes the basic operation of the E5CN/CN-U/AN/EN/GN Digital Temperature Control-
lers, including key operations to set parameters and descriptions of display elements based on specific
control examples.
Section 5 describes the individual parameters used to setup, control, and monitor operation.
• Operations for Applications
Section 4 describes scaling, the SP ramp function, and other special functions that can be used to
make the most of the basic functionality of the E5CN/CN-U/AN/EN/GN Digital Temperature Control-
lers.
!WARNING Failure to read and understand the information provided in this manual may result in per-
sonal injury or death, damage to the product, or product failure. Please read each section
in its entirety and be sure you understand the information provided in the section and
related sections before attempting any of the procedures or operations given.

1
SECTION 1
Introduction
This section introduces the features, components, and main specifications of the E5GN, E5CN, E5EN and E5AN digital
temperature controllers.
1-1 Names of Parts . . . . . . . . . . . . . . . . . . . . . . . . . . . . . . . . . . . . . . . . . . . . . . . . 2
1-1-1 Front Panel . . . . . . . . . . . . . . . . . . . . . . . . . . . . . . . . . . . . . . . . . . . . 2
1-1-2 Explanation of Indicators . . . . . . . . . . . . . . . . . . . . . . . . . . . . . . . . . 4
1-1-3 Using the Keys . . . . . . . . . . . . . . . . . . . . . . . . . . . . . . . . . . . . . . . . . 5
1-2 I/O Configuration and Main Functions . . . . . . . . . . . . . . . . . . . . . . . . . . . . . . 6
1-2-1 I/O Configuration . . . . . . . . . . . . . . . . . . . . . . . . . . . . . . . . . . . . . . . 6
1-2-2 Main Functions . . . . . . . . . . . . . . . . . . . . . . . . . . . . . . . . . . . . . . . . . 10
1-3 Setting Level Configuration and Key Operations. . . . . . . . . . . . . . . . . . . . . . 12
1-3-1 Selecting Parameters. . . . . . . . . . . . . . . . . . . . . . . . . . . . . . . . . . . . . 14
1-3-2 Saving Settings . . . . . . . . . . . . . . . . . . . . . . . . . . . . . . . . . . . . . . . . . 15
1-4 Communications Function . . . . . . . . . . . . . . . . . . . . . . . . . . . . . . . . . . . . . . . 15
1-5 Insulation Block Diagrams . . . . . . . . . . . . . . . . . . . . . . . . . . . . . . . . . . . . . . . 17

2
Names of Parts Section 1-1
1-1 Names of Parts
1-1-1 Front Panel
E5CN/CN-U The front panel is the same for the E5CN and E5CN-U.
E5AN
Mode Key
Temperature unit
Operation indicators
No. 1 display
No. 2 display
Up Key
Level Key
Down Key
SUB3
HA
SUB2
OUT2
OUT1
CMW
STOP
PF
A/M
MANU
SUB1
MV
SV
PV
E5AN
Operation indicators No.1 display
No. 2 display
No. 3 display
Temperature unit
Mode Key
Up Key
Level Key
Down Key
Function Key/
Auto/Manual Key

3
Names of Parts Section 1-1
E5EN
E5GN
PF
A/M
MV
SV
PV
E5EN
SUB2
SUB3
STOPOUT1
MANU
CMWOUT2
SUB1
HA
Operation indicators
Temperature unit
Operation indicators
Mode Key
Level Key
No.1 display
No.2 display
No.3 display
Up Key
Down Key
Function Key/
Auto/Manual Key
Temperature
unit
Level Key No. 2 display
Mode Key Down Key Up Key
Operation
indicators
No. 1 display
Operation
indicators

4
Names of Parts Section 1-1
1-1-2 Explanation of Indicators
No. 1 Display Displays the process value or parameter name.
Lights for approximately one second during startup.
No. 2 Display Displays the set point, parameter operation read value, or the variable input
value.
Lights for approximately one second during startup.
The set point will flash during autotuning.
No. 3 Display
(E5AN/EN Only)
Displays MV, soak time remaining, or multi SP.
Lights for approximately one second during startup.
A 2-level display is set when shipped from the factory.
A 3-level display is activated if parameters are initialized.
Operation Indicators
1,2,3... 1. SUB1 (Sub 1)
Lights when the function set for the Auxiliary Output 1 Assignment param-
eter is ON.
SUB2 (Sub 2)
Lights when the function set for the Auxiliary Output 2 Assignment param-
eter is ON.
SUB3 (Sub 3) (E5AN/EN Only)
Lights when the function set for the Auxiliary Output 3 Assignment param-
eter is ON.
2. HA (Heater Burnout, Heater Short Alarm, Heater Overcurrent Detection
Output Display)
Lights when a heater burnout, heater short alarm, or heater overcurrent
occurs.
3. OUT1 (Control Output 1)
Lights when the control output function assigned to control output 1 turns
ON. For a current output, however, OFF for a 0% output only.
OUT2 (Control Output 2) (Excluding the E5GN)
Lights when the control output function assigned to control output 2 turns
ON. For a current output, however, OFF for a 0% output only.
4. STOP
Lights when operation is stopped.
During operation, this indicator lights when operation is stopped by an
event or by key input using the RUN/STOP function.
5. CMW (Communications Writing)
Lights when communications writing is enabled and is not lit when it is dis-
abled.
6. MANU (Manual Mode)
Lights when the auto/manual mode is set to manual mode.
7. (Key)
Lights when settings change protect is ON (i.e., when the Uand DKeys
are disabled by protected status.)
Temperature Unit The temperature unit is displayed when parameters are set to display a tem-
perature. The display is determined by the currently set value of the Tempera-
ture Unit parameter. °cindicates °C and °findicates °F.
This indicator flashes during ST operation. It is OFF on models with linear
inputs.

5
Names of Parts Section 1-1
1-1-3 Using the Keys
This section describes the basic functions of the front panel keys.
PF (Function (Auto/
Manual)) Key
(E5AN/EN Only)
This is a function key. When it is pressed for at least 1 second, the function set
in the PF Setting parameter will operate.
Example: When A-M (auto/manual) is selected in the PF Setting parameter
(initial value: A-M), the key operates as an auto/manual switch, switching
between Auto Mode and Manual Mode. If the key is pressed for more than 1
second (regardless of key release timing), the mode will switch.
OKey Press this key to move between setting levels. The setting level is selected in
the following order: operation level: adjustment level, initial setting level, com-
munications setting level.
MKey Press this key to change parameters within a setting level.
The parameters can be reversed by holding down the key (moving one per
second in reverse order).
UKey Each press of this key increments the value displayed on the No. 2 display or
advances the setting. Holding the key down speeds up the incrementation.
DKey Each press of this key decrements values displayed on the No. 2 display or
reverses the setting. Holding the key down speeds up the incrementation.
O+ MKeys Press these keys to change to the protect level. For details on operations
involving holding these keys down simultaneously, refer to 1-3 Setting Level
Configuration and Key Operations.
O+ UKeys
O+ DKeys
To restrict set value changes (in order to prevent accidental or incorrect oper-
ations), these key operations require simultaneously pressing the Okey
along with Uor Dkey. This applies only to the parameter for the password to
move to protect level.

6
I/O Configuration and Main Functions Section 1-2
1-2 I/O Configuration and Main Functions
1-2-1 I/O Configuration
E5CN
Note Functions can be assigned individually for each output by changing the set
values for the Control Output 1 Assignment, the Control Output 2 Assignment,
the Auxiliary Output 1 Assignment, and the Auxiliary Output 2 Assignment
parameters in the advanced function setting level.
Temperature input
or analog input
CT1 input
CT2 input
Event inputs
2 channels
Control
section Control output
(heating)
Control output
(cooling)
Alarm 2
HB alarm
Alarm 1
Control output 1
Control output 2
HS alarm
OC alarm
Input error
Program end
output
Communications
function
Heating/cooling
Auxiliary output 1
Auxiliary output 2
External power
supply for ES1B
Alarm 3
(See note.)
(See note.)
Note:
Press one of these keys,
depending on the model.

7
I/O Configuration and Main Functions Section 1-2
E5CN-U
Note Functions can be assigned individually for each output by changing the set
values for the Control Output 1 Assignment, the Auxiliary Output 1 Assign-
ment, and the Auxiliary Output 2 Assignment parameters in the advanced
function setting level.
Temperature input
or analog input
Control
section Control output
(heating)
Control output
(cooling)
Alarm 3
Alarm 1
Alarm 2
Control output 1
Input error
Program end
output
Heating/
cooling
Auxiliary output 1
Auxiliary output 2
Standard

8
I/O Configuration and Main Functions Section 1-2
E5AN/EN
Note Functions can be assigned individually to each output by changing the set val-
ues for the Control Output 1 Assignment, Control Output 2 Assignment, Auxil-
iary Output 1 Assignment, Auxiliary Output 2 Assignment, and Auxiliary
Output 3 Assignment parameters in the advanced function setting level.
Temperature input
or analog input
Control
section
CT1 input
CT2 input
Event inputs 1 and
2 (2 channels)
Control output
(heating)
Control output
(cooling)
Alarm 3
Alarm 1
Alarm 2
HB alarm
HS alarm
Input error
Program end
output
Communications
function
Heating/cooling
Control output 1
Control output 2
Alarm output 1
Alarm output 2
Alarm output 3
External power
supply for ES1B
OC alarm
(See note.)
(See note.)
Note:
Press one of these keys,
depending on the model.
This manual suits for next models
4
Table of contents
Other Omron Temperature Controllers manuals

Omron
Omron E5CWL Instruction manual

Omron
Omron E5EX-H User manual

Omron
Omron E5 D Series Use and care manual

Omron
Omron C200H-TV Series User manual

Omron
Omron EJ1 EtherCAT User manual

Omron
Omron E5DC User manual

Omron
Omron E5CN User manual

Omron
Omron E5GN User manual

Omron
Omron E5AN User manual

Omron
Omron E5CSZ User manual