3
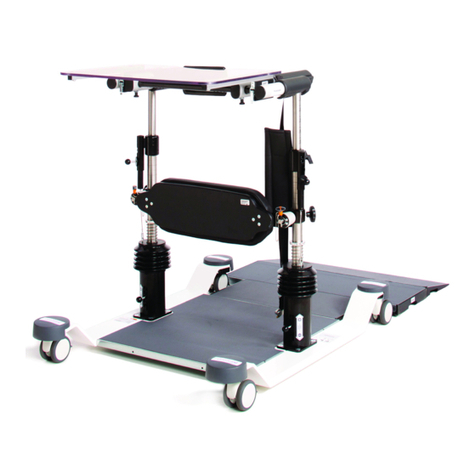
3 MPS Seat Overview
Your MPS Seat is designed to grow with your child. But it is important to
work with your dealer to properly adjust the MPS Seat. Only Otto Bock parts
and accessories that are made specically for the MPS Seat should be used.
Use of unauthorized parts or modications will void the warranty and may
cause a safety hazard.
3.1 Fasteners
Attention!
Many of the screws, bolts and nuts on this seat are special
high-strength fasteners. Use of improper fasteners may
cause the seat to fail.
1. ONLY use fasteners provided by an authorized supplier.
2. Over or under tightened fasteners may fail or cause damage to seat parts.
3. If bolts or screws become loose, tighten them immediately.
3.2 Footrest
Attention!
NEVER lift the MPS Seat by the footrest.
The footrest detaches and will not bear the weight of MPS Seat. Lift seat
only by non-detachable parts.
1. At the lowest point, the footrest should be AT LEAST 2 INCHES off the
ground. If set too low, they may get caught on obstacles you can expect
to nd in normal use. This may cause the pediatric wheelchair to tip over.
2. To avoid a trip or fall when you transfer the child:
a. Make sure the child’s feet do not get caught in the space between the
footrest and the pediatric wheelchair frame.
b. Avoid putting weight on the foot rests, as this may cause the pediatric
wheelchair to tip forward.
3.3 Positioning Belts
Danger!
Use positioning belts ONLY to help support the child.
Improper use of these belts may cause severe injury to, or
death of, the child. All belts and harnesses are for positioning
only and should not be used as safety devices during
vehicle transport.
Danger!
Make sure the child does not slide down in the MPS seat.
If this occurs, the child may suffer chest compression or
suffocate due to the pressure from the belts.
1. The belts must be snug, but must not be so tight that they interfere with
breathing. You should be able to slide your open hand, at, between the
belt and the child.
2. NEVER Use Positioning Belts:
a. Without consulting a seating specialist on proper use.
b. As a patient restraint; a restraint requires a doctor’s order.
c. On an occupant who is comatose or agitated.
d. As a motor vehicle restraint. In an accident or sudden stop the child
may be thrown from the seat. The MPS Seat’s positioning belts will not
prevent this and a further injury may result from the belts or straps.
4 Preparing the MPS Seat for Use
4.1 Attaching the MPS Seat
Depending on the mobility base with which it is being used, the MPS seat
can be installed either forward or rear facing. Follow instructions below for
either option.
1. Hold the seat with both hands.
2. With one hand on the top of the backrest and one hand on the front edge
of the seat, angle the seat back approximately 45 degrees.
3. Line up the back groove of the seat interface with the back bar of
the seat adapter located on the mobility base (Fig. 1).
Fig. 1
4. Once the back groove is secure, press the front edge of the seat onto the
frame until you hear a click.
5. Shake the seat to make sure that it is securely in place.
Warning: If you do not hear the seat click, it is not securely in place.
4.2 Detaching the MPS Seat
1. From the side of the pediatric mobility device, hold the front edge of the
seat with one hand and place the other hand on the top of the backrest.
2. Reach under the front edge of the seat and locate the lever with
ball handle.
3. Pull lever forward, tip seat back slightly and lift out at an angle.
4.3 Headrest
1. Install vertical tube of headrest hardware into bracket located on backrest.
2. Slide horizontal tube with headrest pad mounted on one end into
receptacle located at the top of the vertical tube.
3. Tighten knob once headrest is positioned correctly. Note: For adjustments
see section 6.10.
4.4 Sun Canopy
1. Loosen set screws on sun canopy brackets.
2. Slide brackets onto sun canopy posts.
3. Tighten bracket set screws at desired height.
4. Insert sun canopy (Fig. 2).
Fig. 2
5. To increase sun canopy height, raise backrest as described in section 6.2.
6. Remove all four screws from the sun canopy posts.
7. Flip up posts.
8. Reattach screws on sun canopy posts and set backrest at desired height.
