manuals.online logo
Brands
  1. Home
  2. •
  3. Brands
  4. •
  5. ParaBody
  6. •
  7. Fitness Equipment
  8. •
  9. ParaBody 880101 User manual

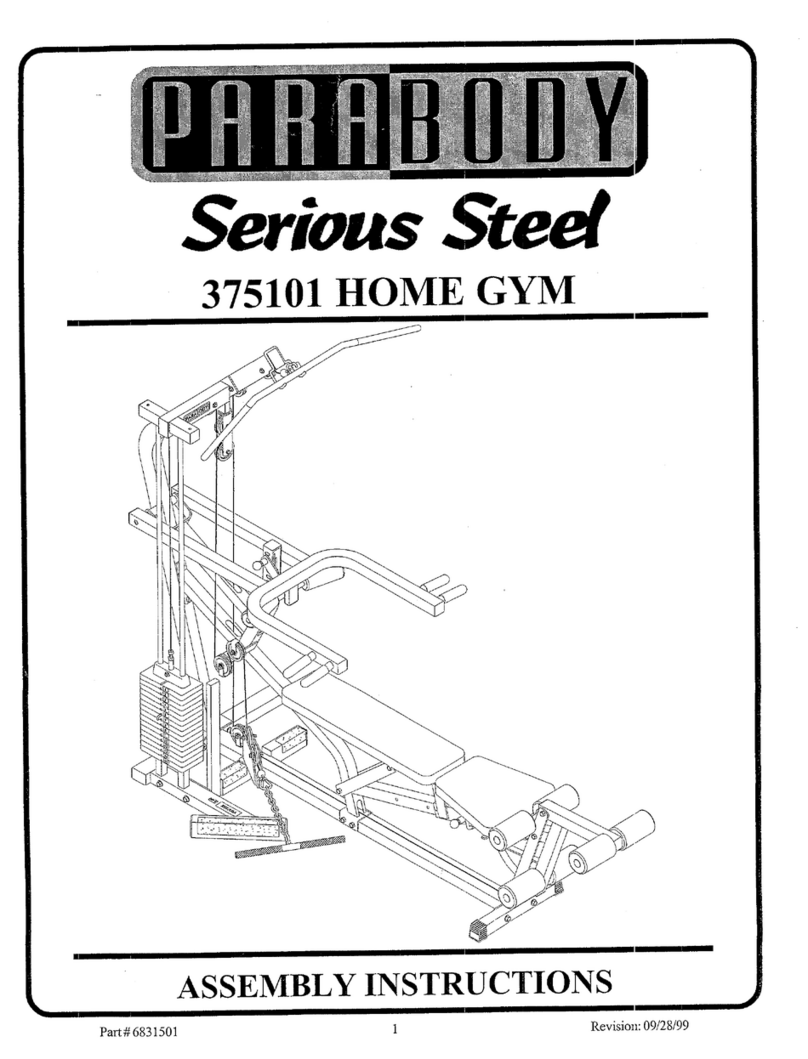
ParaBody 880101 User manual

Serious Steel
880101 WEIGHT STACK OPTION
ASSEMBLY INSTRUCTIONS
Part #.6814501
I IMPOtLTANT NO~ESI ~.
WELCOMETO THE WORLDOF St~t/I~$ ~}tt~t~l#
Please note:
* Thank you for purchasing the Parabody 880101 WEIGHTSTACKOPTION.Please read
these instructions thoroughlyandkeepthemfor future reference. This productmustbe, as-
sembledona fiat, level surface to assure its properfunction.
Werecommendcleaning your product (pads and frame) on a regular basis, using warmsoapy
water. Touch-uppaint can be purchasedfromyour Parabodycustomerservice representative
at (800)328-9714.
Thereis a risk assumedby individuals whouse this type of equipment.Tom/nimizerisk, please
followthese rules:
1. Inspect equipmentdaily. Tightenall loose connectionsand replace wornparts immediately.
Failure to doso mayresult in serious injury.
2. Donot allowminorsor children to play on or aroundtlzis equipment.
3. Exercisewithcare to avoidinjury.
4. If unsureof properuse of equipment,call yourlocal Parabodydistributor or call the
Parabodycustomerservice departmentat (800) 328-971D.
5. Consulta physician before beginningany exercise program.
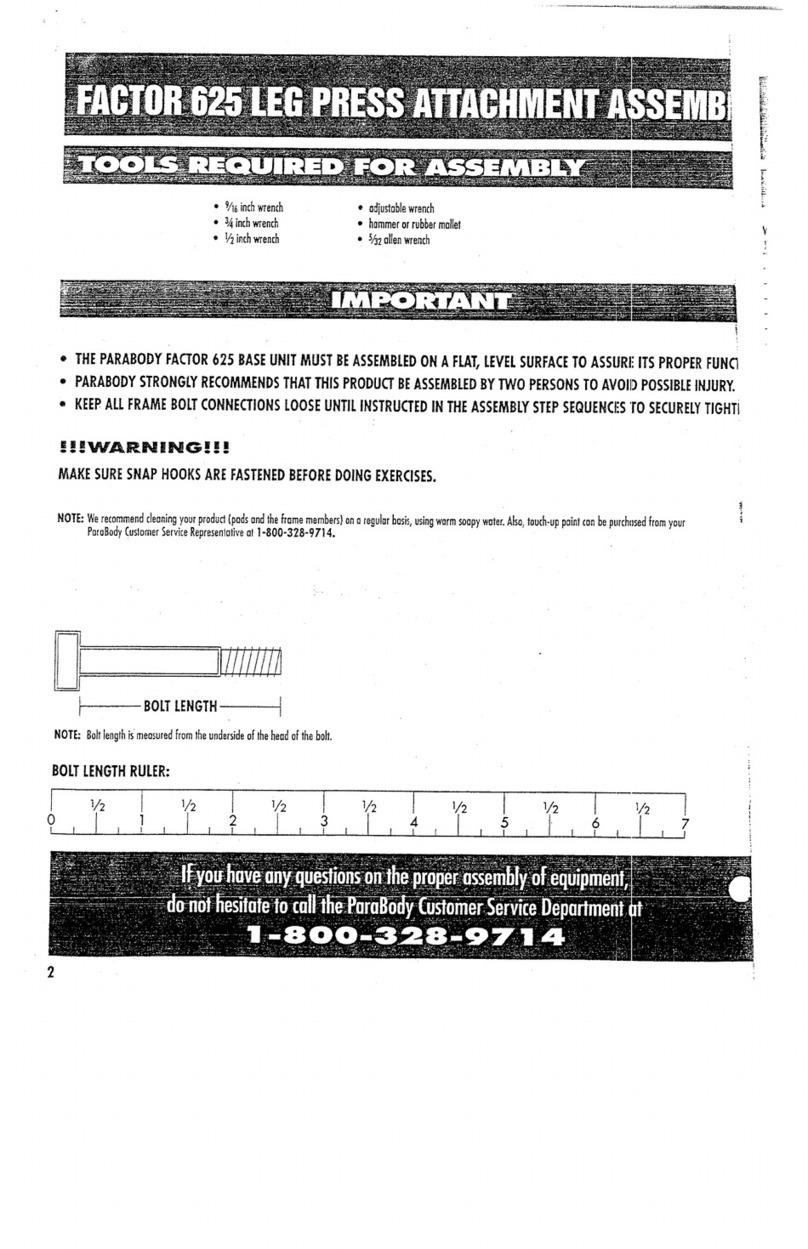
i ro,,o~~aequiredI
* 3/4" wrench
*9/16" wrench
* 5/32 Allen wrench
* Ratchet with 3/4" and 9/16" sockets
* Adjustable wrench
*Tape measure
’Bolt Length Ruler
NOTE:BOLTLENGTHIS MEASUREDFROMTHEUNDERSI~DEOF THEHEADOF THEBOLT.
BOLTLENGTHRULER:
~111iiiiil
BOLTLENGTH
34
PARTSLIST
~PART# DESCRIPTION QTY kEY
1 6814303 UPRIGHT 122
2 680(Y~ ADJ" FOOTSUPPORT 1 23
3 681,1(~3 STACKBASE 1 24
4 6813703 TOP B OOM 125
5 6801102 LAT BARSUPPORT 1 26
6 6816501 76" GUIDEROD 227
7 6274402 LOWROWB.M:~ 128
86725302 ’ ’ LATBAR ’" I’ 29
9 3116201 3-1/’2" PUI!.EY 530
il 6832801 124" CABLE 1 32
12 66710bi li7-3/4" CABLE 1 33
14 3103102 lxs"GRn~ 4 35
15 3103302 13/16" SH.~T COLLAR 2 36
640J2~)i 2"’SQ. END’CAP 4 37
17 6214401 WEIGHTSTACK SH_ECTOR HN 1 38
18 6177001 2-1/2 X5’-1/2" NO~q-SKXDSTR/P 2 39
19 3119301 2-1/2" ROUNDENDCAP 2 40
20 6236701 I-3/4"SQ.E~VCAr’1 41
PART#
3203301
6542402
6416601
3102901
3108002
6595201
6382301
DESCRIFHON
VIN5%CAP
3/16 X1-3/4 X5.,1/4" PLATE
3/4 X 1-1:2" GLIDE
3/8 XI-1/4" BOLT
WEIGHT STAC~ CUSHION
GUIDE ROD BUSHING
WEIGHTPLATEBUSHING(10 CT)
31 02807 3?8" LOWHEIGE~TLOCKNUT
3102501 3/8" WASHER
3102802 3/8" LOCKNUT
3102922 3/8 X2.3/4" BOLT
6480301 3/8-~,.~G~ZSr’AC~
3103801 5/16" SNh£?HOOK
310293~ 3/8 X 2" BOLT
671’4601 HEKDPLATE
6075906 12 LINKCT-/AIN
3102906 3/8 X 4" BOLT
6284501 20 HOLESELECTORSHAFT
6214501
6198501 WEIGHTPLATE
WEIGHTSTACKLABELS(1-25)
2
2
’1
1
"22
4
3
15
I0
7
"8
2
1
1
4
1
1
, 7116" CAPPLUG
FIGUREI ~¯
STEP1: , ¯
¯ Removefour 7/16" CAPPLUGSfrom the UPPER& LOWERCROSSSUPPORTSon the 888 SMFFHNLZC[-HNEas sho~aain HGURE1.
3
FIGURE 2
STEP2:
¯ Insert two 2" ENDCAP(16) into the ends of the STACKBASE(3) as shownin FIGURE
¯Attach fou~ 3/4 X 1-1/2" GLIDES(24) to the inside of the tube on the STACKBASE(3) as shownin FIGURE2 using the
following steps:
¯Thoroughlyclean all surfaces wherethe 3/4 X1-1/2" GLIDES(24) are to be attached.
¯Removethe 3/4 X1-1/2" GLIDES(24) fromthe paper backingand firefly applythemto all shownsurfaces.
SECURELYassemble one SPRh-NGPLY"ASSEN~LY(21) to the spring pkn barrel on the STACKBASE(3). See FIGUP~
FIGURE 3
STEP3:
¯Insert two 2-1/2" ROUNDENDCAPS(19) into the ends of the ADJ.FOOTSUPPORT(2) as shownin FIGURE
¯Insert one 1-3/4" ENDCAP(20) into the end of the ADJ.FOOTSUPPORT(2) as sho~:n in FIGURE
¯Apply m’o 2-1/2 X 5-1/2" NON-SKIDSTR.~S(18) to the ADJ. FOOTSUPPORT(2) as shownin FIGURE
¯ Attach four 3/4 X 1-1/2"’ GLIDES(24) so the outside of the ADJFOOTSUPPORT(2) as shoss~ in FIGURE3 using the
follo~s4ngsteps:
¯Thorou~lyclean all surfaces wherethe 3/4 X1-I/2" GLIDES(24) are to be attached.
¯Removethe 3/4 X1-1/2" GLIDES(24) fromthe paper backing andfirmly apply themto all sho~ surfaces.
] ,/2 1’ l~z [ ~/’z I ~/~. [ l~z [ .I/2....
01. 23[’ 4 56
4
FIGURE6
STEP6:
Insert two GUIDERODS(6) imo the STACK
BASE(3) as sho~aiin.FIGURE6. Lubricate the
GUIDERODS(6) with a slicon or teflon spray
that is available at mosthard~arestor~s.
¯Slide two WEIGftTSTACKCUSHIONS(26)
dox~ over the GUIDERODS(6). See HGURE
Using EXTREI~[F,GKREslide t~m~t3." WEIGHT
PLATES(40) down over the GUIDERODS(6)
with the key-holefacq~gas .~howninFIGLqLE6.
Securely assemble £~te 20 HOLESELECTOR
SHAFT(39) to the HEADPLATE(36) using
one 3/8 X 1-1/4" BOLT(25) and one 3/8"
WASHER(30). (Note: The bolt hole in
HEADPLATE(36) should be on top.)
CarefuIly Slide ~e IKE.a39PLATEASSE~X~LY
(36 &39) do~ over the GUIDERODS(6)
the weight stack as :;hownin FIGLqLE6.
¯Slide two 13116" SFLA~TCOLLASL5(15) over
~e GUIDERODS(6) as sho~wt ~ FIGURE
Apply one set of WFIGHTSTACKL~EL5 -
1-25 (41) to eachWEIGHTPLATE(40) as sh:’a-n
inFIGURE6.
4I
FIGURE 4
318X4
LOWERCROSSSUPPORT "
STEP4:
¯NOTEiIt may be necessa~" to loosen the 1/2 X 3-1/4" BOLTSof the LOWERCROSSSUPPORTconnecting to the IiPRIGI~IT
FR.~%IEbefore beginnlngSTEP 4.
¯SECURELYassemble the STACKBASE(3) and the UPRIGHT(1) to the LOWERCROSSSUPPORTusing two 3/8 X4" BOLTS(38).
four 3/8" WASHERS(30), and two 3/8" LOWHEIGHTLOCKNUT5(29). See FIGURE
¯Pull back on the SPREgGPEg(21) and C.~REFULLYinsert the ADJ.FOOTSUPPORT(2) into the STACKBASE(3) as shox~’n
FIGLrRE4.
¯ Retighten the 1/2 X3-1/4" BOLTSloosened in the above STER
STEP5:
¯Sn.ap two Vc~IGHTPLATEBUSHEgGS(28) into the
top of all twenty WEIGHTPLATES(40) as shown
FIGURE5.
FIGURE
3/8" LOW HEIGHT~
STEP 8:
3/8 X2-3/4
¯ SECURELYassemble the LATBARSUPPORT(5) to the TOPBOOM(4) using one 3/8 X2-3/4" (32) and one 3/8" LOWHEIGH~
NUT(29). See HGURE
¯ Slide two VINYLCAPS(22) over the LATBAKSUPPORT(5) as sho~ in FIGUPOE
FIGURE 9
CABLE
is routedoverbolt! 3/8X2_3/4.,~//
STEP 9:
¯Route the 117-3/4" CABLE(12) throu~h the TOPBOOM(4) as sho~a in FIGURE9. (NOTE:It maybe necessa~" to remove3/8
X2~-3/4" BOLTto ensure CABLEis routed over the TOP.. of the BOLT.)
¯ SECURELYassemblethree 3-1/2" PULLEYS(9)in!o the slots of the TOPBOOl~I (4) using three 3/8 X2-3/4" BOLTS(32), six 3i~" FLA_\’GE
SPACERS(33), and three 3/8" LOCKNLrI’S(3 I) as show~in FIGURE9. (NOTE:Makesure the cable is routed over all the pulleys.)
¯ SECURELYretighten the removed3/8 X2-3/4" BOLTfrom the above step.
I 1/2 [ 1/2 [ 1/2 [ I/2 [ 1/2 I 1/2 ¯ "!
FIGURE 7
;
SUPPORT
3/8 X2-3/4"
3/8 X4"
STEP 7:
¯NOTE:It may be necessary to loosen the 1/2 X3-1/4" BOLTSof the UPPERCROSSSUPPORTconnecting the UPRIGHT
FRA~IEbefore be~rming STEP7.
Insert two GUIDERODBUSI-I~GS(27) into the TOPBOOM(4) as sho~:n in HGURE
Insert two 3 X 2" ENDCAPS(13) into the ends of the TOPBOOM(4). See FIGURE
Insert two 2" SQ. ENDCAPS(16) into the ends of the TOPBOOM(4). See FIGURE
Place TOPBOOM(4) over the GUIDERODS(6) and LOOSELYassemble the TOPBOOM(4) to the LrpRIGHT(1) using one
3/4" BOLT(32) and one 3/8" LOCKNUT(31) as shownin FIGURE
LOOSELYassemble the TOPBOOM(4) to the UPPERCROSSSUPPORTusing two 3/8 X 4" BOLTS(38), four 3/8" V,:-kS~
and two 3/8" LOCKNI51"S(31). See FIGURE
Slide the 13/16" SHAFTCOLLARS(15) to the top of the GUIDERODS(6) and SECURELYtighten the SHAFTCOLLA.R(15)
screws.SeeFIGURE7.
SECURELYtighten all connectionsmadeup to fl’tis point.
7
FIGURE11
STEP 11:
Routethe threadedend of the 124"CABLE(I 1) throughthe slot oft.he UPRIGHT(1) then SECURELYassembleone4-1/2" PULLEY
(10) to the UPRIGHT(I) usingm’o3/8 X2-3/4" BOLTS(32), two3/8" FLANGESPACERS(33), two3/8" W~_SHERS(30), and
LOCKNUTS(31). (NOTE:TheCABLE(11) shouldbe mutedbem’eenthe pulley andthe retaining bolt as :~hownin FIGURE
10
FIGURE 10
"(~3/8X2"
STEP10:
¯ Screwthe threadedendof the CABLE(12) appro~mately3/4" into the endof the 20 HOLESELECTORSI-I.4k-T(39) andtighten
nut securely. SeeFIGURE10.
¯PlaCeone 3-1/2" PULLEY(9) into the loop of the CABLE(12) belowthe secondandthird PULLEYof the TOPBOOM(4) as
in HGURE10.
¯LOOSELYassembletwo3/16X1-3/4 X5-1/4" PLATES(23) to eachside of the 3-1/2"PULLEY(9) usingone3/8 X2" BOLT(35),
two3/8" WASHERS(30), and one3/8" LOCKNUT(31). See FIGURE10.

Other ParaBody Fitness Equipment manuals
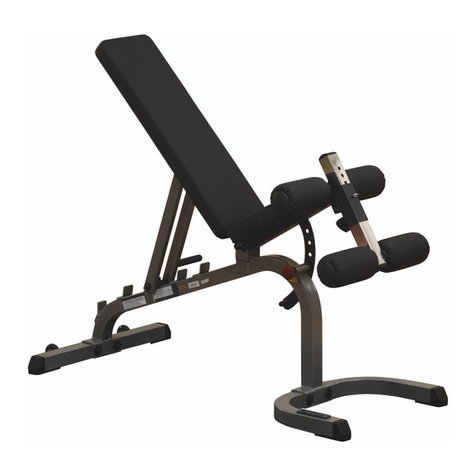
ParaBody 866101 Mounting instructions

ParaBody

ParaBody 866101 Mounting instructions

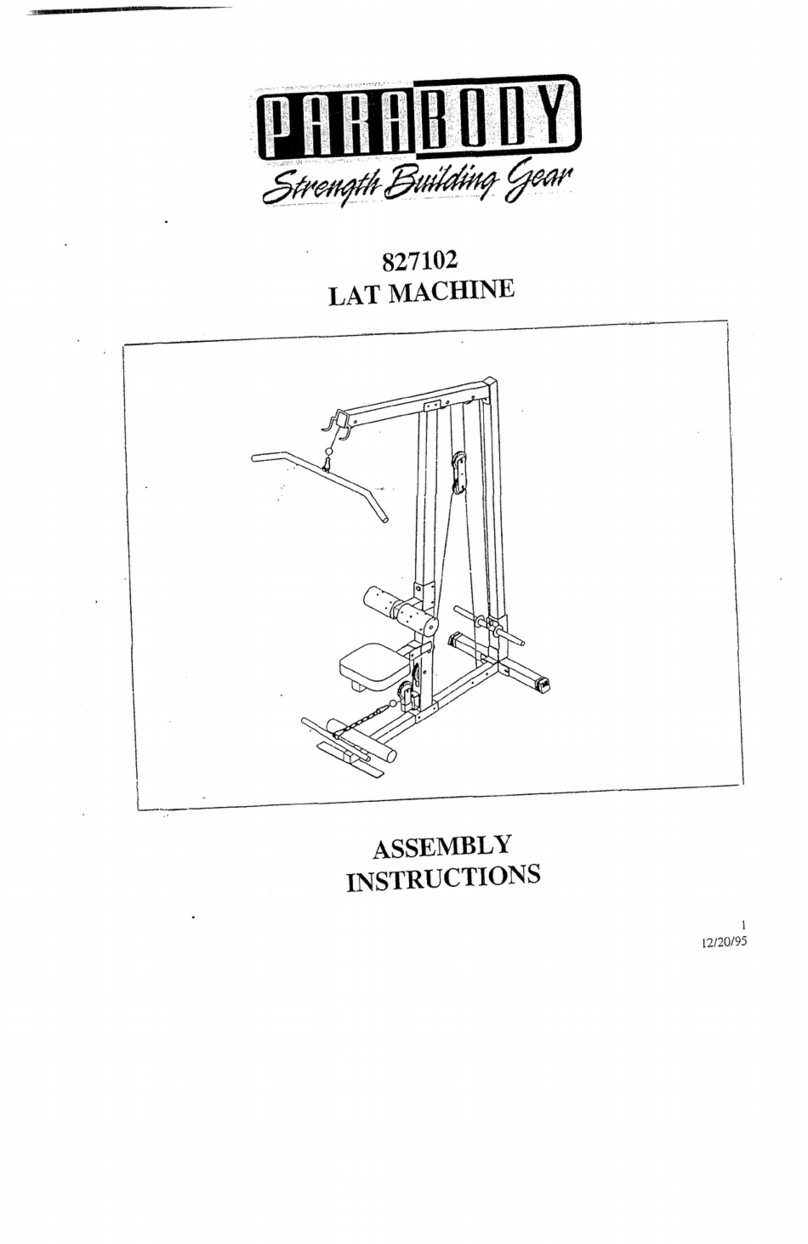
ParaBody 827102 User manual

ParaBody

ParaBody 827102 User manual

ParaBody 807 BODYSYSTEM User manual

ParaBody

ParaBody 807 BODYSYSTEM User manual

ParaBody Parabody 844 Lat Option User manual

ParaBody

ParaBody Parabody 844 Lat Option User manual

ParaBody 827101 Mounting instructions

ParaBody

ParaBody 827101 Mounting instructions

ParaBody Leg Press 100101 User manual

ParaBody

ParaBody Leg Press 100101 User manual

ParaBody 855103 User manual

ParaBody

ParaBody 855103 User manual

ParaBody 874 User manual

ParaBody

ParaBody 874 User manual

ParaBody 216 50 LB User manual

ParaBody

ParaBody 216 50 LB User manual
ParaBody 914101 User manual

ParaBody

ParaBody 914101 User manual

ParaBody 830 User manual

ParaBody

ParaBody 830 User manual

ParaBody 704101 Mounting instructions

ParaBody

ParaBody 704101 Mounting instructions

ParaBody 843 User manual

ParaBody

ParaBody 843 User manual

ParaBody 811 Mounting instructions

ParaBody

ParaBody 811 Mounting instructions

ParaBody 221 User manual

ParaBody

ParaBody 221 User manual

ParaBody 821 User manual

ParaBody

ParaBody 821 User manual

ParaBody 884 User manual

ParaBody

ParaBody 884 User manual

ParaBody 441101 440 User manual

ParaBody

ParaBody 441101 440 User manual

ParaBody 838 User manual

ParaBody

ParaBody 838 User manual

ParaBody 888 User manual

ParaBody

ParaBody 888 User manual

ParaBody Serious Steel 877102 User manual

ParaBody

ParaBody Serious Steel 877102 User manual

ParaBody 805106 Installation guide

ParaBody

ParaBody 805106 Installation guide

ParaBody 858 Mounting instructions

ParaBody

ParaBody 858 Mounting instructions

ParaBody 855 User manual

ParaBody

ParaBody 855 User manual

Popular Fitness Equipment manuals by other brands

Revitive Arthritis-Knee user manual

Revitive

Revitive Arthritis-Knee user manual

Domyos BM100 operating instructions

Domyos

Domyos BM100 operating instructions

Movement EDGE PUXADA ALTA Assembly manual

Movement

Movement EDGE PUXADA ALTA Assembly manual

Lifeline LLUWB-BLK owner's manual

Lifeline

Lifeline LLUWB-BLK owner's manual

Precor CW-816 Assembly guide

Precor

Precor CW-816 Assembly guide

Balanced Body Precision Rotator Discs manual

Balanced Body

Balanced Body Precision Rotator Discs manual

G-FITNESS AIR ROWER user manual

G-FITNESS

G-FITNESS AIR ROWER user manual

CAPITAL SPORTS Dominate Edition 10028796 manual

CAPITAL SPORTS

CAPITAL SPORTS Dominate Edition 10028796 manual

Martin System TT4FK user guide

Martin System

Martin System TT4FK user guide

CIRCLE FITNESS E7 owner's manual

CIRCLE FITNESS

CIRCLE FITNESS E7 owner's manual

G-FITNESS TZ-6017 user manual

G-FITNESS

G-FITNESS TZ-6017 user manual

Accelerated Care Plus OMNISTIM FX2 CYCLE/WALK user manual

Accelerated Care Plus

Accelerated Care Plus OMNISTIM FX2 CYCLE/WALK user manual

pedalo 20230165 manual

pedalo

pedalo 20230165 manual

Saebo SaeboStim Pro Instructions for use

Saebo

Saebo SaeboStim Pro Instructions for use

Performance HyperVibe User instructions

Performance

Performance HyperVibe User instructions

Scalamobil S27 Operator's manual

Scalamobil

Scalamobil S27 Operator's manual

Precor Experience Series Service manual

Precor

Precor Experience Series Service manual

FYTTER RedMIUM BENCH BE-T6R manual

FYTTER

FYTTER RedMIUM BENCH BE-T6R manual

manuals.online logo
manuals.online logoBrands
  • About & Mission
  • Contact us
  • Privacy Policy
  • Terms and Conditions

Copyright 2025 Manuals.Online. All Rights Reserved.