manuals.online logo
Brands
  1. Home
  2. •
  3. Brands
  4. •
  5. Polycom
  6. •
  7. IP Phone
  8. •
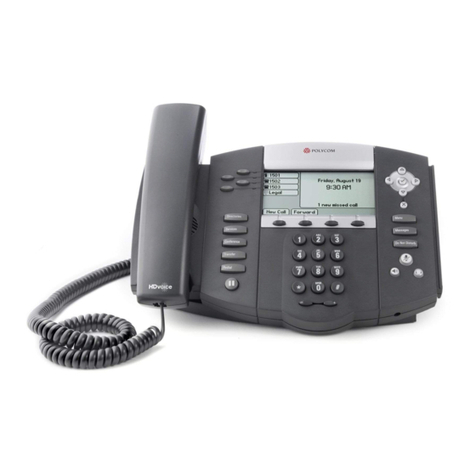
  9. Polycom SoundPoint IP 450 User manual

Polycom SoundPoint IP 450 User manual

Other manuals for SoundPoint IP 450

23

Other Polycom IP Phone manuals

Polycom VVX 400 Series User manual

Polycom

Polycom VVX 400 Series User manual

Polycom SoundPoint IP 335 Instruction manual

Polycom

Polycom SoundPoint IP 335 Instruction manual

Polycom SoundPoint IP 550 User manual

Polycom

Polycom SoundPoint IP 550 User manual

Polycom VVX 301 Parts list manual

Polycom

Polycom VVX 301 Parts list manual

Polycom VVX D230 User manual

Polycom

Polycom VVX D230 User manual

Polycom VVX-150 Series User manual

Polycom

Polycom VVX-150 Series User manual

Polycom Soundpoint IP 301 User manual

Polycom

Polycom Soundpoint IP 301 User manual

Polycom Poly VVX Series User manual

Polycom

Polycom Poly VVX Series User manual

Polycom VVX 300 User manual

Polycom

Polycom VVX 300 User manual
Polycom agilephone agilis VVX-1500 User manual

Polycom

Polycom agilephone agilis VVX-1500 User manual

Polycom SoundPoint IP 650 User manual

Polycom

Polycom SoundPoint IP 650 User manual

Polycom VVX 500 series User manual

Polycom

Polycom VVX 500 series User manual

Polycom SoundPoint IP 560 User manual

Polycom

Polycom SoundPoint IP 560 User manual

Polycom VVX 150 User manual

Polycom

Polycom VVX 150 User manual

Polycom 300 series User manual

Polycom

Polycom 300 series User manual

Polycom Polycom SoundPoint IP 430 User manual

Polycom

Polycom Polycom SoundPoint IP 430 User manual

Polycom VVX 401 User manual

Polycom

Polycom VVX 401 User manual

Polycom VVX 400 Series User manual

Polycom

Polycom VVX 400 Series User manual

Polycom VVX-450 Series User manual

Polycom

Polycom VVX-450 Series User manual

Polycom SoundPoint IP 670 User manual

Polycom

Polycom SoundPoint IP 670 User manual

Polycom PENNNET 650 Instruction manual

Polycom

Polycom PENNNET 650 Instruction manual

Polycom SoundPoint IP 331 Installation and operation manual

Polycom

Polycom SoundPoint IP 331 Installation and operation manual

Polycom PENNNET 650 User manual

Polycom

Polycom PENNNET 650 User manual
Polycom CX700 User manual

Polycom

Polycom CX700 User manual

Popular IP Phone manuals by other brands

Cortelco C62 VoIP Phone user guide

Cortelco

Cortelco C62 VoIP Phone user guide

VanillaIP Polycom IP300 user manual

VanillaIP

VanillaIP Polycom IP300 user manual

Yealink Yealink SIP-T22P Quick installation guide

Yealink

Yealink Yealink SIP-T22P Quick installation guide

Viking SR-IP product manual

Viking

Viking SR-IP product manual

Yealink VP59 Teams user guide

Yealink

Yealink VP59 Teams user guide

Panasonic KX-UT133-B Administrator's guide

Panasonic

Panasonic KX-UT133-B Administrator's guide

Avaya one-X 9600 Series overview

Avaya

Avaya one-X 9600 Series overview

AVA Enterprises B179 Installation and administration guide

AVA Enterprises

AVA Enterprises B179 Installation and administration guide

Cisco Unified 7900 Series System guide

Cisco

Cisco Unified 7900 Series System guide

Cisco SPA-500 Series user guide

Cisco

Cisco SPA-500 Series user guide

IPitomy IP290 user manual

IPitomy

IPitomy IP290 user manual

Proximus Maestro 3016 IP quick start guide

Proximus

Proximus Maestro 3016 IP quick start guide

Fanvil X4 user manual

Fanvil

Fanvil X4 user manual

Snom 320 quick start guide

Snom

Snom 320 quick start guide

Avaya Integral 5 R3.0 user guide

Avaya

Avaya Integral 5 R3.0 user guide

Yealink Yealink SIP-T46G Guide

Yealink

Yealink Yealink SIP-T46G Guide

Yealink SIP-T52S quick start guide

Yealink

Yealink SIP-T52S quick start guide

Nortel 1140E Getting started

Nortel

Nortel 1140E Getting started

manuals.online logo
manuals.online logoBrands
  • About & Mission
  • Contact us
  • Privacy Policy
  • Terms and Conditions

Copyright 2025 Manuals.Online. All Rights Reserved.

Head Office:
Level 1 21 Shierlaw Ave Canterbury 3126, Victoria, Australia
1300 0 JINGL
1300 0 54645
www.jingl.com.au
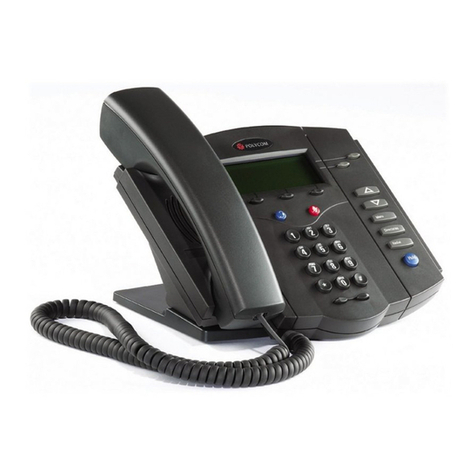
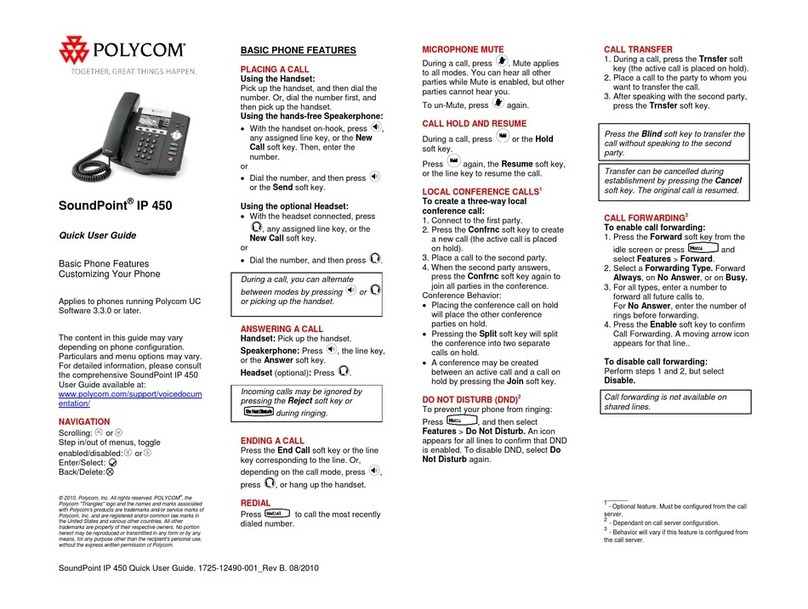
PolyCom Soundpoint
450
Head Office:
Level 1 21 Shierlaw Ave Canterbury 3126, Victoria, Australia
1300 0 JINGL
1300 0 54645
www.jingl.com.au
Configuring PolyCom SoundPoint 450
1. View and record the unique MAC address of the handset which can be found at the
base of the handset.
Head Office:
Level 1 21 Shierlaw Ave Canterbury 3126, Victoria, Australia
1300 0 JINGL
1300 0 54645
www.jingl.com.au
2. Logon to the jingl web portal, using specific customer domain URL
https://’customer’.jingl.com.au
Enter your User Name and Password
Presented with Dashboard
Head Office:
Level 1 21 Shierlaw Ave Canterbury 3126, Victoria, Australia
1300 0 JINGL
1300 0 54645
www.jingl.com.au
3. Select and click the settings menu
4. Click on “Add new”
In general tab, choose and enter extension number and a display name
Head Office:
Level 1 21 Shierlaw Ave Canterbury 3126, Victoria, Australia
1300 0 JINGL
1300 0 54645
www.jingl.com.au
5. Select and expand Provisioning tab. Enter the MAC address of the phone
6. Select and expand Hardware Type. Select the phone model
Head Office:
Level 1 21 Shierlaw Ave Canterbury 3126, Victoria, Australia
1300 0 JINGL
1300 0 54645
www.jingl.com.au
Click Add to finish your extension configuration.
7. Connect your phone on the network with a DHCP server, and find out phone’s IP
address.
On handset press Menu > Status > Network > TCP/IP Parameters (Menu, 2, 2, 1).
8. Use a compatible browser to browse the phone web menu using phones IP address
Head Office:
Level 1 21 Shierlaw Ave Canterbury 3126, Victoria, Australia
1300 0 JINGL
1300 0 54645
www.jingl.com.au
9. Login to the web interface with admin user (default password is 456)
Head Office:
Level 1 21 Shierlaw Ave Canterbury 3126, Victoria, Australia
1300 0 JINGL
1300 0 54645
www.jingl.com.au
10. Browse to settings Provisioning Server
Head Office:
Level 1 21 Shierlaw Ave Canterbury 3126, Victoria, Australia
1300 0 JINGL
1300 0 54645
www.jingl.com.au
11. Select “HTTP” as Server Type
Enter “tftp.jingl.com.au” as Server Address
No Server User and Server Password required
Expand DHCP Menu
Ensure Boot Server is set to “Static”
Ensure Boot Server Option is set to “160”
Ensure Boot Server Type is set to “String”
Ensure Option 60 Format is set to “ASCII String”
Click on the save button
12. Restart the phone for the new settings to take place, the phone will download and
configure all settings from the provisioning server as well as any necessary firmware
files.