Easy Maintenance
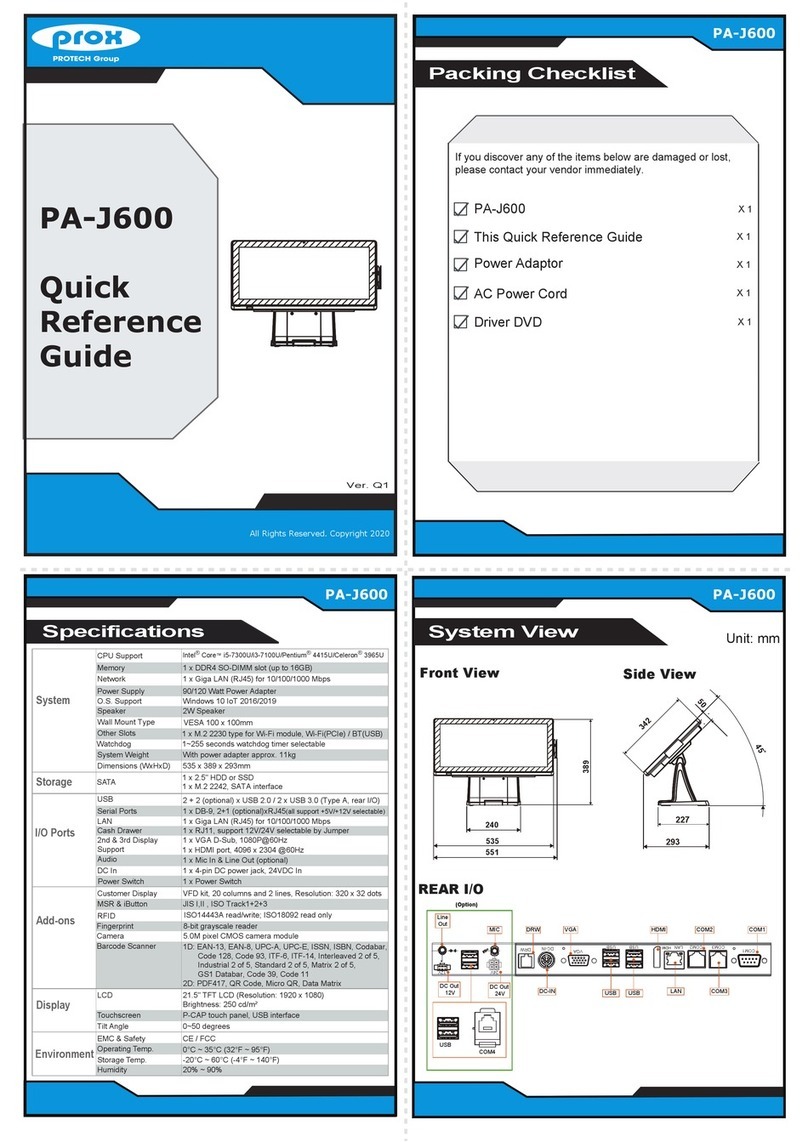
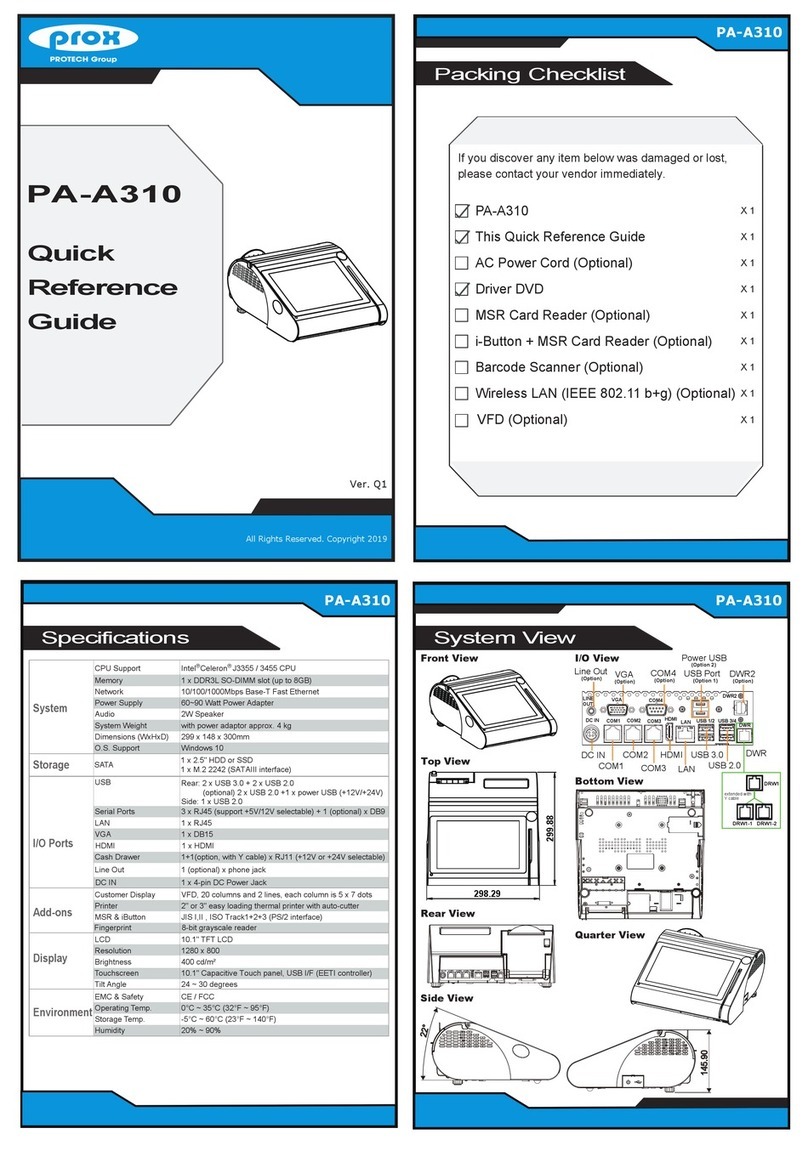
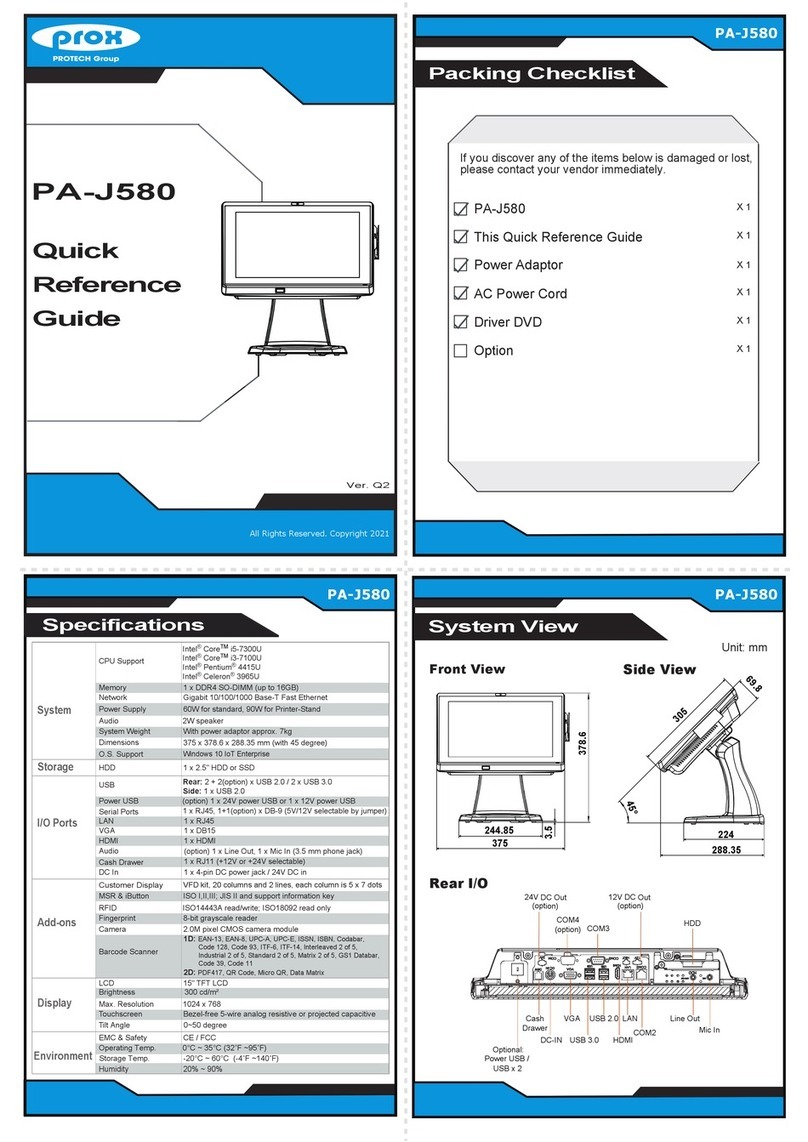
PA-A900
Jumper Setting
Jumper Setting
All Rights Reserved. Copyright 2019
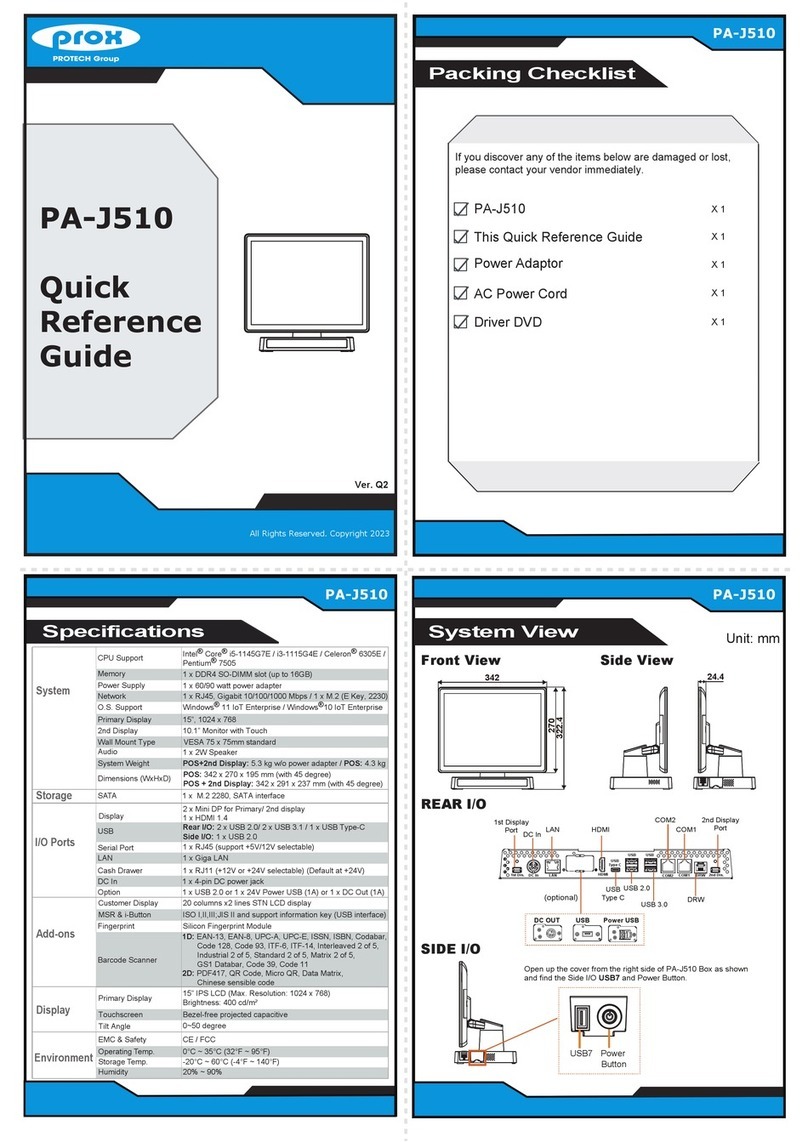
Highly Integrated and High Performance 15.6” POS Terminal
Safety Precaution
Safety Precaution
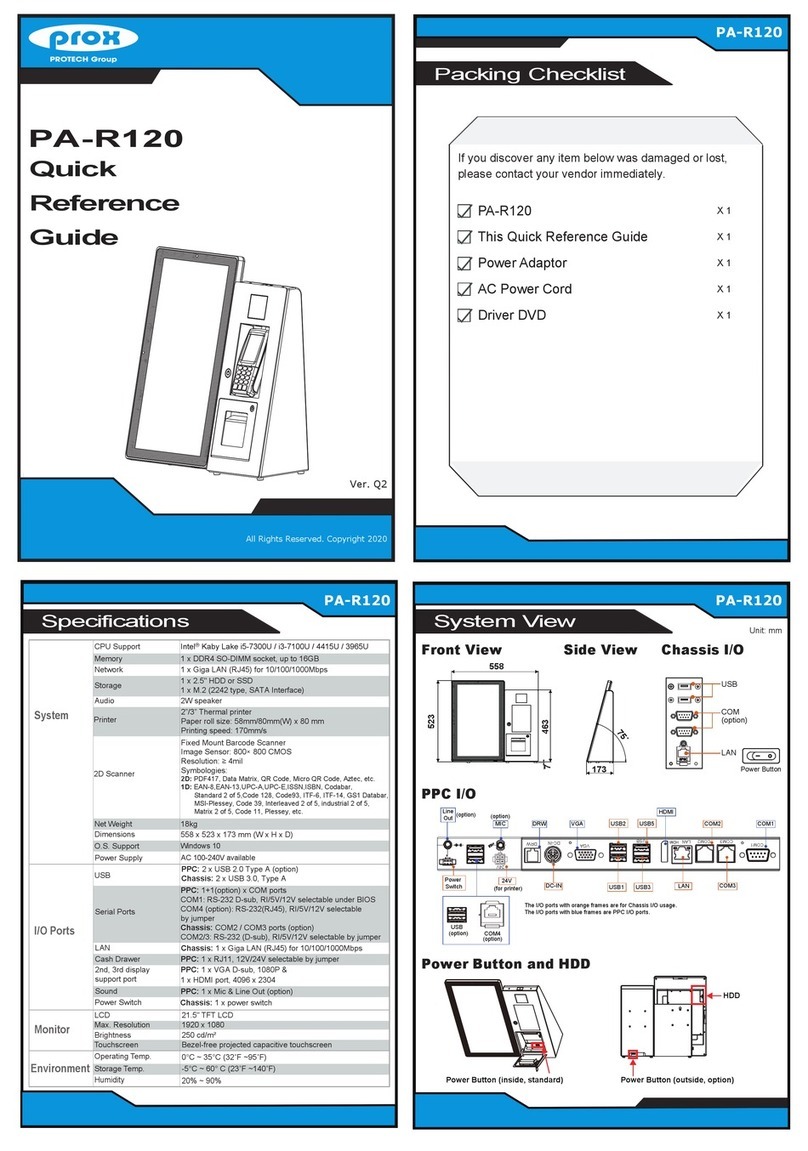
COM1 / COM2 voltage adjustment:
The voltage of external COM1 & COM2 can be adjusted via BIOS for your convenience.
CAUTION! Danger of explosion if battery is incorrectly replaced. Replace only with the same
or equivalent type recommended by the manufacturer. Dispose of used batteries according to
the manufacturer’s instructions.
WARNING! Some internal parts of the system may have high electrical voltage. Therefore we
strongly recommend qualified engineers open and disassemble the system. The LCD and
touchscreen are easily breakable; please handle them with extra care.
Step 1: Unfasten the two screws on both sides of
the LCD Display, and open and rotate
the LCD Display cover downwards as shown:
Step 2: Remove the 2 screws on the HDD tray
as shown:
Step 3: Take out the HDD module to complete.
HDD
Module
The following messages are safety reminders on how to protect your system from damages,
and extend the life cycle of the system.
1. Check the Line Voltage
● Make sure the operating voltage range is between 100V and 240V AC; otherwise, the
system could be damaged.
2. Environmental Conditions
● Place your PA-A900 on a sturdy, level surface. Be sure to allow enough space around
the system to have easy access needs.
● Avoid installing the system in extremely hot or cold places.
● Avoid exposure to sunlight for a long period of time or in an airtight room.
● Also, avoid the system from any heating device or using the PA-A900 when it has been
left outdoors in a cold winter day.
● Avoid moving the system rapidly from a hot place to a cold place, and vice versa, because
condensation may occur inside the system.
● Operate the PA-A900 in strong vibration may cause hard disk failure.
● Do not place the system too close to any radio-active device. Radio-active device may
cause signal interference.
● Always shut down the operating system before you turn off the power.
3. Handling
● Avoid placing heavy objects on the top of the system.
● Do not turn the system upside down. This may cause the hard drive to malfunction.
● Do not allow any objects to fall into this product.
● If water or other liquid spills into this product, unplug the power cord immediately.
4. Good Care
● When the outside case gets stained, remove the stains using neutral washing agent with
a dry cloth.
● Never use strong agents such as benzene and thinner to clean the surface of the case.
● If heavy stains are present, moisten a cloth with diluted neutral washing agent or alcohol
and then wipe thoroughly with a dry cloth.
● If dust is accumulated on the case surface, remove it using a special vacuum cleaner for
computers.
● Do not replace the motherboard battery by yourself, or serious damage may occur.
JP2
JP1
JP3 Clear CMOS Data
Selection
Normal
1
(default)
Clear CMOS
1
JP6, JP7, JP8
COM4 / i-Button
Function Selection
I-BUT
1
(default)
COM4
1
DRW1 USB3_1 USB1 LAN1 HDMI1 COM3 COM2 COM1 DC_IN1
COM1_1COM2_1
JLPC1
JP8
JP7
JP6
COM4
JP_VDD1
JP_USB3_2
JP_USB3_1
USB3_2
JP_USB5
USB5
USB6 SATA1
SATA_PWR1
OUT_5V
SO_DIMM1
HS1
EDP1 PS2
M2_E
M2_M
M2 M1
FAN_1 JUSB7
SW3
USB7
OUT_24V OUT12V_2
OUT12V_1
JVGA1
JP_USB2
USB2
LED1SW2
BAT1
JP3
JSPK1
JP11
12
56
1
2
5
6
1
5
1
5
12
12
56
12
56
1
1
15
6
12
2930
1
6
1
1
1 2
15 16
12
56
1
11
1
1
1
12
78
1
2
3
4
1
1
1
1
5
6
10
1
1
2
9
10
11
1
1
1 5
610
15
610
5
8
4
1
M.2 SSD
M.2 Wi-Fi
SP1
I-BUT1
1
TOUCH1
1
5
LVDS1
17
JP_VDD1
LVDS Voltage Selection
(default)
1
3.3V 5V
1
JINV1
16
2
JP_USB3_1 / JP_USB3_2
USB3 Port Selection
USB3_1
(default)
12
56
USB3_2
12
56
JP_USB2
USB2 Port Selection
M.2 USB
1 2
5 6
(default)
USB2
1 2
5 6
JP_USB5
USB5 Port Selection
1
2
5
6
USB5
(default)
5
1
JP11 Cash Drawer Selection
(default)
1 Drawer &
12V
2
6
12
56
1 Drawer &
24V
5
12
6
2 Drawer &
12V
2 Drawer &
24V
12
56
JP1 Flash
Descriptor Override
Normal
(default)
1
2
3
4
Override
1
2
3
4
JAUD1
1
2
9
10
JP1
Force DNX FW Load
Normal
(default)
1
2
3
4
Force
1
2
3
4
