manuals.online logo
Brands
  1. Home
  2. •
  3. Brands
  4. •
  5. quadient
  6. •
  7. Postal Equipment
  8. •
  9. quadient CS-200 Nigeria User manual

quadient CS-200 Nigeria User manual

CS-200 Nigeria
Quick Installation Guide
Complete the declaration by following the
screen.
For more specific information on
your tax machine please visit:
kbhelp.com/cs200_ug_fee
1
Unpack box, remove packaging.
2
Insert meter (b).
3
1
2
4
3
Plug in LAN cable (c), power cable (d) and (if applicable) barcode scanner USB cable (f).
When you plug the system the power goes on automatically
45
Select LAN and press ‘OK’ to test connection type.
Installation Process
1 LAN
OK
DO NOT add money to the meter at this step.
Press NO.
Non
7
Do you want to add postage?
Installation Process
Yes No
Installation Process
Press “OK” to activate
mailing system for Online
Services.
8
Next
9
Open the door, insert ink cartridge (e) and follow steps to complete alignment test.
A C E G I K
B D F H J
Select letter with arrows
and press «OK»
Amount
Press the button to add funds.
10
Postage Available
100.00
Enter amount:
10
Headset alignment
734478
OK
Installation Process
Enter your registration code
12345
Enter the following registration code : 12345
6
A0129399/A - 23/01/2020
Your machine is now ready to use. Please turn over for your Quick User Guide.
11
Box content includes:
3
Machine Base
Meter
LAN cable Power cable
Ink cartridge
Barcode scanner
Optional :
Barcode scanner
USB cable
d
d
f
0000005000
AFF
No services
20.11.19
Pay Id :
R :
CS-200 Nigeria
Quick User Guide
Getting to know your Tax Machine
Quick steps to printing your tax stamp
Screen Information
A1 Rate and services
A2 Date printed
A3 Payer Id
A4 Receipt Id
A5 Amount
A2
A3
Shortcut keys
B1 Sleep/On/O-mode (amber/
green/flashing amber)
B2 Rate and tax services selection
B3 Add payer Id value
B4 Add receipt Id value
B5 Credit management
Changing the ink cartridge
B1
Select a rate :
2
2. Use the keypad to choose a rate or
service option, or use the wizard for
access to more rates.
Currently selected rate is indicated at the
top of the screen.
0000005000
AFF
No services
20.11.19
Change rate
1. Press
The Rate selection screen
is displayed.
0000005000
AFF
No services
1AFFIDAVI T
8Wizard
3. When done, press
to confirm your selection and return
to the home screen.
A4
A5
A1
Payer Id Management:
3a
From the home page of the machine
0000005000
AFF
No services
20.11.19
Pay Id :
R :
1. Press
2. Press
Enter manually the Payer Id using the
machine keypad or an external keyboard.
Cis used when the customer is a society
Nis used when the customer is a particular
3. Press
The Payer Id is displayed on the homepage.
Enter the PIN code
Login
1234
Enter PIN code
When the machine starts,
enter the PIN code:
1234
Receipt Id Management:
3b
From the home page of the machine
0000005000
AFF
No services
20.11.19
Pay Id : N-12345
R :
1. Press
2. Press
Receipt Id with Barcode
Back
42086873/QVWBVMPEWXER245
The Receipt Id is filled in.
0000005000
AFF
No services
20.11.19
Pay Id : N-12345
R : 42086873/QVWBVMPEWXER245
The Receipt Id is displayed on the homepage.
4When all steps are completed...
Print the tax stamp:
1. Insert the document into the machine,
the tax stamp will print on the upper
right hand side.
2. Push the document to the back and
right of the machine. Hold in position
until printing has finished, then remove.
Adding credit
Press choose ‘Credit’ and follow the
instructions on screen.
Note: in order to add credit to the machine there
must be funds available
in your tax account.
N-
Back OK
C-
Payer Id part 1/2
N-12345_
Back
Payer Id part 2/2
The Payer Id is filled in.
1. Open the machine by pulling
the left hand side front panel
towards you.
2. On the keypad, press
and select Cartridge > Headset
Replacement. The cartridge
moves to a replacement
position and a waiting message
is displayed on the screen.
3. Pull the blue lever to free the
empty cartridge. Remove the
cartridge.
4. On the new ink cartridge,
remove the protective strip
from the printing head.
5. Insert the new ink cartridge in
the carriage, and then lock it by
pushing the blue lever back in
place.
6. Close the front panel and
press on the control
panel.
7. Follow the steps on screen.
Enter manually the Receipt Id using the
machine keypad or an external keyboard.
You can also use a barcode scanner to
automatically enter the Receipt Id.
B3
B5
B4
B2
1To reset the machine...
Press:
to wake the machine
up with default settings.
to return to the home screen.
Short press: to reset amount
Long press: to reset amount,
payer ID and receipt ID.
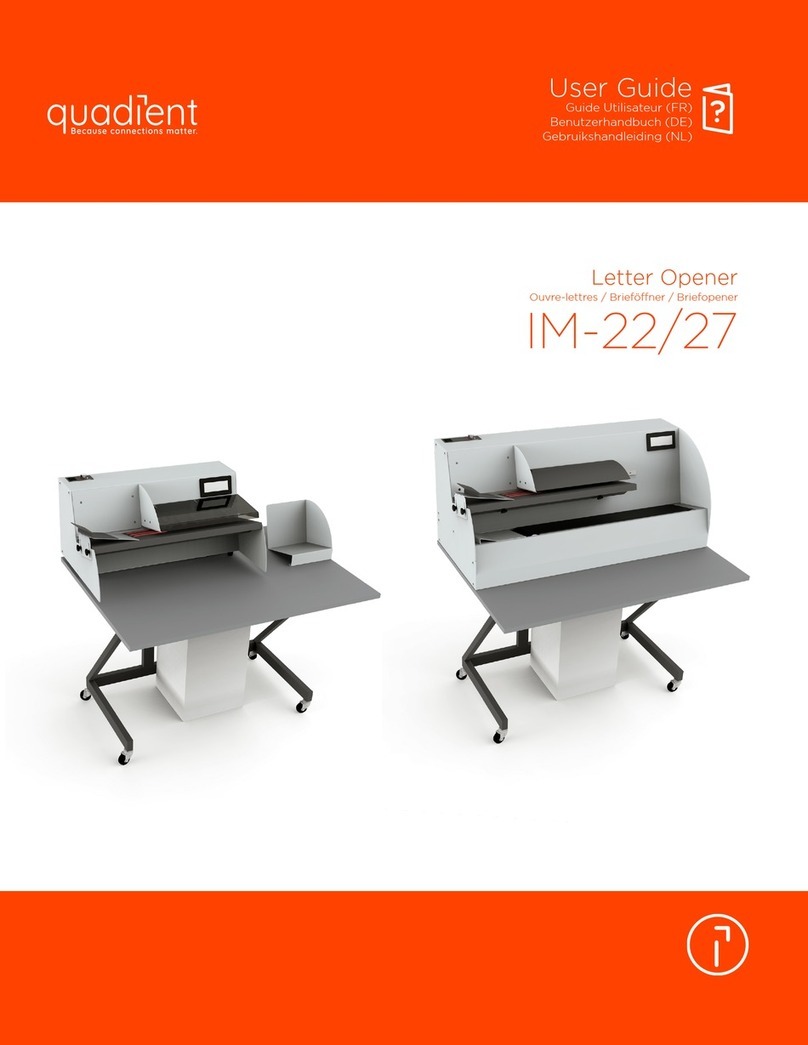
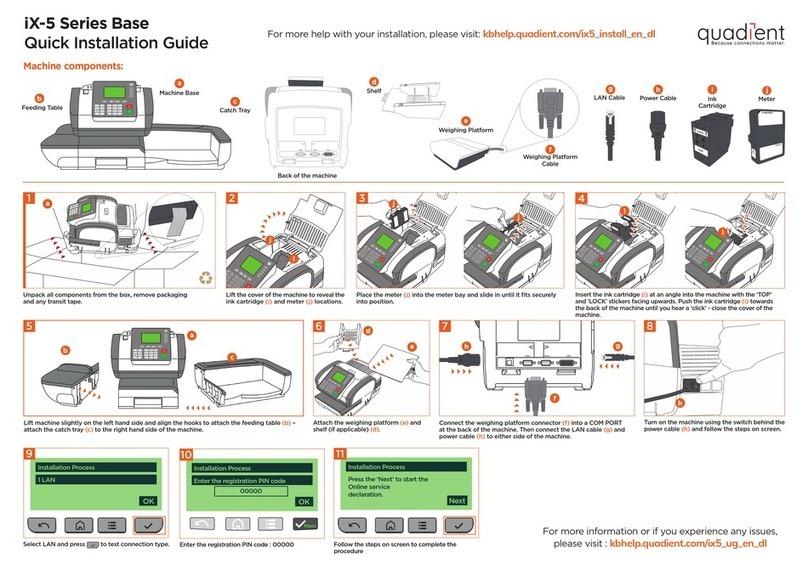
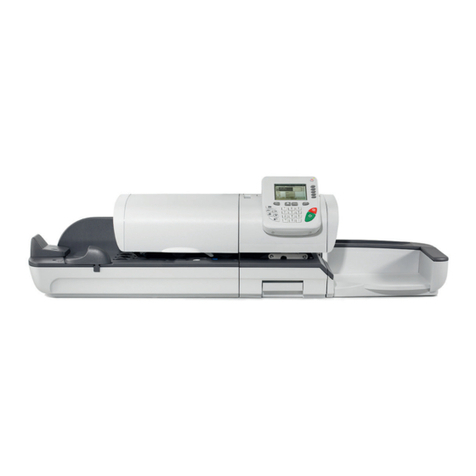
Other quadient Postal Equipment manuals

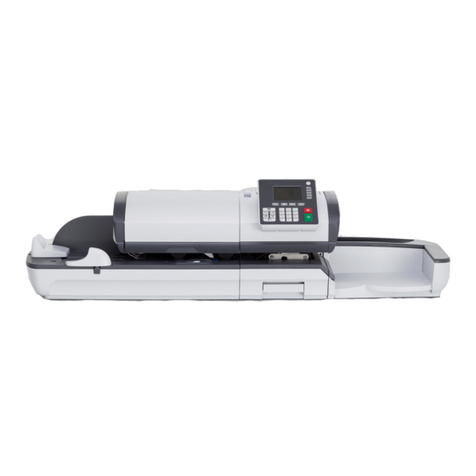
quadient iX-5 Series User manual

quadient

quadient iX-5 Series User manual

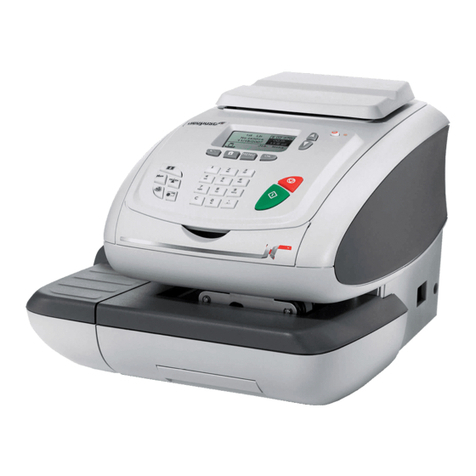
quadient IS-440 User manual

quadient

quadient IS-440 User manual

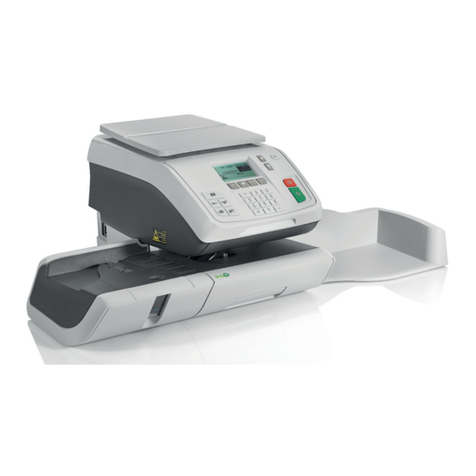
quadient IS-6000 User manual

quadient

quadient IS-6000 User manual

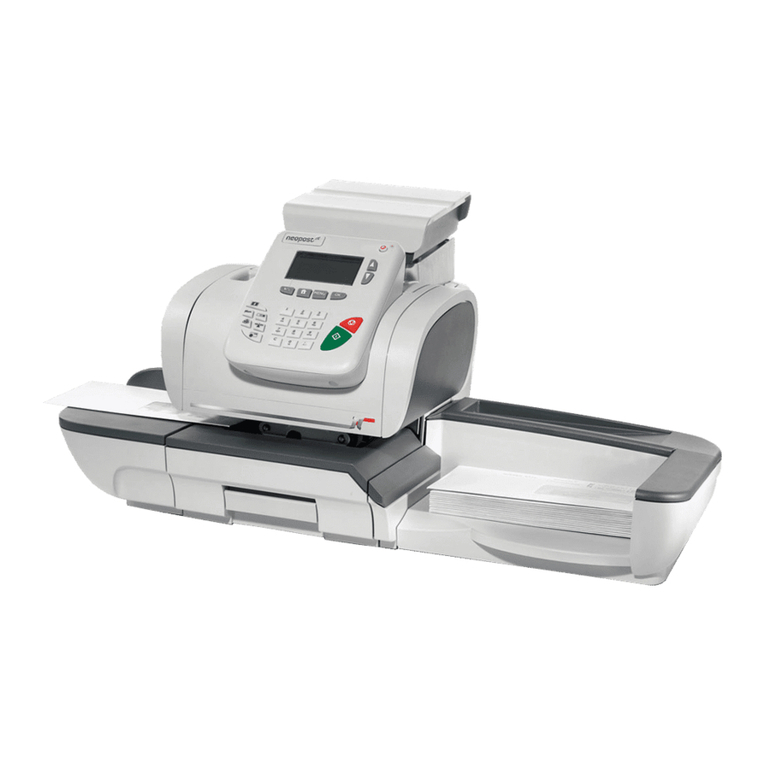
quadient IN-360 Series User manual

quadient

quadient IN-360 Series User manual

quadient IS-420 User manual

quadient

quadient IS-420 User manual

quadient IS-300 Series Parts list manual

quadient

quadient IS-300 Series Parts list manual

quadient IS-440 User manual

quadient

quadient IS-440 User manual

quadient IS-280 User manual

quadient

quadient IS-280 User manual

quadient IS-350 User manual

quadient

quadient IS-350 User manual

quadient IJ-15K User manual

quadient

quadient IJ-15K User manual

quadient IS-480 User manual

quadient

quadient IS-480 User manual

quadient iX-5 Series User manual

quadient

quadient iX-5 Series User manual

quadient IS-430 User manual

quadient

quadient IS-430 User manual

quadient IS-440 User manual

quadient

quadient IS-440 User manual

quadient IN-360 Series User manual

quadient

quadient IN-360 Series User manual

quadient IS-420 User manual

quadient

quadient IS-420 User manual

quadient iX-5 Series User manual

quadient

quadient iX-5 Series User manual

quadient IS-480 User manual

quadient

quadient IS-480 User manual

quadient iX-3 Series User manual

quadient

quadient iX-3 Series User manual

quadient iX-3 Series User manual

quadient

quadient iX-3 Series User manual

quadient 200 Series User manual

quadient

quadient 200 Series User manual

quadient IS-460 User manual

quadient

quadient IS-460 User manual

quadient IS-480 User manual

quadient

quadient IS-480 User manual

quadient IN-700 User manual

quadient

quadient IN-700 User manual

Popular Postal Equipment manuals by other brands

Opex Omation 206 Operator's guide

Opex

Opex Omation 206 Operator's guide

Frabox NAMUR Mounting instructions

Frabox

Frabox NAMUR Mounting instructions

SSS Siedle AZTSV 870-0 installation instructions

SSS Siedle

SSS Siedle AZTSV 870-0 installation instructions

Neopost IJ65 Fitting instructions

Neopost

Neopost IJ65 Fitting instructions

Falltech 78012CSSD User instruction manual

Falltech

Falltech 78012CSSD User instruction manual

SSS Siedle BE 611-3/1-0 Product information

SSS Siedle

SSS Siedle BE 611-3/1-0 Product information

Pitney Bowes DM50 Series Update instructions

Pitney Bowes

Pitney Bowes DM50 Series Update instructions

PostMark 3056 user guide

PostMark

PostMark 3056 user guide

Mayne Woodhaven Sign Post Assembly instructions

Mayne

Mayne Woodhaven Sign Post Assembly instructions

WilTec 63451 operating instructions

WilTec

WilTec 63451 operating instructions

Opex Envelopener Omation 306 Operator's manual

Opex

Opex Envelopener Omation 306 Operator's manual

Asgard Parcel Delivery Box Assembly instructions

Asgard

Asgard Parcel Delivery Box Assembly instructions

Neopost ij25 manual

Neopost

Neopost ij25 manual

Pitney Bowes SendPro C Auto user guide

Pitney Bowes

Pitney Bowes SendPro C Auto user guide

eSafe Fenix Top Small user manual

eSafe

eSafe Fenix Top Small user manual

Frama MATRIX F2 operating guide

Frama

Frama MATRIX F2 operating guide

Neopost IJ65 user guide

Neopost

Neopost IJ65 user guide

Frama Access B400 operating guide

Frama

Frama Access B400 operating guide

manuals.online logo
manuals.online logoBrands
  • About & Mission
  • Contact us
  • Privacy Policy
  • Terms and Conditions

Copyright 2025 Manuals.Online. All Rights Reserved.