manuals.online logo
Brands
  1. Home
  2. •
  3. Brands
  4. •
  5. quadient
  6. •
  7. Postal Equipment
  8. •
  9. quadient IS-350 User manual

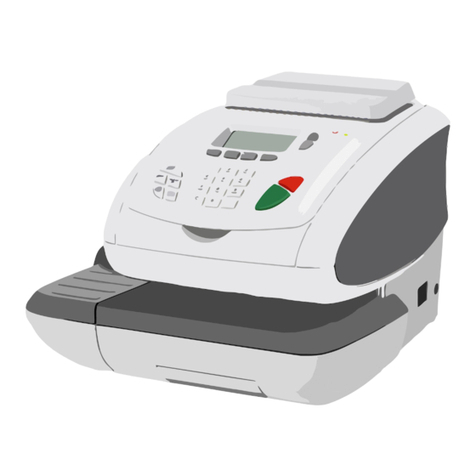
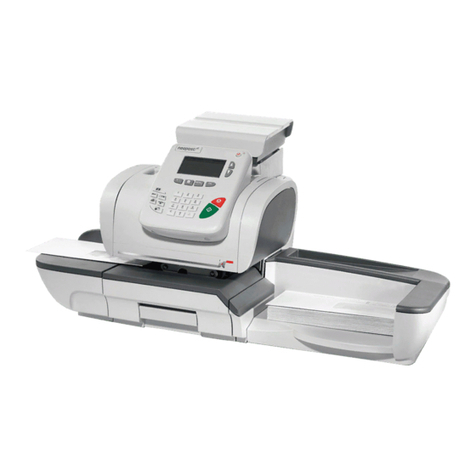
quadient IS-350 User manual

Other manuals for IS-350

4

Other quadient Postal Equipment manuals

quadient IS-440 User manual

quadient

quadient IS-440 User manual

quadient IS-240 User manual

quadient

quadient IS-240 User manual

quadient IS-280 User manual

quadient

quadient IS-280 User manual

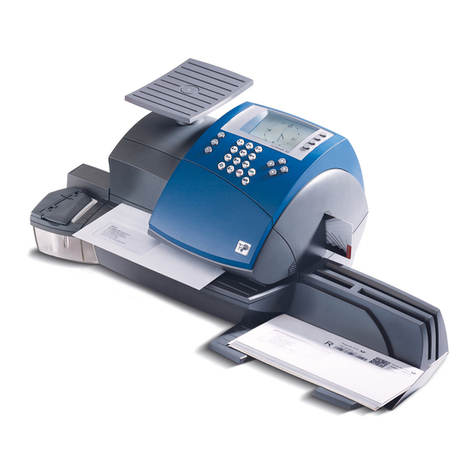
quadient iX-5 Series User manual

quadient

quadient iX-5 Series User manual

quadient iX-3 Series Parts list manual

quadient

quadient iX-3 Series Parts list manual

quadient IS-350 User manual

quadient

quadient IS-350 User manual

quadient IS-440 User manual

quadient

quadient IS-440 User manual

quadient IN-360 Series User manual

quadient

quadient IN-360 Series User manual

quadient IX-7 User manual

quadient

quadient IX-7 User manual

quadient iX-5 Series User manual

quadient

quadient iX-5 Series User manual

quadient IJ-15K User manual

quadient

quadient IJ-15K User manual

quadient IS-6000 Assembly instructions

quadient

quadient IS-6000 Assembly instructions

quadient IS-240 User manual

quadient

quadient IS-240 User manual

quadient IS-480 User manual

quadient

quadient IS-480 User manual

quadient IS-6000 User manual

quadient

quadient IS-6000 User manual

quadient IN-360 Series User manual

quadient

quadient IN-360 Series User manual

quadient iX-5 Series Parts list manual

quadient

quadient iX-5 Series Parts list manual

quadient IS-430 User manual

quadient

quadient IS-430 User manual

quadient HD-MB50D User manual

quadient

quadient HD-MB50D User manual

quadient iX-3 Series User manual

quadient

quadient iX-3 Series User manual

quadient IS-480 User manual

quadient

quadient IS-480 User manual

quadient IS-280 User manual

quadient

quadient IS-280 User manual

quadient iX-9 Series User manual

quadient

quadient iX-9 Series User manual

quadient iX-3 Series User manual

quadient

quadient iX-3 Series User manual

Popular Postal Equipment manuals by other brands

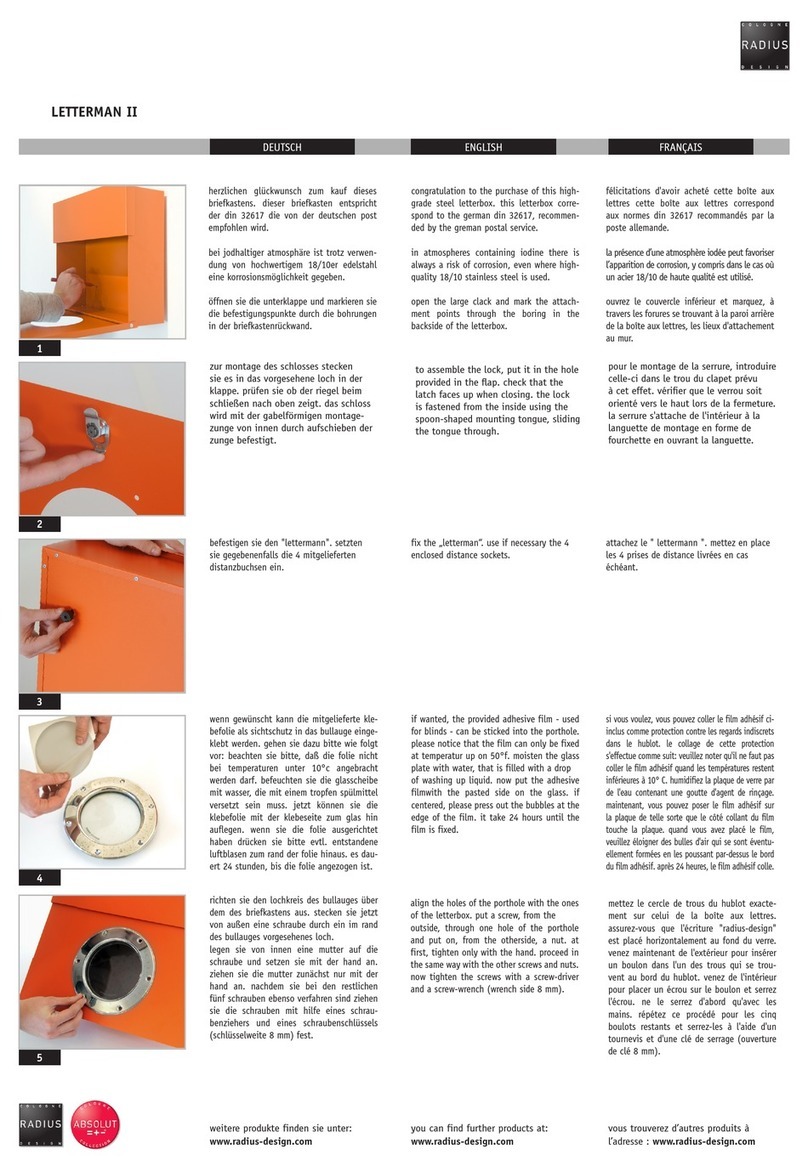
Radius LETTERMAN II manual

Radius

Radius LETTERMAN II manual

Florence Package Protector PORT installation guide

Florence

Florence Package Protector PORT installation guide

FP centormail Quick reference guide

FP

FP centormail Quick reference guide

SSS Siedle BG/SR 611 Series Product information

SSS Siedle

SSS Siedle BG/SR 611 Series Product information

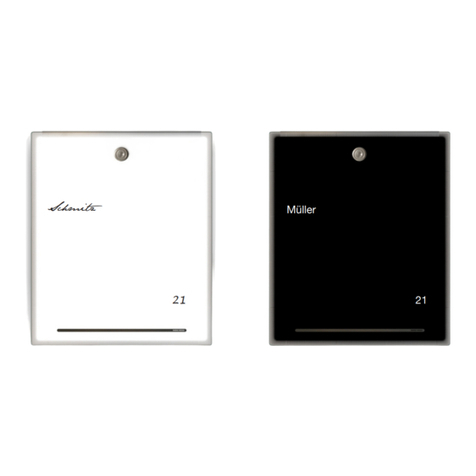
Radius LETTERMAN III manual

Radius

Radius LETTERMAN III manual

Labelmate UCATS MINI user manual

Labelmate

Labelmate UCATS MINI user manual

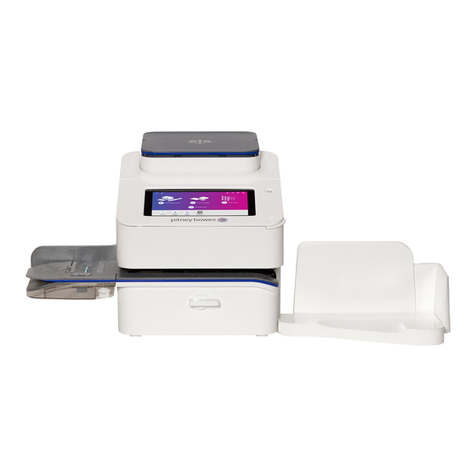
Pitney Bowes SendPro C Operator's guide

Pitney Bowes

Pitney Bowes SendPro C Operator's guide

OMUARK Uark user manual

OMUARK

OMUARK Uark user manual

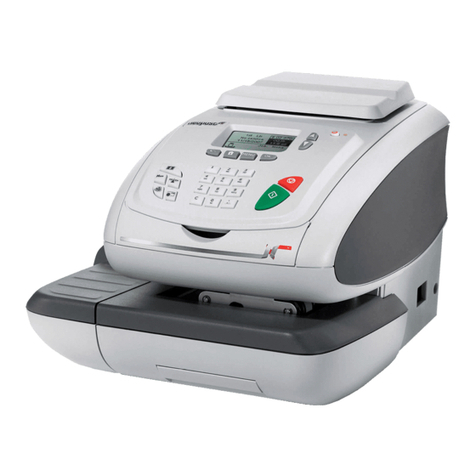
Neopost IS-350 Quick installation guide

Neopost

Neopost IS-350 Quick installation guide

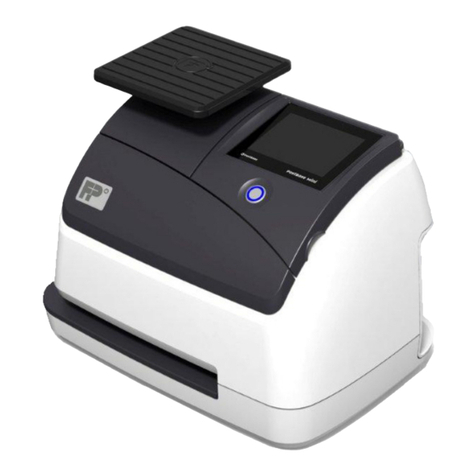
FP Postbase Mini Operator's manual

FP

FP Postbase Mini Operator's manual

Frabox OLEVA Mounting instructions

Frabox

Frabox OLEVA Mounting instructions

Pitney Bowes F731 Operator's guide

Pitney Bowes

Pitney Bowes F731 Operator's guide

Pitney Bowes 7H20C user guide

Pitney Bowes

Pitney Bowes 7H20C user guide

Neopost IJ-60 user guide

Neopost

Neopost IJ-60 user guide

MSL JET PLUS 500 manual

MSL

MSL JET PLUS 500 manual

Pitney Bowes DL250 Operator's guide

Pitney Bowes

Pitney Bowes DL250 Operator's guide

Neopost IN-700 user guide

Neopost

Neopost IN-700 user guide

Neopost IS-480 user guide

Neopost

Neopost IS-480 user guide

manuals.online logo
manuals.online logoBrands
  • About & Mission
  • Contact us
  • Privacy Policy
  • Terms and Conditions

Copyright 2025 Manuals.Online. All Rights Reserved.

INSTALL THE HAND FEED TABLE AT THE LEFT OF THE BASE:
t the slots of the Base over the tabs of the table.
CONNECT THE LAN to a network RJ45 plug of the Base and
to the LAN wall socket using the LAN cable B.
OPEN THE BASE COVER, remove the headset protecting
strips and insert the headset in its compartment, then push
the headset back until it clicks.
WRITE DOWN THE PSD number, you may need the number
later.
INSTALL THE PSD in the slot and then close the cover. CONNECT THE SYSTEM POWERPLUG. Follow the installation wizard on the screen. Refer to the installation section in the User Guide.
IS-350 QUICK INSTALLATION GUIDE
BC
CAUTION: use a solid and steady table, far
from any door or fan.
2 4
7
5
3
6
C
A
1Check the box contents.
For more information about your mailing
system, please visit:
kb.quadient.ie/is350_ug
2c
13
4
2a
2b
IS-350
For more specific information about
your mailing system, see the User Guide.
Press Clear or Wake
To reset previous settings...
Key the postage in directly
If you know the amount...
Choose rate and services
When the weight is displayed...
Print the stamp
4145426B/C - 25/05/2020
Consumables,
contact Quadient Supplies: 01-6250900
Put your mail on the scale
To weigh your mail...
or
When the postage is displayed...
Enter the weight manually
Screen main areas
Shortcut keys
Getting to know your mailing system Applying postage
If jamming occurs...Changing the ink cartridge Adding credit
www.quadient.ie
1
2
1
2
If needed, press to get back to the
home screen.
To get back to default rate settings,
press on the keyboard.
If the system is asleep, press to
wake it up with default settings.
1
2
Type the amount on the keyboard.
Press OK.
The home screen
displays the postage.
1
2
3
1
2
Press to start the motors of your mail-
ing system.
Insert the mail piece in
the mail path, the
stamp printing position
on the upper right side.
Current rate and select-
ed services are
displayed in this area of
the screen.
Rate and services
Date printed
Weighing type
Imprint position oset
Postage and weight
Job memory (can contain rate, stamp settings
and account)
Current account
D1
D2
D3
D4
D5
D6
D7
K1
K2
K3
K4
K5
K6
K7
K8
Rates and services selection
Job memories (rate, stamp settings, account)
Weighing modes
Credit management
Type of imprint and imprint settings
Sleep / wake (amber / green)
Stops printing
Starts printing
Check that the D3 icon is .
Otherwise press and then select the
option Standard weighing.
Press and then select the option
Manual weight entry.
Enter the weight and press OK.
Press OK to validate your selection and
return to the home screen.
Use the keypad to select an available Class
and/or Services, or select key 8 for the
wizard.
Press , type 2 and follow instructions onscreen.
Note: to complete this operation successfully, your postal
services account must have a positive credit balance of the
corresponding amount.
To change the rate and/or add services:
Press .
The Rate selection
screen is displayed.
Press on the
control panel to stop
the motor.
Under the base, lift up
the release handle and,
using your other hand,
remove stuck envelope.
1
2
On the new ink cartridge,
remove the protective
strips from the printing
heads.
Raise base cover and
follow instructions printed
on sticker inside.
1
2
D5
D6
D7
D1
K7
K8
K6
K2
K3
K4
K5
K1
D4
D3
D2