2.
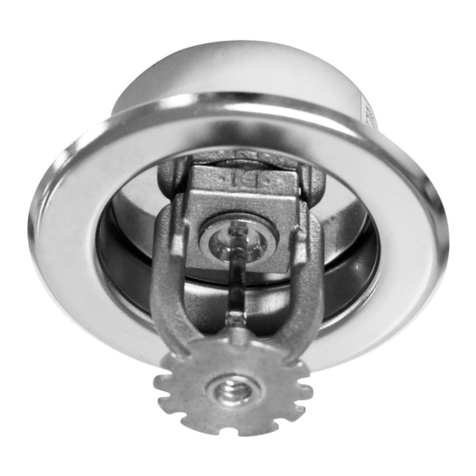
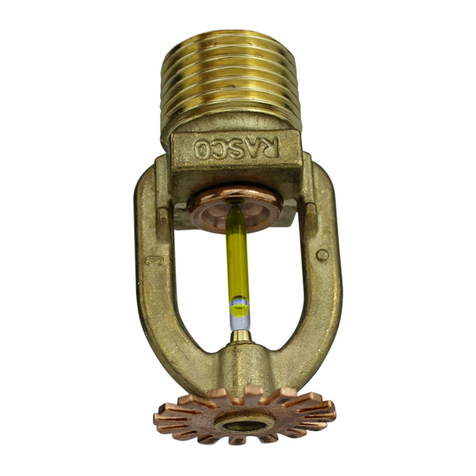
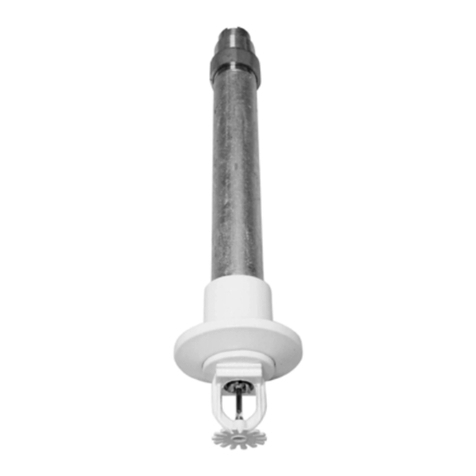
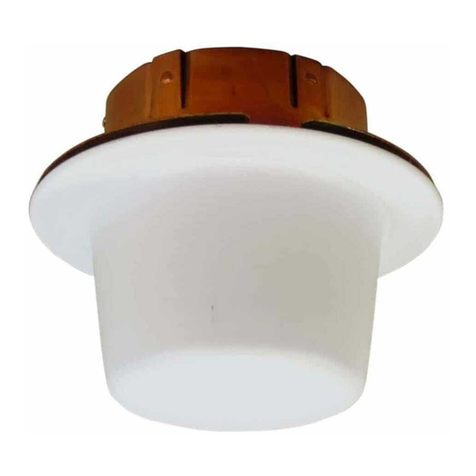
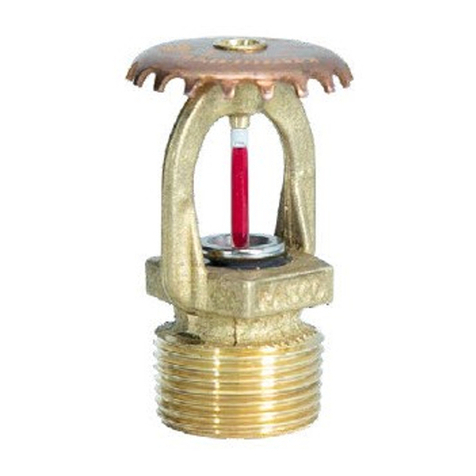
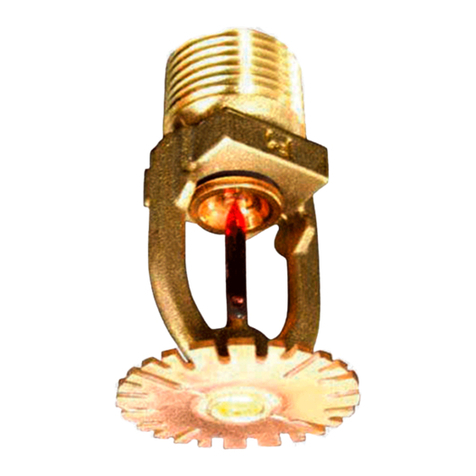
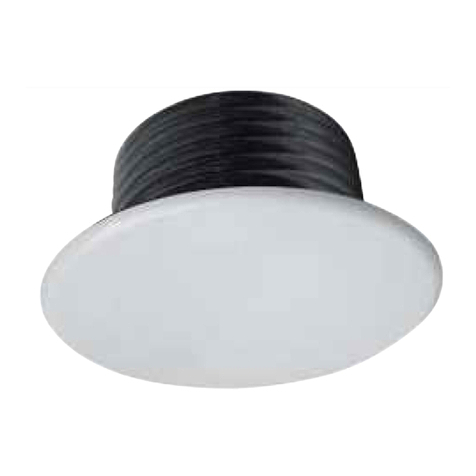
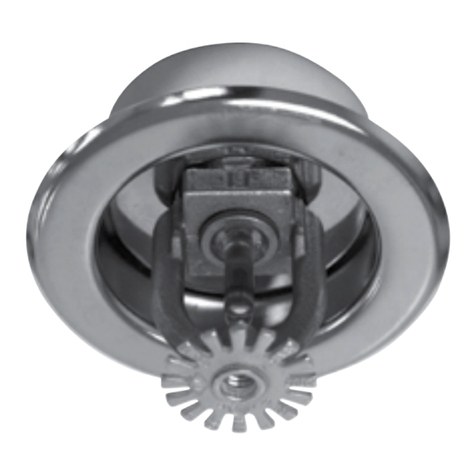
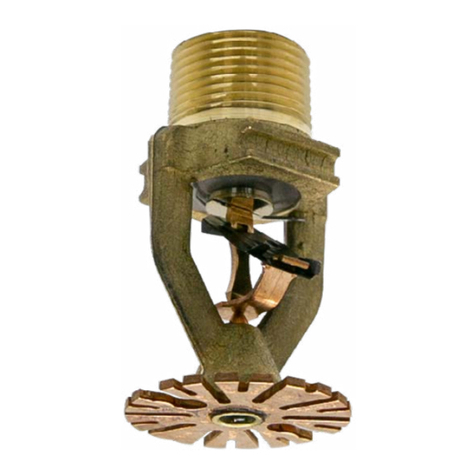
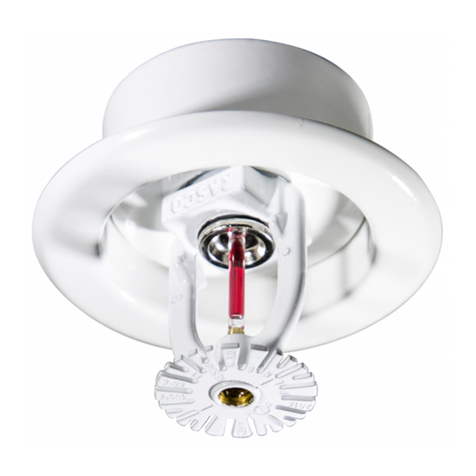
G4 XLO-QR ECLH/ECOH Concealed Pendent
Technical Data
Sprinkler
Model Type
Nominal
K-factor
Temperature
Rating
Max.
Ceiling
Temp.
Maximum
Sprinkler
Spacing
ft (m)
Maximum
Coverage
Area
ft2(m2)
Thread
Size Approvals
gpm/psi1/2
(lpm/bar1/2)°F °C °F °C
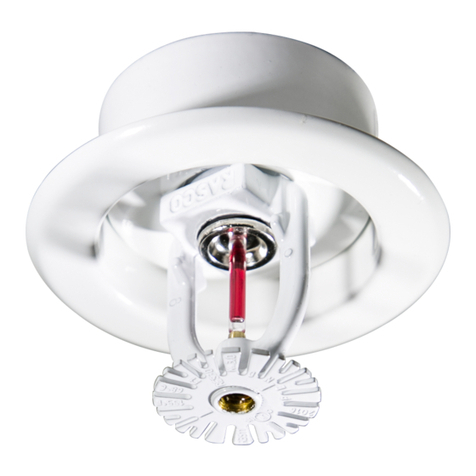
G4 XLO-QR
ECOH
Concealed
Pendent 11.2 (160) 165 74 100 38 20 (6.1) 400 (37.2)
¾”NPT
or ISO 7-1
R3/4
cULus
Flow Requirements - Quick Response
Spacing
ft (m)
Coverage
Area
ft2(m2)
Light Hazard Ordinary Hazard Group 1 Ordinary Hazard Group 2
Flow
gpm (lpm)
Pressure
psi (bar)
Flow
gpm (Lpm)
Pressure
psi (bar)
Flow
gpm (lpm)
Pressure
psi (bar)
14 x 14 (4.3 x 4.3) 196 (18.2) 30 (113.5) 7.2 (0.49) 30 (113.6) 7.2 (0.5) 39 (147.6) 12.1 (0.8)
16 x 16 (4.9 x 4.9) 256 (23.8) 30 (113.5) 7.2 (0.49) 39 (147.6) 12.1 (0.8) 51 (193.0) 20.7 (1.4)
18 x 18 (5.5 x 5.5) 324 (30.1) 33 (125.0) 8.7 (0.60) 49 (185.5) 19.1 (1.3) 65 (246.0) 33.7 (2.3)
20 x 20 (6.1 x 6.1) 400 (37.2) 40 (151.0) 12.8 (0.88) 60 (227.1) 28.7 (2.0) 80 (302.8) 51.0 (3.5)
Installation
Do not install the MODEL G4
XLO-QR ECLH/ECOH in ceilings
which have positive pressure in
the space above. After installa-
tion, inspect all sprinklers to en-
sure that both the gap between
the cover plate and ceiling and
the 4 drive slots in the cup are
open and free from any air flow
impediment.
After a 25
/
8” (67 mm) diam-
eter hole is cut in the ceiling,
Maintenance
Model G4XLO-QR ECLH/ECOH sprinklers should be in-
spected and maintained in accordance with NFPA 25. Do
not clean sprinklers with soap and water, ammonia or any
other cleaning fluids. Remove dust by using a soft brush
or gentle vacuuming. Replace any sprinkler or cover plate
assembly, which has been painted (other than factory ap-
plied) or damaged in any way. A stock of spare sprinklers
should be maintained to allow quick replacement of dam-
aged or operated sprinklers. Prior to installation, sprin-
klers should be maintained in their original cartons and
packaging until used to minimize the potential for damage
to sprinklers that would cause improper operation or non-
operation. Once operated automatic sprinklers and cover
plates cannot be reassembled and reused. New sprin-
klers of the same size, type and temperature rating must
be installed. A cabinet of replacement sprinklers should
be provided for this purpose.
XLO EC Wrench
the sprinkler is to be installed with the Model XLO EC
Wrench. When installing a sprinkler, the wrench is first
positioned into the sprinkler/cup assembly until two
wrench tangs fully engage drive slots in the top of the
cup. The sprinkler is then tightened into the pipe fitting.
When inserting or removing the wrench from the sprin-
kler/cup assembly care should be taken to prevent dam-
age to the sprinkler. DO NOT WRENCH ON ANY OTHER
PART OF THE SPRINKLER/CUP ASSEMBLY.
A protective cap is provided to protect the drop down
deflector from damage which could occur during con-
struction before the cover plate is installed. The cap is
factory installed inside the sprinkler cup. Remove the
cap to install the sprinkler, then replace the cap until the
cover plate is installed.
THE MODEL G4 XLO-QR ECLH/ECOH SPRINKLER
MUST BE INSTALLED ONLY WITH A 135°F RATED
COVER PLATE WHICH HAS BEEN LISTED WITH THE
SPRINKLER.
DRIVE SLOT
(TYP. of 4)

