manuals.online logo
Brands
  1. Home
  2. •
  3. Brands
  4. •
  5. RIGHT ANGLE
  6. •
  7. Indoor Furnishing
  8. •
  9. RIGHT ANGLE NewHeights 4 XT Series Parts list manual

RIGHT ANGLE NewHeights 4 XT Series Parts list manual

Page 3 OF 9
K&A Manufacturing
6703 Zinser Street Schofield, WI 54476
Phone: 800.298.4351
Fax: 866.882.9475
www.raproducts.com
Instruction # 53278
Step 1: Lay the worksurface 1on a protected surface with the pilot holes facing up.
Align the holes in the worksurface supports with the pilot holes in the worksurface.
Be careful to not pinch the motor wires between the motor boxes and the work-
surface. Do not allow the leg assemblies to stand without support. They could tip
over and the motor housings could crack. The grommets on the motor wires should
be in the square notches on the motor boxes. Attach the leg assemblies 2to the
worksurface with (24) wood screws 3. Leave the screws loose by about 1/8" so you
can adjust the leg assemblies when installing the wire management channels 4and
the cross supports 5.
Detail A
1
2
Step 1
A
3
Page 4 OF 9
K&A Manufacturing
6703 Zinser Street Schofield, WI 54476
Phone: 800.298.4351
Fax: 866.882.9475
www.raproducts.com
Step 2: Adjust one of the wire management channels
4to align the holes in the channel with the holes on the
inside of the motor boxes. Insert (4) socket screws 7
through the holes near the ends of the channel and
thread them into the weld nuts on the motor boxes.
See Detail B. Do not fully tighten. Attach the wire
management channel to the worksurface with (5-10)
wood screws 3. Do not fully tighten. Repeat Step 2
with the remaining wire management channel.
Step 2
Instruction # 53278
Detail B
7
4
1
4
3
2
B
Page 5 OF 9
K&A Manufacturing
6703 Zinser Street Schofield, WI 54476
Phone: 800.298.4351
Fax: 866.882.9475
www.raproducts.com
Step 3: Place (2) flat washers 11 on (2) machine screws
9. Thread these into the cage nuts pre-installed in the
inner wire management channels and fully tighten. There
are (4) cage nuts in each inner wire management channel.
Use any (2) cage nuts that are accessible. See the back
view below left.
Step 4: Fully tighten the socket screws 7holding the wire
management channels 4to the motor boxes. Fully tighten
the wood screws holding the wire management channels
and the leg assemblies to the worksurface 1. Do not over-
tighten the screws. Use a low torque setting on the power
driver.
Back View
11
9
Pre-installed
Cage Nuts
3
Steps 3 & 4
See back
view above.
5
Instruction # 53278
7
Page 6 OF 9Instruction # 53278
Step 5: With the help of an assistant align one of the cross support with the stickers on
both leg assemblies. See below. Insert (4) socket screws 7through the holes in the
ends of the cross support 5and thread them into the weld nuts that are held in place by
the stickers. Do not fully tighten. Check that the cross support is level and parallel to the
worksurface. Fully tighten the socket screws.
Step 6: Repeat step 5 with the other cross support
All 4 legs
both cross
supports
Steps 5 & 6
Page 9 OF 9
K&A Manufacturing
6703 Zinser Street Schofield, WI 54476
Phone: 800.298.4351
Fax: 866.882.9475
www.raproducts.com
Instruction # 53278
Operation and Reset Procedure
Plug both power cords into a standard 110v receptacle. A power surge protector is
recommended. Press the down arrow button until the worksurface reaches its lowest
position and clicks. The NewHeights™ workstation is ready for use. If you unplug or
lose power and the unit does not operate, follow the reset procedure below
Reset Procedure: Unplug both power cords for 30 seconds and plug back in. Hold
the down arrow button until the unit stops at the bottom. Release the button; then
hold the down arrow button until the unit clicks twice.
Troubleshooting: If you are having any problems with the table operation, contact
RightAngle™ at 800-298-4351 or orders@raproducts.com.
Warranty Information: NewHeights™ products are warranted to be free of defects due
to manufacturing or materials as follows: Three years on the gear and/or motor(sw)
including the control boxes and hand switch. Five years on the support brackets,
aluminum columns and feet. We will replace any defective part after inspection by an
authorized agent. Costs incurred due to product replacement such as installation labor
or transportation are not covered under this warranty. When corresponding with
RightAngle™ products, record and provide the model and serial numbers located on
the control box.

Other manuals for NewHeights 4 XT Series

1

Other RIGHT ANGLE Indoor Furnishing manuals
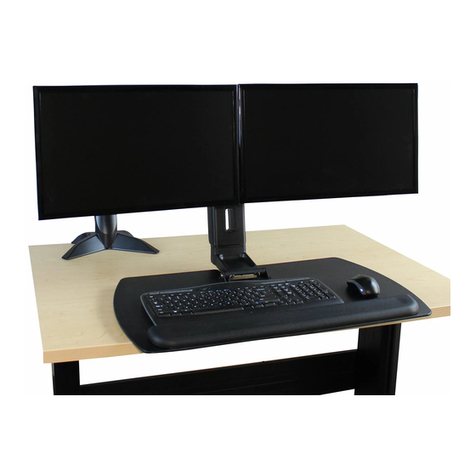
RIGHT ANGLE R-Style Modesty Panel User manual
RIGHT ANGLE

RIGHT ANGLE R-Style Modesty Panel User manual

RIGHT ANGLE Hover Helium Junior User manual
RIGHT ANGLE

RIGHT ANGLE Hover Helium Junior User manual

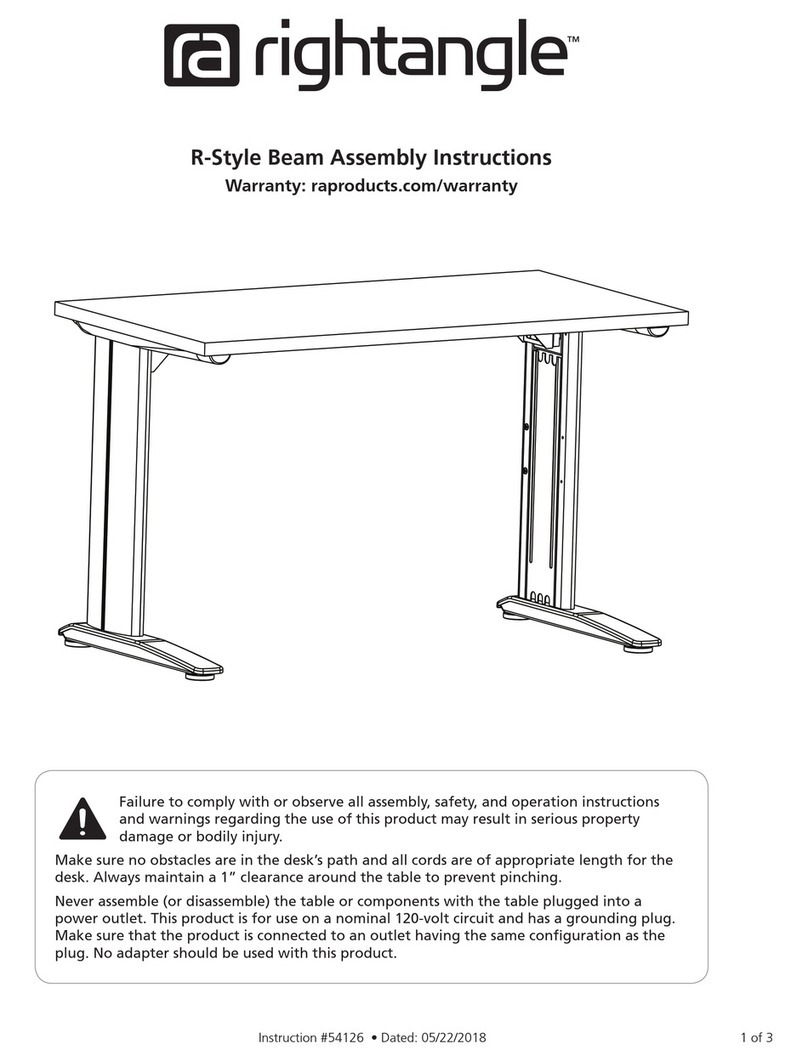
RIGHT ANGLE R-Style T-Base Table User manual
RIGHT ANGLE

RIGHT ANGLE R-Style T-Base Table User manual

RIGHT ANGLE R-Style Beam User manual

RIGHT ANGLE

RIGHT ANGLE R-Style Beam User manual
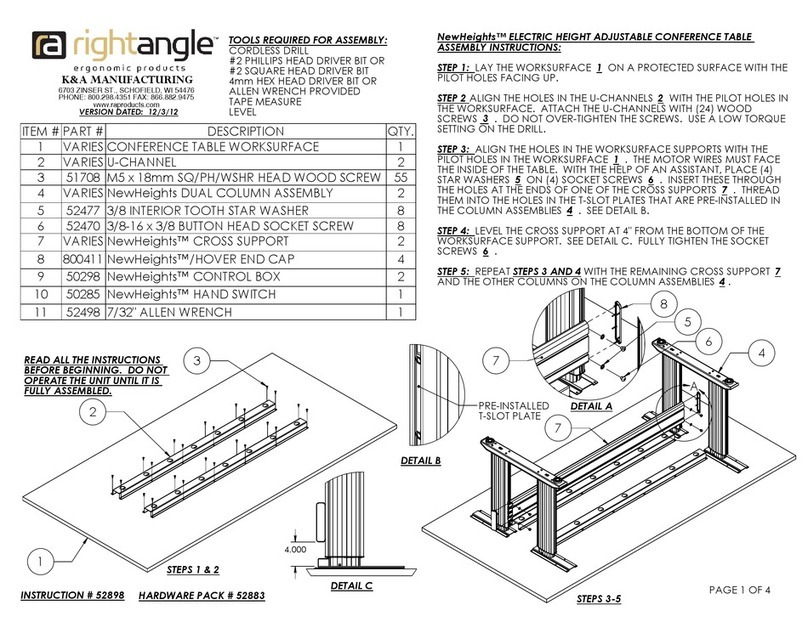
RIGHT ANGLE NewHeights Electric Height Adjustable Conference... User manual

RIGHT ANGLE

RIGHT ANGLE NewHeights Electric Height Adjustable Conference... User manual
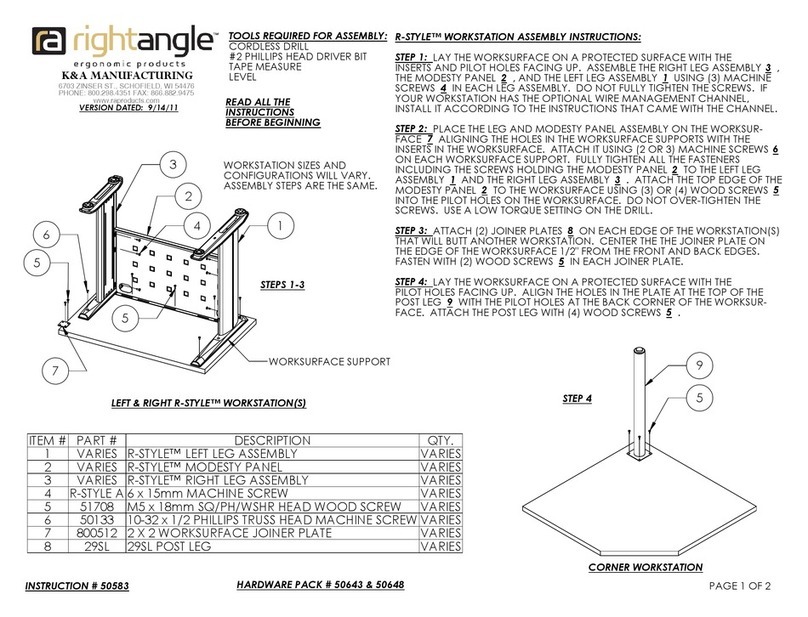
RIGHT ANGLE R-STYLE WORKSTATION 50643 User manual
RIGHT ANGLE

RIGHT ANGLE R-STYLE WORKSTATION 50643 User manual

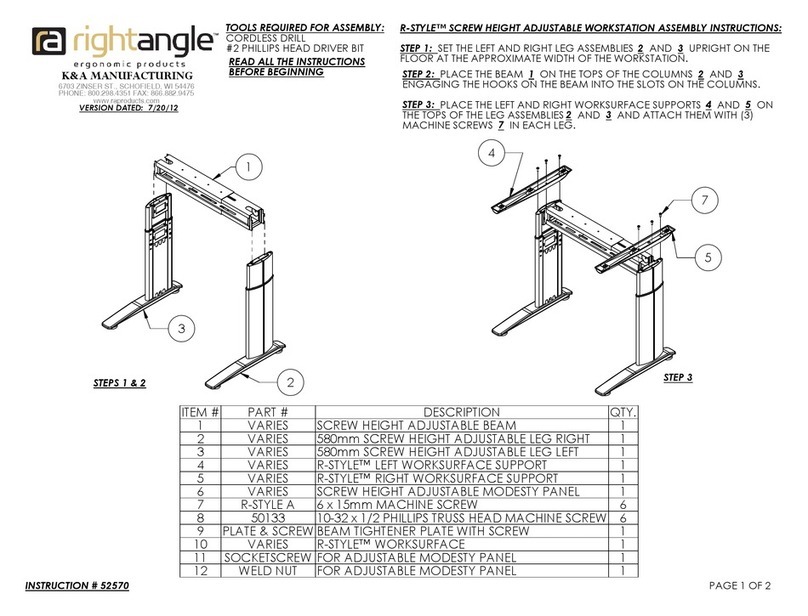
RIGHT ANGLE R-STYLE Series User manual
RIGHT ANGLE

RIGHT ANGLE R-STYLE Series User manual

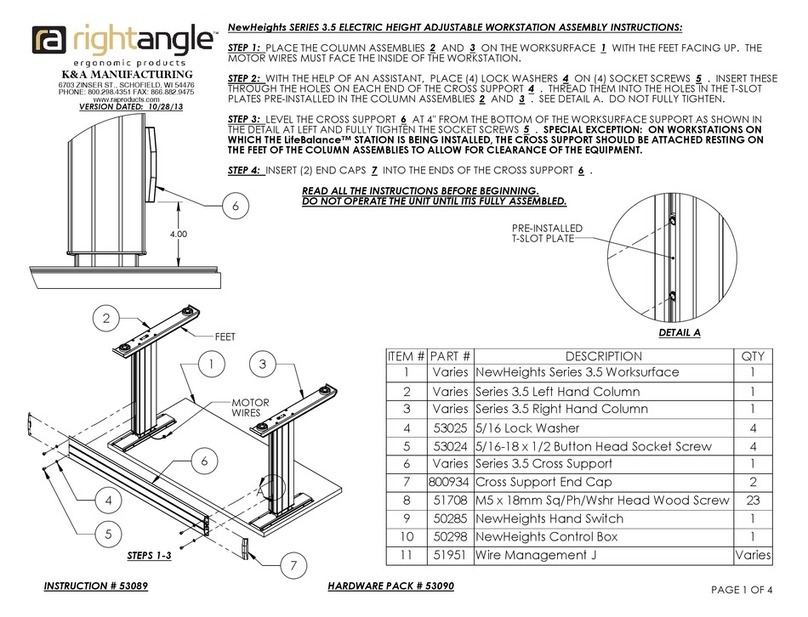
RIGHT ANGLE NewHeights Series User manual

RIGHT ANGLE

RIGHT ANGLE NewHeights Series User manual

RIGHT ANGLE NewHeights Series User manual

RIGHT ANGLE

RIGHT ANGLE NewHeights Series User manual

RIGHT ANGLE NewHeights 4 NZP Series User manual

RIGHT ANGLE

RIGHT ANGLE NewHeights 4 NZP Series User manual

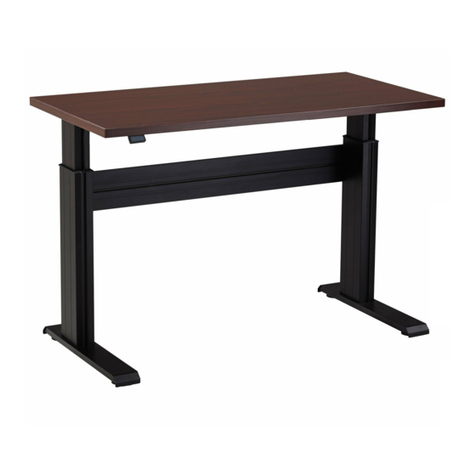
RIGHT ANGLE NewHeights 4 LT Series User manual
RIGHT ANGLE

RIGHT ANGLE NewHeights 4 LT Series User manual

RIGHT ANGLE Eficiente LT Parts list manual
RIGHT ANGLE

RIGHT ANGLE Eficiente LT Parts list manual

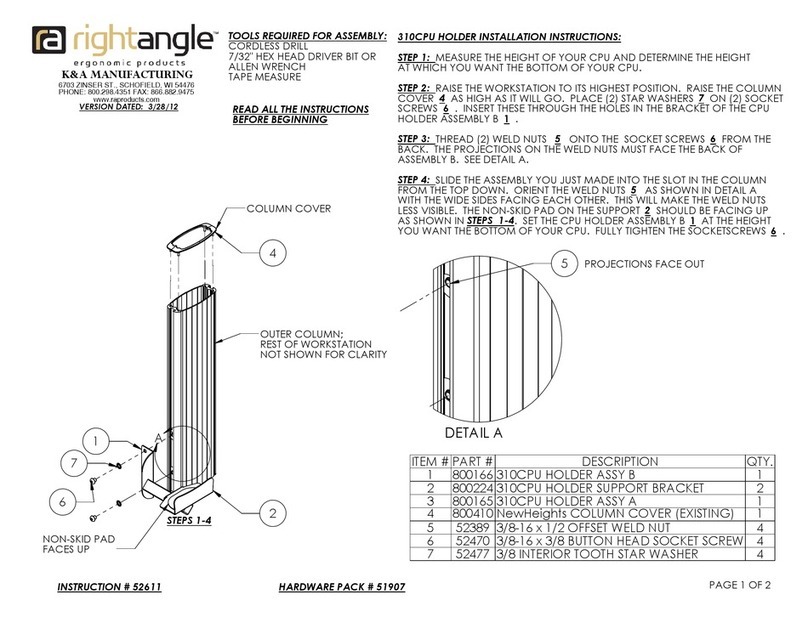
RIGHT ANGLE 310CPU User manual

RIGHT ANGLE

RIGHT ANGLE 310CPU User manual
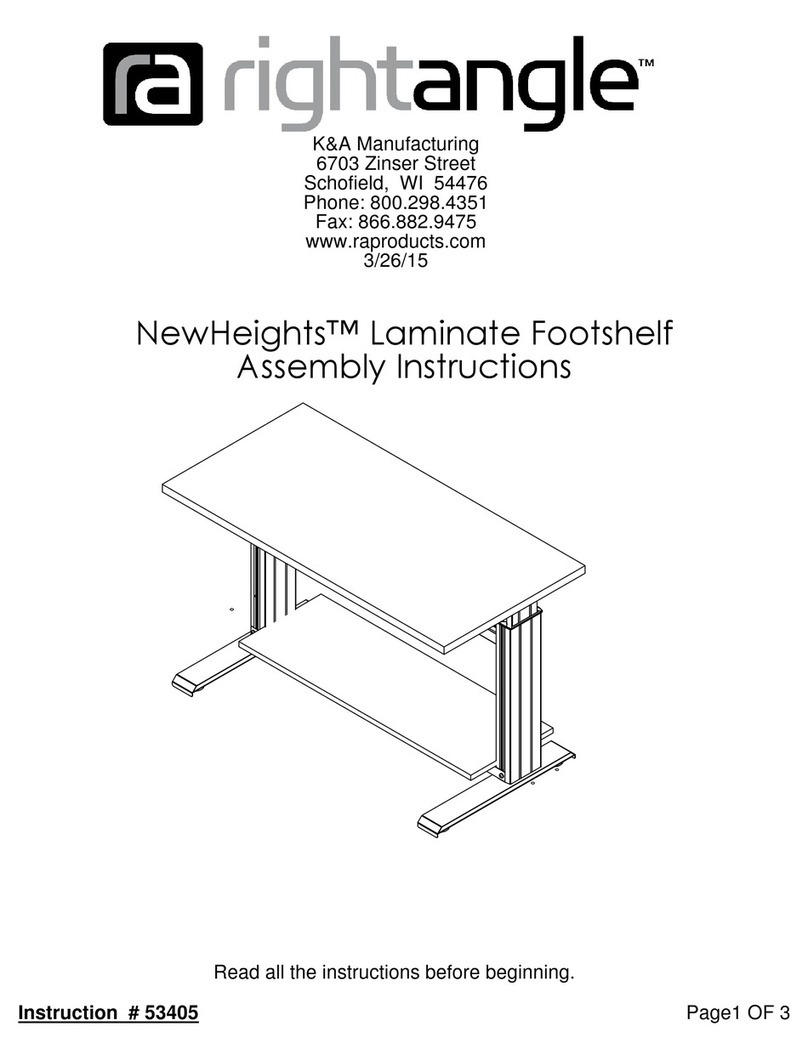
RIGHT ANGLE NewHeights Laminate Footshelf User manual
RIGHT ANGLE

RIGHT ANGLE NewHeights Laminate Footshelf User manual

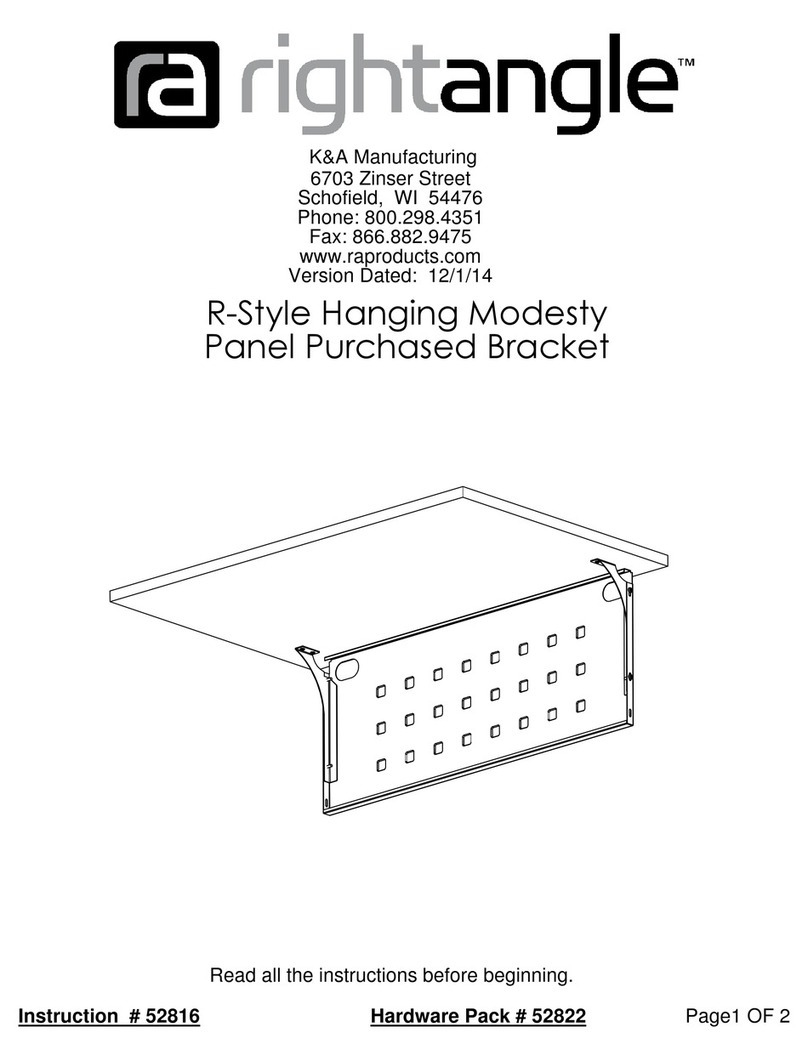
RIGHT ANGLE R-Style 52822 User manual

RIGHT ANGLE

RIGHT ANGLE R-Style 52822 User manual
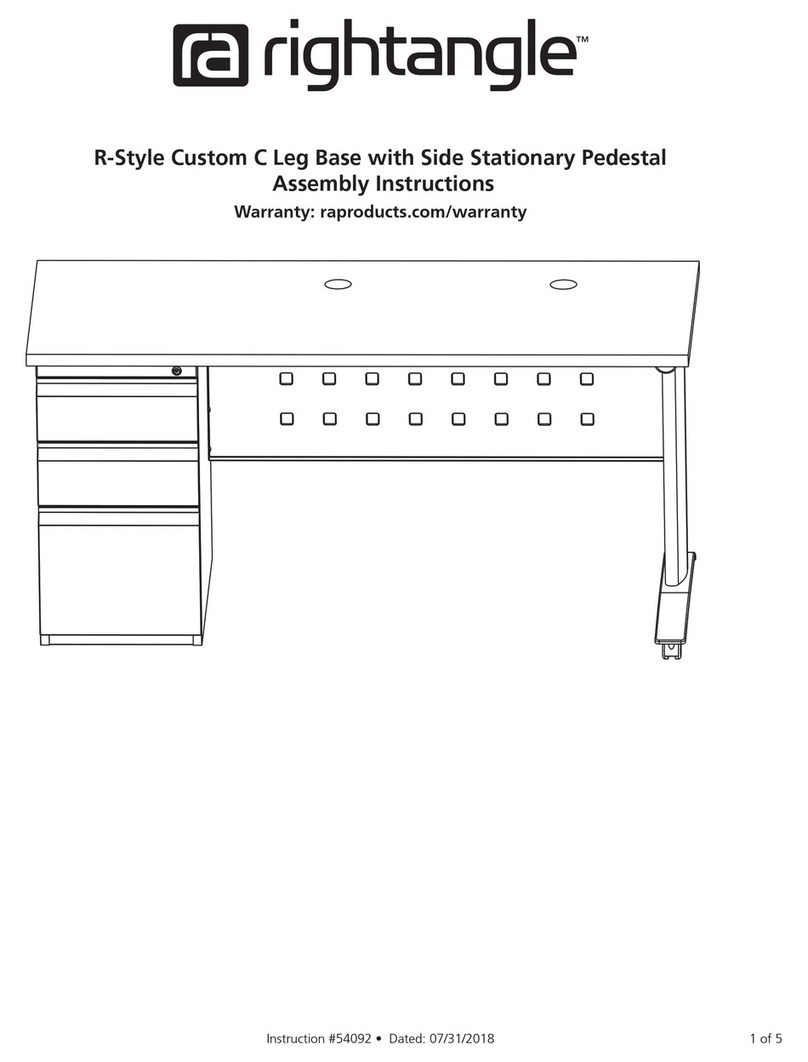
RIGHT ANGLE R-Style Custom C Leg Base with Side Stationary... User manual

RIGHT ANGLE

RIGHT ANGLE R-Style Custom C Leg Base with Side Stationary... User manual
RIGHT ANGLE NewHeights Presidente User manual
RIGHT ANGLE

RIGHT ANGLE NewHeights Presidente User manual

RIGHT ANGLE R-Style Tango User manual

RIGHT ANGLE

RIGHT ANGLE R-Style Tango User manual
RIGHT ANGLE R-Style Romeo Flip User manual
RIGHT ANGLE

RIGHT ANGLE R-Style Romeo Flip User manual

RIGHT ANGLE 48 HALF MOON ON R-STYLE User manual

RIGHT ANGLE

RIGHT ANGLE 48 HALF MOON ON R-STYLE User manual

RIGHT ANGLE NewHeights Fixed Conference Desk User manual

RIGHT ANGLE

RIGHT ANGLE NewHeights Fixed Conference Desk User manual

RIGHT ANGLE NewHeights Electric Height Adjustable... User manual

RIGHT ANGLE

RIGHT ANGLE NewHeights Electric Height Adjustable... User manual

RIGHT ANGLE R-STYLE 36USL User manual

RIGHT ANGLE

RIGHT ANGLE R-STYLE 36USL User manual

RIGHT ANGLE R-Style Corner Diagonal 50648 User manual

RIGHT ANGLE

RIGHT ANGLE R-Style Corner Diagonal 50648 User manual

Popular Indoor Furnishing manuals by other brands
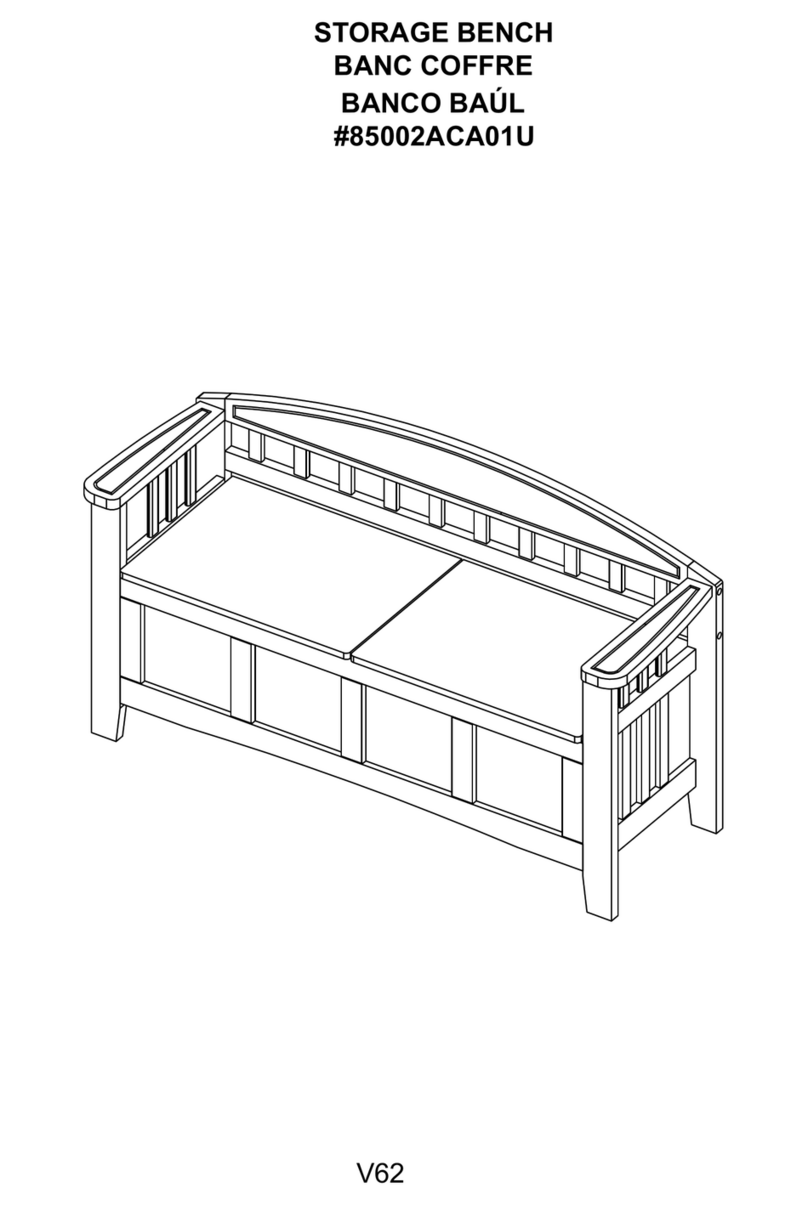
overstock 85002ACA01U quick start guide

overstock

overstock 85002ACA01U quick start guide

Furinno Gruen Assembly instructions

Furinno

Furinno Gruen Assembly instructions

Techni Mobili RTA-OT26 instruction manual

Techni Mobili

Techni Mobili RTA-OT26 instruction manual

Kings Brand Furniture ST7644 Assembly instructions

Kings Brand Furniture

Kings Brand Furniture ST7644 Assembly instructions

Hillsdale Furniture 6301-826 quick start guide
Hillsdale Furniture

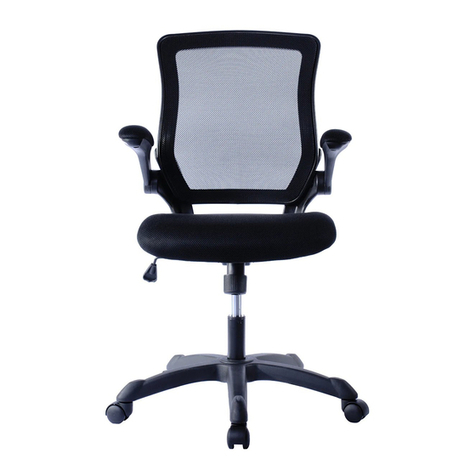
Hillsdale Furniture 6301-826 quick start guide

RTA Products TECHNI MOBILI RTA-8050 Assembly instructions

RTA Products

RTA Products TECHNI MOBILI RTA-8050 Assembly instructions

emmegi pulchra instructions

emmegi

emmegi pulchra instructions

Mayline XR Assembly instructions

Mayline

Mayline XR Assembly instructions

Baninni SALENTO BNBT023 manual

Baninni

Baninni SALENTO BNBT023 manual

Baxton Studio 6001-1S Assembly instructions

Baxton Studio

Baxton Studio 6001-1S Assembly instructions

Wholesale Beds Nevada 100-101-148-101 Assembly instructions
Wholesale Beds

Wholesale Beds Nevada 100-101-148-101 Assembly instructions
RIMIKING RIMI-2857 instruction manual

RIMIKING

RIMIKING RIMI-2857 instruction manual

RiverRidge 06-138 Assembly instructions

RiverRidge

RiverRidge 06-138 Assembly instructions
Pine Crafter Furniture 72 instructions

Pine Crafter Furniture

Pine Crafter Furniture 72 instructions

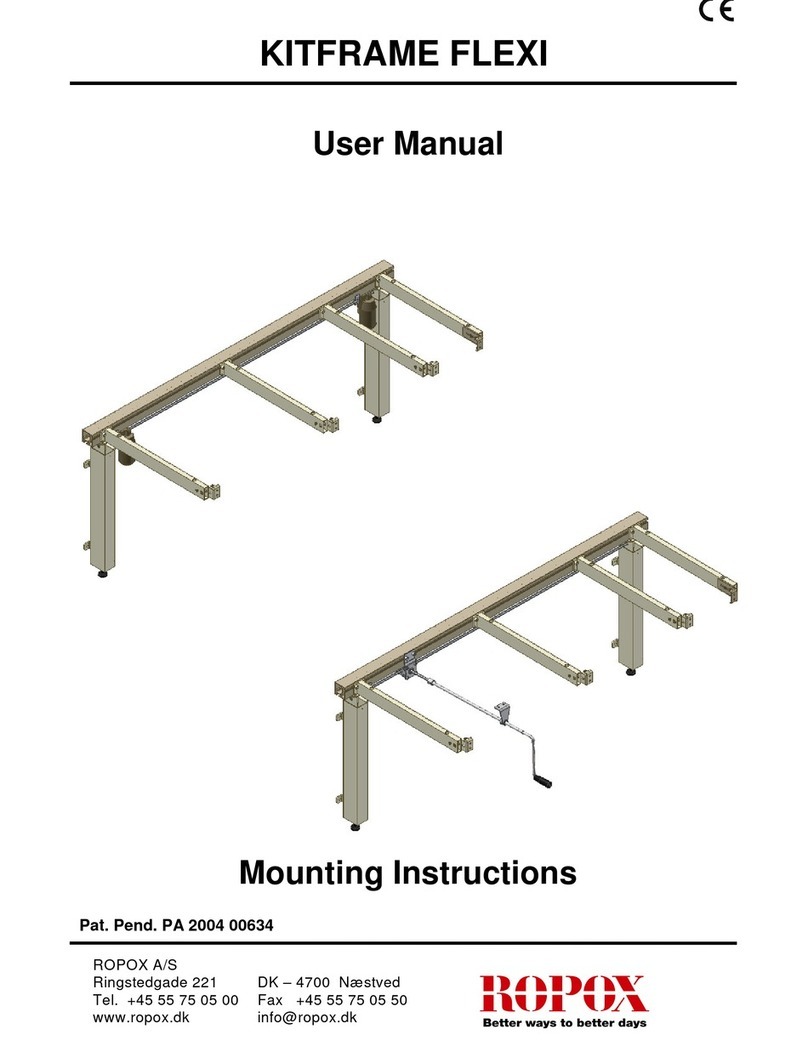
Ropox KitFrame Flexi user manual

Ropox

Ropox KitFrame Flexi user manual

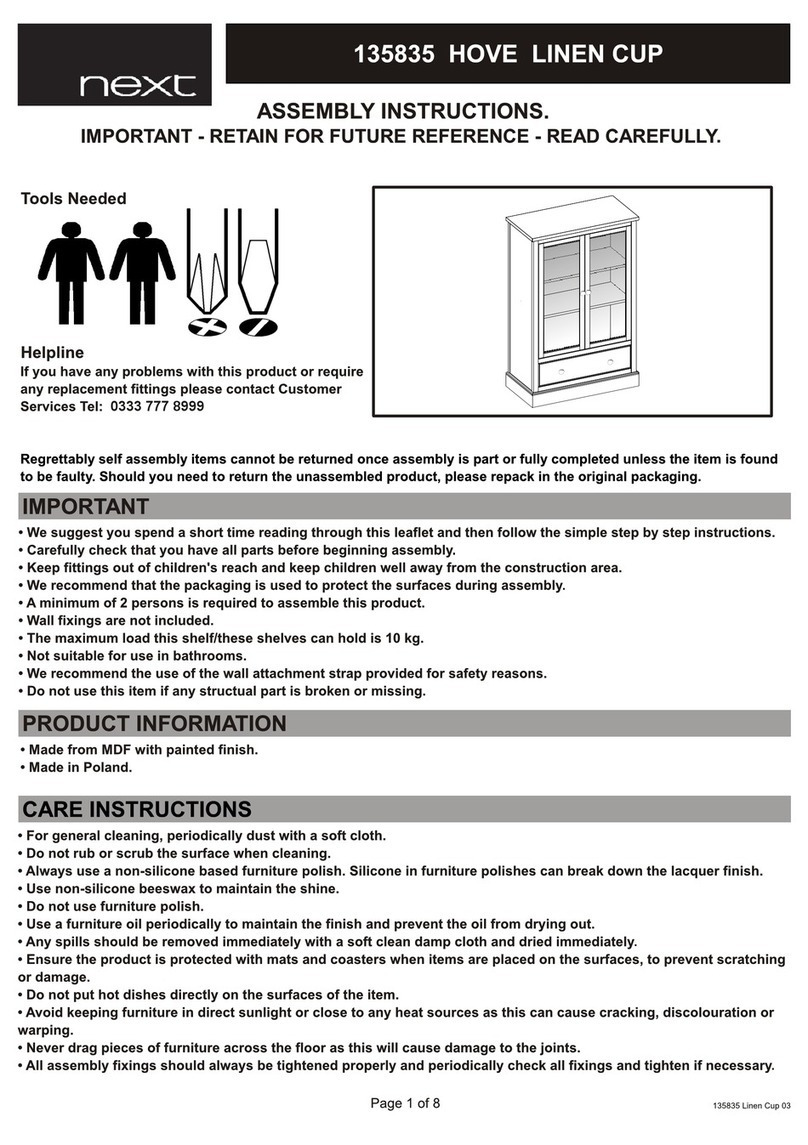
Next HOVE 135835 Assembly instructions

Next

Next HOVE 135835 Assembly instructions

INR VISKAN Grip 60 manual

INR

INR VISKAN Grip 60 manual

Rauch M2574 Assembly instructions

Rauch

Rauch M2574 Assembly instructions

manuals.online logo
manuals.online logoBrands
  • About & Mission
  • Contact us
  • Privacy Policy
  • Terms and Conditions

Copyright 2025 Manuals.Online. All Rights Reserved.