manuals.online logo
Brands
  1. Home
  2. •
  3. Brands
  4. •
  5. RIGHT ANGLE
  6. •
  7. Indoor Furnishing
  8. •
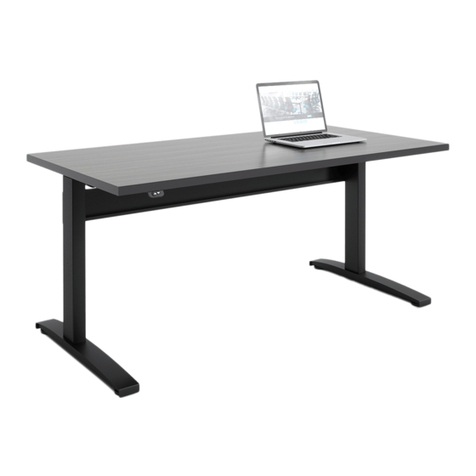
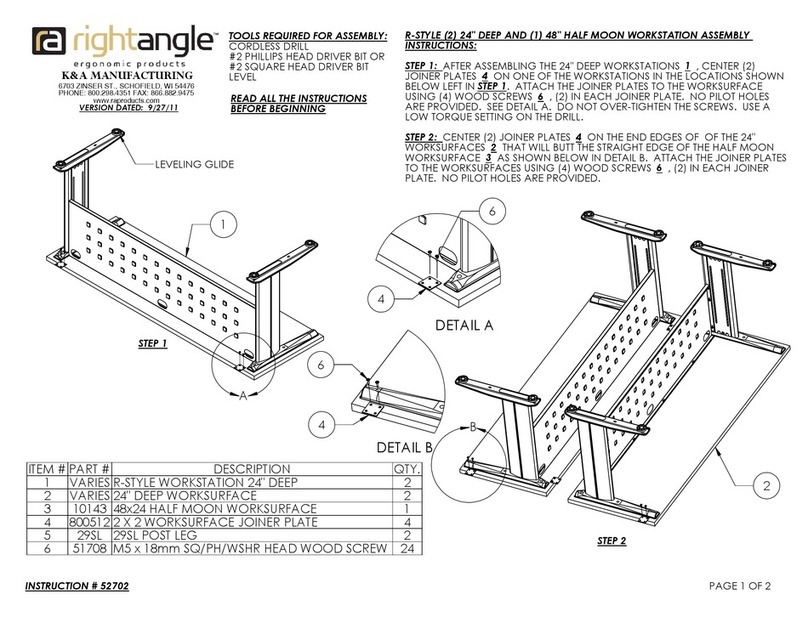
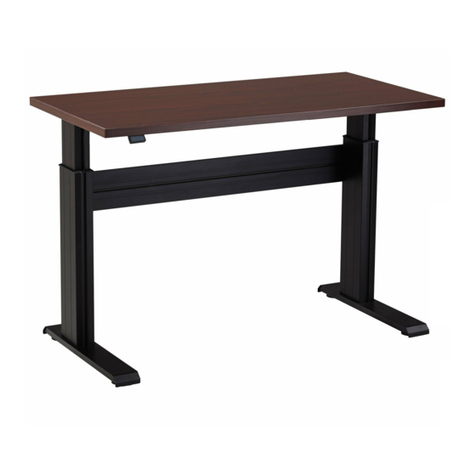
  9. RIGHT ANGLE NewHeights Electric Height Adjustable Conference... User manual

RIGHT ANGLE NewHeights Electric Height Adjustable Conference... User manual

STEPS 3-5
DETAIL A
4
7
A
6
8
5
7
PRE-INSTALLED
T-SLOT PLATE
DETAIL B
4.000
PAGE 1 OF 4
.
1
STEP 3:
SETTING ON THE DRILL.
. DO NOT OVER-TIGHTEN THE SCREWS. USE A LOW TORQUE
VERSION DATED: 12/3/12
PILOT HOLES IN THE WORKSURFACE
ALIGN THE HOLES IN THE WORKSURFACE SUPPORTS WITH THE
6
3
. INSERT THESE THROUGH
THE HOLES AT THE ENDS OF ONE OF THE CROSS SUPPORTS 7
HARDWARE PACK # 52883
. THREAD
THEM INTO THE HOLES IN THE T-SLOT PLATES THAT ARE PRE-INSTALLED IN
THE COLUMN ASSEM LIES 4
INSTRUCTION # 528 8
. SEE DETAIL .
STEP 4:
LEVEL
LEVEL THE CROSS SUPPORT AT 4" FROM THE OTTOM OF THE
WORKSURFACE SUPPORT. SEE DETAIL C. FULLY TIGHTEN THE SOCKET
SCREWS
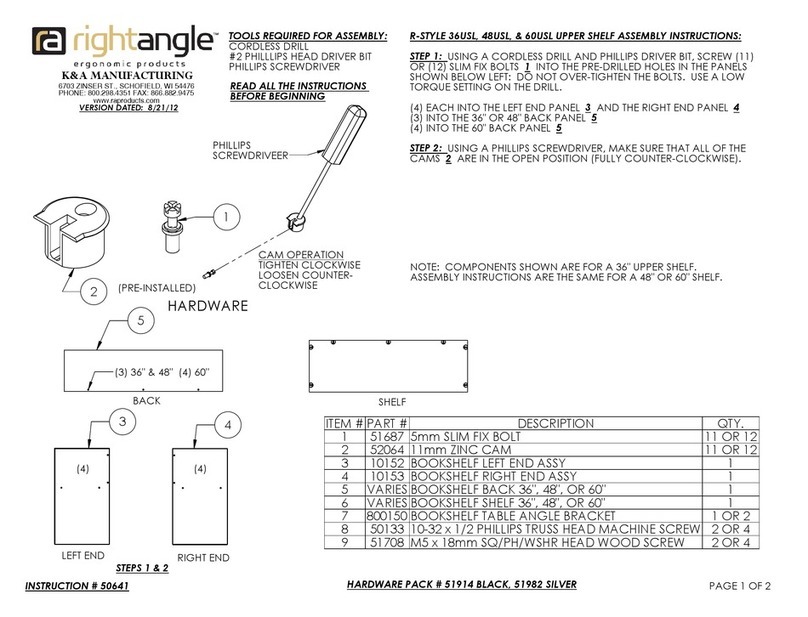
TOOLS REQUIRED FOR ASSEMBLY:
6 .
TAPE MEASURE
STEP 5: REPEAT STEPS 3 AND 4
ALLEN WRENCH PROVIDED
WITH THE REMAINING CROSS SUPPORT 7
AND THE OTHER COLUMNS ON THE COLUMN ASSEM LIES
4mm HEX HEAD DRIVER IT OR
4
DETAIL C
ON (4) SOCKET SCREWS
#2 SQUARE HEAD DRIVER IT
5
CORDLESS DRILL
STAR WASHERS
THE INSIDE OF THE TA LE. WITH THE HELP OF AN ASSISTANT, PLACE (4)
. THE MOTOR WIRES MUST FACE
#2 PHILLIPS HEAD DRIVER IT OR
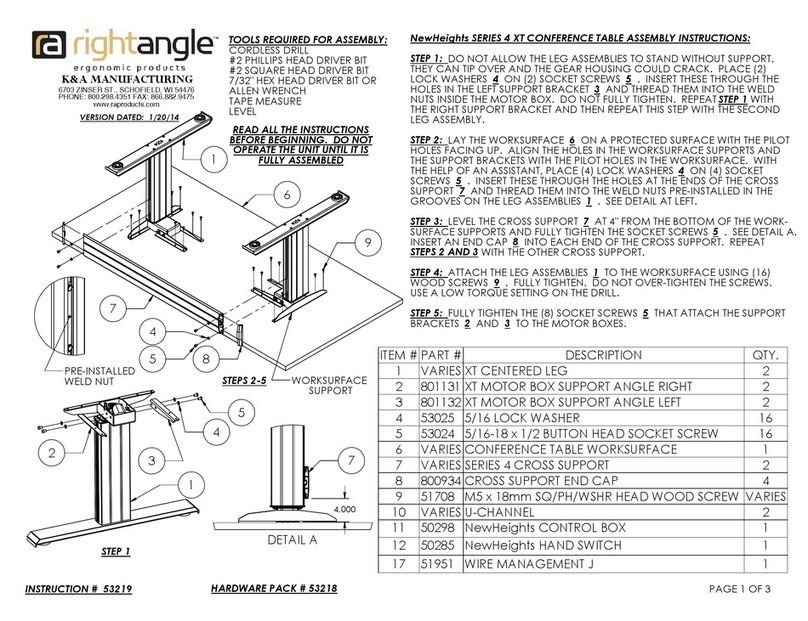
NewHeights™ ELECTRIC HEIGHT ADJUSTABLE CONFERENCE TABLE
ASSEMBLY INSTRUCTIONS:
STEP 1: LAY THE WORKSURFACE 1 ON A PROTECTED SURFACE WITH THE
PILOT HOLES FACING UP.
STEP 2 ALIGN THE HOLES IN THE U-CHANNELS 2 WITH THE PILOT HOLES IN
THE WORKSURFACE. ATTACH THE U-CHANNELS WITH (24) WOOD
SCREWS
ITEM # PART # DESCRIPTION QTY.
1 VARIES CONFERENCE TA LE WORKSURFACE 1
2 VARIES U-CHANNEL 2
3 51708 M5 x 18mm SQ/PH/WSHR HEAD WOOD SCREW 55
4 VARIES NewHeights DUAL COLUMN ASSEM LY 2
5 52477 3/8 INTERIOR TOOTH STAR WASHER 8
6 52470 3/8-16 x 3/8 UTTON HEAD SOCKET SCREW 8
7 VARIES NewHeights™ CROSS SUPPORT 2
8 800411 NewHeights™/HOVER END CAP 4
9 50298 NewHeights™ CONTROL OX 2
10 50285 NewHeights™ HAND SWITCH 1
11 52498 7/32" ALLEN WRENCH 1
6703 ZINSER ST., SCHOFIELD, WI 54476
PHONE: 800.298.4351 FAX: 866.882.9475
.raproducts.com
K&A MANUFACTURING
2
STEPS 1 & 2
3
1
READ ALL THE INSTRUCTIONS
BEFORE BEGINNING. DO NOT
OPERATE THE UNIT UNTIL IT IS
FULLY ASSEMBLED.
PAGE 2 OF 4
STEP 6: ATTACH THE WORKSURFACE SUPPORTS ON THE COLUMN ASSEM LIES
4 TO THE WORKSURFACE 1 USING
(24) WOOD SCREWS 3 . DO NOT OVER-TIGHTEN THE SCREWS. USE A LOW TORQUE SETTING ON THE DRILL.
STEP 7: ALIGN THE HOLES IN ONE OF THE CONTROL OXES WITH THE PILOT HOLES IN THE WORKSURFACE 1 .
THE MULTIPLE CONNECTOR PORTS MUST FACE THE COLUMN ASSEM LIES
4 .ATTACH IT WITH (2) WOOD SCREWS 3 .
REPEAT THIS STEP WITH THE OTHER CONTROL OX.
STEP 8: ALIGN THE HOLES IN THE HAND SWITCH 10 WITH THE PILOT HOLES IN THE WORKSURFACE 1 . ATTACH IT
WITH (2) WOOD SCREWS 3 .
STEP : ATTACH THE WIRE MANAGEMENT J 11 TO THE WORKSURFACE 1 USING (1) WOOD SCREW 3 . NO PILOT
HOLE IS PROVIDED FOR THE WIRE MANAGEMENT J.
6703 ZINSER ST., SCHOFIELD, WI 54476
PHONE: 800.298.4351 FAX: 866.882.9475
.raproducts.com
VERSION DATED: 12/3/12
K&A MANUFACTURING
1
4
3
WORKSURFACE SUPPORT
11
STEP 6
3
STEPS 7-
9
3
10
3
3
CROSS SUPPORTS NOT SHOWN ON
THIS VIEW SO OTHER COMPONENTS
ARE VISI LE.
HS
PAGE 3 OF 4
STEP 10: RUN THE WIRES AS SHOWN IN THE WIRE RUNS DIAGRAM ELOW. PLUG THE WIRES INTO THE
RECEPTACLES ON THE CONTROL OXES AS SHOWN IN THE CONTROL OX WIRING DIAGRAM ELOW LEFT.
RUN THE SYNCH WIRE ETWEEN THE CONTROL OXES AND PLUG IT INTO THE TOPS OF THE CONTROL
OXES.
STEP 11: WITH THE HELP OF AN ASSISTANT, SET THE TA LE UPRIGHT IN ITS FINAL POSITION. LEVEL THE
TA LE IF REQUIRED Y TURNING THE LEVELING GLIDES CLOCKWISE (FROM THE TOP) ON THE LOW
CORNERS OF THE UNIT. IF YOUR TA LE HAS CASTERS, TURN THE OLTS AT THE TOPS OF THE CASTERS
TO LEVEL THE UNIT.
6703 ZINSER ST., SCHOFIELD, WI 54476
PHONE: 800.298.4351 FAX: 866.882.9475
.raproducts.com
VERSION DATED: 12/3/12
K&A MANUFACTURING
110 VOLT POWER SUPPLY
(OR CASTER)
M1
M2
MOTOR
(NOT INCLUDED)
M3
HAND
SWITCH
WIRE
HAND
SWITCH
SWITCH
WIRE
MOTOR
WIRE
MOTOR
WIRE
MOTOR
WIRE
MOTOR
WIRE
WIRE
HAND SYNCH
WIRE
110 VOLT
POWER POWER
CORD
MOTOR
WIRE
MOTOR
WIRE
MOTOR
WIRE
CORD
FROM CONTROL OXES
WIRE
110 VOLT
SUPPLY (NOT
INCLUDED)
WIRE RUNS DIAGRAM
110 VOLT POWER CORDS
POWER STRIP &
110 VOLT
LEVELING GLIDE
CROSS SUPPORTS NOT SHOWN ON
THIS VIEW SO OTHER COMPONENTS
ARE VISI LE.
MOTOR WIRE
MOTOR WIREOX ONLY
ON FRONT CONTROL
HAND SWITCH WIRE
CONTROL OX
WIRIING DIAGRAM
PAGE 4 OF 4
NewHeights™ ELECTRIC HEIGHT ADJUSTABLE CONFERENCE TABLE OPERATION
INSTRUCTIONS:
CAUTION! TO PREVENT PINCHING OR COLLISION, MAKE SURE THAT YOU, YOUR FINGERS,
AND OTHER OBJECTS ARE AT LEAST 3/4" FROM THE TABLE'S EDGES AND TRAVEL PATH.
STARTUP/RESET PROCEDURE:
PLUG THE POWER CORDS FROM THE CONTROL OXES INTO (2) STANDARD 110 VOLT
RECEPTACLES. A POWER SURGE PROTECTOR IS RECOMMENDED.
THE NewHeights™ WORKSTATION IS NOW READY FOR USE.
TROUBLESHOOTING
IF YOU ARE HAVING ANY PRO LEMS WITH THE TA LE OPERATION, CONTACT RIGHTANGLE™
SERVICE AT 800-298-4351 OR o[email protected].
WARRANTY INFORMATION:
NewHeights™ PRODUCTS ARE WARRANTED TO E FREE OF DEFECTS DUE TO
MANUFACTURING OR MATERIALS AS FOLLOWS: 2 YEARS ON THE GEAR AND/OR MOTOR,
INCLUDING THE CONTROL OX AND HAND SWITCH. 5 YEARS ON THE SUPPORT RACKETS,
ALUMINUM COLUMNS AND FEET. WE WILL REPLACE ANY DEFECTIVE PART AFTER
INSPECTION Y AN AUTHORIZED AGENT. COSTS INCURRED DUE TO PRODUCT
REPLACEMENT SUCH AS INSTALLATION, LA OR CHARGES OR TRANSPORTATION ARE NOT
COVERED UNDER THIS WARRANTY. WHEN CORRESPONDING WITH RIGHTANGLE™
PRODUCTS, RECORD AND PROVIDE THE MODEL AND SERIAL NUM ERS LOCATED ON THE
ACK PORTION OF THE RIGHT HAND COLUMN ASSEM LY. SEE THE DETAIL ELOW.
SPECIAL NOTE: DO NOT USE ANY A RASIVE CLEANERS ON THIS UNIT.
6703 ZINSER ST., SCHOFIELD, WI 54476
PHONE: 800.298.4351 FAX: 866.882.9475
Monday−Friday 8:00 AM to 4:30 PM (Central)
.raproducts.com
VERSION DATED: 12/3/12
K&A MANUFACTURING
SERIAL AND MODEL
NUM ERS ON
STICKERS
BACK OF RIGHT HAND COLUMN ASSEMBLY

Other RIGHT ANGLE Indoor Furnishing manuals
RIGHT ANGLE 4 Vuelta Series User manual

RIGHT ANGLE

RIGHT ANGLE 4 Vuelta Series User manual

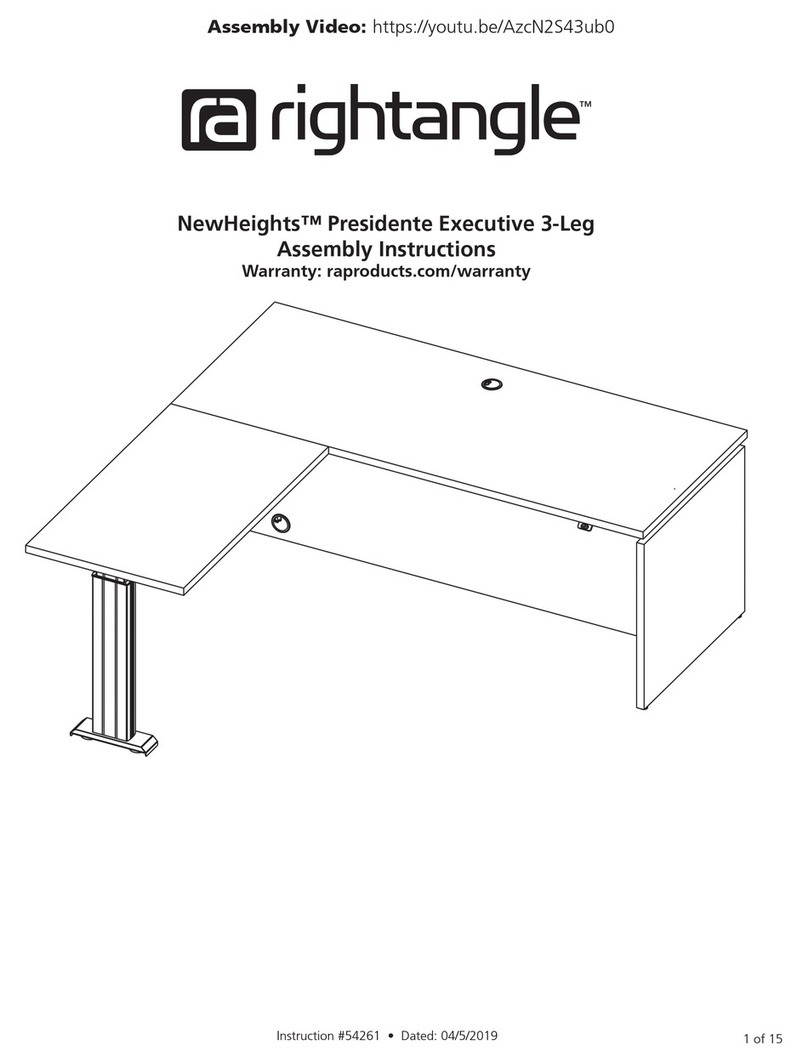
RIGHT ANGLE NewHeights Presidente User manual

RIGHT ANGLE

RIGHT ANGLE NewHeights Presidente User manual

RIGHT ANGLE 52431 User manual

RIGHT ANGLE

RIGHT ANGLE 52431 User manual

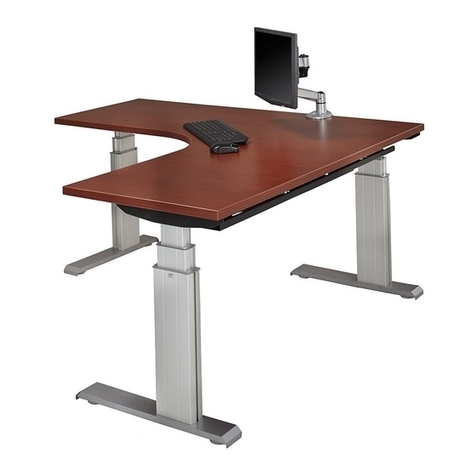
RIGHT ANGLE NewHeights Series User manual

RIGHT ANGLE

RIGHT ANGLE NewHeights Series User manual

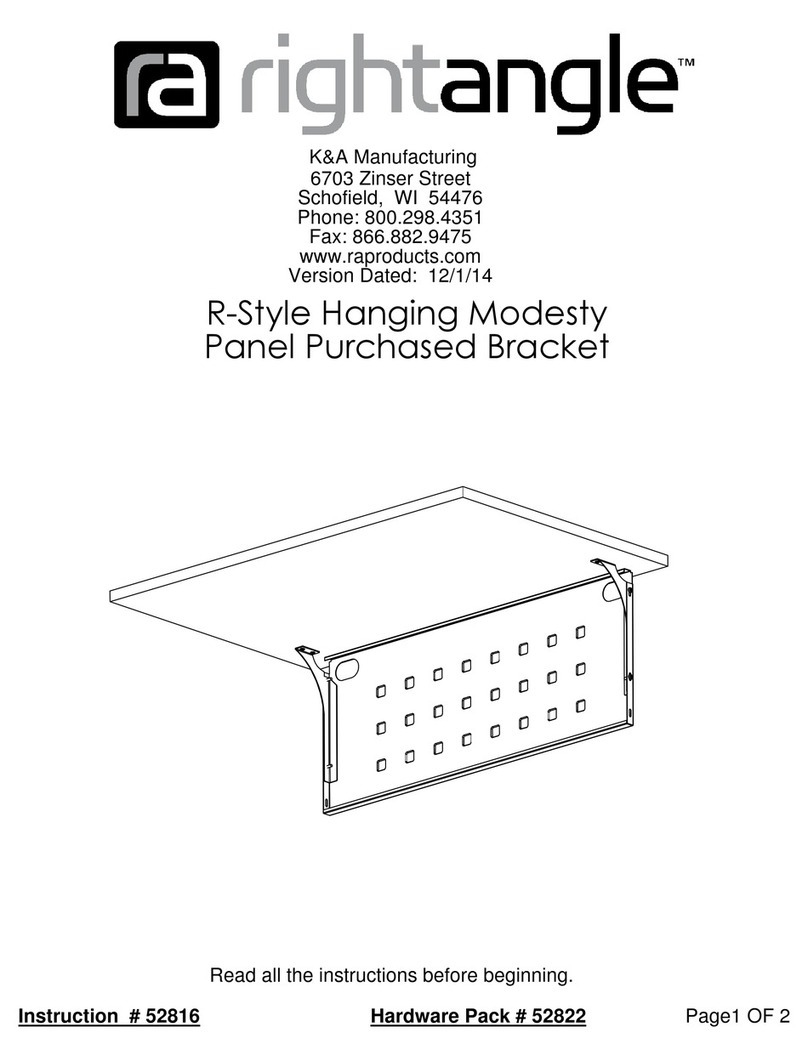
RIGHT ANGLE R-Style 52822 User manual

RIGHT ANGLE

RIGHT ANGLE R-Style 52822 User manual

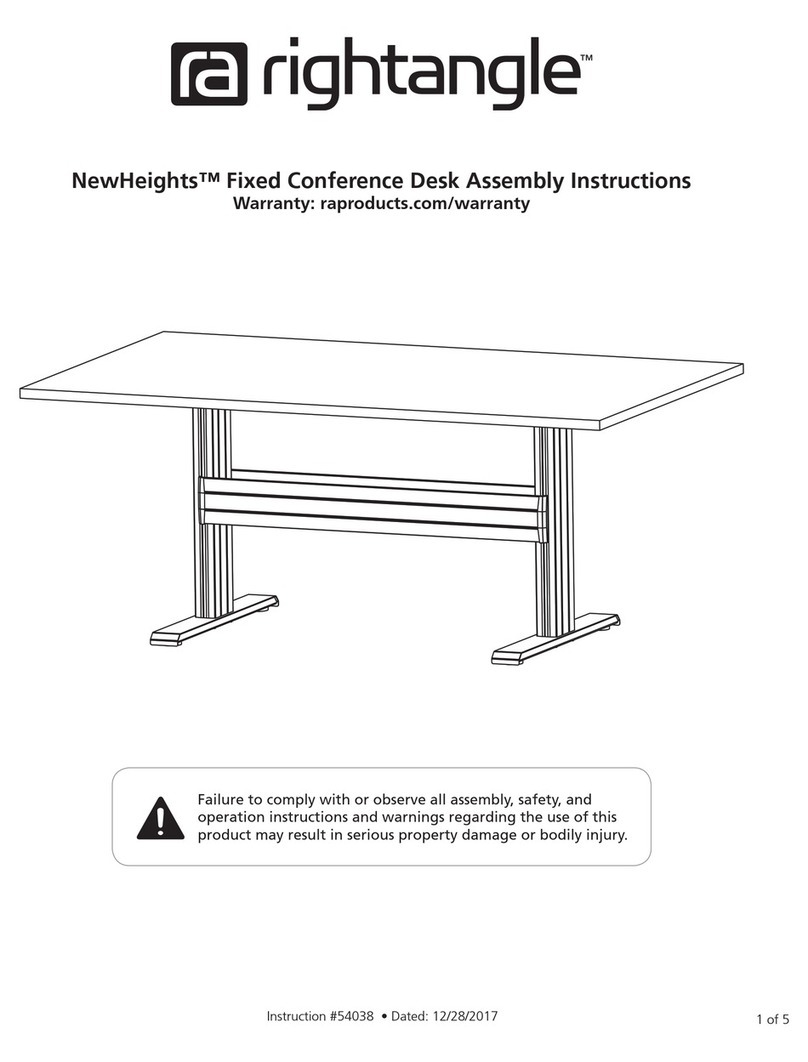
RIGHT ANGLE NewHeights Fixed Conference Desk User manual

RIGHT ANGLE

RIGHT ANGLE NewHeights Fixed Conference Desk User manual

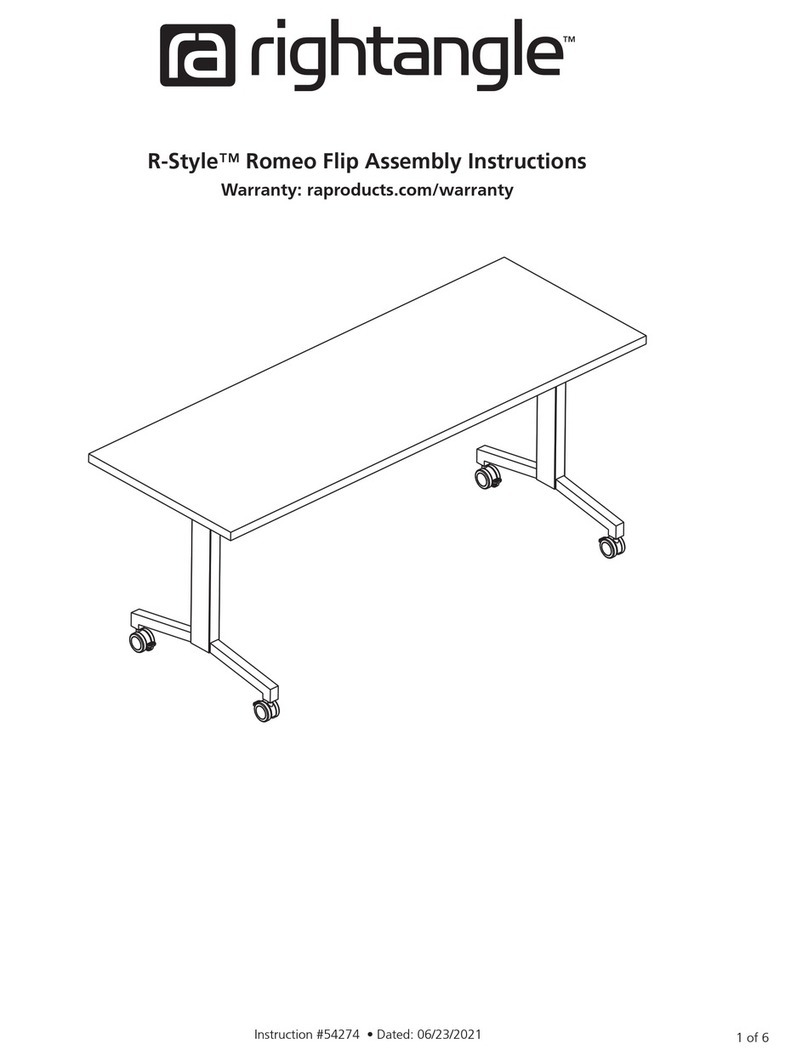
RIGHT ANGLE R-Style Romeo Flip User manual

RIGHT ANGLE

RIGHT ANGLE R-Style Romeo Flip User manual

RIGHT ANGLE NewHeights Gas Lift Adjustable SkateDesk User manual

RIGHT ANGLE

RIGHT ANGLE NewHeights Gas Lift Adjustable SkateDesk User manual

RIGHT ANGLE R-Style Modesty Panel User manual

RIGHT ANGLE

RIGHT ANGLE R-Style Modesty Panel User manual

RIGHT ANGLE R-STYLE Series User manual

RIGHT ANGLE

RIGHT ANGLE R-STYLE Series User manual

RIGHT ANGLE R-Style Beam User manual

RIGHT ANGLE

RIGHT ANGLE R-Style Beam User manual

RIGHT ANGLE NewHeights 4 LT Series User manual

RIGHT ANGLE

RIGHT ANGLE NewHeights 4 LT Series User manual

RIGHT ANGLE R-Style T-Base Table User manual

RIGHT ANGLE

RIGHT ANGLE R-Style T-Base Table User manual

RIGHT ANGLE 48 HALF MOON ON R-STYLE User manual

RIGHT ANGLE

RIGHT ANGLE 48 HALF MOON ON R-STYLE User manual

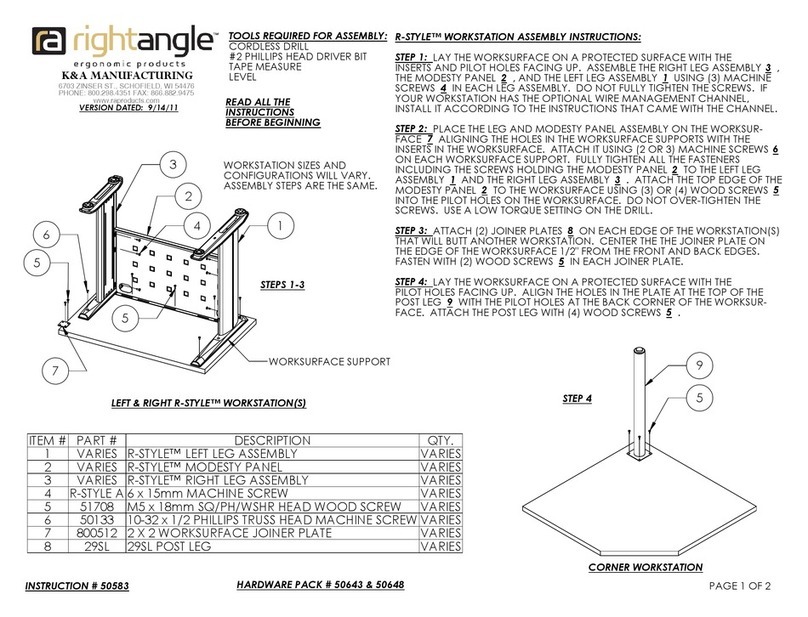
RIGHT ANGLE R-STYLE WORKSTATION 50643 User manual

RIGHT ANGLE

RIGHT ANGLE R-STYLE WORKSTATION 50643 User manual

RIGHT ANGLE Eficiente LT Parts list manual

RIGHT ANGLE

RIGHT ANGLE Eficiente LT Parts list manual

RIGHT ANGLE R-Style Corner Diagonal 50648 User manual

RIGHT ANGLE

RIGHT ANGLE R-Style Corner Diagonal 50648 User manual

RIGHT ANGLE NewHeight 4 Series User manual

RIGHT ANGLE

RIGHT ANGLE NewHeight 4 Series User manual

RIGHT ANGLE NewHeights Series User manual

RIGHT ANGLE

RIGHT ANGLE NewHeights Series User manual

RIGHT ANGLE NewHeights Laminate Footshelf User manual

RIGHT ANGLE

RIGHT ANGLE NewHeights Laminate Footshelf User manual

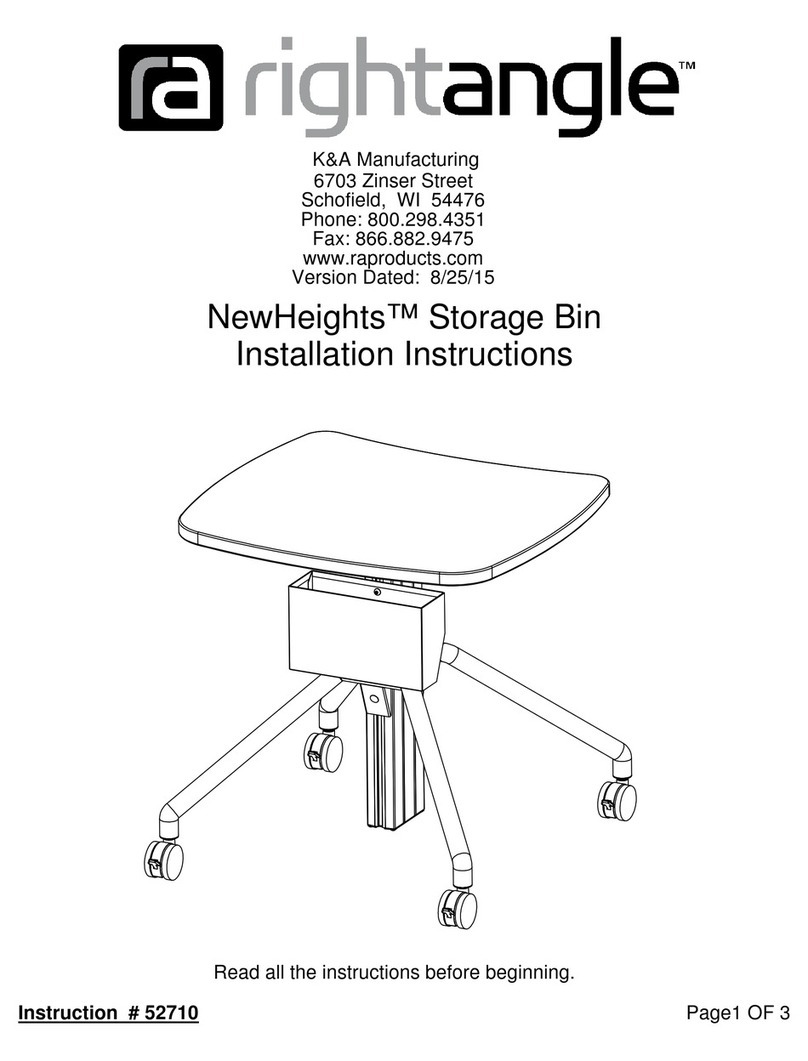
RIGHT ANGLE NewHeights Storage Bin User manual

RIGHT ANGLE

RIGHT ANGLE NewHeights Storage Bin User manual

RIGHT ANGLE NewHeights 4 XT Series Parts list manual

RIGHT ANGLE

RIGHT ANGLE NewHeights 4 XT Series Parts list manual

RIGHT ANGLE 53451 User manual

RIGHT ANGLE

RIGHT ANGLE 53451 User manual
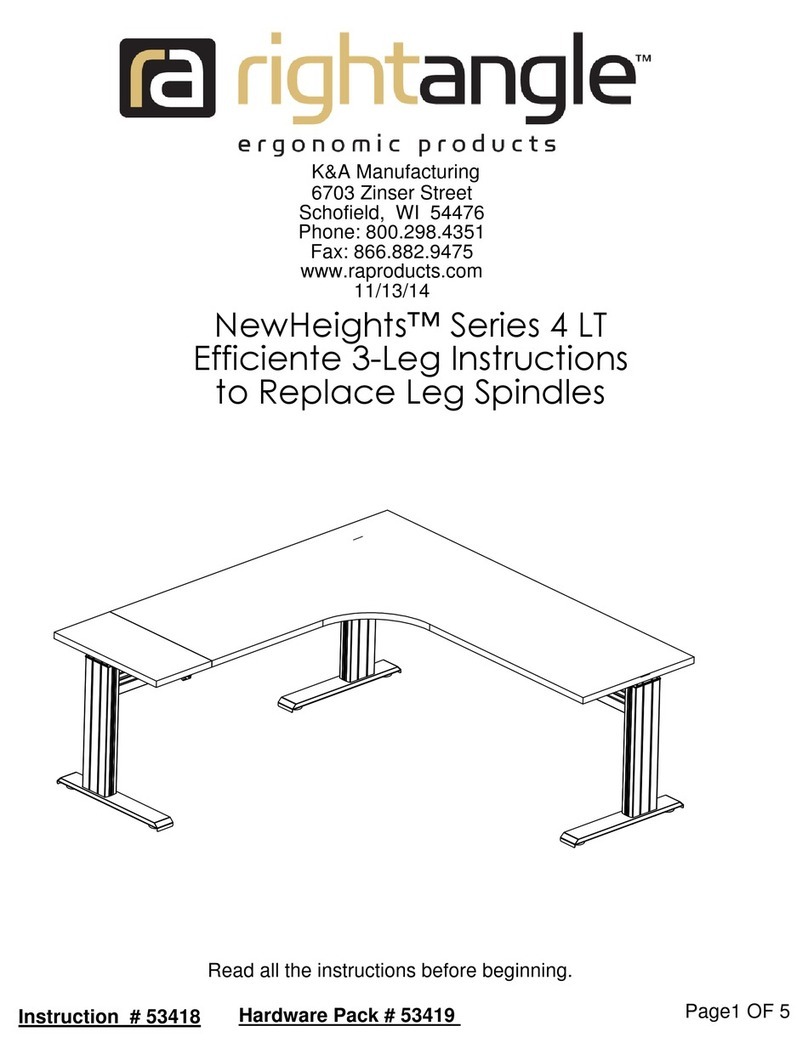
RIGHT ANGLE NewHeights 4 NZP Series User manual

RIGHT ANGLE

RIGHT ANGLE NewHeights 4 NZP Series User manual

Popular Indoor Furnishing manuals by other brands

Regency LWMS3015 Assembly instructions

Regency

Regency LWMS3015 Assembly instructions

Furniture of America CM7751C Assembly instructions

Furniture of America

Furniture of America CM7751C Assembly instructions

Safavieh Furniture Estella CNS5731 manual

Safavieh Furniture

Safavieh Furniture Estella CNS5731 manual

PLACES OF STYLE Ovalfuss Assembly instruction

PLACES OF STYLE

PLACES OF STYLE Ovalfuss Assembly instruction

Trasman 1138 Bo1 Assembly manual

Trasman

Trasman 1138 Bo1 Assembly manual

Costway JV10856 manual

Costway

Costway JV10856 manual
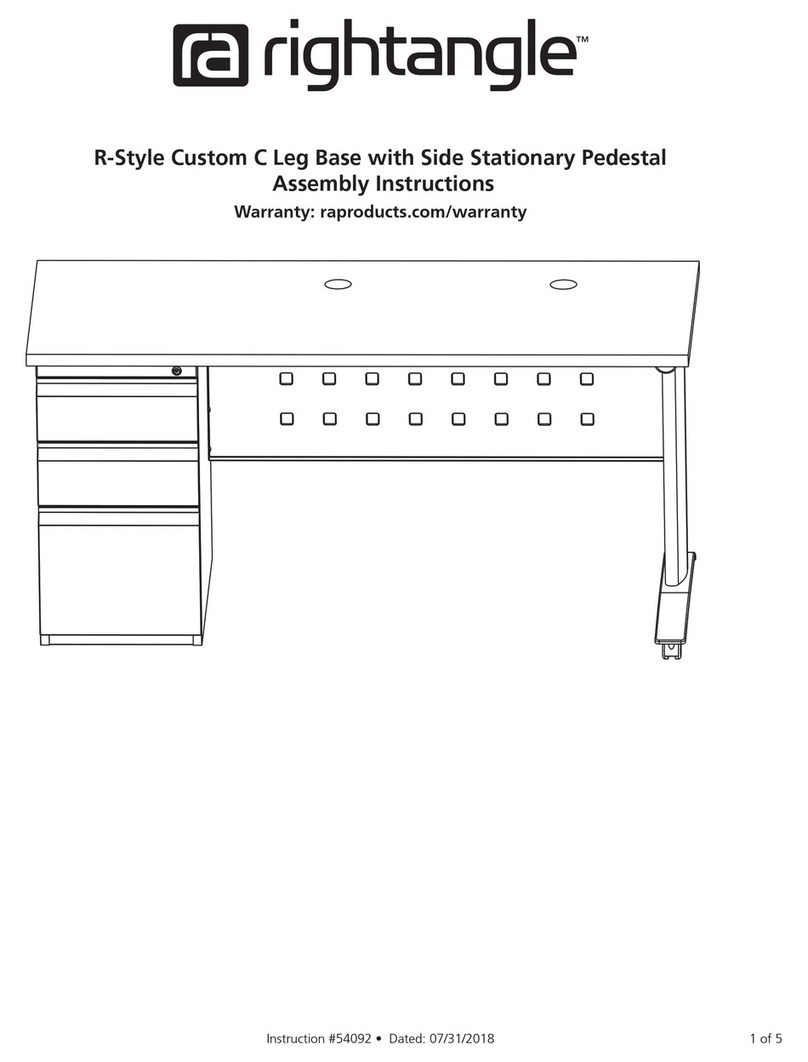
moss DESIGN Caisson Credenza Assembly instructions

moss DESIGN

moss DESIGN Caisson Credenza Assembly instructions

Aquaglide FULL DECK 15.0 owner's manual

Aquaglide

Aquaglide FULL DECK 15.0 owner's manual

AREBOS AR-HE-SW30 user manual

AREBOS

AREBOS AR-HE-SW30 user manual

Till-Hilft Fulda 87005.330 Assembly instructions

Till-Hilft

Till-Hilft Fulda 87005.330 Assembly instructions

Twoey Outside 2010 quick start guide

Twoey Outside

Twoey Outside 2010 quick start guide

Hettich Easys 200 operating instructions

Hettich

Hettich Easys 200 operating instructions

The bedboss RELAX 404 Series owner's manual

The bedboss

The bedboss RELAX 404 Series owner's manual

Oeseder Möbelindustrie Bern 991 720 Assembly instructions

Oeseder Möbelindustrie

Oeseder Möbelindustrie Bern 991 720 Assembly instructions

Costway HW68469 user manual

Costway

Costway HW68469 user manual

Next ALIX A27743 Assembly instructions

Next

Next ALIX A27743 Assembly instructions

BROSA Hans Assembly guide

BROSA

BROSA Hans Assembly guide

Prodigg MINIKA PBA015T-FUR installation manual

Prodigg

Prodigg MINIKA PBA015T-FUR installation manual

manuals.online logo
manuals.online logoBrands
  • About & Mission
  • Contact us
  • Privacy Policy
  • Terms and Conditions

Copyright 2025 Manuals.Online. All Rights Reserved.