manuals.online logo
Brands
  1. Home
  2. •
  3. Brands
  4. •
  5. RIGHT ANGLE
  6. •
  7. Indoor Furnishing
  8. •
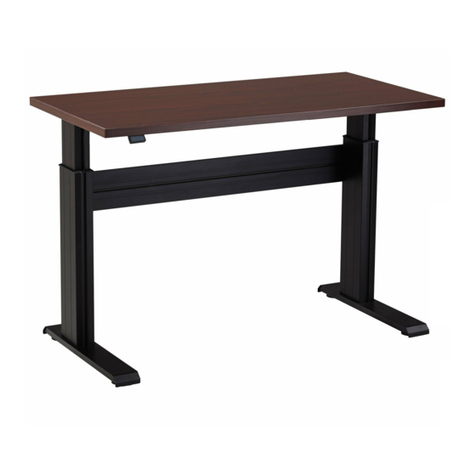
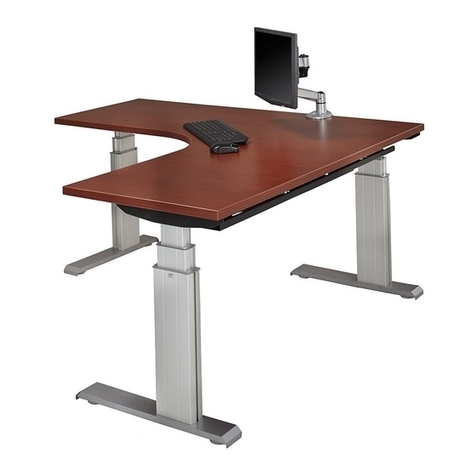
  9. RIGHT ANGLE NewHeights Series User manual

RIGHT ANGLE NewHeights Series User manual

Hardware Pack # 53419
K&A Manufacturing
Read all the instructions before beginning.
Instruction # 53418
www.raproducts.com
Page1 OF 5
11/13/14
Fax: 866.882.9475
6703 Zinser Street
Schofield, WI 54476
Phone: 800.298.4351
NewHeights™ Series 4 LT
Efficiente 3-Leg Instructions
to Replace Leg Spindles
6703 Zinser Street Schofield, WI 54476
Reference the assembly instructions that came with the workstation and
Page 2 OF 5
Right Leg
disassemble the cross supports in reverse order. Remove the legs.
K&A Manufacturing
Fax: 866.882.9475
www.raproducts.com
Left Leg
Phone: 800.298.4351
Your workstation will have (2) left legs and (1) right leg. Below shows how to
identify which legs are left or right. After replacing the spindles, make sure to
reassemble the workstation as it was originally.
Instruction # 53418
Front
Note: Hole for hex
drive faces inside
of table.
Front
Note: Hole for hex
drive faces inside
of table.
Page 3 OF 5
K&A Manufacturing
6703 Zinser Street Schofield, WI 54476
Phone: 800.298.4351
Fax: 866.882.9475
www.raproducts.com
Step 1: Unplug the power cord for the control box.
Lay the leg assembly 1on its side on a protected
surface. Remove (4) socket screws 2and (4)
washers 3holding the foot 5onto the bottom of
the column. Remove (2) plastite screws 4holding
the foot onto the spindle 6. Remove the foot and
set it aside for reattachment later.
Do not remove the spindle at this time. Do not
pull apart the outer and inner column extrusions
or allow them to fall apart.
ITEM PART DESCRIPTION QTY.
1 Varies LT Column Assembly 1
2 50906 1/4-20 X 3/4 Button Head Socket Screw 8
3 52490 M6 External Tooth Lock Washer 8
4 Varies 16mm or 25mm (Caster Foot) Plastite Screw 2
5 Varies NewHeights Foot Assembly 1
6 Varies LT WSS & Spindle Assembly 1
7 53014 1/4-20 Hex Nut 2
8 53012 1/4-20 x 7/16 Socket Head Cap Screw 2
9 53013 1/4" Split Lock Washer 2
10 53060 8-32x 1-1/4 Socket Cap Screw 2
11 50267 8-32 Serrrated Flange Lock Nut 2
Instruction # 53418
2
3
procedure is the same.
4
Your workstation may
have caster feet. The
Bottom End of Leg Assembly
1
5
www.raproducts.com
Fax: 866.882.9475
K&A Manufacturing
Page 4 OF 5
6703 Zinser Street Schofield, WI 54476
Phone: 800.298.4351
Instruction # 53418
Left Leg Assembly Right Leg Assembly
R
L
that the correct colored part of the spindle is showing through the hex drive hole.
When looking
into the hex
drive hole, you
should see the
black part of
the spindle.
Critical assembly information ! Before disassembly and after reassembly check
Left Leg Assembly
When looking
into the hex
drive hole, you
should see the
orange part of
the spindle.
Right Leg Assembly
10
Instruction # 53418
9
2
3
8
11
6
7
K&A Manufacturing
6703 Zinser Street Schofield, WI 54476
Page 5 OF 5
Phone: 800.298.4351
Fax: 866.882.9475
www.raproducts.com
Step 2: Remove (4) socket screws 2and (4) lock
washers 3holding the worksurface support and
spindle assembly 6onto the top of the inner extrusion.
Remove the worksurface support and spindle from the
column.
Step 3: Remove the (2) socket screws 8, the lock
washers 9and the hex nuts 7holding the work-
surface support to the spindle. Remove the ((2)
socket screws 10 and the (2) lock nuts 11 holding the
spindle head to the bracket on the worksurface support.
Remove the spindle from the worksurface support and
set it aside.
Step 4: Attach the new spindle to the worksurface
support in reverse order of disassembly.
Important Note: Left and right spindles need to be
attached differently. The left leg assembly must have
the spindle attached to the bracket with the orange
side of the spindle head facing the bracket. The
black side of the spindle head must face the hex drive
hole at the top of the inner column.
The right leg assembly must have the spindle attached
to the bracket with the black side of the spindle head
facing the bracket. The orange side of the spindle head
must face the hex drive hole at the top of the inner
column.
Step 5: Reassemble the column in the reverse order
of disassembly.
Step 6: Follow this procedure with the other (2) leg
assemblies. Reassemble the workstation in the
reverse order of disassembly.
Reset Procedure and Troubleshooting: Plug the
control box in and check all the cord connections to
the leg assemblies, the control box, and the hand
switch. Press both arrows on the hand switch. The
leg assemblies will lower to their lowest point. The
control box will reset and beep once. The workstation
is now ready for use. Repeat this procedure any time
the workstation stops working or gets stuck in any
position.
If the leg assemblies are at uneven heights it is usually
caused by an improperly installed hex rod. Disassemble
one of the legs that point in the same direction and
make sure both ends or the hex rod are properly
engaged in the hex drives near the tops of the leg
assemblies.

Other manuals for NewHeights Series

3

Other RIGHT ANGLE Indoor Furnishing manuals
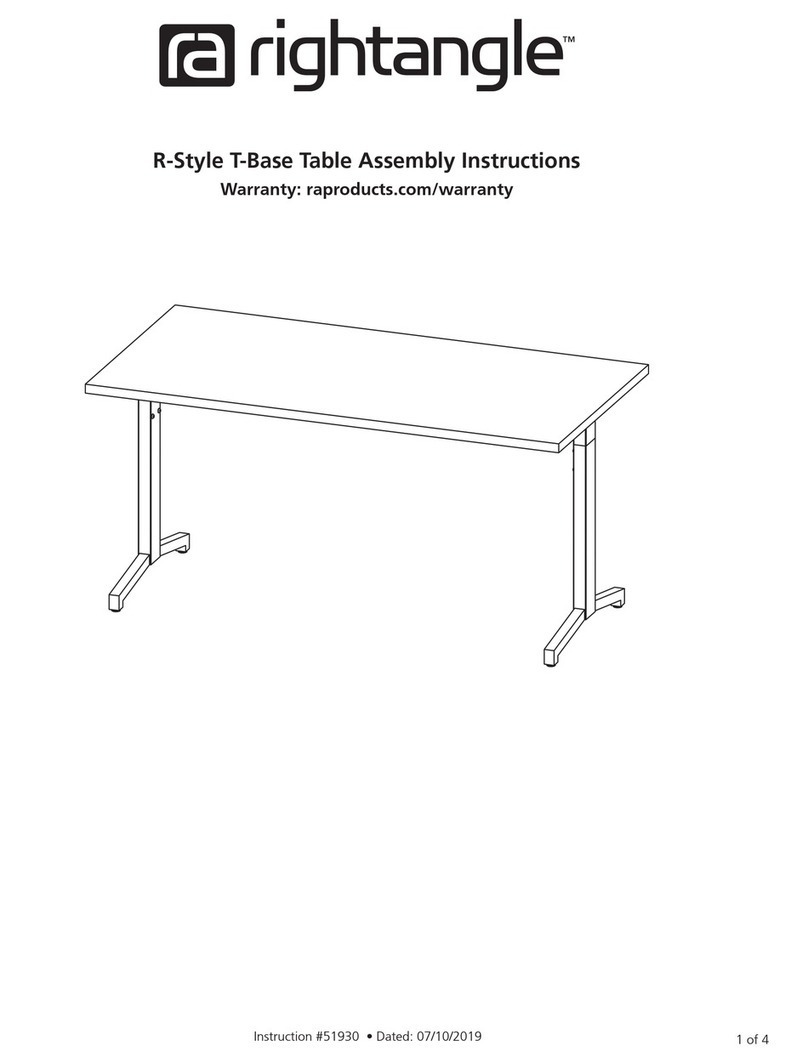
RIGHT ANGLE Hover Helium Junior User manual

RIGHT ANGLE

RIGHT ANGLE Hover Helium Junior User manual

RIGHT ANGLE R-Style Romeo Flip User manual

RIGHT ANGLE

RIGHT ANGLE R-Style Romeo Flip User manual

RIGHT ANGLE R-STYLE WORKSTATION 50643 User manual

RIGHT ANGLE

RIGHT ANGLE R-STYLE WORKSTATION 50643 User manual

RIGHT ANGLE R-Style Tango User manual

RIGHT ANGLE

RIGHT ANGLE R-Style Tango User manual

RIGHT ANGLE HSAP User manual

RIGHT ANGLE

RIGHT ANGLE HSAP User manual

RIGHT ANGLE NewHeights 4 XT Series User manual

RIGHT ANGLE

RIGHT ANGLE NewHeights 4 XT Series User manual

RIGHT ANGLE Eficiente LT Parts list manual

RIGHT ANGLE

RIGHT ANGLE Eficiente LT Parts list manual

RIGHT ANGLE 310CPU User manual

RIGHT ANGLE

RIGHT ANGLE 310CPU User manual

RIGHT ANGLE 4 Vuelta Series User manual

RIGHT ANGLE

RIGHT ANGLE 4 Vuelta Series User manual

RIGHT ANGLE NewHeights 4 NZP Series User manual

RIGHT ANGLE

RIGHT ANGLE NewHeights 4 NZP Series User manual

RIGHT ANGLE NewHeights Storage Bin User manual

RIGHT ANGLE

RIGHT ANGLE NewHeights Storage Bin User manual

RIGHT ANGLE NewHeights 4 Series User manual

RIGHT ANGLE

RIGHT ANGLE NewHeights 4 Series User manual

RIGHT ANGLE NewHeights Gas Lift Adjustable SkateDesk User manual

RIGHT ANGLE

RIGHT ANGLE NewHeights Gas Lift Adjustable SkateDesk User manual

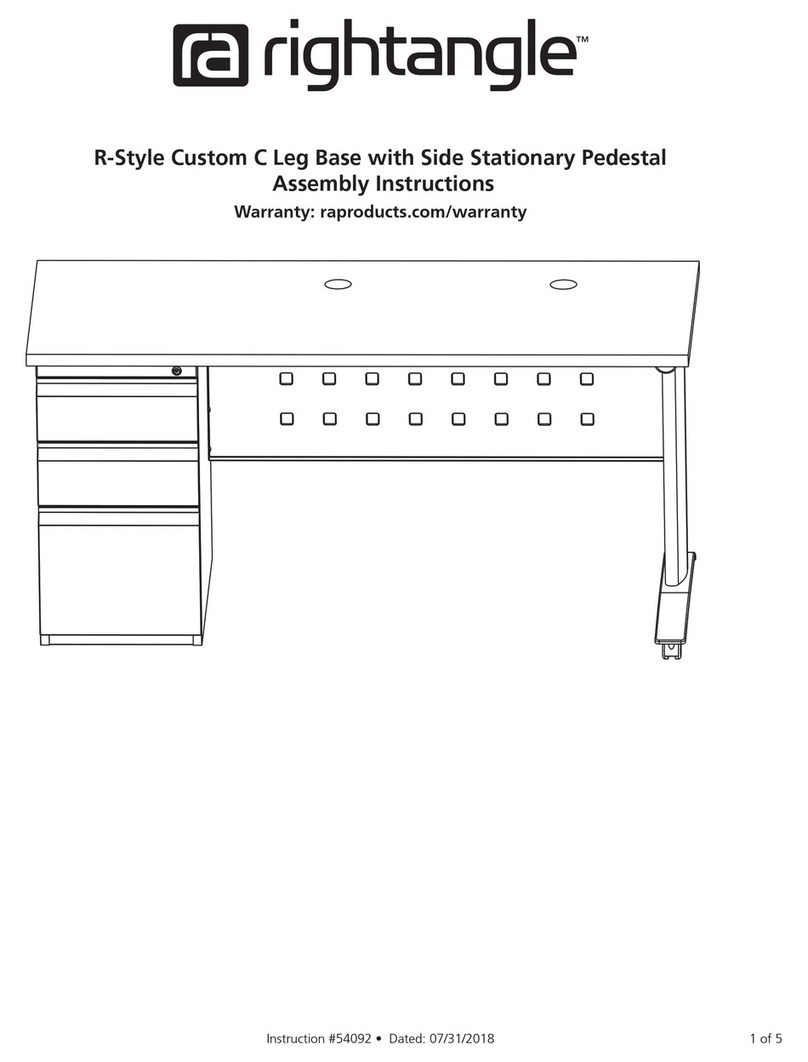
RIGHT ANGLE R-Style Custom C Leg Base with Side Stationary... User manual

RIGHT ANGLE

RIGHT ANGLE R-Style Custom C Leg Base with Side Stationary... User manual

RIGHT ANGLE R-Style Corner Diagonal 50648 User manual

RIGHT ANGLE

RIGHT ANGLE R-Style Corner Diagonal 50648 User manual

RIGHT ANGLE R-Style Modesty Panel User manual

RIGHT ANGLE

RIGHT ANGLE R-Style Modesty Panel User manual

RIGHT ANGLE R-Style 52822 User manual

RIGHT ANGLE

RIGHT ANGLE R-Style 52822 User manual

RIGHT ANGLE R-Style T-Base Table User manual
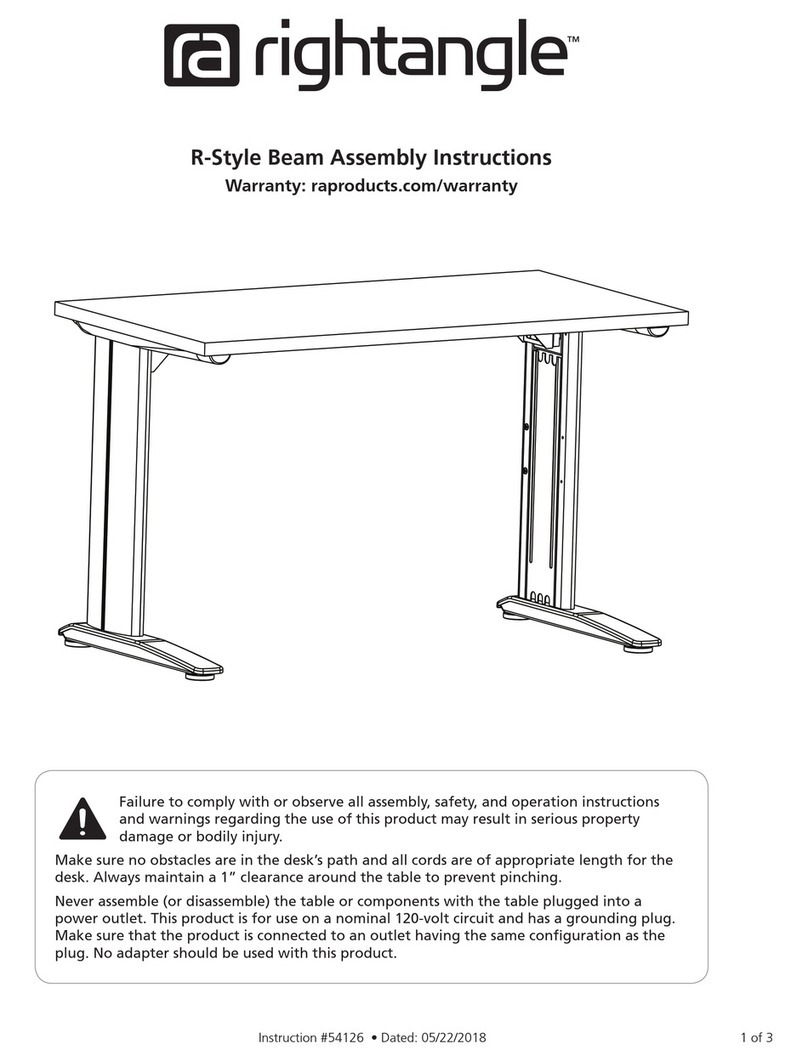
RIGHT ANGLE

RIGHT ANGLE R-Style T-Base Table User manual

RIGHT ANGLE 52431 User manual

RIGHT ANGLE

RIGHT ANGLE 52431 User manual

RIGHT ANGLE NewHeight 4 Series User manual

RIGHT ANGLE

RIGHT ANGLE NewHeight 4 Series User manual

RIGHT ANGLE NewHeights Presidente User manual

RIGHT ANGLE

RIGHT ANGLE NewHeights Presidente User manual

RIGHT ANGLE R-Style Beam User manual

RIGHT ANGLE

RIGHT ANGLE R-Style Beam User manual
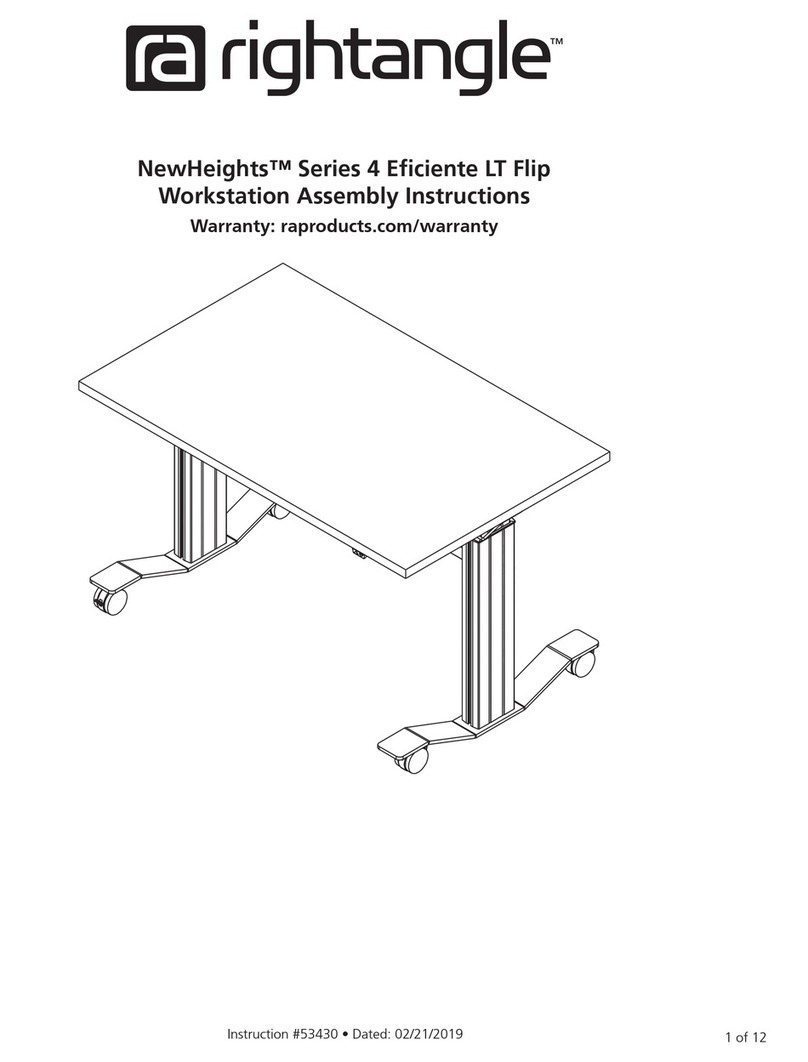
RIGHT ANGLE NEWHEIGHTS Series 4 XT Parts list manual

RIGHT ANGLE

RIGHT ANGLE NEWHEIGHTS Series 4 XT Parts list manual

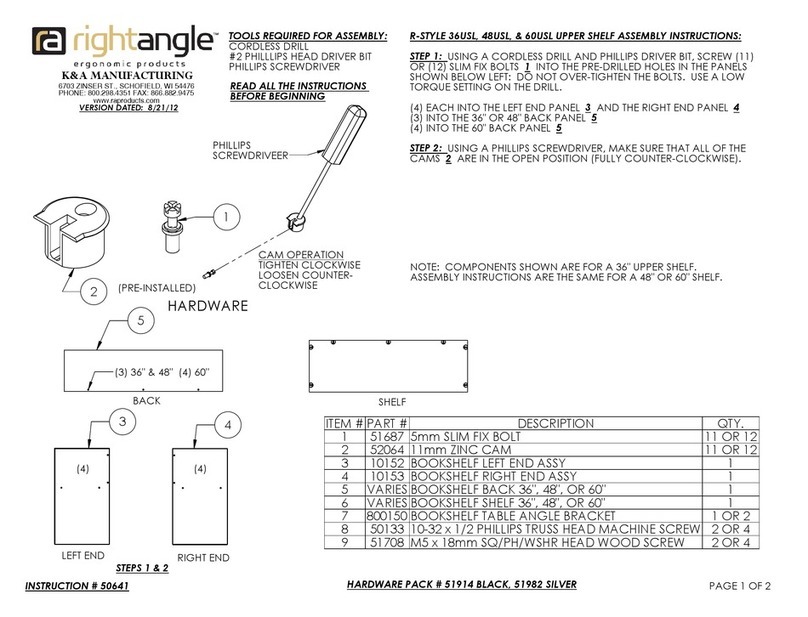
RIGHT ANGLE R-STYLE 36USL User manual

RIGHT ANGLE

RIGHT ANGLE R-STYLE 36USL User manual
Popular Indoor Furnishing manuals by other brands

Vivo DESK-V120EW instruction manual

Vivo

Vivo DESK-V120EW instruction manual

Lightolier OBL432 specification

Lightolier

Lightolier OBL432 specification

Global 607269A Assembly instructions

Global

Global 607269A Assembly instructions

Bush Business Furniture CH1701LGL-03 Assembly instructions

Bush Business Furniture

Bush Business Furniture CH1701LGL-03 Assembly instructions

Safavieh Furniture SFV7508A Assembly instructions

Safavieh Furniture

Safavieh Furniture SFV7508A Assembly instructions

OOGarden GEORGIA 8121 quick start guide

OOGarden

OOGarden GEORGIA 8121 quick start guide

Superior G1SP2000 Assembly instructions

Superior

Superior G1SP2000 Assembly instructions

pottery barn kids Fiona Dresser Assembly instructions

pottery barn kids

pottery barn kids Fiona Dresser Assembly instructions

Ashley HO6642 Assembly

Ashley

Ashley HO6642 Assembly

Kvik PU925-040-120 manual

Kvik

Kvik PU925-040-120 manual

American Standard Colony Fitright Round Front 10" Rough-In Toilet... Specification sheet

American Standard

American Standard Colony Fitright Round Front 10" Rough-In Toilet... Specification sheet

FourStarGroup 11225130V manual

FourStarGroup

FourStarGroup 11225130V manual

Forte Bohol BHLB01 Assembling Instruction

Forte

Forte Bohol BHLB01 Assembling Instruction

Mocka Sintra Assembly instructions

Mocka

Mocka Sintra Assembly instructions

LF Portfolio LSTC04MT manual

LF

LF Portfolio LSTC04MT manual

BLACK RED WHITE ALVEO B24-SFW/11 Assembly instructions

BLACK RED WHITE

BLACK RED WHITE ALVEO B24-SFW/11 Assembly instructions

modway EEI-4449 Assembly instructions

modway

modway EEI-4449 Assembly instructions

EAST COAST Urban Assembly and care instructions

EAST COAST

EAST COAST Urban Assembly and care instructions

manuals.online logo
manuals.online logoBrands
  • About & Mission
  • Contact us
  • Privacy Policy
  • Terms and Conditions

Copyright 2025 Manuals.Online. All Rights Reserved.