manuals.online logo
Brands
  1. Home
  2. •
  3. Brands
  4. •
  5. Rollos
  6. •
  7. Window Blind
  8. •
  9. Rollos Roller blind S with cassette E46 Planning guide

Rollos Roller blind S with cassette E46 Planning guide

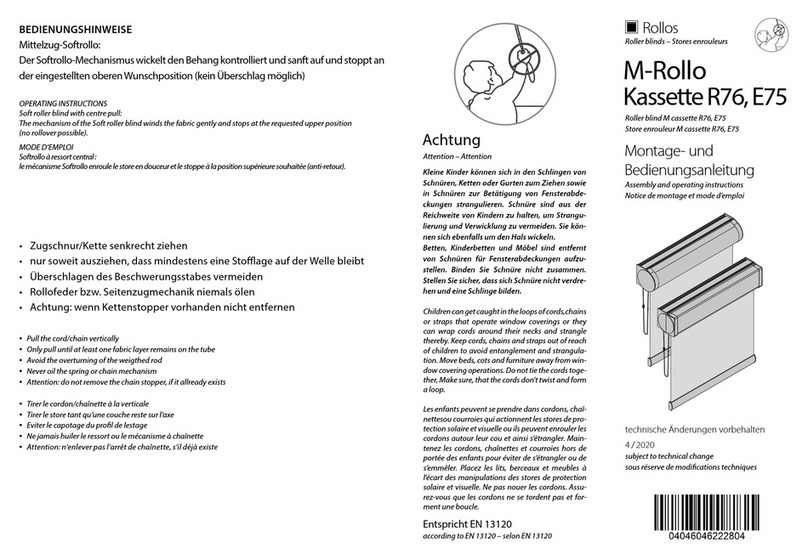
Achtung
Kinder können sich in den Schlingen von Schnü-
ren, Ketten oder Gurten zur Bedienung von Sicht-
und Sonnenschutzeinrichtungen verfangen oder
sich Schnüre um den Hals wickeln und sich unter
Umständen dadurch strangulieren. Schnüre,
Ketten und Gurte sind außer Reichweite von Kin-
dern zu halten, um Verwicklungen und Strangu-
lierungen zu vermeiden. Betten, Kinderbetten
und Möbel sind entfernt von Bedienungen für
Sicht- und Sonnenschutzeinrichtungen aufzu-
stellen.
Entspricht EN 13120
Attention – Attention
Children can get caught in the loops of cords,
chains or straps that operate window coverings or
they can wrap cords around their necks and stran-
gle thereby. Keep cords, chains and straps out of
reach of children to avoid entanglement and stran-
gulation. Move beds, cots and furniture away from
window covering operations.
according to EN 13120 – selon EN 13120
Les enfants peuvent se prendre dans cordons, chaî-
nettes ou courroies qui actionnent les stores de
protection solaire et visuelle ou ils peuvent enrou-
ler les cordons autour leur cou et ainsi s’étrangler.
Maintenez les cordons, chaînettes et courroies hors
de portée des enfants pour éviter de s’étrangler ou
de s’emmêler. Placez les lits, berceaux et meubles à
l’écart des manipulations des stores de protection
solaire et visuelle.
Rollos
Roller blind S with cassette E 46
Prole guiding
Stores enrouleurs avec cassette E 46
Prolé de guidage
Montage- und
Bedienungsanleitung
subject to technical change
sous réserve de modications techniques
Roller blinds – Stores enrouleurs
technische Änderungen vorbehalten
4 / 2018
Assembly and operating instructions
Notice de montage et mode d’emploi
S - Rollo
Kassette E46
Profilführung
12
AAllgemeine Hinweise
General advices – Indications générale
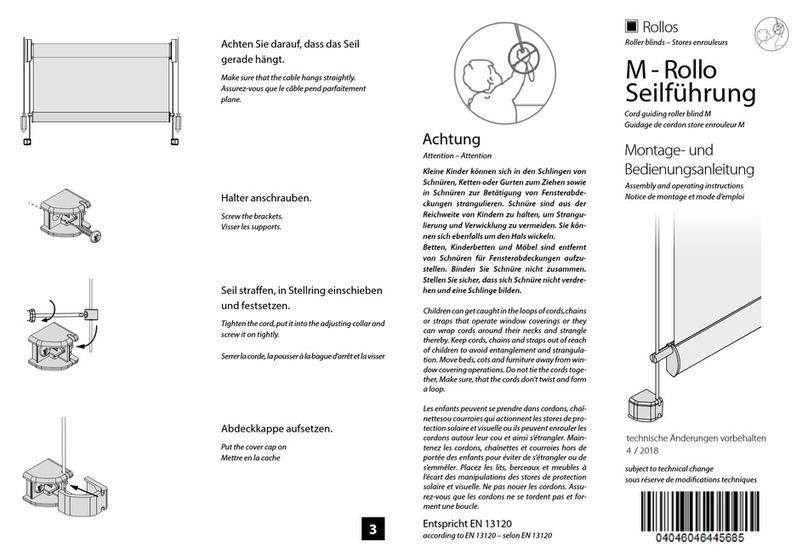
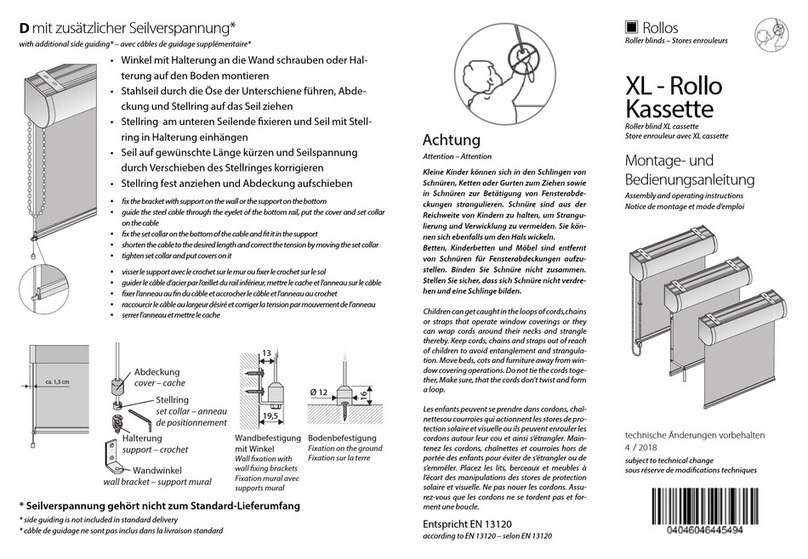
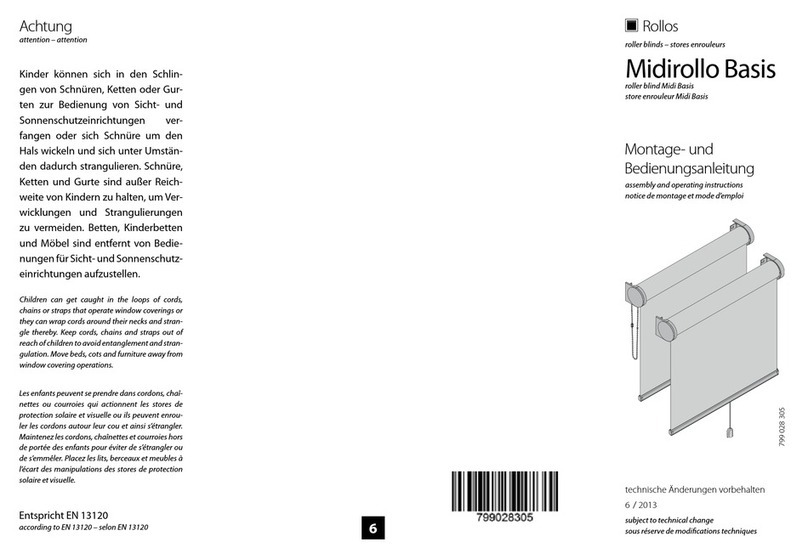
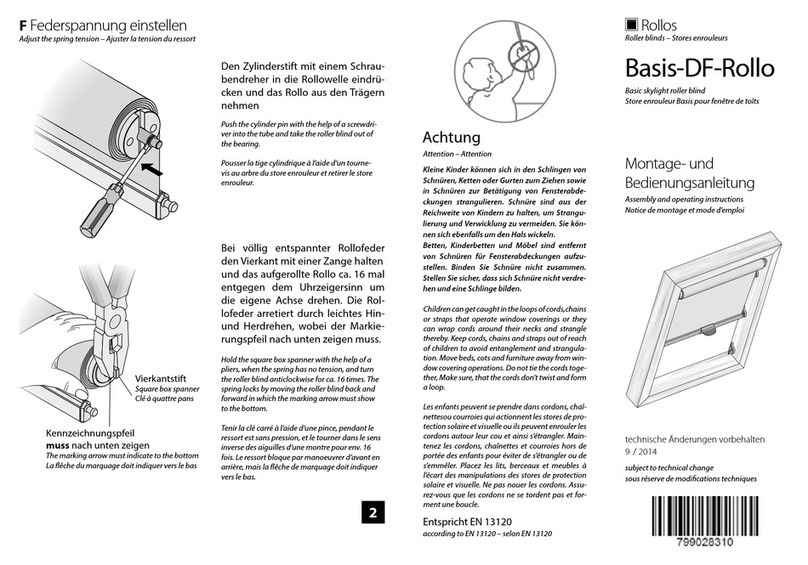
Die Montage der Profilführungen erfolgt nachdem die jeweilige Rollokassette montiert wurde.
Die Außenseite des Seitenprofils verläuft bündig mit der Außenseite der Rollokassette.
Bei der Montage ist insbesondere darauf zu achten, dass die Profilführungen parallel
zueinander und im rechten Winkel zur Rollokassette verlaufen.
Die Auflagefläche der Profile muss eine Breite von min. 11 mm betragen.
The assembly of the prole guides is made after the corresponding roller blind cassette has been mounted.
The outside of the side prole runs on one level with the outside of the roller blind cassette.
During the assembly of the prole guides, you must especially pay attention, that the prole guides
are parrallel and running at a right angle to the cassette of the roller blind.
The overlay of the proles must have at least a width of 11 mm.
Le montage de prolés de guidage est fait après la
cassette correspondant est montée.
La face externe de prolé latéral déroule plan avec
la face externe de la cassette de store enrouleurs.
Pendant le montage, vous devez faire en
particulier attention que les prolés
de guidage sont parallèle et déroulent
perpendiculairement à la cassette de
store enrouleur.
La surface d‘appui des prolès
doit avoir une largeur d‘au
minimum 11 mm
Mittelprofil
Intermediate profile
Profilé intermédiare
Seitenprofil
Lateral profile
Profilé latéral
Ø4mm
Ø8mm
Kreuzschlitzschraubendreher
Phillips screwdriver
Tournevis cruciforme
Spiralbohrer
Twist drill
Mèche à spirale
Bohrmaschine
Drill
Perçeuse
BVorbereitung
Preparation – Préparation
Anzahl der Befestigungsbohrungen bestimmen
Fix the number of fixing drillings – Déterminer le nombre de perçages fixés
Die erste und letzte Bohrung im Abstand von 25 mm zum
Profilende markieren, weitere Bohrungen gleichmäßig aufteilen.
Mark the first and last drilling with a distance of 25 mm to the end of the profile.
Divide furhter drillings regularly.
Marquer le premier et le dernier perçage avec une
distance de 25 mm au fin de profilé.
Diviser les autres perçages
régulièrement.
gleiche Abstände
equal distances – distances êgales
25 25
Profilmarkierung (auf der Rückseite)
Profile marking (on the reverse)
Marque de profilé
(sur la face arrière)
Bohrungen für Wand-
Fensterflügelmontage
Drillings for fixation in the embrasure
Perçages pour la fixation murale ou
la fixation au battant de fenêtre.
Bohrungen für
Laibungsmontage
Drillings for wall or
casement fixation
Perçages pour la
fixation murale ou la
fixation au battant
de fenêtre.
Benötigte Werkzeuge
Required tools - Outils nécessaires
Bevor die Profilführungen montiert wer-
den, muss die Kante der Endkappen bis
zur Sollbruchstelle entfernt werden.
Schieben Sie anschließend die Endkap-
pen auf das Blendenprofil.
Sollbruchstelle
Predetermined breaking point
Point de rupture
You have to remove the edge of the end caps
up to the predetermined breaking point,
before the mounting of the profile guidings.
Afterwards, put the end caps onto the cover profile.
Enlever le bord d‘embout jusqu‘au point de rupture,
avant la montage de profilés de guidage.
Après, pousser les embouts sur le profilé cache.
3 4
CProfilführung bohren
Drill the prole guiding – Percer le prolé de guidage
Laibungsmontage
(Profile bohren und anschrauben)
Fixation in the embrasure (Drill and screw the profiles)
Montage en embrasure des baies (Perçer et visser les profilés)
Ø4mm
Die Laibung muss rechtwinklig sein und
benötigt eine Tiefe von mindestens 20 mm.
The embrasure must be right-angled and needs a
depth of at least 20 mm.
L‘embrasure des baies doit être perpendiculairement.
En autre une profondeur d‘au minimum de 20 mm
est nécessaire.
Bohrer Ø 4 mm
auf Profilmarkierung
ansetzen und durchbohren
Put the drill (Ø 4 mm) on the profile
marking and drill throught it.
Mettre la perçeuse (Ø 4 mm) sur
la marque profilé et la percer.
Wandmontage (Profile bohren und anschrauben)
Wall fixation (Drill and screw the profiles) – Fixation murale (Perçer et visser les profilés)
• Bohrer Ø 4 mm auf Profilmarkierung (Rückseite) ansetzen und beide Profilwände durchbohren.
• Profil wenden und nur das Bohrloch der vorderen Profilwand mit Bohrer Ø 8 mm aufbohren
• Profile anschrauben
• Bohrlöcher in der vorderen Profilwand mit Abdeckstopfen verschließen
•Put the drill (Ø 4 mm) on the profile marking (reverse)
and drill throught both profile barriers
• Turn the profile and drill open
(with the help of a drill Ø 8 mm) the drill hole
of the front profile barrier
•Screw the profiles
•Close the drilling holes of the front profile barrier
with help of the plugs
• Mettre la perceuse (Ø 4 mm) sur la marque
de profilé (face arrière) et perçer les deux
parois de profilé
• Tourner le profilé et ouvrir seulement le trou
(avant le profilé) à la perçeuse (Ø 8 mm)
• Visser les profilés
• Fermer les trous du profilé avant à l‘aide
de bouchons couvercles
Ø8mm
Ø8mm
Ø4
Ø4
Profilmarkierung (auf der Rückseite)
Profile marking (on the reverse)
Marque de profilé (à la arrière)
DProfilführung montieren
Mount the prole guiding – Monter le prolé de guidage
Seitenprol
Side prole – Prolé latéral
Mittelprol
Central prole
Prolé central
Bohrungs-
stopfen
Plugs
Bouchons
Endkappen (sind vormontiert)
End caps (are premounted) – Embouts (sont prémontés)
• Profilführung anschrauben
• Bohrungen ø 8 mm mit Bohrungsstopfen verschließen
• Screw the profile guiding on
• Close the drillings holes ø 8 mm with plugs
• Visser le profilé de guidage
• Fermer les trous de perçage ø 8 mm avec des bouchons
EEinfallprofil montieren
Mount the insertion prole – Monter le prolé d‘insertion
56
Seitenprol
Side prole
Prolé latéral
Einfallprol
Insertion prole
Prolé d'insertion
Seitenprol
Side prole
Prolé latéral
bündig
on a level
en plan
gleiche Abstände
equal distances – distances égales
Anzahl der Befestigungsbohrungen bestimmen
Fix the number of fixing drillings – Déterminer le nombre de perçages fixés
Die erste und letzte Bohrung im Abstand von 25 mm zum
Profilende markieren, weitere Bohrungen gleichmäßig aufteilen.
Mark the first and last drilling with a distance of 25 mm to the end of the profile.
Divide furhter drillings regularly.
Marquer le premier et le dernier perçage avec une distance de 25 mm au fin de profilé.
Diviser les autres perçages régulièrement.
• Bohrer (Ø 4 mm) auf Profilmarkierung ansetzen und durchbohren.
• Einfallprofil zwischen den beiden Seitenprofilen einpassen
• Profile anschrauben
• Dabei muss die Unterseite des Einfallprofils bündig mit dem Seitenprofil
(Unterseite Endkappe) verlaufen
• Put the drill Ø 4 mm on the profile marking and drill throught it.
• Adjust the insertion profile between the two lateral profiles
• Screw the profiles on
• In this case, the bottom side of the insertion profile must run on a level
with the lateral profile (Bottom side of the end cap)
• Mettre la perceuse Ø 4 mm sur la marque de profilé et le perçer
• Ajuster le profilé d‘insertion entre les deux profilés latérales
• Visser les profilés
• En ce cas, le profilé inférieur de profilé d‘insertion doit dérouler plan avec
le profilé latéral (partie inférieur d‘embout)

Other Rollos Window Blind manuals

Rollos Medium Plus User manual

Rollos

Rollos Medium Plus User manual

Rollos M-Rollo User manual

Rollos

Rollos M-Rollo User manual

Rollos XL Cassette User manual

Rollos

Rollos XL Cassette User manual

Rollos Midirollo Basis User manual

Rollos

Rollos Midirollo Basis User manual

Rollos S-Nanorollo V2 Planning guide

Rollos

Rollos S-Nanorollo V2 Planning guide

Rollos Basis-DF-Rollo User manual

Rollos

Rollos Basis-DF-Rollo User manual

Rollos Basis-DF-Rollo User manual

Rollos

Rollos Basis-DF-Rollo User manual

Rollos Doppelrollo User manual

Rollos

Rollos Doppelrollo User manual

Rollos Comfort DF-Rollo User manual

Rollos

Rollos Comfort DF-Rollo User manual

Rollos M User manual

Rollos

Rollos M User manual

Rollos XL Basis User manual

Rollos

Rollos XL Basis User manual

Rollos Medium Plus User manual

Rollos

Rollos Medium Plus User manual

Rollos Roller blind M cassette R76 User manual

Rollos

Rollos Roller blind M cassette R76 User manual

Rollos Comfort DF-Rollo User manual

Rollos

Rollos Comfort DF-Rollo User manual

Rollos Medium Plus Basis User manual

Rollos

Rollos Medium Plus Basis User manual

Rollos DF-Rollo User manual

Rollos

Rollos DF-Rollo User manual

Popular Window Blind manuals by other brands

Smith & Noble Metal Blinds Step by step installation instructions

Smith & Noble

Smith & Noble Metal Blinds Step by step installation instructions

Barnes PERFECT FIT Fitting instructions

Barnes

Barnes PERFECT FIT Fitting instructions

Draper FlexShade instructions

Draper

Draper FlexShade instructions

PALAGINA K.ZIP Use and maintenance

PALAGINA

PALAGINA K.ZIP Use and maintenance

livani Day & Night Roller Blind Instalation manual

livani

livani Day & Night Roller Blind Instalation manual

Deco LUX installation manual

Deco

Deco LUX installation manual

Rollo Rieper F1 Mounting instructions

Rollo Rieper

Rollo Rieper F1 Mounting instructions

Velux VELUX INTEGRA Solar MSL installation instructions

Velux

Velux VELUX INTEGRA Solar MSL installation instructions

Graywind 58449 instruction manual

Graywind

Graywind 58449 instruction manual

Louvolite SC Series Fitting and operating instructions

Louvolite

Louvolite SC Series Fitting and operating instructions

CHERUBINI Wave Wire instructions

CHERUBINI

CHERUBINI Wave Wire instructions

JAROLIFT TDEF10-14 Original assembly and operating instructions

JAROLIFT

JAROLIFT TDEF10-14 Original assembly and operating instructions

Mottura Rotary 439 manual

Mottura

Mottura Rotary 439 manual

WAREMA VS 01 Instructions for installation, use and maintenance

WAREMA

WAREMA VS 01 Instructions for installation, use and maintenance

Sona Sky Wiring guide

Sona

Sona Sky Wiring guide

Kirsch Architrac 94001 quick start guide

Kirsch

Kirsch Architrac 94001 quick start guide

MHZ WANDLAGER installation instructions

MHZ

MHZ WANDLAGER installation instructions

QMotion TPro-30 Setup and user guide

QMotion

QMotion TPro-30 Setup and user guide

manuals.online logo
manuals.online logoBrands
  • About & Mission
  • Contact us
  • Privacy Policy
  • Terms and Conditions

Copyright 2025 Manuals.Online. All Rights Reserved.