manuals.online logo
Brands
  1. Home
  2. •
  3. Brands
  4. •
  5. Rollos
  6. •
  7. Window Blind
  8. •
  9. Rollos XL Cassette User manual

Rollos XL Cassette User manual

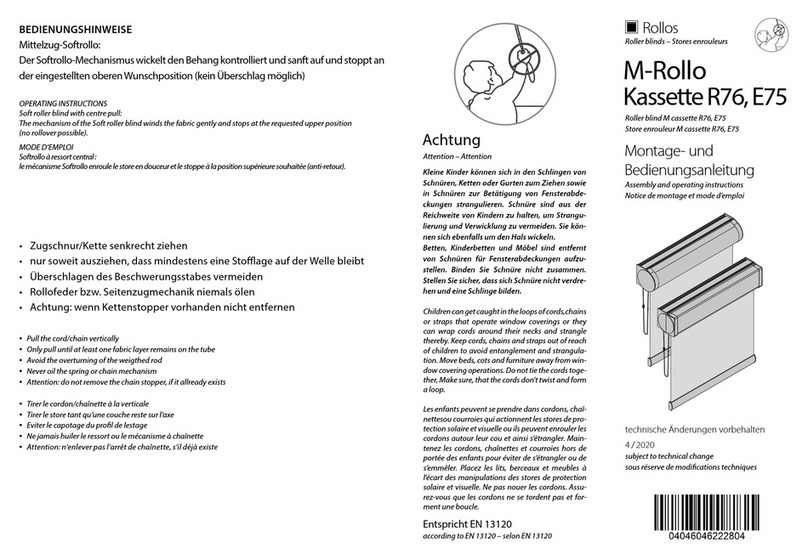
Rollos
Roller blinds – Stores enrouleurs
Assembly and operating instructions
Notice de montage et mode d’emploi
subject to technical change
sous réserve de modications techniques
Montage- und
Bedienungsanleitung
technische Änderungen vorbehalten
4 / 2018
Roller blind XL cassette
Store enrouleur avec XL cassette
Entspricht EN 13120
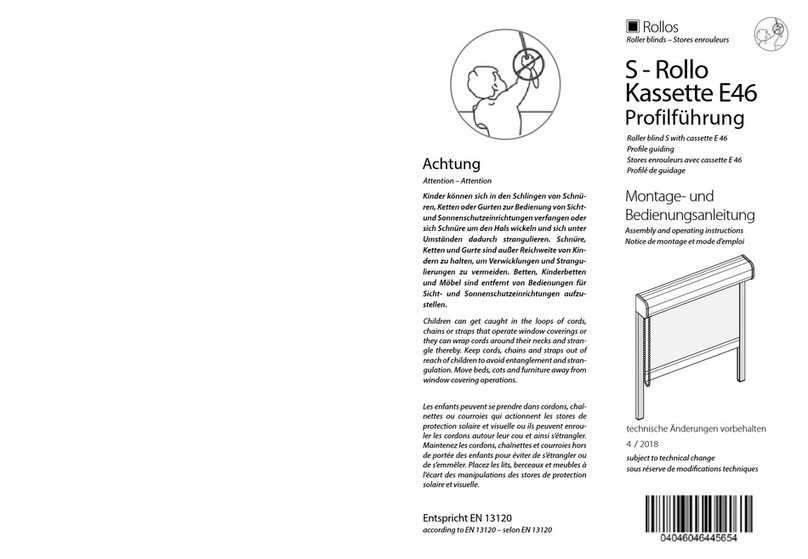
Achtung
Kleine Kinder können sich in den Schlingen von
Schnüren, Ketten oder Gurten zum Ziehen sowie
in Schnüren zur Betätigung von Fensterabde-
ckungen strangulieren. Schnüre sind aus der
Reichweite von Kindern zu halten, um Strangu-
lierung und Verwicklung zu vermeiden. Sie kön-
nen sich ebenfalls um den Hals wickeln.
Betten, Kinderbetten und Möbel sind entfernt
von Schnüren für Fensterabdeckungen aufzu-
stellen. Binden Sie Schnüre nicht zusammen.
Stellen Sie sicher, dass sich Schnüre nicht verdre-
hen und eine Schlinge bilden.
Attention – Attention
Children can get caught in the loops of cords,chains
or straps that operate window coverings or they
can wrap cords around their necks and strangle
thereby. Keep cords, chains and straps out of reach
of children to avoid entanglement and strangula-
tion. Move beds, cots and furniture away from win-
dow covering operations. Do not tie the cords toge-
ther, Make sure, that the cords don’t twist and form
a loop.
Les enfants peuvent se prendre dans cordons, chaî-
nettesou courroies qui actionnent les stores de pro-
tection solaire et visuelle ou ils peuvent enrouler les
cordons autour leur cou et ainsi s’étrangler. Main-
tenez les cordons, chaînettes et courroies hors de
portée des enfants pour éviter de s’étrangler ou de
s’emmêler. Placez les lits, berceaux et meubles à
l’écart des manipulations des stores de protection
solaire et visuelle. Ne pas nouer les cordons. Assu-
rez-vous que les cordons ne se tordent pas et for-
ment une boucle.
according to EN 13120 – selon EN 13120
D mit zusätzlicher Seilverspannung*
with additional side guiding* – avec câbles de guidage supplémentaire*
* Seilverspannung gehört nicht zum Standard-Lieferumfang
Abdeckung
cover – cache
Wandbefestigung mit Winkel
wall xation with bracket
xation murale avec support
Bodenbefestigung
bottom xation
xation au fond
Stellring
set collar – anneau
de positionnement
Halterung
support – crochet
Wandwinkel
wall bracket – support mural
13
Ø 12
16
19,5
* side guiding is not included in standard delivery
* câble de guidage ne sont pas inclus dans la livraison standard
• Winkel mit Halterung an die Wand schrauben oder Hal-
terung auf den Boden montieren
• Stahlseil durch die Öse der Unterschiene führen, Abde-
ckung und Stellring auf das Seil ziehen
• Stellring am unteren Seilende xieren und Seil mit Stell-
ring in Halterung einhängen
• Seil auf gewünschte Länge kürzen und Seilspannung
durch Verschieben des Stellringes korrigieren
• Stellring fest anziehen und Abdeckung aufschieben
• x the bracket with support on the wall or the support on the bottom
• guide the steel cable through the eyelet of the bottom rail, put the cover and set collar
on the cable
• x the set collar on the bottom of the cable and t it in the support
• shorten the cable to the desired length and correct the tension by moving the set collar
• tighten set collar and put covers on it
• visser le support avec le crochet sur le mur ou xer le crochet sur le sol
• guider le câble d’acier par l’œillet du rail inférieur, mettre le cache et l’anneau sur le câble
• xer l’anneau au n du câble et accrocher le câble et l’anneau au crochet
• raccourcir le câble au largeur désiré et corriger la tension par mouvement de l’anneau
• serrer l’anneau et mettre le cache
Abdeckung
Cover – Cache
Wandbefestigung
mit Winkel
Wall xation with
wall xing brackets
Fixation mural avec
supports mural
Bodenbefestigung
Fixation on the ground
Fixation sur la terre
Stellring
Set collar
Anneau de
position-
nement
Halterung
Mounting
Crochet Wandwinkel
Wall xing brackets
Supports mural
13
Ø 12
16
19,5
ca. 1,3 cm
XL - Rollo
Kassette
AWand- oder Deckenmontage
• waagerechte Montage der Wand- / Deckenträger im Abstand zum Kassettenende
jeweils 50–150 mm
• Endkappenpaar der Kassette
nach vorn abziehen
• Um die Kassette zu önen, müs-
sen vorher die Stifte im unteren
Teil des Blendenprols auf bei-
den Seiten herausgeschoben
werden.
WAND / DECKENTRÄGER MONTIEREN
50–150
50–150
Wandmontage
Wall xation
Fixation murale
Deckenmontage
Ceiling xation
Fixation au plafond
120
115
Wall or ceiling xation – Fixation murale ou au plafond
• vertical mounting of the wall- / ceiling xing brackets with a distance of 50-150 mm to the end of the cassette
MOUNT THE WALL / CEILING FIXING BRACKETS
• xation horizontale des supports mural / plafond avec une distance de 50-150 mm au n de la cassette
MONTER LES SUPPORTS MURALS / PLAFOND
• Pull o the end caps of the cassette
to the front
• Retirer les embouts de la cassette
vers l‘avant
• You have to remove the pins of the lower part
of the cover prole on both sides, to open the
cassette.
• Vous devez enlever les tiges de la part inféri-
eure du prolé cache des deux côtés pour ouv-
rir la cassette.
12
Basisprol
Basic prole
Prolé basis
Blendenprol
Cover prole
Prolé cache
Wand- /
Deckenträger
Wall- / ceiling
xing brackets
Supports murals /
plafond
Inbus-
schraube
Allen screw
Vis à six
pans creux
AWand- oder Deckenmontage (Fortsetzung)
• Blendenprol hochklappen
und abnehmen
• Kassette in die Träger
einrasten und mit Inbus-
schraube befestigen
• Blendenprol in die obere Nut
des Basisprols wieder einhängen
• Stifte auf beiden Seiten der
Kassette einschieben • Endkappen wieder auf die
Kassette schieben
Wall or ceiling xation (continuation) – Fixation murale/ plafond (continuation)
• Fold up the cover prole
• Relever le prolé cache et le décrocher
• Click the cassette into the bracket and
x it with the allen screw
• Enclecher la cassette dans le support
et le xer avec le vis à six pans creux
• Push the pins on both sides into the
cassette
• Pousser les tiges sur deux côtés dans
le cassette
• Hang the cover prole back into the
upper nut of the basic prole
• Raccrocher le prolé cache dans la
rainure supérieur de prolé basis
• Push the end caps onto the
cassette
• Pousser les embouts sur
la cassette
34
• falls die Welle bei einer Decken-
montage nicht in der Waage ist,
kann man mit einem Sechskant-
stiftschlüssel (4 mm) über die
Justierschraube die Kassette in
Waage bringen (±6mm)
Justierschraube
Adjusting screw
Vis micrométrique de reglage
• YIf the tube don‘t lies vertically until the
ceiling xation, use a hexagon key (4 mm)
to adjust the adjusting screw and bring the
cassette into the vertical position (+- 6 mm)
• Si le tube est pas horizontal pendant la xa-
tion au plafond, utiliser un clé imbus (4 mm)
pour ajuster le vis micrométrique de réglage
et amener la cassette dans la position verti-
cale (+- 6 mm)
* Seitenführungsschienen gehören
nicht zum Standard-Lieferumfang
C mit zusätzlichen Seitenführungsschienen*
xx
• Nach Montage der Kassette die
Führungsschienenbasisprole von
unten an die Kassette schieben
• Bis 100 cm Höhe zwei Schrauben
pro Seite, danach pro weiteren
Meter eine weitere Befestigung
• Erstes Bohrloch von oben und unten
(„x“ muss hier immer 80 mm sein)
bestimmen und bohren, Schienen
verschrauben
• Abrollen des Rollostoffs und ggf. Justie-
rungder Schienen an beiden Seiten
• Wenn der Sto parallel und gleich-
mäßig abrollt, können die anderen
Löcher für die Verschraubungen
gebohrt werden
• Bei Wandmontage: Abdeckprole
einklicken
Nischenmontage
Mounting in the niche
Fixation en embrasure
10
27
70
Wandmontage
Wall xation
Fixation mural
70
12
24
27
with additional side guiding rails* – avec coulisses latéral supplémentaires*
• Push, after the mounting of the cassette, the guiding
rail basic proles from down below onto the cassette
• Up to a height of 100 cm two screws per side, each
additional meter needs one additional xation
• Decide and drill the rst drill hole from the top
and the bottom („x“ must always be 8 mm),
screw on the rails
• Unroll the fabric and if necessary adjust the
rails on each side
• Drill the other holes for the screwing of the
fabric unrolls in parallel
• For wall xation: click the covering proles in
• Pousser, après la montage du cassette, les rails
supérieur de prolé basis par le bas dans le cassette
• Jusqu‘ à une hauteur de 100 cm deux vis par
côté, chaque mètre supplémentaire a besoin
un xation supplémentaire
• Déterminer et percer le premier trou en
haut et en bas („x“ doit être toujours 8 mm),
visser les rails
• Dérouler le tissu et dans cas échéant ajuster
les rails sur les deux côtés
• Percer les autres trous pour le vissage,
si le tissu se déroule en parallèle
• Pour xation mural: Encliqueter les
• prolés de couverture
* Side guiding rails aren‘t included in the standard supply
* Coulisses latéral ne faisant pas partie de la livraison standard
56
BAusführungsformen / Bedienung
• Bei Kettenbedienung: Ketten-
stopper an gewünschten Stelle
einsetzen bzw. korrigieren
• Kurbelbedienung
• Bei Motorbedienung: Schalter
oder Steuerungselemente ent-
sprechend anschließen
Stromanschluss
Power connector
Connecteur d‘ alimentation électrique
Type/ Operation – Type/ Manipulation
• For chain operation: Put the chain stopper
onto the requested position or rather correct it
• Pour operation à chainette: Mettre l‘arrêt
de chaînette sur la position désirée ou bien
le corriger
• For motor operation: Connect the switch or
control elements
• Pour manipulation avec moteur: Connecter
l‘interrupteur ou élément de commande
• Crank operation
• Manipulation à manivelle

Other Rollos Window Blind manuals

Rollos M-Rollo User manual

Rollos

Rollos M-Rollo User manual

Rollos Roller blind S with cassette E46 Planning guide

Rollos

Rollos Roller blind S with cassette E46 Planning guide

Rollos DF-Rollo User manual

Rollos

Rollos DF-Rollo User manual

Rollos Doppelrollo User manual

Rollos

Rollos Doppelrollo User manual

Rollos Roller blind M cassette R76 User manual

Rollos

Rollos Roller blind M cassette R76 User manual

Rollos Midirollo Basis User manual

Rollos

Rollos Midirollo Basis User manual

Rollos Basis-DF-Rollo User manual

Rollos

Rollos Basis-DF-Rollo User manual

Rollos M User manual

Rollos

Rollos M User manual

Rollos Medium Plus User manual

Rollos

Rollos Medium Plus User manual

Rollos Basis-DF-Rollo User manual

Rollos

Rollos Basis-DF-Rollo User manual

Rollos XL Basis User manual

Rollos

Rollos XL Basis User manual

Rollos Medium Plus Basis User manual

Rollos

Rollos Medium Plus Basis User manual

Rollos Medium Plus User manual

Rollos

Rollos Medium Plus User manual

Rollos Comfort DF-Rollo User manual

Rollos

Rollos Comfort DF-Rollo User manual

Rollos Comfort DF-Rollo User manual

Rollos

Rollos Comfort DF-Rollo User manual

Rollos S-Nanorollo V2 Planning guide

Rollos

Rollos S-Nanorollo V2 Planning guide

Popular Window Blind manuals by other brands

Bali Horizontal Blinds How to install and operate

Bali

Bali Horizontal Blinds How to install and operate

VENETA 65101-21734-E How to install

VENETA

VENETA 65101-21734-E How to install

LuxaFlex Roller blinds series Assembly and operating instructions

LuxaFlex

LuxaFlex Roller blinds series Assembly and operating instructions

Velux DSL Directions for use

Velux

Velux DSL Directions for use

Doco EXS40R instruction manual

Doco

Doco EXS40R instruction manual

Guthrie Douglas TESS 140 installation manual

Guthrie Douglas

Guthrie Douglas TESS 140 installation manual

brel-motors BLE 20 installation manual

brel-motors

brel-motors BLE 20 installation manual

Vista PowerWand quick start guide

Vista

Vista PowerWand quick start guide

Altron MaxiBlackOut MS80 installation guide

Altron

Altron MaxiBlackOut MS80 installation guide

MaxxMar HWM-10 Installation, operation & programming instructions

MaxxMar

MaxxMar HWM-10 Installation, operation & programming instructions

Inspire Malaga Assembly, Use, Maintenance Manual

Inspire

Inspire Malaga Assembly, Use, Maintenance Manual

Cosiflor DF Comfort 20 quick start guide

Cosiflor

Cosiflor DF Comfort 20 quick start guide

Comfort Blinds Cordless Roman installation instructions

Comfort Blinds

Comfort Blinds Cordless Roman installation instructions

Graywind 58502 user guide

Graywind

Graywind 58502 user guide

SelectBlinds Basswood Horizontal Blind installation instructions

SelectBlinds

SelectBlinds Basswood Horizontal Blind installation instructions

POWERSHADES SQUARE CASSETTE installation guide

POWERSHADES

POWERSHADES SQUARE CASSETTE installation guide

Climax PROTAL manual

Climax

Climax PROTAL manual

Sona SonaSky Fittings guide

Sona

Sona SonaSky Fittings guide

manuals.online logo
manuals.online logoBrands
  • About & Mission
  • Contact us
  • Privacy Policy
  • Terms and Conditions

Copyright 2025 Manuals.Online. All Rights Reserved.