manuals.online logo
Brands
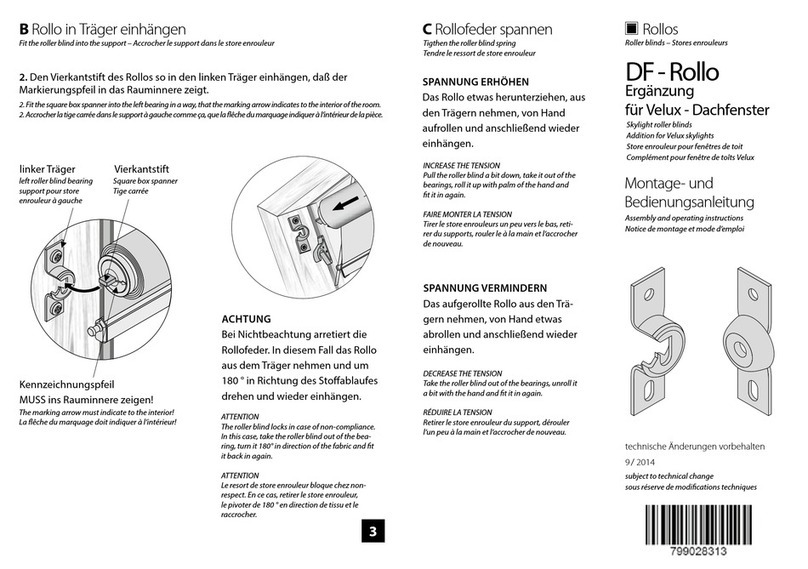
  1. Home
  2. •
  3. Brands
  4. •
  5. Rollos
  6. •
  7. Window Blind
  8. •
  9. Rollos Comfort DF-Rollo User manual

Rollos Comfort DF-Rollo User manual

Other Rollos Window Blind manuals

Rollos DF-Rollo User manual

Rollos

Rollos DF-Rollo User manual

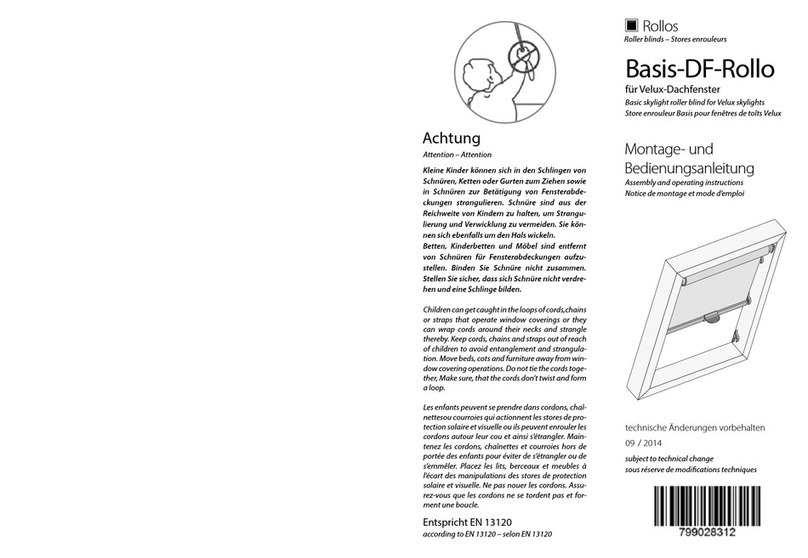
Rollos Basis-DF-Rollo User manual

Rollos

Rollos Basis-DF-Rollo User manual

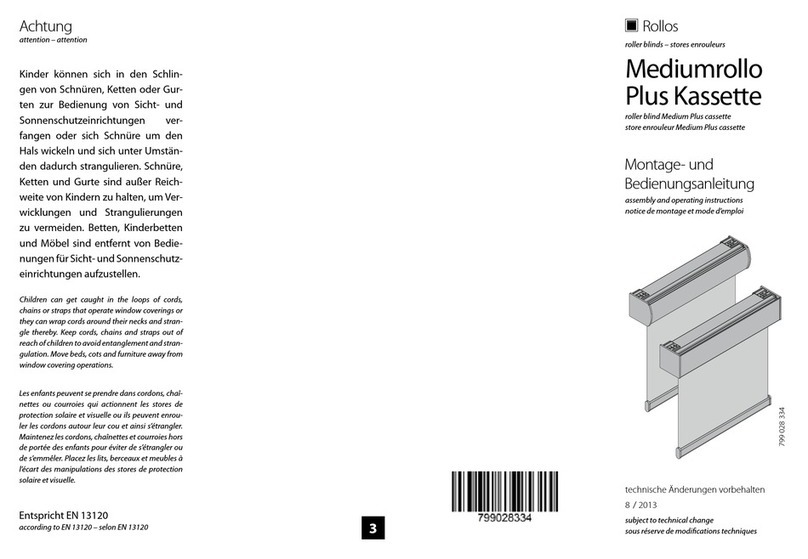
Rollos Medium Plus User manual

Rollos

Rollos Medium Plus User manual

Rollos Basis-DF-Rollo User manual

Rollos

Rollos Basis-DF-Rollo User manual

Rollos Doppelrollo User manual

Rollos

Rollos Doppelrollo User manual

Rollos Medium Plus User manual

Rollos

Rollos Medium Plus User manual

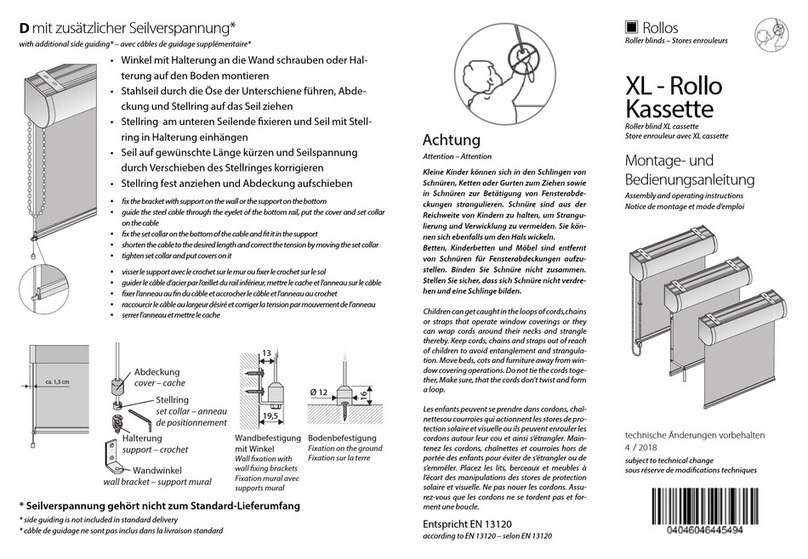
Rollos XL Cassette User manual

Rollos

Rollos XL Cassette User manual

Rollos Comfort DF-Rollo User manual

Rollos

Rollos Comfort DF-Rollo User manual

Rollos XL Basis User manual

Rollos

Rollos XL Basis User manual

Rollos M User manual

Rollos

Rollos M User manual

Rollos Midirollo Basis User manual

Rollos

Rollos Midirollo Basis User manual

Rollos Roller blind M cassette R76 User manual

Rollos

Rollos Roller blind M cassette R76 User manual

Rollos S-Nanorollo V2 Planning guide

Rollos

Rollos S-Nanorollo V2 Planning guide

Rollos M-Rollo User manual

Rollos

Rollos M-Rollo User manual

Rollos Medium Plus Basis User manual

Rollos

Rollos Medium Plus Basis User manual

Rollos Roller blind S with cassette E46 Planning guide

Rollos

Rollos Roller blind S with cassette E46 Planning guide

Popular Window Blind manuals by other brands

Windhager PLUS 100x120 cm quick start guide

Windhager

Windhager PLUS 100x120 cm quick start guide

IKEA KADRILJ manual

IKEA

IKEA KADRILJ manual

Teptron Move user manual

Teptron

Teptron Move user manual

Renson Outdoor Loggia Manual Installation

Renson

Renson Outdoor Loggia Manual Installation

rollease acmeda Easy Spring Air Assembly and installation manual

rollease acmeda

rollease acmeda Easy Spring Air Assembly and installation manual

Hallis Hudson Rolls Super glide instructions

Hallis Hudson

Hallis Hudson Rolls Super glide instructions

Jysk ROGEN manual

Jysk

Jysk ROGEN manual

SOMFY 1241752 instructions

SOMFY

SOMFY 1241752 instructions

MV LINE CLARA 015 Installing instructions

MV LINE

MV LINE CLARA 015 Installing instructions

Project Source CDLF2342W quick start guide

Project Source

Project Source CDLF2342W quick start guide

Current E-WAND Installation manual and user's guide

Current

Current E-WAND Installation manual and user's guide

weinor VertiTex ZipR Maintenance Instructions and Directions for use for the end user

weinor

weinor VertiTex ZipR Maintenance Instructions and Directions for use for the end user

Roto ZAR M R4/R7 Mounting instructions

Roto

Roto ZAR M R4/R7 Mounting instructions

Benthin P1614 quick start guide

Benthin

Benthin P1614 quick start guide

MDT KNX Smart 55 BE-JTA5504.01 Technical manual

MDT

MDT KNX Smart 55 BE-JTA5504.01 Technical manual

Victoria M SYSTEM VS 1 Original instructions

Victoria M

Victoria M SYSTEM VS 1 Original instructions

SOMFY Movelite WT Series instructions

SOMFY

SOMFY Movelite WT Series instructions

IKEA ENJE manual

IKEA

IKEA ENJE manual

manuals.online logo
manuals.online logoBrands
  • About & Mission
  • Contact us
  • Privacy Policy
  • Terms and Conditions

Copyright 2025 Manuals.Online. All Rights Reserved.

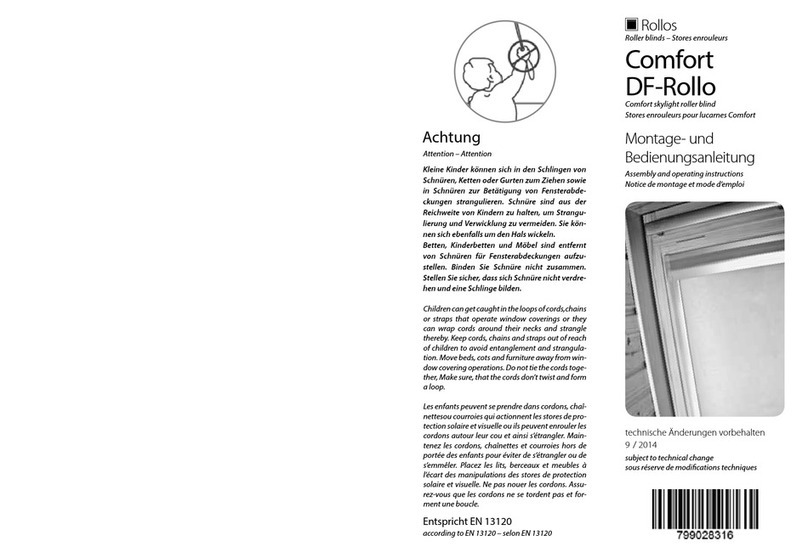
Comfort
DF-Rollo
Rollos
für Velux-Fenster 96°
E Demontage
7
Montage- und
Bedienungsanleitung
subject to technical change
sous réserve de modications techniques
technische Änderungen vorbehalten
9 / 2014
Assembly and operating instructions
Notice de montage et mode d’emploi
Roller blinds – Stores enrouleur
Comfort skylight roller blind for Velux windows with 96°
Stores enrouleurs pour lucarnes Comfort pour
fenêtres Velux 96°
Dismantling – Démontage
Zusammenfassung:
• Schieben Sie die Unterleiste vollständig nach oben
• Klicken Sie die Transportclips zwischen die Kassette und die Unterleiste
• Ziehen Sie die Kordelspanner aus den Seitenführungen
• Bauen Sie die Seitenführungen ab
• Bauen Sie die Kassette mit Hilfe eines Schraubendrehers ab, den Sie zwischen
das Dachfenster und die Blende des Rollos schieben
• Entfernen Sie die Rolloträger
Um das Comfort-DF-Rollo vollständig abzubauen, arbeiten Sie die einzel-
nen Schritte dieser Montageanleitung in umgekehrter Reihenfolge ab.
Follow the single steps of this assembly and operating instruction in reversed order to dismantle
the Comfort skylight roller blind
Suivre les étapes de cette notice de montage dans l‘ordre inverse pour demonter le store enrouleur
pour lucarne Comfort.
SUMMARY:
• Push the bottom rail upwards
• Click the transport clips between the cassette and the bottom rail
• Remove the cord tensioners from the guiding rail
• Dismantle the prole guidings
• Dismantle the cassette with the help of a screwdriver, which you have to push between the skylight and the
roller blind cover
• Remove the roller blind support
RÉSUMÉE:
• Pousser le prolé inférieur vers le haut
• Encliqueter les clips de transports entre la cassette et le prolé inférieur
• Retirer les tendeurs de cordon des prolés de guidages
• Démonter les prolés de guidages
• Démonter la cassette à l‘aide d‘un tournevis, qui vous devez pousser entre lucarne et le cache du store
enrouleur
• Enlever les supports de store enrouleur
Entspricht EN 13120
Achtung
Kleine Kinder können sich in den Schlingen von
Schnüren, Ketten oder Gurten zum Ziehen sowie
in Schnüren zur Betätigung von Fensterabde-
ckungen strangulieren. Schnüre sind aus der
Reichweite von Kindern zu halten, um Strangu-
lierung und Verwicklung zu vermeiden. Sie kön-
nen sich ebenfalls um den Hals wickeln.
Betten, Kinderbetten und Möbel sind entfernt
von Schnüren für Fensterabdeckungen aufzu-
stellen. Binden Sie Schnüre nicht zusammen.
Stellen Sie sicher, dass sich Schnüre nicht verdre-
hen und eine Schlinge bilden.
Attention – Attention
Children can get caught in the loops of cords,chains
or straps that operate window coverings or they
can wrap cords around their necks and strangle
thereby. Keep cords, chains and straps out of reach
of children to avoid entanglement and strangula-
tion. Move beds, cots and furniture away from win-
dow covering operations. Do not tie the cords toge-
ther, Make sure, that the cords don’t twist and form
a loop.
Les enfants peuvent se prendre dans cordons, chaî-
nettesou courroies qui actionnent les stores de pro-
tection solaire et visuelle ou ils peuvent enrouler les
cordons autour leur cou et ainsi s’étrangler. Main-
tenez les cordons, chaînettes et courroies hors de
portée des enfants pour éviter de s’étrangler ou de
s’emmêler. Placez les lits, berceaux et meubles à
l’écart des manipulations des stores de protection
solaire et visuelle. Ne pas nouer les cordons. Assu-
rez-vous que les cordons ne se tordent pas et for-
ment une boucle.
according to EN 13120 – selon EN 13120
A Montage bei Velux mit Pick&Click
1 2
• Nehmen Sie die Kassette in beide
Hände und drücken Sie diese
gleichzeitig in beide Clips
• Drücken Sie die Clips auf die Träger
• Vorhandene Pick&Click-Träger
Beispiel Holzfenster
• Vorhandene Pick&Click-Träger
Beispiel Kunststofenster
Das Comfort-DF-Rollo muss im geschlossenen Zustand bleiben, die Trans-
portclips mit der aufgewickelten Schnur noch nicht entfernen!
Mounting at Velux windows with Pick&Click – Montage chez fenêtres Velux avec Pick&Click
The Comfort skylight roller blind must be in the closed state, do not remove the transport clips
with the unwinded cord yet.
Le store enrouleur pour fenêtres de toîts Comfort doit rester à l‘état fermé, n‘enlever pas encore les clips
de transport avec la cordon enroulé
• Existing Pick&Click holders
i. e. for wooden windows
• Supports Pick&Click existants
par ex. pour fenêtres en bois
• Existing Pick&Click holders
i. e. for synthetic windows
• Supports Pick&Click existants
par ex. pour fenêtres en plastique
• Push the clips onto the holders
• Pousser les clips sur les supports
• Take the cassette with both hands and push it
at the same time into the two bearings.
• Prendre la cassette avec les deux mains et la
pousser en même temps dans les supports
C Kassette montieren
• Nehmen Sie die Kassette in beide
Hände und drücken Sie diese
gleichzeitig in beide Clips
• Die Vorderseite der Kassette muss dabei am Rahmen anliegen
4
• Befestigen Sie die Clips mit den
beiliegeneden Schrauben
B Montage bei Velux-Fenstern mit anderen oder keinen Trägern
• Entfernen Sie vorsichtig die
ausgesparten Lippen aus den
Metallträgern
• Halten Sie die Träger mit der
Nase an die rechte und linke
Kante des Fensters
• Entfernen Sie bereits vorhan-
dene Träger
3
Mounting at Velux windows with other or without bearings – Montage chez fenêtres Velux avec autres ou aucun supports
• Remove the existing bearings
• Enlever les supports existants
• Remove carefully the omitted lips from
the metal bearings
• Hold the bearing with the nose on the
right and left edge of the window
• Enlever avec circonspection les lèvres
découpes
• Tenir les supports avec les nez sur
la bord droite et gauche de fenêtre • The front side of the cassette must t tightly on the frame.
• La face avant doit être moulant sur le cadre.
Mount the cassette– Monter la cassette
• Fix the clips with the help of the attached screws
• Fixer les clips avec les vis attachés
• Take the cassette with both hands and push it at
the same time into the two bearings.
• Prendre la cassette avec les deux mains et la
pousser en même temps dans les supports
• Passen Sie die Seitenführung ein
und schrauben Sie diese fest
• Entfernen Sie die Schnüre von
den Transportclips.
• Klicken Sie beide Kordelspanner
in den Haltern an der Unterseite
der Seitenführung fest
• Für eine eventuell spätere
Demontage des Rollos bewah-
ren Sie bitte die Transportclips
gut auf
6
D Seitenführungen montieren
• Schieben Sie anschließend die Seitenführungen unter die Kassette
• Achten Sie darauf, dass die Lippe der Unterleiste in der Önung der Seiten-
führung sitzt
• Die Schnüre dürfen keinesfalls zwischen die Seitenführungen und den Rah-
men gelangen
5
Mount the side guidings – Monter les prolés de montage
• Afterwards, push the side guidings under the cassette.
• Take care, that the lip of the bottom prole is situated in the opening of the side guiding.
• The cords should never get between the guiding rail and the frame.
• Après, pousser les prolés de guidage sous la cassette.
• Faire attention que la lèvre du support inféreur est située dans l‘orice du prolé de guidage.
• Les cordons ne doivent pas tomber entre les prolés de guidages et le cadre.
• Fit the side guiding in and tighten it
• Ajuster le prolé de guidage et le revisser
• Remove the cords from the transport clips.
• Click the two cord tensioners into the holders on
the bottom side of the side guidings.
• Store the transport clips for a later dismantling
of the roller blinds
• Enlever les cordon du clips de transport
• Encliqueter les deux tenseurs de cordon
dans les supports à l‘inférieur de
prolé de guidage
• Garder les clips de transport pour
• une ultérieur démontage des stores
enrouleurs