manuals.online logo
Brands
  1. Home
  2. •
  3. Brands
  4. •
  5. Rollos
  6. •
  7. Window Blind
  8. •
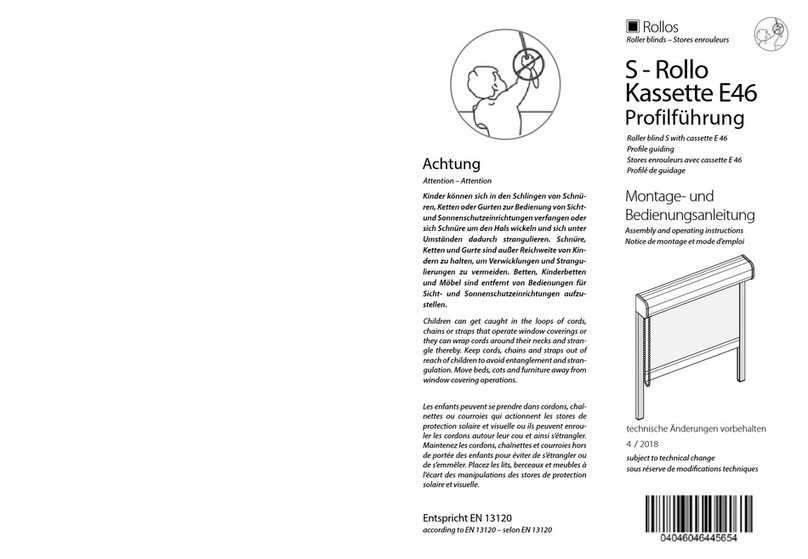
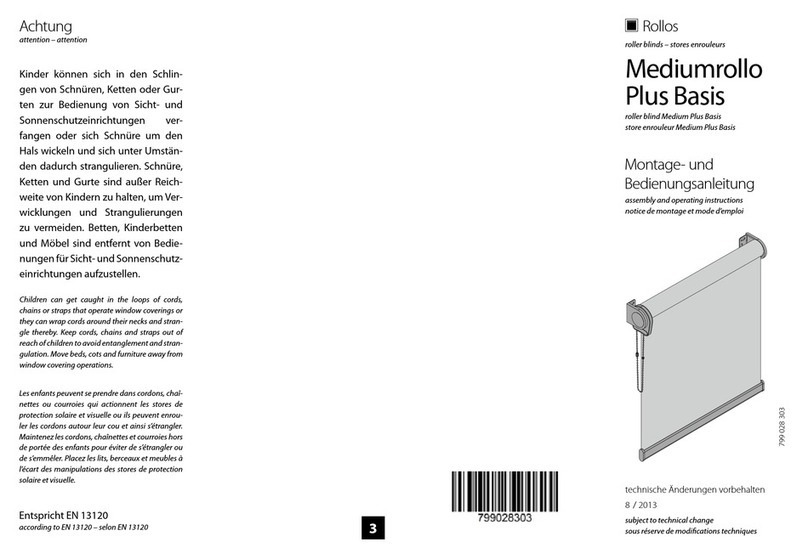
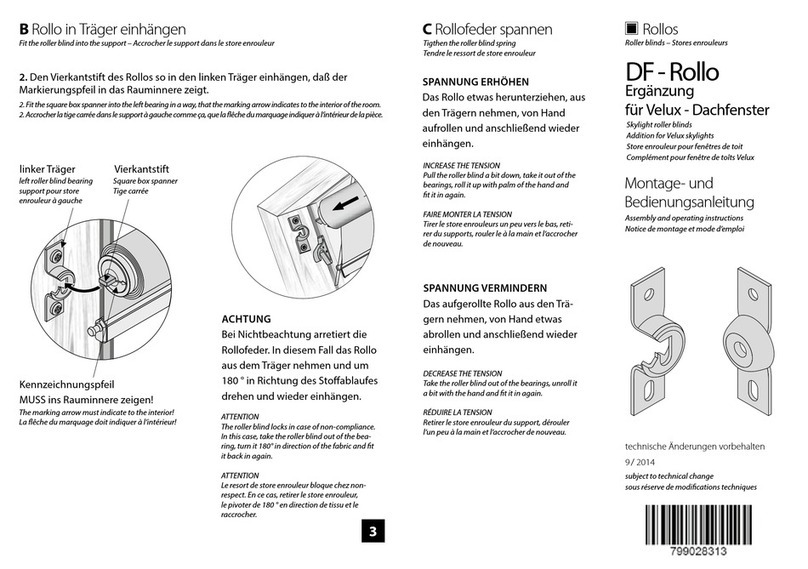
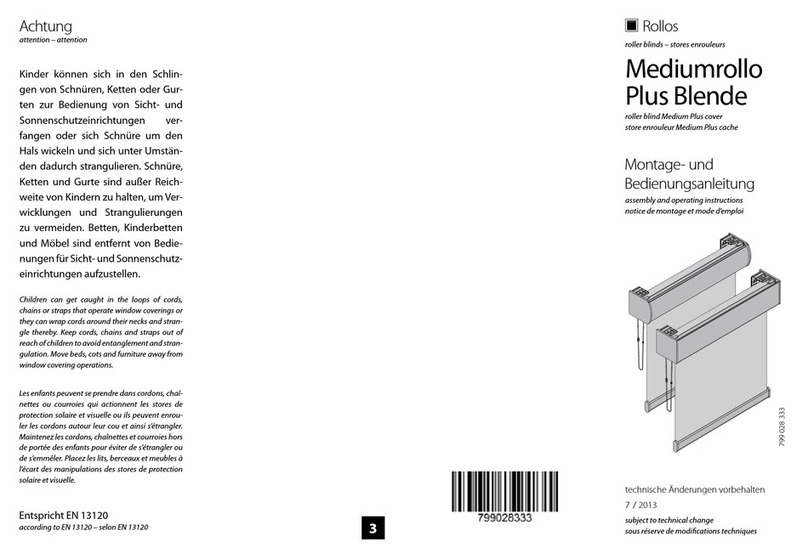
  9. Rollos XL Basis User manual

Rollos XL Basis User manual

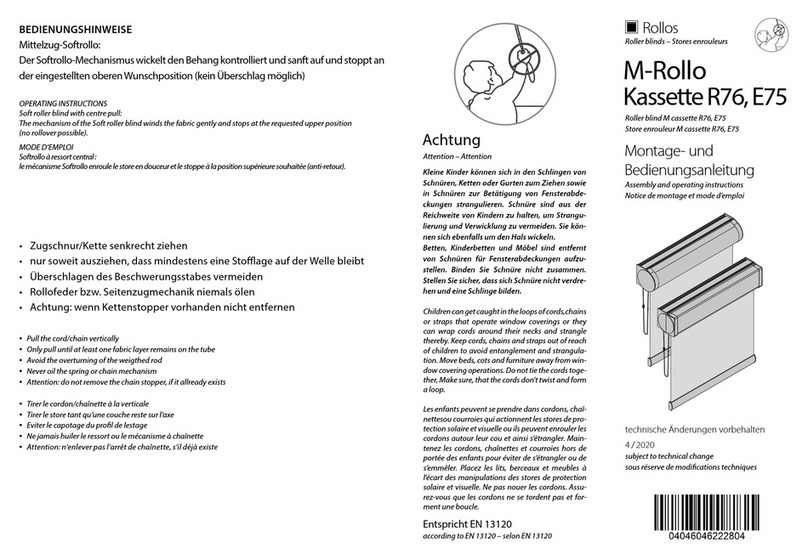
Assembly and operating instructions
Notice de montage et mode d’emploi
subject to technical change
sous réserve de modications techniques
Roller blinds – Stores enrouleurs
technische Änderungen vorbehalten
4 / 2018
Montage- und
Bedienungsanleitung
Rollos
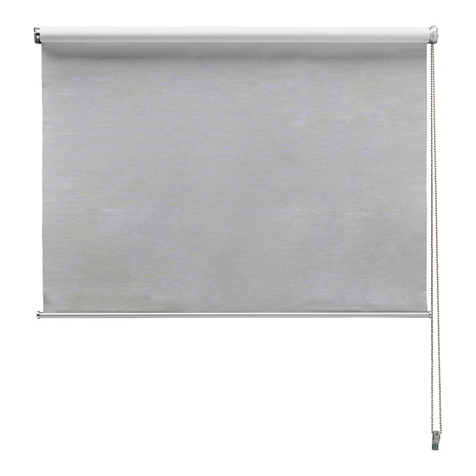
Roller blind XL Basis
Store enrouleur XL Basis
Entspricht EN 13120
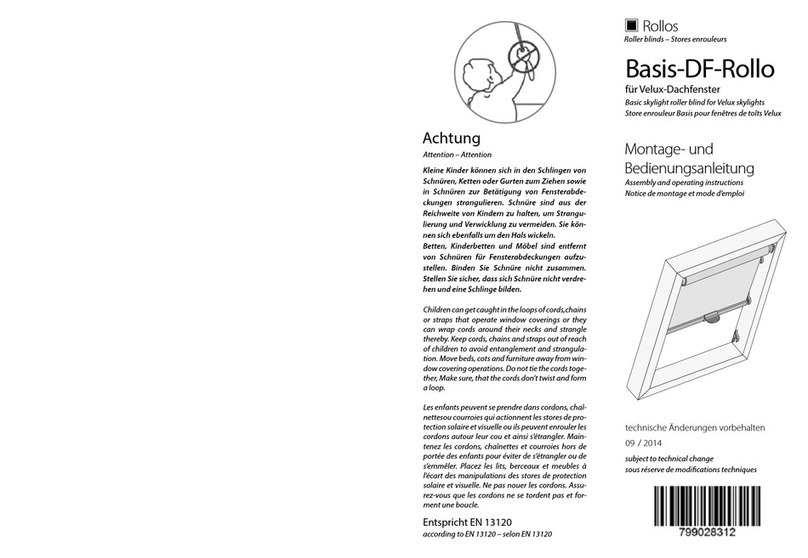
Achtung
Kleine Kinder können sich in den Schlingen von
Schnüren, Ketten oder Gurten zum Ziehen sowie
in Schnüren zur Betätigung von Fensterabde-
ckungen strangulieren. Schnüre sind aus der
Reichweite von Kindern zu halten, um Strangu-
lierung und Verwicklung zu vermeiden. Sie kön-
nen sich ebenfalls um den Hals wickeln.
Betten, Kinderbetten und Möbel sind entfernt
von Schnüren für Fensterabdeckungen aufzu-
stellen. Binden Sie Schnüre nicht zusammen.
Stellen Sie sicher, dass sich Schnüre nicht verdre-
hen und eine Schlinge bilden.
Attention – Attention
Children can get caught in the loops of cords,chains
or straps that operate window coverings or they
can wrap cords around their necks and strangle
thereby. Keep cords, chains and straps out of reach
of children to avoid entanglement and strangula-
tion. Move beds, cots and furniture away from win-
dow covering operations. Do not tie the cords toge-
ther, Make sure, that the cords don’t twist and form
a loop.
Les enfants peuvent se prendre dans cordons, chaî-
nettesou courroies qui actionnent les stores de pro-
tection solaire et visuelle ou ils peuvent enrouler les
cordons autour leur cou et ainsi s’étrangler. Main-
tenez les cordons, chaînettes et courroies hors de
portée des enfants pour éviter de s’étrangler ou de
s’emmêler. Placez les lits, berceaux et meubles à
l’écart des manipulations des stores de protection
solaire et visuelle. Ne pas nouer les cordons. Assu-
rez-vous que les cordons ne se tordent pas et for-
ment une boucle.
according to EN 13120 – selon EN 13120
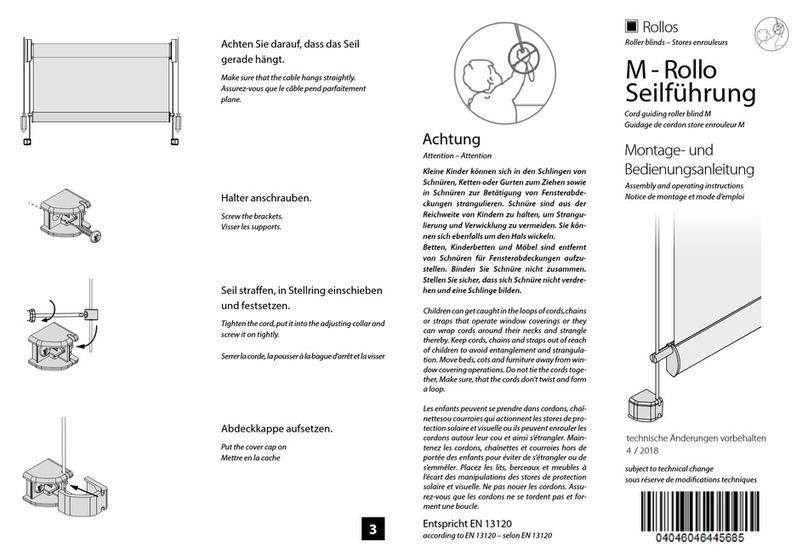
XL - Rollo
Basis
AAllgemeine Hinweise
MONTAGEHINWEISE
• Stoablauf zumeist fensterseitig
• zwischen Träger und Welle ca. 2 mm Spiel berücksichtigen
• zum genauen waagerechten Ausrichten der Metallträger Kunststo-Unter-
legscheiben in gewünschte Position drehen
BEDIENUNGSHINWEISE
• Nur soweit ausziehen, dass mindestens eine Stoage auf der Welle bleibt
• Überschlagen der Unterleiste vermeiden
• Seitenzugmechanik niemals ölen
• Achtung: wenn Kettenstopper vorhanden nicht entfernen
12
General advice – Indications générales
ASSEMBLY INSTRUCTIONS
• fabric passes on the window side consider a distance of 2 mm between bracket and tube
• for the horizontal adjusting of the metal brackets turn the spacing washer into the desired position
INDICATIONS DE MONTAGE
• déroulement du tissu sur la côte de fenêtre
• considérer un espacement de 2 mm entre support et axe
• pour l‘ajustement horizontale des supports métallique tourner les rondelles dans la position désirée
OPERATING INSTRUCTIONS
• Only pull until at least one fabric layer remains on the tube
• Avoid the overturning of the weigthed rod
• Never oil the spring or chain mechanism
• Attention: do not remove the chain stopper, if it allready exists
MODE D‘EMPLOI
• Tirer le store tant qu‘une couche reste sur l‘axe
• Eviter le capotage du prol de lestage
• Ne jamais huiler le ressort ou le mécanisme à chaînette
• Attention: n‘enlever pas l‘arrêt de chaînette, s‘il déjà existe
4
3
Ø 52 mm
Ø 65 mm
BMontagevarianten
WAND / NISCHENMONTAGE
• auf ausreichenden Abstand zur Decke achten, da Rollo über Träger hinaus-
ragt (siehe untenstehende Abbildung)
• Bedienseite des aufgerollten Rollo auf Metalllasche stecken
• gegenüberliegende Seite mit oenem Gegenlager nach hinten auf Metallla-
sche schieben (Splint entfernen)
• anschließend mit Splint verschließen und Endkappen aufstecken
Metalllasche
metal ap
patte métallique
Splint
pin – goupille
Bohrmaß = Bestellmaß – 28 mm
Drilling measure = ordered measure - 28 mm
Mesure de perçage = mesure de commande - 28 mm
Installation options – Options de montage
WALL / NICHE FIXATION
• respect a sucient distance to the ceiling as the blind is wider than the brackets (see illustration below)
• put the operation side of the unrolled blind on the metal ap
• lift up the opposite side with the opened end plug und put it from the top on the metal ap (remove pin)
• close it afterwards with the pin and put the end caps on
FIXATION MURALE / EN EMBRASURE
• respecter une distance susante au plafond, car le store et plus large que les supports (vois image en bas)
• mettre la côté d’opération du store enroulé sur la patte métallique
• soulever la côté opposite avec le mécanisme butée et pousser-le d’en haut sur la patte métallique (enlever la
goupille)
• enn fermer avec la goupille et mettre les caches
CEILING FIXATION
• respect a sucient distance to the wall
• put the operation side of the unrolled blind on the metal ap
• put the opposite side with the opened end plug from the back on the metal ap (remove pin)
• close it afterwards with the pin
• if the tube is not horizontal, you can correct that with a hexagon key (4mm) and the adjustable screw (± 6mm
• Put the end caps on
FIXATION PLAFOND
• respecter une distance susante au mur
• mettre la côté d’opération du store enroulé sur la patte métallique
• pousser la côté opposite avec le mécanisme butée en arrière sur la patte métallique (enlever la goupille)
• enn fermer avec la goupille
• si l‘axe n‘est pas à l‘horizontale on peut corriger ça avec une clé imbus (4mm) via la vis d‘ajustage (± 6 mm)
• Mettre les caches
Metalllasche
metal ap – patte métallique
ca. ± 6 mm
Justierschraube
adjusting screw – vis d'ajustage
Splint
pin – goupille
Ø 52 mm
Ø 65 mm
DECKENMONTAGE
• auf ausreichenden Abstand zur Wand achten
• Bedienseite des aufgerollten Rollo auf Metalllasche stecken
• vorgezogene gegenüberliegende Seite mit oenem Gegenlager nach hinten
auf Metalllasche schieben (Splint entfernen)
• anschließend mit Splint verschließen
• falls die Welle nicht in der Waage ist, kann man mit einem Sechskantstift-
schlüssel (4 mm) über die Justierschraube die Welle in Waage bringen (± 6 mm)
• Endkappen aufstecken
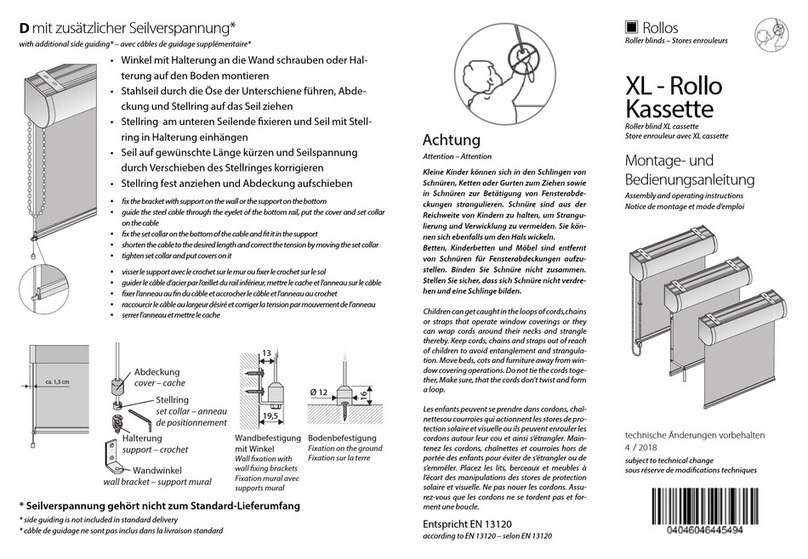
C mit zusätzlicher Seilverspannung*
• Winkel mit Halterung an die
Wand schrauben oder Hal-
terung auf den Boden mon-
tieren
• Stahlseil durch die Öse der
Unterschiene führen, Abde-
ckung und Stellring auf das
Seil ziehen
• Stellring am unteren Seilende
xieren und Seil mit Stellring
in Halterung einhängen
• Seil auf gewünschte Länge
kürzen und Seilspannung
durch Verschieben des Stell-
ringes korrigieren
• Stellring fest anziehen und
Abdeckung aufschieben
* Seilverspannung gehört nicht zum Standard-Lieferumfang
Abdeckung
cover – cache
Wandbefestigung mit Winkel
wall xation with bracket
xation murale avec support
Bodenbefestigung
bottom xation
xation au fond
Stellring
set collar – anneau
de positionnement
Halterung
support – crochet
Wandwinkel
wall bracket – support mural
13
Ø 12
16
19,5
5
with additional side guiding* – avec câbles de guidage supplémentaire*
* side guiding is not included in standard delivery
* câble de guidage ne sont pas inclus dans la livraison standard
• x the bracket with support on the wall or x
the support on the bottom
• guide the steel cable through the eyelet of the
bottom rail, put the cover and set collar on the
cable
• x the set collar on the bottom of the cable and
t it in the support
• shorten the cable to the desired length and cor-
rect the tension by moving the set collar
• tighten set collar and put covers on it
• visser le support avec le crochet sur le mur ou
xer le crochet sur le sol
• guider le câble d’acier par l’œillet du rail inféri-
eur, mettre le cache et l’anneau sur le câble
• xer l’anneau au n du câble et accrocher le
câble et l’anneau au crochet
• raccourcir le câble au largeur désiré et corriger
la tension par mouvement de l’anneau
• serrer l’anneau et mettre le cache
Wandbefestigung
Wall xation
Fixation mural
Deckenbefestigung
Ceiling xation
Fixation au plafond
1
2
3
1
2
3
1
2
3
2
1
2
3
6

Other Rollos Window Blind manuals

Rollos S-Nanorollo V2 Planning guide

Rollos

Rollos S-Nanorollo V2 Planning guide

Rollos Doppelrollo User manual

Rollos

Rollos Doppelrollo User manual

Rollos Roller blind S with cassette E46 Planning guide

Rollos

Rollos Roller blind S with cassette E46 Planning guide

Rollos Roller blind M cassette R76 User manual

Rollos

Rollos Roller blind M cassette R76 User manual

Rollos Medium Plus Basis User manual

Rollos

Rollos Medium Plus Basis User manual

Rollos M User manual

Rollos

Rollos M User manual

Rollos Comfort DF-Rollo User manual

Rollos

Rollos Comfort DF-Rollo User manual

Rollos Comfort DF-Rollo User manual

Rollos

Rollos Comfort DF-Rollo User manual

Rollos M-Rollo User manual

Rollos

Rollos M-Rollo User manual

Rollos Basis-DF-Rollo User manual

Rollos

Rollos Basis-DF-Rollo User manual

Rollos Medium Plus User manual

Rollos

Rollos Medium Plus User manual

Rollos Medium Plus User manual

Rollos

Rollos Medium Plus User manual

Rollos Basis-DF-Rollo User manual

Rollos

Rollos Basis-DF-Rollo User manual

Rollos XL Cassette User manual

Rollos

Rollos XL Cassette User manual

Rollos DF-Rollo User manual

Rollos

Rollos DF-Rollo User manual

Rollos Midirollo Basis User manual

Rollos

Rollos Midirollo Basis User manual

Popular Window Blind manuals by other brands

Victoria M SYSTEM VS 2 Original instructions

Victoria M

Victoria M SYSTEM VS 2 Original instructions

FAAC TM2 E manual

FAAC

FAAC TM2 E manual

Isotra SCREEN ZIP Technical manual

Isotra

Isotra SCREEN ZIP Technical manual

Erfal Creativ plus Assembly instructions

Erfal

Erfal Creativ plus Assembly instructions

Velux MSL manual

Velux

Velux MSL manual

Kogan SMARTERHOME KASMARTBLIB user guide

Kogan

Kogan SMARTERHOME KASMARTBLIB user guide

Roto NT Designo II Adjustment

Roto

Roto NT Designo II Adjustment

Comfort Blinds Cordless Roman installation instructions

Comfort Blinds

Comfort Blinds Cordless Roman installation instructions

VENETA 65101-10242-G installation instructions

VENETA

VENETA 65101-10242-G installation instructions

Screen Innovations Nano Box installation instructions

Screen Innovations

Screen Innovations Nano Box installation instructions

Levolor Riviera Blind instruction manual

Levolor

Levolor Riviera Blind instruction manual

Cosiflor VS 2 Slide Assembly instruction

Cosiflor

Cosiflor VS 2 Slide Assembly instruction

Motion CM-35 Setup guide

Motion

Motion CM-35 Setup guide

Nien Made Cordless Faux Wood Blind Installation & maintenance instructions

Nien Made

Nien Made Cordless Faux Wood Blind Installation & maintenance instructions

Springs Window Fashions AutoView owner's manual

Springs Window Fashions

Springs Window Fashions AutoView owner's manual

Roto ZFA M 6 H/K Series manual

Roto

Roto ZFA M 6 H/K Series manual

Lafayette Heartland Woods Woodland Harvest Series installation instructions

Lafayette

Lafayette Heartland Woods Woodland Harvest Series installation instructions

SelectBlinds Architect installation manual

SelectBlinds

SelectBlinds Architect installation manual

manuals.online logo
manuals.online logoBrands
  • About & Mission
  • Contact us
  • Privacy Policy
  • Terms and Conditions

Copyright 2025 Manuals.Online. All Rights Reserved.