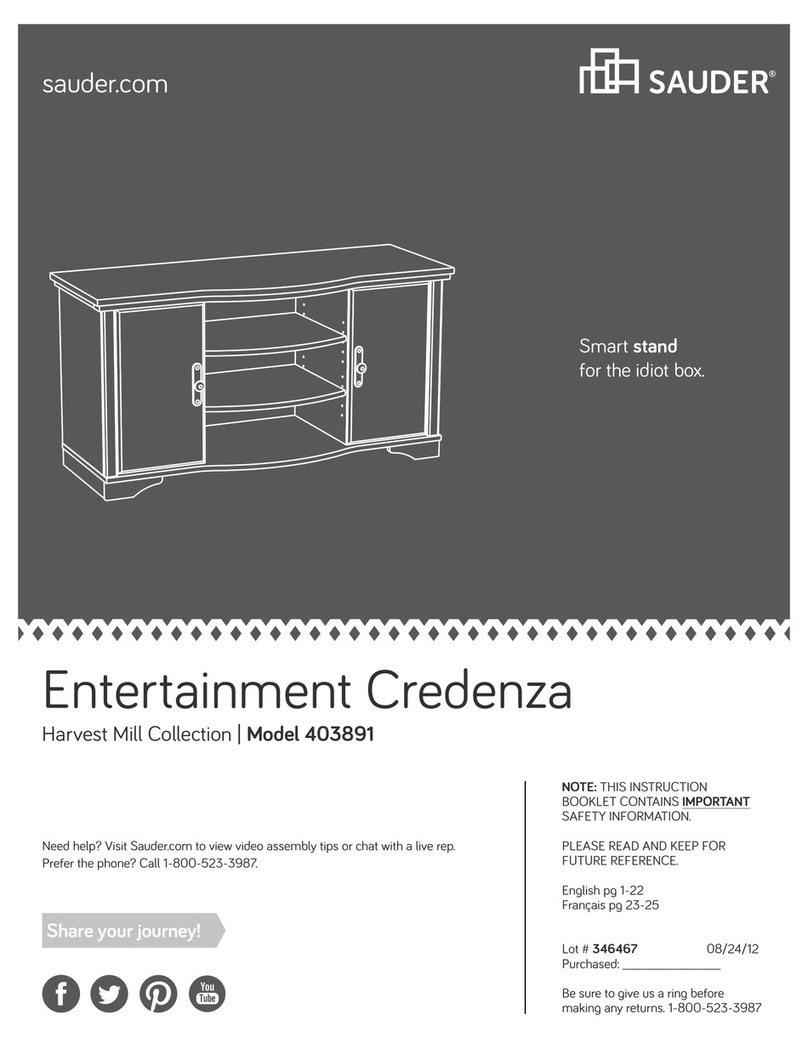
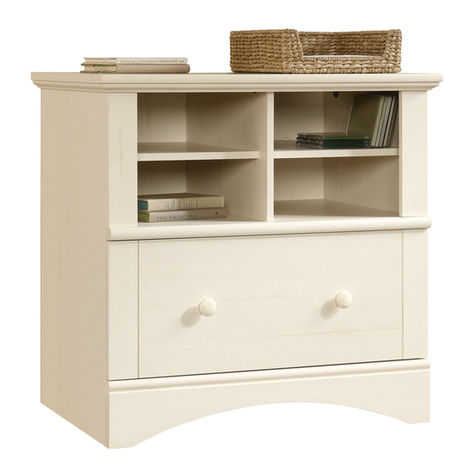
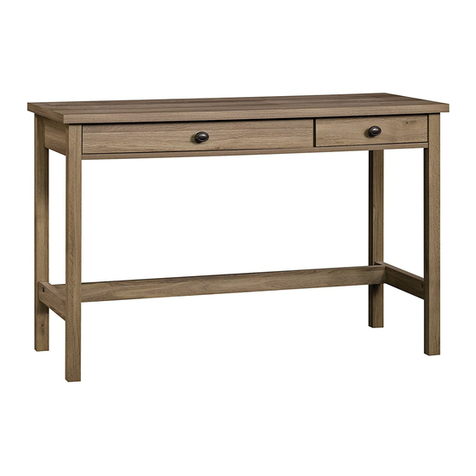
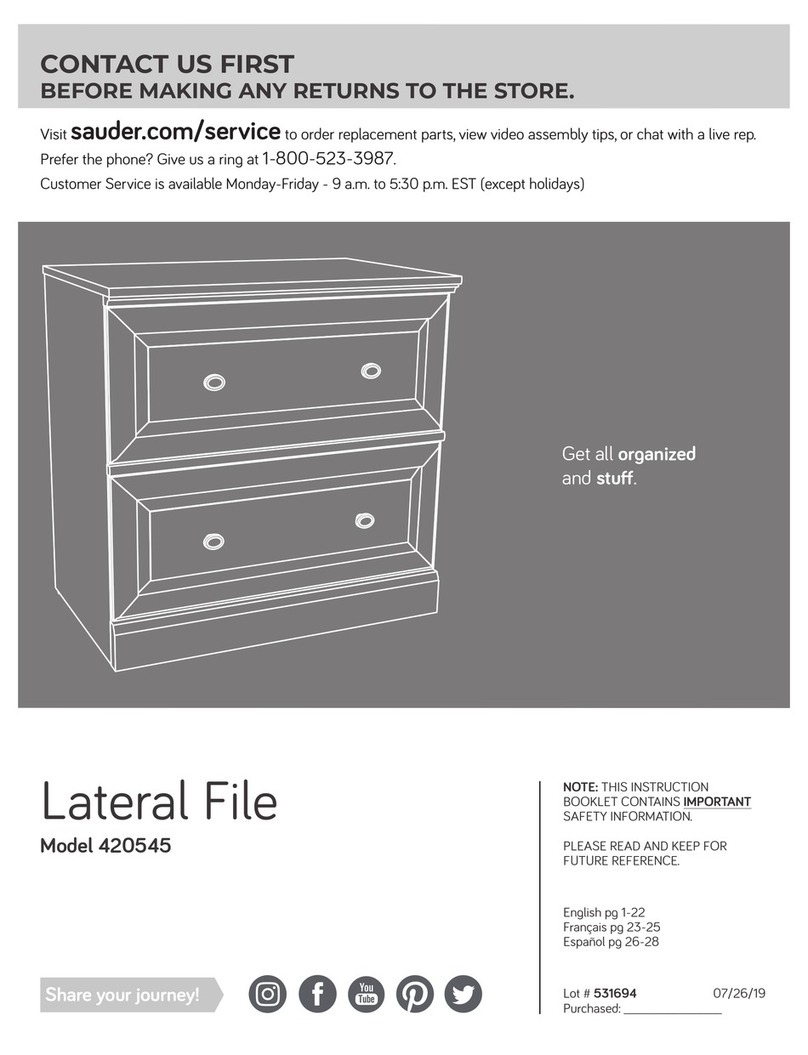
manuals.online logo
Brands
  1. Home
  2. •
  3. Brands
  4. •
  5. Sauder
  6. •
  7. Indoor Furnishing
  8. •
  9. Sauder Cornerstone 404972 User manual

Sauder Cornerstone 404972 User manual

NOTE: THIS INSTRUCTION
BOOKLET CONTAINS IMPORTANT
SAFETY INFORMATION.
PLEASE READ AND KEEP FOR
FUTURE REFERENCE.
English pg 1-43
Français pg 44-49
Español pg 50-55
Lot # 364754 10/30/14
Purchased: __________________
Be sure to give us a ring before
making any returns. 1-800-523-3987
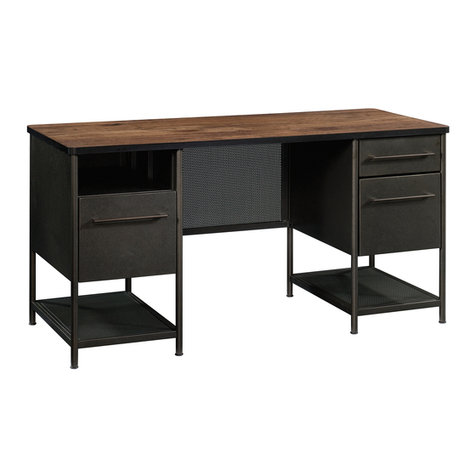
Executive Desk
Cornerstone Collection | 404972
Need help? Visit Sauder.com to view video assembly tips or chat with a live rep.
Prefer the phone? Call 1-800-523-3987.
Share your journey!
sauder.com
Get executive
with this decision.
Table of Contents Assembly Tools Required
2-3
4-5
6-43
44-49
50-55
56-58
59
Part Identification
Hardware Identification
Assembly Steps
Français
Español
Safety
Warranty
Hammer
Not actual size
No. 2 Phillips Screwdriver
Tip Shown Actual Size
Skip the power trip.
This time.
404972 www.sauder.com/servicesPage 2
Part Identification
åWhile not all parts are labeled, some of the parts will have a label or an inked letter on the edge
to help distinguish similar parts from each other. Use this part identification to help identify similar parts.
A RIGHT END (1)
B LEFT END (1)
C RIGHT UPRIGHT (1)
D2 LEFT UPRIGHT (1)
E TOP (1)
F BOTTOM (2)
G MODESTY PANEL (1)
H FIXED SHELF (1)
I LARGE RIGHT DRAWER FRONT (1)
J LARGE LEFT DRAWER FRONT (1)
O SMALL RIGHT DRAWER FRONT (1)
P SMALL LEFT DRAWER FRONT (1)
U MOLDING (2)
V RETURN MOLDING (1)
D18 SMALL RIGHT DRAWER SIDE (2)
D19 SMALL LEFT DRAWER SIDE (2)
D74 SMALL DRAWER BACK (2)
D78 LARGE DRAWER BACK (2)
D88 LARGE LEFT DRAWER SIDE (2)
D447 LARGE RIGHT DRAWER SIDE (2)
D707 SMALL DRAWER BOTTOM (2)
D708 LARGE DRAWER BOTTOM (2)
Part Identification Now you know
our ABCs.
404972www.sauder.com/services Page 3
A
B
C
D2
E
F
G
H
J
D78 D447
D88
D708
P
D74 D18
D19
D707
U
V
F
U
I
D78 D447
D88
D708
O
D74 D18
D19
D707
Hardware Identification
åScrews are shown actual size. You may receive extra hardware with your unit.
404972 www.sauder.com/servicesPage 4
(EXTENSION SET SHOWN SEPARATED)
LONG EXTENSION
RAIL - 4
XLONG EXTENSION
SLIDE - 4
Y
BB EXTENSION
SLIDE - 4
AA EXTENSION
RAIL - 4
(EXTENSION SET SHOWN SEPARATED)
FILE ROD - 4
CC
LONG SUPPORT ROD - 1
EE
SUPPORT ROD - 1
DD
GG TWIST-LOCK®
FASTENER - 32 METAL BRACKET -12
4G
GROMMET - 2
KK GROMMET CAP - 2
LL MM SLIDE CAM - 8
LEVELER - 4
OO PROPEL NUT - 4
PP METAL PIN - 4
QQ
TOUCH-UP PEN - 1
TT
TURNBUCKLE - 1
FF
FILE CLIP - 8
II
LEVELER
BRACKET - 4
NN
LOCK - 1
ZZ LOCK COVER - 1
AAA LOCK BRACKET - 1
SS2
CORNER BLOCK - 4
WFILE GLIDE - 4
6B
Hardware Identification
åScrews are shown actual size. You may receive extra hardware with your unit.
404972www.sauder.com/services Page 5
BLACK 9/16" LARGE HEAD SCREW - 24
UU
BROWN 7/16" LARGE HEAD SCREW - 1
WW
XX GOLD 5/16" FLAT HEAD SCREW - 32
SILVER 3/4" PAN HEAD SCREW - 2
BBB
SILVER 9/16" PAN HEAD SCREW - 4
VV
30S BLACK 1-9/16" FLAT HEAD SCREW - 16
Step 1 Look for this icon. It means a
video assembly tip is available at
www.sauder.com/services/tips
å Assemble your unit on a carpeted floor or on the empty
carton to avoid scratching your unit or the floor.
å To begin assembly, push a SAUDER TWIST-LOCK®
FASTENER (GG) into the large holes in the ENDS (A and B).
Repeat this step for the UPRIGHTS (C and D), TOP (E), and
both BOTTOMS (F).
å NOTE: Do not push any TWIST-LOCK® FASTENERS into
the holes in the MODESTY PANEL (G) at this time.
404972 www.sauder.com/servicesPage 6
(26 used)
GG
Do not tighten the TWIST-LOCK® FASTENERS in this step.
A
B
å Fasten the CORNER BLOCKS (W) to the TOP (E). Tighten
four TWIST-LOCK® FASTENERS.
Step 2
404972www.sauder.com/services Page 7
How to use the SAUDER TWIST-LOCK®FASTENER
1. Insert the dowel end of the FASTENER into the hole of the
adjoining part.
NOTE: The dowel end of the FASTENER must remain fully
inserted in the hole of the adjoining part while locking
the FASTENER.
2. Tighten the FASTENER with a Phillips screwdriver as tight
as possible.
Dowel end
Flat surface
Flat surface
Flat surface
Flat surface
E
W
W
W
W
Remember:
Righty tighty.
Lefty loosey.
Step 3
å You have the choice of assembling this unit three ways:
å 1. Drawers on right and left sides. Follow steps 4-13, then
continue with step 32.
å 2. Drawers on the right side only, so the 404379 or
404380 Return can be fastened to the left side. Follow
steps 14-21, then continue with step 32.
å 3. Drawers on the left side only, so the 404379 or
404380 Return can be fastened to the right side. Follow
steps 22-39.
404972 www.sauder.com/servicesPage 8
Drawers on both sides of the desk.
Continue with steps 4 through 13.
(then go to Step 32)
Drawers on the right side of the desk.
Continue with steps 14 through 21.
(then go to Step 32)
Drawers on the left side of the desk.
Continue with steps 22 through 39.
404972
404972
404972
404379 or 404380
404379 or 404380
å Separate the EXTENSION SLIDES (Y and BB) from the
EXTENSION RAILS (X and AA) as shown in the upper diagram
below. Be prepared, the parts are greasy.
å Fasten the EXTENSION RAILS (X and AA) to the ENDS (A and B)
and UPRIGHTS (C and D2). Use sixteen GOLD 5/16" FLAT
HEAD SCREWS (XX).
å NOTE: For each EXTENSION RAIL, turn a SCREW into the hole
shown in the enlarged diagram. Then, slide the inner cartridge of
the EXTENSION RAIL out to find the other hole that lines up with
the hole in the END. Turn a SCREW into this hole.
Step 4
404972www.sauder.com/services Page 9
Drawers on both sides of the desk
GOLD 5/16" FLAT HEAD SCREW
(16 used in this step)
XX
Open end
Finished edge
Open end
Open end
Finished edge
Open end
C
A
D2
B
X
X
X
X
Push the black lever in and pull the SLIDE from the RAIL.
AA
AAAA
AA
Open end
Use the exact holes shown.
Step 5
å Fasten the RIGHT END (A) to the TOP (E). Tighten three
TWIST-LOCK® FASTENERS.
å Fasten the BOTTOM (F) to the RIGHT END (A). Tighten
two TWIST-LOCK® FASTENERS.
404972 www.sauder.com/servicesPage 10
These holes must be here.
Finished edge
Surface with TWIST-LOCK® FASTENERS
A
F
E
Drawers on both sides of the desk
å Fasten the RIGHT UPRIGHT (C) to the TOP (E) and
BOTTOM (F). Tighten four TWIST-LOCK® FASTENERS.
å Fasten the LEFT UPRIGHT (D2) to the TOP (E). Tighten
two TWIST-LOCK® FASTENERS.
Step 6
404972www.sauder.com/services Page 11
F
E
C
D2
Finished edge
Finished edge
Drawers on both sides of the desk
Step 7
å Slide the LONG SUPPORT ROD (EE) through the LEFT UPRIGHT (D2).
å Now, fasten the LONG SUPPORT ROD (EE) to the TOP (E). Use two
SILVER 9/16" PAN HEAD SCREWS (VV).
404972 www.sauder.com/servicesPage 12
SILVER 9/16" PAN HEAD SCREW
(2 used in this step)
VV
EE
D2
E
Drawers on both sides of the desk
å Insert four METAL PINS (QQ) into the FIXED SHELF (H).
å Insert the METAL PINS (QQ) in one end of the FIXED
SHELF (H) into the holes in the LEFT UPRIGHT (D2).
å Fasten the other BOTTOM (F) to the LEFT UPRIGHT (D2).
Tighten two TWIST-LOCK® FASTENERS.
Step 8
404972www.sauder.com/services Page 13
QQ
D2
H
Surface with TWIST-LOCK® FASTENERS
F
(4 used)
Finished edge
Drawers on both sides of the desk
Step 9
å Fasten the LEFT END (B) to the TOP (E) and BOTTOM (F).
Tighten five TWIST-LOCK® FASTENERS.
å NOTE: Be sure the METAL PINS in the FIXED SHELF (H)
insert into the holes in the LEFT END.
404972 www.sauder.com/servicesPage 14
H
F
E
B
Hey! It's starting to look
like something!
Drawers on both sides of the desk
å Slide the SUPPORT ROD (DD) through the RIGHT UPRIGHT (C).
å Turn the TURNBUCKLE (FF) several turns onto the LONG SUPPORT
ROD (EE). Turn the SUPPORT ROD (DD) into the other end of the
TURNBUCKLE several turns.
å NOTE: If the TURNBUCKLE will not turn onto the threads, use the other
end of the TURNBUCKLE. Turn the TURNBUCKLE onto the RODS until
the holes in the SUPPORT ROD (DD) line up with the holes in the TOP (E).
å Now, fasten the SUPPORT ROD (DD) to the TOP (E). Use two SILVER
9/16" PAN HEAD SCREWS (VV).
å Hand tighten the TURNBUCKLE until it is snug. Now, use your screwdriver
to tighten the TURNBUCKLE another 1/4 turn.
å NOTE: Tighten the TURNBUCKLE more if the TOP ever begins to sag.
Step 10
404972www.sauder.com/services Page 15
SILVER 9/16" PAN HEAD SCREW
(2 used in this step)
VV
E
C
FF
DD
EE
Drawers on both sides of the desk
Step 11
å Fasten ten METAL BRACKETS (HH) to the TOP (E). Use
ten BLACK 9/16" LARGE HEAD SCREWS (UU).
å Fasten the MOLDINGS (U) to the TOP (E). Use ten BLACK
9/16" LARGE HEAD SCREWS (UU).
å NOTE: There are no pre-drilled holes in the MOLDINGS.
The SCREWS will tighten into the grooves.
404972 www.sauder.com/servicesPage 16
BLACK 9/16" LARGE HEAD SCREW
(20 used in this step)
UU
Flat edge
Flat edge
U
E
U
HH
HH
(10 used)
Drawers on both sides of the desk
å Insert the dowel end of six TWIST-LOCK® FASTENERS (GG)
into the RIGHT END (A) and LEFT END (B) as shown in the
enlarged diagram.
å NOTE: If you already pushed TWIST-LOCK® FASTENERS
into the large holes in the MODESTY PANEL (G), pull the
FASTENERS back out of the holes. Pull at the front and back
edges, slowly working the FASTENERS out of the holes.
å Push the MODESTY PANEL (G) onto the TWIST-LOCK®
FASTENERS in the RIGHT END (A) and LEFT END (B). Now,
tighten ten TWIST-LOCK® FASTENERS in the ENDS (A and B)
and UPRIGHTS (C and D2).
Step 12
404972www.sauder.com/services Page 17
A
G
C
B
A
G
D2
Notch
Drawers on both sides of the desk
Step 13
å Fasten two METAL BRACKETS (HH) to the TOP (E) and
MODESTY PANEL (G). Use four BLACK 9/16" LARGE
HEAD SCREWS (UU).
å Place a LEVELER BRACKET (NN) over each hole in the
bottom edges of the ENDS (A and B).
å Use a hammer to drive a PROPERL NUT (PP) through
each BRACKET and into the holes in the ENDS. Now, turn
a LEVELER (OO) into each of the PROPEL NUTS.
å Carefully stand your unit upright. Go to step 32 and
continue assembly.
404972 www.sauder.com/servicesPage 18
HH
(4 used)
(2 used)
OO
PP
NN
BLACK 9/16" LARGE HEAD SCREW
(4 used for the METAL BRACKETS)
UU
E
A
G
B
Pro Tip: Lift with your
legs. And, you know,
your arms.
Drawers on both sides of the desk
å Separate the EXTENSION SLIDES (Y and BB) from the
EXTENSION RAILS (X and AA) as shown in the upper
diagram below. Be prepared, the parts are greasy.
å Fasten the EXTENSION RAILS (X and AA) to the RIGHT
END (A) and UPRIGHTS (C and D2). Use twelve GOLD
5/16" FLAT HEAD SCREWS (XX).
å NOTE: For each EXTENSION RAIL, turn a SCREW into the
hole shown in the enlarged diagram. Then, slide the inner
cartridge of the EXTENSION RAIL out to find the other
hole that lines up with the hole in the END. Turn a SCREW
into this hole.
Step 14
404972www.sauder.com/services Page 19
GOLD 5/16" FLAT HEAD SCREW
(12 used in this step)
XX
Open end
Finished edge
Open end
Finished edge
Open end
C
A
D2
X
X
X
Push the black lever in and pull the SLIDE from the RAIL.
AA
AAAA
Use the exact
holes shown.
This UPRIGHT will
not be used until the
Return is assembled.
Drawers on right side of the desk
Step 15
å Fasten the RIGHT END (A) to the TOP (E). Tighten three
TWIST-LOCK® FASTENERS.
å Fasten the BOTTOM (F) to the RIGHT END (A). Tighten
two TWIST-LOCK® FASTENERS.
404972 www.sauder.com/servicesPage 20
These holes must be here.
Finished edge
Surface with TWIST-LOCK® FASTENERS
A
F
E
Drawers on right side of the desk

Other Sauder Indoor Furnishing manuals

Sauder New Grange User manual

Sauder

Sauder New Grange User manual

Sauder 419517 User manual

Sauder

Sauder 419517 User manual

Sauder Shoal Creek 411201 User manual

Sauder

Sauder Shoal Creek 411201 User manual

Sauder 420456 User manual

Sauder

Sauder 420456 User manual

Sauder Hammond 423531 User manual

Sauder

Sauder Hammond 423531 User manual

Sauder 422197 User manual

Sauder

Sauder 422197 User manual

Sauder North Avenue 420032 User manual

Sauder

Sauder North Avenue 420032 User manual

Sauder Edge Water Credenza 415321 User manual

Sauder

Sauder Edge Water Credenza 415321 User manual

Sauder Manhattan Gate 429256 User manual

Sauder

Sauder Manhattan Gate 429256 User manual

Sauder 418213 User manual

Sauder

Sauder 418213 User manual
Sauder Worksense BERGEN CIRCLE 426288 User manual

Sauder

Sauder Worksense BERGEN CIRCLE 426288 User manual

Sauder Viabella 420870 User manual

Sauder

Sauder Viabella 420870 User manual

Sauder Harbor View 414941 User manual

Sauder

Sauder Harbor View 414941 User manual

Sauder OFFICE WORKS AFFIRM 427430 User manual

Sauder

Sauder OFFICE WORKS AFFIRM 427430 User manual

Sauder 419198 User manual

Sauder

Sauder 419198 User manual

Sauder WHISKER User manual

Sauder

Sauder WHISKER User manual

Sauder Whitaker Point 429374 User manual

Sauder

Sauder Whitaker Point 429374 User manual

Sauder Briarbrook 430076 User manual

Sauder

Sauder Briarbrook 430076 User manual

Sauder Palladia Collection 412902 User manual

Sauder

Sauder Palladia Collection 412902 User manual

Sauder 408726 User manual

Sauder

Sauder 408726 User manual

Sauder DESIGNER'S IMAGE 430616 User manual

Sauder

Sauder DESIGNER'S IMAGE 430616 User manual

Sauder 414675 User manual

Sauder

Sauder 414675 User manual

Sauder 101702 User manual

Sauder

Sauder 101702 User manual

Sauder Boulevard Cafe 420650 User manual

Sauder

Sauder Boulevard Cafe 420650 User manual

Popular Indoor Furnishing manuals by other brands

Osaki OS4000T installation manual

Osaki

Osaki OS4000T installation manual

JSI CAAV installation instructions

JSI

JSI CAAV installation instructions

Walker Edison AF4DRISA Assembly instructions

Walker Edison

Walker Edison AF4DRISA Assembly instructions

Buffalo Tools SSWTWC36 Assembly instructions

Buffalo Tools

Buffalo Tools SSWTWC36 Assembly instructions

Troy-Bilt TR 2110 quick start guide

Troy-Bilt

Troy-Bilt TR 2110 quick start guide

Patio Sense 61940 Assembly instructions

Patio Sense

Patio Sense 61940 Assembly instructions

Furniture of America CM2815 Assembly instructions

Furniture of America

Furniture of America CM2815 Assembly instructions

STRUCTUBE TANNER Assembly instructions

STRUCTUBE

STRUCTUBE TANNER Assembly instructions

OVE VILLON DL-03F installation manual

OVE

OVE VILLON DL-03F installation manual

Sorelle Portofino 4 in1 Crib Assembly instruction

Sorelle

Sorelle Portofino 4 in1 Crib Assembly instruction

New Classic Furniture B677W-315 Assembly instructions

New Classic Furniture

New Classic Furniture B677W-315 Assembly instructions

BIG FURNITURE WAREHOUSE 114 L WD quick start guide

BIG FURNITURE WAREHOUSE

BIG FURNITURE WAREHOUSE 114 L WD quick start guide

BePureHome ORGANIZE 62CM manual

BePureHome

BePureHome ORGANIZE 62CM manual

BIG FURNITURE WAREHOUSE POLAR G-POLSIDWHT Assembly instructions

BIG FURNITURE WAREHOUSE

BIG FURNITURE WAREHOUSE POLAR G-POLSIDWHT Assembly instructions

Rauch M2067 Assembly instructions

Rauch

Rauch M2067 Assembly instructions

Dunelm York Large Sideboard 30150574 Assembly instructions

Dunelm

Dunelm York Large Sideboard 30150574 Assembly instructions

LDI SAFCO 8915 instructions

LDI

LDI SAFCO 8915 instructions

Claridge Calyx Contio Assembly instructions

Claridge

Claridge Calyx Contio Assembly instructions

manuals.online logo
manuals.online logoBrands
  • About & Mission
  • Contact us
  • Privacy Policy
  • Terms and Conditions

Copyright 2025 Manuals.Online. All Rights Reserved.