Sauder Costa 428193 User manual
Other Sauder Indoor Furnishing manuals

Sauder
Sauder Clifford Place 433360 User manual

Sauder
Sauder 414289 User manual

Sauder
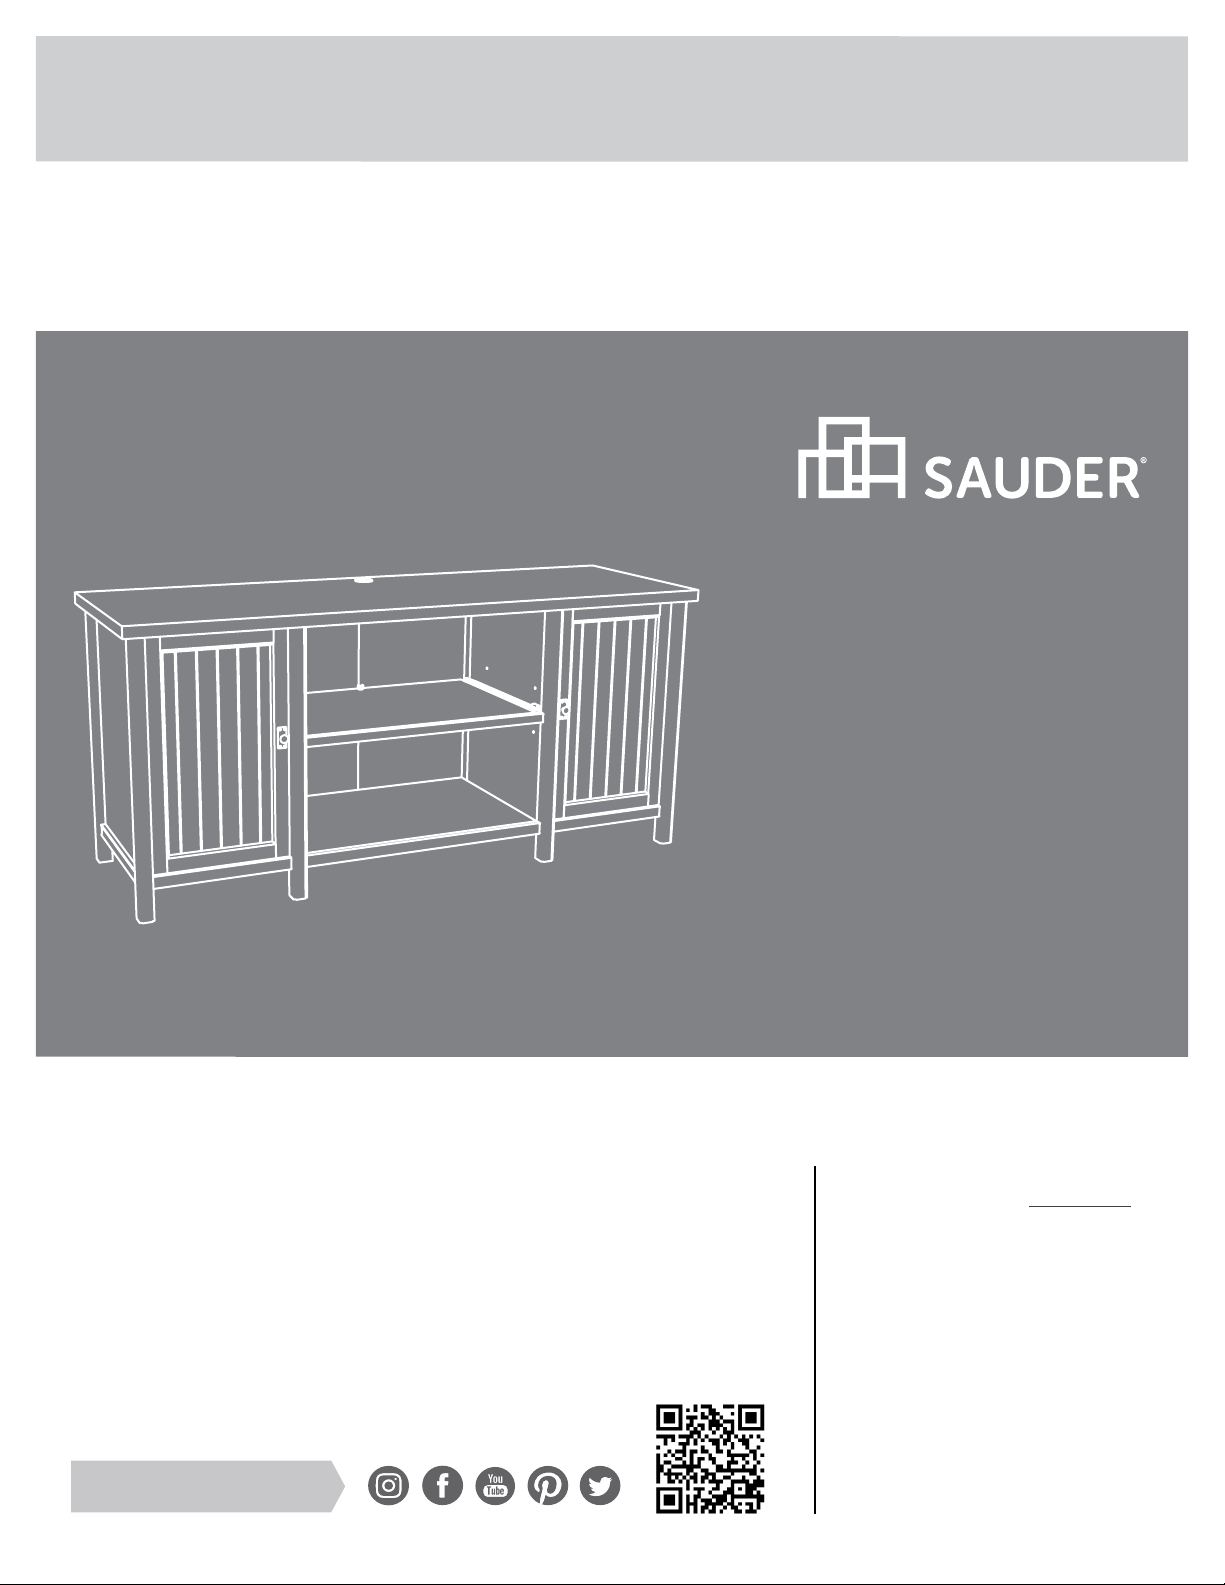
Sauder Entertainment Credenza 403891 User manual

Sauder
Sauder OfficeWorks AFFIRM 427444 User manual

Sauder
Sauder Credenza International Lux 420631 User manual

Sauder
Sauder North Avenue 424933 User manual

Sauder
Sauder Shoal Creek 408924 User manual

Sauder
Sauder 422893 User manual

Sauder
Sauder Whitaker Point 429374 User manual

Sauder
Sauder Shoal Creek 411201 User manual

Sauder
Sauder 409714 User manual

Sauder
Sauder Via 419609 User manual

Sauder
Sauder Shoal Creek 409714 User manual

Sauder
Sauder OfficeWorks AFFIRM 427468 User manual

Sauder
Sauder 414720 User manual

Sauder
Sauder Shoal Creek 408750 User manual

Sauder
Sauder Barrister Lane 414108 User manual

Sauder
Sauder 425024 User manual

Sauder
Sauder Corner Entertainment Credenza 403818 User manual

Sauder
Sauder Orchard Hills Series User manual


Popular Indoor Furnishing manuals by other brands

Regency
Regency LWMS3015 Assembly instructions

Furniture of America
Furniture of America CM7751C Assembly instructions

Safavieh Furniture
Safavieh Furniture Estella CNS5731 manual

PLACES OF STYLE
PLACES OF STYLE Ovalfuss Assembly instruction

Trasman
Trasman 1138 Bo1 Assembly manual

Costway
Costway JV10856 manual