manuals.online logo
Brands
  1. Home
  2. •
  3. Brands
  4. •
  5. Sauder
  6. •
  7. Indoor Furnishing
  8. •
  9. Sauder Palladia 420519 User manual

Sauder Palladia 420519 User manual

Need help? Visit Sauder.com to view video assembly tips or chat with a live rep.
Prefer the phone? Call 1-800-523-3987.
Share your journey!
sauder.com
Gets on your couch’s
good side.
NOTE: THIS INSTRUCTION
BOOKLET CONTAINS IMPORTANT
SAFETY INFORMATION.
PLEASE READ AND KEEP FOR
FUTURE REFERENCE.
English pg 1-23
Français pg 24-26
Español pg 27-29
Lot # 500889 12/14/16
Purchased: __________________
Be sure to give us a ring before
making any returns. 1-800-523-3987
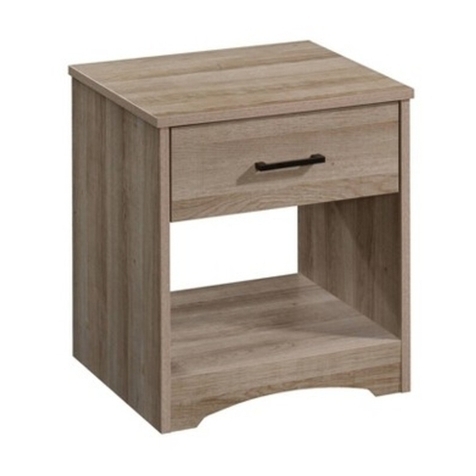
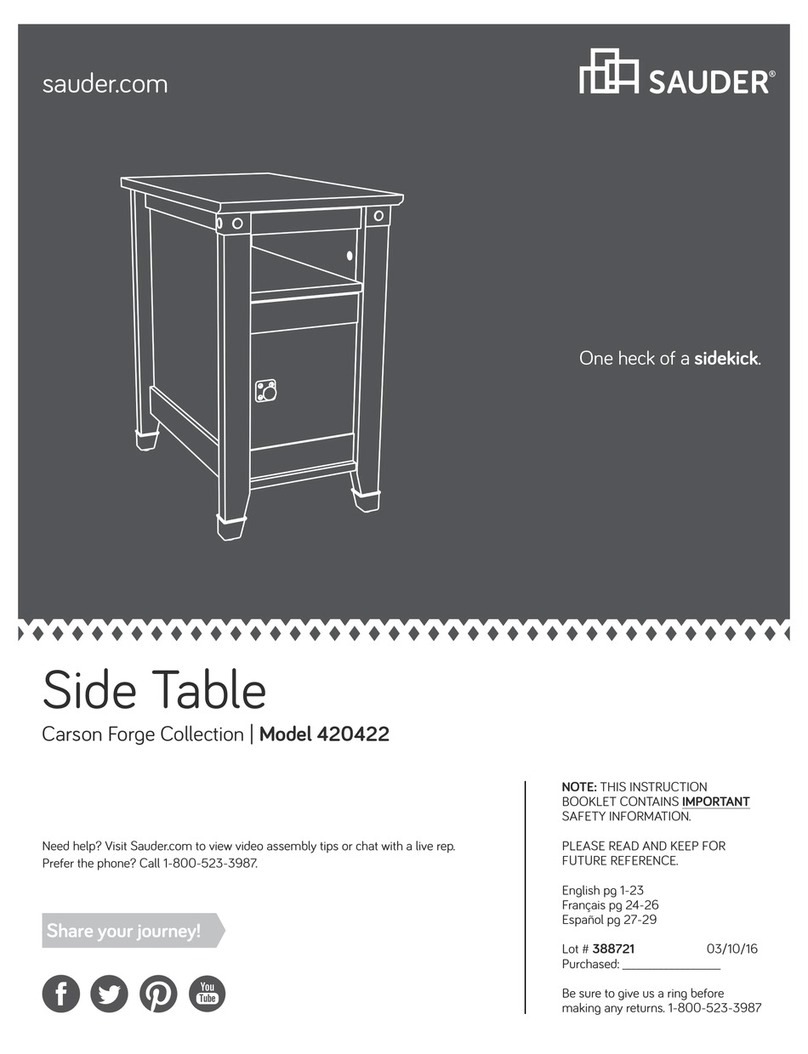
Side Table
Palladia Collection | Model 420519
Table of Contents Assembly Tools Required
Part Identification
Hardware Identification
Assembly Steps
Français
Español
Safety
Warranty
Hammer
Not actual size
No. 2 Phillips Screwdriver
Tip Shown Actual Size
Skip the power trip.
This time.
3
4
5-23
24-26
27-29
30
31
420519 www.sauder.com/servicesPage 2
Part Identification
åWhile not all parts are labeled, some of the parts will have a label or an inked letter on the edge
to help distinguish similar parts from each other. Use this part identification to help identify similar parts.
Now you know
our ABCs.
A RIGHT END (1)
B LEFT END (1)
C TOP (1)
D BOTTOM (1)
E SHELF (1)
F BACK (1)
G BRACE (1)
H DOOR (1)
I BASE MOLDING (1)
J SMALL FRONT BASE (1)
K BACK SKIRT (1)
L SIDE SKIRT (2)
M TOP MOLDING (2)
N TOP SIDE MOLDING (2)
O UPPER PLINTH (2)
P EXTENSION BLOCK (2)
Q COLUMN MOLDING (2)
R RIGHT VERTICAL MOLDING (1)
S LEFT VERTICAL MOLDING (1)
T HALF DISK (2)
U LOWER PLINTH (2)
A
B
C
D
E
F
G
H
I
J
K
L
L
M
MN
N
O
O
P
P
Q
Q
R
S
U
U
T
T
420519www.sauder.com/services Page 3
Hardware Identification
åScrews are shown actual size. You may receive extra hardware with your unit.
METAL BRACKET - 12
4G
GOLD 1" MACHINE SCREW - 1
50S
BLACK 9/16" LARGE HEAD SCREW - 24
1S
SILVER 1-1/8" FLAT HEAD SCREW - 8
10S
BLACK 1-1/4" FLAT HEAD SCREW - 12
7S
HOLE PLUG - 4
11P
7F TWIST-LOCK®FASTENER - 12
12S BROWN 1" FLAT HEAD SCREW - 6
BLACK 1/2" FLAT HEAD SCREW - 4
11S
DOOR STOP - 1
4I
WOOD DOWEL - 4
15F
KNOB - 1
33K
BLACK 1-15/16" FLAT HEAD SCREW - 6
113S
14H HINGE - 2
420519 www.sauder.com/servicesPage 4
MOLDING
CONNECTOR - 4
19F
Step 1 Look for this icon. It means a
video assembly tip is available at
www.sauder.com/services/tips
Do not tighten the TWIST-LOCK® FASTENERS in this step.
(12 used)
7F
å Assemble your unit on a carpeted floor or on the empty
carton to avoid scratching your unit or the floor.
å To begin assembly, push a SAUDER TWIST-LOCK®
FASTENER (7F) into the large holes in the
ENDS (A and B). Repeat this step for the SHELF (E)
and VERTICAL MOLDINGS (R and S).
A
B
420519www.sauder.com/services Page 5
420519 www.sauder.com/servicesPage 6
Step 2
å Fasten the VERTICAL MOLDINGS (R and S) to the
ENDS (A and B). Tighten four TWIST-LOCK® FASTENERS. How to use the SAUDER TWIST-LOCK®FASTENER
1. Insert the dowel end of the FASTENER into the hole of the
adjoining part.
NOTE: The dowel end of the FASTENER must remain fully
inserted in the hole of the adjoining part while locking
the FASTENER.
2. Tighten the FASTENER with a Phillips screwdriver as tight
as possible.
Dowel end
R
A
S
B
Surface with TWIST-LOCK® FASTENERS
420519www.sauder.com/services Page 7
Step 3
å Fasten the HALF DISKS (T) to the COLUMN
MOLDINGS (Q) as shown in the upper diagram. Use
two BROWN 1" FLAT HEAD SCREWS (12S).
å 1. Fasten the UPPER PLINTHS (O) to the VERTICAL
MOLDINGS (R and S). Use two BLACK 1-1/4" FLAT
HEAD SCREWS (7S).
å 2. Fasten the COLUMN MOLDINGS (Q) to the
VERTICAL MOLDINGS (R and S). Use six BLACK 1-1/4"
FLAT HEAD SCREWS (7S).
å NOTE: Do not overtighten the screws.
R
S
BROWN 1" FLAT HEAD SCREW
(2 used in this step)
12S
BLACK 1-1/4" FLAT HEAD SCREW
(8 used in this step)
7S O
O
T
T
T
Q
Q
Q
Q
T
Remember:
Righty tighty.
Lefty loosey.
Curved edge
Curved edge
These edges
must be even.
These edges
must be even.
1st
2nd
2nd
1st
These edges will
have 1/2" oset.
The large
hole should
be facing up.
The large
hole should
be facing up.
420519 www.sauder.com/servicesPage 8
å Fasten the SHELF (E) to the ENDS (A and B). Tighten four
TWIST-LOCK® FASTENERS.
Step 4
A
B
Notch
E
Surface with
TWIST-LOCK®
FASTENERS
420519www.sauder.com/services Page 9
å Push four WOODEN DOWELS (15F) into the EXTENSION
BLOCKS (P) as shown in the upper diagram.
å 1. Push the WOOD DOWEL in the short edge of the
EXTENSION BLOCK (P) into the hole in the SHELF (E).
å 2. Then, rotate the EXTENSION BLOCK (P) until the
WOOD DOWEL in the long edge inserts into the hole in
the VERTICAL MOLDING (R).
å Repeat steps 1 and 2 fastening the remaining EXTENSION
BLOCK (P) to the SHELF (E) and VERTICAL MOLDING (S).
Step 5
S
R
P
P
P
P
15F
15F
1ST 1ST
2ND
2ND
E
Insert the WOOD DOWELS into
the holes closest to the ENDS.
420519 www.sauder.com/servicesPage 10
å Fasten the BOTTOM (D) to the ENDS (A and B) and
EXTENSION BLOCKS (P). Use six BLACK 1-15/16" FLAT
HEAD SCREWS (113S).
Step 6
DA
B
P
P
BLACK 1-15/16" FLAT HEAD SCREW
(6 used in this step)
113S
Surface with
more holes
420519www.sauder.com/services Page 11
Step 7
å Fasten twelve METAL BRACKETS (4G) to the BRACE (G),
BACK SKIRT (K), and SIDE SKIRTS (L). Use twelve BLACK
9/16" LARGE HEAD SCREWS (1S).
å NOTE: Be sure the BRACKETS are even with the edges of
the BRACE and SKIRTS.
å NOTE: Use the exact holes shown.
BLACK 9/16" LARGE HEAD SCREW
(12 used in this step)
1S
G
K
L
L
4G
4G
4G
Finished edge
Finished edge
(12 used)
420519 www.sauder.com/servicesPage 12
Step 8
L
LG
K
D
BLACK 9/16" LARGE HEAD SCREW
(12 used in this step)
1S
Finished edge
Finished edge
å Fasten the BRACE (G) and BACK SKIRT (K) to the BOTTOM (D).
Use four BLACK 9/16" LARGE HEAD SCREWS (1S).
å Fasten the SIDE SKIRTS (L) to the BOTTOM (D), BRACE (G),
and BACK SKIRT (K). Use eight BLACK 9/16" LARGE
HEAD SCREWS (1S).
420519www.sauder.com/services Page 13
å Fasten the SMALL FRONT BASE (J) to the BRACE (G).
Use two BROWN 1" FLAT HEAD SCREWS (12S).
å Fasten the BASE MOLDING (I) to the BRACE (G). Use two
BROWN 1" FLAT HEAD SCREWS (12S).
Step 9
G
BROWN 1" FLAT HEAD SCREW
(4 used in this step)
12S
These edges
must be even. J
I
420519 www.sauder.com/servicesPage 14
å Fasten the LOWER PLINTHS (U) to the BRACE (G). Use
four BLACK 1-1/4" FLAT HEAD SCREWS (7S).
Step 10
BLACK 1-1/4" FLAT HEAD SCREW
(4 used in this step)
7S
G
U
U
Rounded edge
420519www.sauder.com/services Page 15
å Carefully stand your unit upright.
å Slide the BACK (F) into the grooves in the ENDS (A and B).
Step 11
F
A
B
Now might be a
good time to refresh
your drink.
420519 www.sauder.com/servicesPage 16
Step 12
19F 19F
å Tap four MOLDING CONNECTORS (19F) into the notches
in the MOLDINGS (M and N).
Flat end
Flat end
Flat end
Use your hammer to tap the MOLDING CONNECTORS (19F) into the notches in the MOLDINGS.
19F
M
MN
N
420519www.sauder.com/services Page 17
Step 13
å Flip the MOLDINGS (M and N) over and fasten them to the
TOP (C). Use eight SILVER 1-1/8" FLAT HEAD SCREWS (10S).
å NOTE: Do not overtighten the SCREWS into the TOP.
SILVER 1-1/8" FLAT HEAD SCREW
(8 used in this step)
10S
N
N
M
M
C
Rounded edge
Rounded edge
Surface with holes
420519 www.sauder.com/servicesPage 18
Step 14
å Fasten the TOP SIDE MOLDINGS (N) on the TOP (C) to the
ENDS (A and B). Tighten four TWIST-LOCK® FASTENERS.
Rounded edge
Rounded edge
A
B
N
NC
420519www.sauder.com/services Page 19
Step 15
å Fasten two HINGES (14H) to the DOOR (H). Use four
BLACK 1/2" FLAT HEAD SCREWS (11S).
14H
H
BLACK 1/2" FLAT HEAD SCREW
(4 used in this step)
11S
420519 www.sauder.com/servicesPage 20
å You have the option to fasten the DOOR (H) to swing
open to the right or left of your SIDE TABLE as
shown below.
Step 16
DOOR OPENS LEFT DOOR OPENS RIGHT
H
H

Other Sauder Indoor Furnishing manuals
Sauder Beginnings Series User manual

Sauder

Sauder Beginnings Series User manual

Sauder Shoal Creek 409733 User manual

Sauder

Sauder Shoal Creek 409733 User manual

Sauder worksense PALO ALTO 427796 User manual

Sauder

Sauder worksense PALO ALTO 427796 User manual

Sauder 409732 User manual

Sauder

Sauder 409732 User manual

Sauder North Avenue 426016 User manual

Sauder

Sauder North Avenue 426016 User manual

Sauder Hammond 428246 User manual

Sauder

Sauder Hammond 428246 User manual

Sauder WoodTrac closets 359540 User manual

Sauder

Sauder WoodTrac closets 359540 User manual

Sauder Bridge Acre 427324 User manual

Sauder

Sauder Bridge Acre 427324 User manual

Sauder Orchard Hills Series User manual

Sauder

Sauder Orchard Hills Series User manual

Sauder Pallada Series 411843 User manual

Sauder

Sauder Pallada Series 411843 User manual

Sauder 404943 User manual

Sauder

Sauder 404943 User manual

Sauder Manhattan Gate 429249 User manual

Sauder

Sauder Manhattan Gate 429249 User manual

Sauder Edge Water Series User manual

Sauder

Sauder Edge Water Series User manual
Sauder Boone Mountain 416562 User manual

Sauder

Sauder Boone Mountain 416562 User manual

Sauder Pogo 414436 User manual

Sauder

Sauder Pogo 414436 User manual

Sauder 409714 User manual

Sauder

Sauder 409714 User manual

Sauder Hammond 430786 User manual

Sauder

Sauder Hammond 430786 User manual

Sauder OfficeWorks AFFIRM 427427 User manual

Sauder

Sauder OfficeWorks AFFIRM 427427 User manual

Sauder 420203 User manual

Sauder

Sauder 420203 User manual

Sauder 409937 User manual

Sauder

Sauder 409937 User manual

Sauder Costa L-Desk 419956 User manual

Sauder

Sauder Costa L-Desk 419956 User manual

Sauder 426928 User manual

Sauder

Sauder 426928 User manual

Sauder Via 419606 User manual

Sauder

Sauder Via 419606 User manual

Sauder Trestle 414602 User manual

Sauder

Sauder Trestle 414602 User manual

Popular Indoor Furnishing manuals by other brands

Whalen Kellum WMFP54EC-26GR manual

Whalen

Whalen Kellum WMFP54EC-26GR manual

Costway KC55224 user manual

Costway

Costway KC55224 user manual

Dunelm MEMPHIS DAY BED Assembly instructions

Dunelm

Dunelm MEMPHIS DAY BED Assembly instructions

Naomi Home Emery Assembly instructions

Naomi Home

Naomi Home Emery Assembly instructions

Kogan COD-C5-3D-WD-AB Assembly instructions

Kogan

Kogan COD-C5-3D-WD-AB Assembly instructions

Sunnydaze Decor MID-CENTURY MODERN TV STAND manual

Sunnydaze Decor

Sunnydaze Decor MID-CENTURY MODERN TV STAND manual

Coaster 223521KW Assembly instructions

Coaster

Coaster 223521KW Assembly instructions

Signature Design 10035864 Assembly instructions and warranty information

Signature Design

Signature Design 10035864 Assembly instructions and warranty information

Leisure made 967003 Assembly instructions

Leisure made

Leisure made 967003 Assembly instructions

SMITH SYSTEM 179946 Assembly instructions

SMITH SYSTEM

SMITH SYSTEM 179946 Assembly instructions

Gami BROOKLYN H53 Assembly instructions

Gami

Gami BROOKLYN H53 Assembly instructions

Forte SNWB01 Assembling Instruction

Forte

Forte SNWB01 Assembling Instruction

Clinton 6190 Assembly instructions

Clinton

Clinton 6190 Assembly instructions

Novogratz DL8417-13 instruction manual

Novogratz

Novogratz DL8417-13 instruction manual

Alice's Home DUNE IWDCHEST4D manual

Alice's Home

Alice's Home DUNE IWDCHEST4D manual

Kettal Molo Assembly guide

Kettal

Kettal Molo Assembly guide

DIR Amanda instruction manual

DIR

DIR Amanda instruction manual

Riverside Aberdeen King Bed Assembly instructions

Riverside

Riverside Aberdeen King Bed Assembly instructions

manuals.online logo
manuals.online logoBrands
  • About & Mission
  • Contact us
  • Privacy Policy
  • Terms and Conditions

Copyright 2025 Manuals.Online. All Rights Reserved.