7
GETTING STARTED
PART NAMES AND FUNCTIONS
Zero key
Use as part of numeric keys to enter copy quantity.
Press during a continuous copy run to display the
number of copies completed in the current run.
Press during standby to display the total output count.
Press and hold down the key. 12,345sheets output
1st display 2nd display
Note: A3 (11" x 17") size copies are counted as two
copies.
CLEAR ( ) key
Clears the copy quantity display or terminates a copy
run.
START ( ) key and indicator
Copying is possible when the indicator is on.
Press to start copying.
CLEAR ALL ( ) key
Clears all selected settings and returns the copier to the
initial settings.
PRESETRATIOselectorkeysandindicators(p.
17)
Usetosequentiallyselectpresetreduction/enlargement
copyratios:50%,70%,81%,86%,100%,115%,122%,
141%, 200% (50%, 64%, 77%, 95%, 100%, 121%,
129%, 141%, 200%).
ORIGINAL SIZE ENTER ( ) key and
indicators
Use to input the original size.
AUTO PAPER SELECT ( ) indicator
Paper of the proper size will be automatically selected
depending on the original size and selected copy ratio
when this indicator is on.
TRAY SELECT ( ) key (p. 14)
Use to manually select a paper tray.
AUTO IMAGE ( ) key and indicator
Press for automatic copy ratio selection.
Paper feed location/misfeed location indica-
tors (p. 30)
The selected paper feed location is shown by a lit
indicator ( ).
The general location of misfed paper is shown by a
blinking red indicator ( ).
DUAL PAGE COPY ( ) key and indicator
(p. 24)
Use to make individual copies of two originals placed
side by side on the original table.
ERASE( /)keyandindicators(p.65)
Press to select the edge erase and/or the centre erase
mode. (Only available when an optional electronic
sorting kit is installed)
MARGINSHIFT( )keyandindicator(p.67)
Shifts text or image on the copy to leave a binding
marginontheleftsideofthecopy.(Onlyavailablewhen
an optional electronic sorting kit is installed)
Initial settings
Thecopier assumes the initial settings whenit is first turned
on, when the CLEAR ALL ( ) key is pressed, and ap-
proximately one minute* after the last copy is made in any
mode.
●Copy ratio: 100%
●Exposure: Automatic
●Copy quantity: 0
●All special copier modes: Off
●Auto paper selection: On
●Paper feed station: Previously selected paper tray
* This time (auto clear time) can be changed. See page 36,
USER PROGRAMS.
Part names and functionsGETTING STARTED
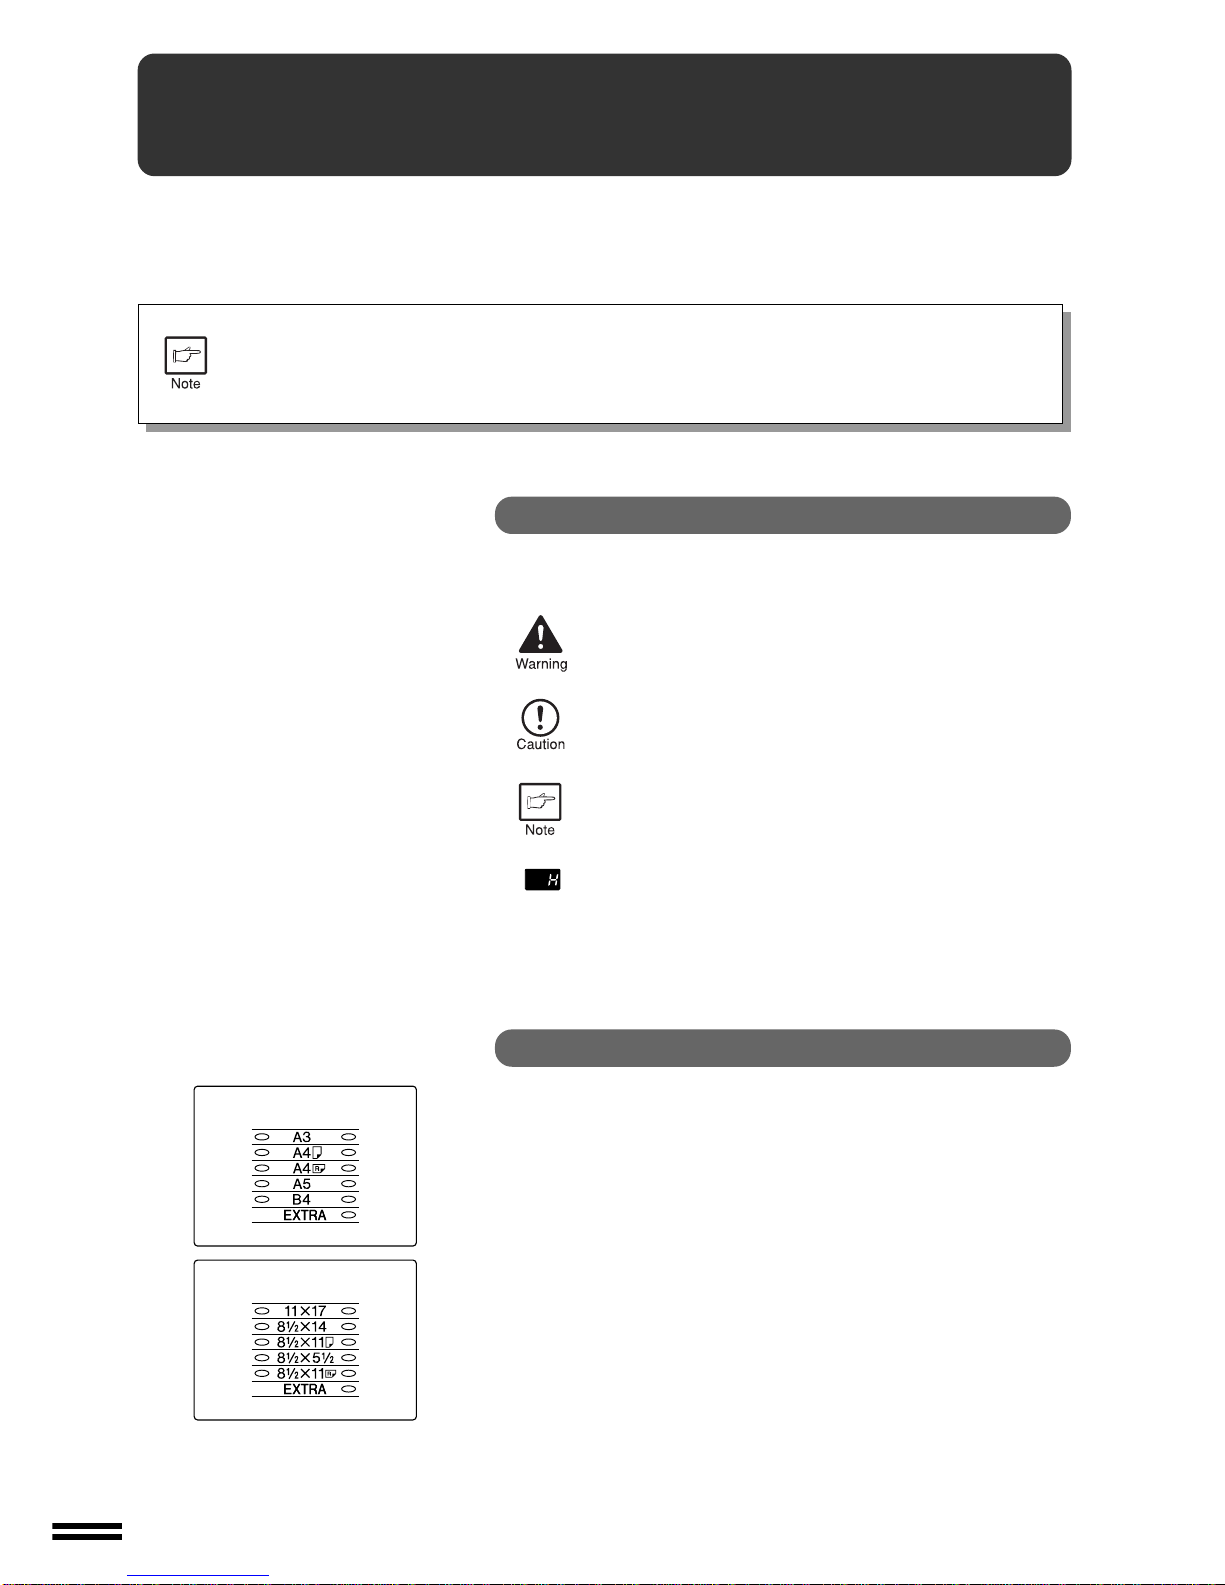
Inch system
Insome countries and regions, 8-1/2"x13"size
is indicated on the operation panel.