manuals.online logo
Brands
  1. Home
  2. •
  3. Brands
  4. •
  5. SOMFY
  6. •
  7. Engine
  8. •
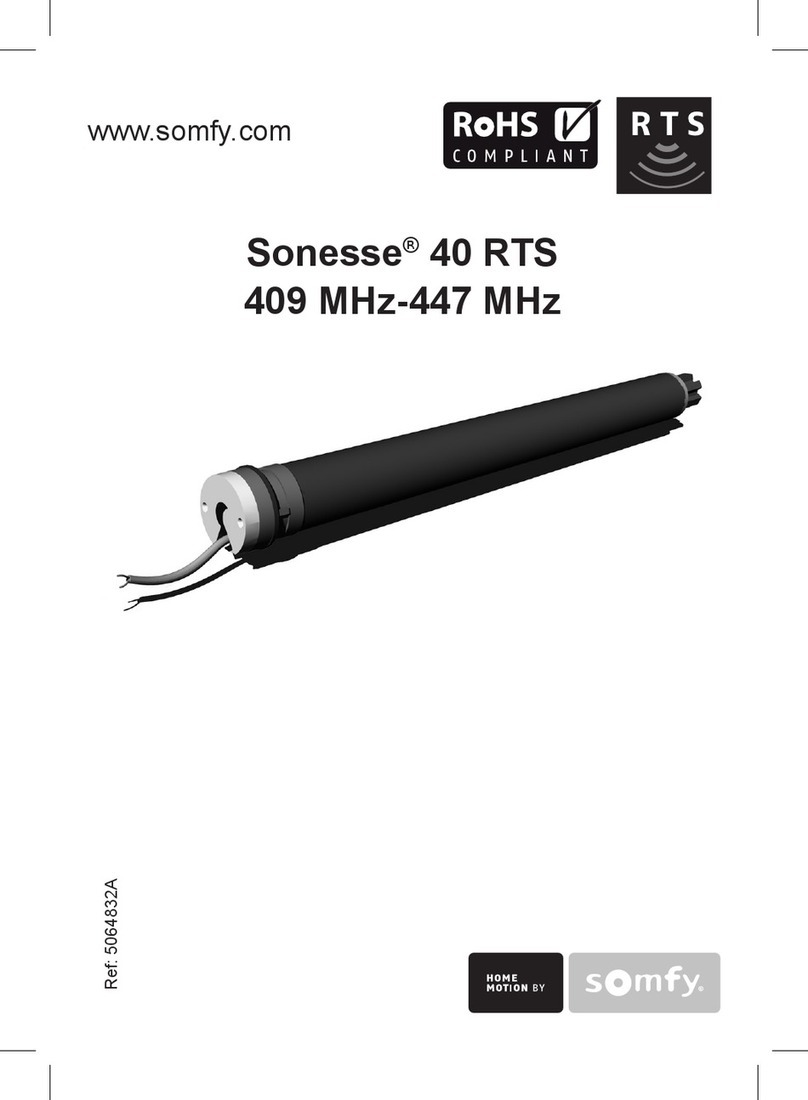
  9. SOMFY Sonesse 30 User manual

SOMFY Sonesse 30 User manual

Sonesse 30 Programming & Operation Instructions
TM
Before you begin
Motors are shipped without limit switch settings and transmitter ID’s
Steps (1-6) must be completed to ensure proper shade programming and functionality.
It may be necessary to disconnect shades from their respective power while programming
is in progress. While programming (step 4), shade should not be inactive for longer than
2 minutes or motor will exit programming mode.
my
Press and
hold UP &
DOWN Button
For Single Channel Transmitters (Telis 1, Decora 1, or Chronis Timer)
1) On the transmitter, press and hold the UP and DOWN uttons simultaneously
until the shade jogs (shade operates in a short up and down movement).
For Multi-Channel Transmitters (Telis 4 or Decora 4)
1) Using the channel selector, select the desired channel.
2) On the transmitter, press and hold the UP and DOWN uttons simultaneously
until the shade jogs.
b
b
STEP ONE
STEP TWO Initiate Programming – (for use with Telis 1 & 4, Decora 1 & 4 or Chronis Timer)
Telis 1 Transmitter Decora 1 Chronis Timer
UP Button
MY (stop) Button
DOWN Button
Channel Selector
Telis 4 Transmitter
The following illustrations and instructions represent the Telis
hand-held remote, and may also be applied to the Decora
wireless wall switch and Chronis Timer.
1) Connect 24V DC power supply to the motor
Motor should already be installed in shade.
Connect Power to Motor
Programming Instructions are for use with Telis 1&4, Decora 1&4 or Chronis Timer
NOTE: This step cannot be performed if the transmitter has already been programmed
(memorized) to shade.
Solar Control, LLC | 888-550-4836
SolarControlLLC.com
Sonesse 30 Programming & Operation Instructions
STEP FOUR Setting Limits (Shade Positions)
1.
2.
my
Press & hold MY (stop)
Button
3.
4.
my
Press & hold MY (stop)
and UP Button
my
Press & hold MY (stop)
and DOWN Button
Starting with shade in down position.
4) Once desired upper limit (shade position) is reached, press and
hold the MY (stop) and DOWN uttons simultaneously until the
shade begins to move down, then release.
b
3) Press the MY (stop) utton when the shade reaches the desired
upper limit (shade position). If necessary, adjust the desired
shade position with a brief press of either the UP or DOWN utton.
b
b
2 ) Once the desired lower limit (shade position) is reached, press and hold
the MY (stop) and UP uttons simultaneously until the
shade begins to move up, then release.
b
my
Press &
hold UP
or DOWN
Button
my
Press &
hold DOWN
Button
Press &
hold UP
Button
Check Polarity (Shade direction) MUST BE DETERMINED BEFORE SETTING SHADE LIMITS
STEP THREE
my
my
Press and hold the DOWN utton and confirm the shade moves down.
Press and hold the UP utton and confirm the shade moves up.
·If shade direction is correct, continue to Step 4.
·If shade direction is not correct (in reverse), press and hold the
MY (stop) utton on the transmitter for 2 seconds. Shade will jog.
Shade direction is now corrected. Shade movement should now
correspond to the direction button on the transmitter.
b
b
b
TM
1) Press and hold the UP or DOWN utton on the transmitter to
reach the desired lower limit (shade position).
b
P.2
Solar Control, LLC | 888-550-4836
SolarControlLLC.com
Press & hold MY (stop)
Button
my
Press & hold MY (stop)
and UP Button
4.
3.
3) Press the MY (stop) utton when the shade reaches the desired lower
limit (shade position). If necessary, adjust the desired shade position
with a brief press of either the UP or DOWN utton.
b
b
4) Once desired lower limit (shade position) is reached, press and hold
MY (stop) and UP uttons simultaneously until the shade begins to
move up, then release.
b
my
Press & hold MY (stop)
Button
5.
my
5) Once shade stops at previously set upper limit (shade position), press and
hold the MY (stop) utton for 2 seconds until the shade jogs. This confirms
both limits (shade positions).
To complete programming proceed to STEP FIVE
b
1.
2.
1) Press and hold the DOWN or UP utton on the transmitter to
reach the desired upper limit (shade position).
b
2) Once the desired upper limit (shade position) is reached, press and hold
the MY (stop) and DOWN uttons simultaneously until the
shade begins to move down, then release.
b
Press &
hold UP or
DOWN Button
my
my
Press & hold MY (stop)
and DOWN Button
my
5.
Press & hold MY (stop)
Button for 2 seconds
5) Once shade stops at previously set lower limit (shade position), press and hold
the MY (stop) utton for 2 seconds until the shade jogs. This confirms both
limits (shade positions).
To complete programming, proceed to STEP FIVE
b
Sonesse 30 Programming & Operation Instructions
TM
Starting with shade in up position
P.3
STEP FOUR Setting Limits (Shade Positions) continued.
Solar Control, LLC | 888-550-4836
SolarControlLLC.com
Previous
transmitter
Program
Button
my Channel
Selector
New
transmitter
Program
Button
Previous
transmitter
Program Button
New
transmitter
STEP SIX Adding Additional Transmitters, Assigning or Deleting Channels
Assigning Specific Channels to Shade (Multi-channel transmitters only)
1) Using a paperclip, press and hold the PROGRAM utton on the
previously addressed transmitter until the shade jogs.
2) Select the desired channel (1-4 or all) by momentarily pressing the
Channel Selector utton on the multi-channel transmitter.
3) Press and hold the PROGRAM utton on the multi-channel transmitter until
the shade jogs. Additional (new) channel is now added to shade memory and
can be used to operate shade.
Note: To prevent unwanted Channel/Transmitter assignments, it may be
necessary to unplug all previously programmed shades until programming
is complete.
b
b
b
Program
Button
STEP FIVE Completing & Exiting Programming Mode
Using a paperclip, press and hold the PROGRAM utton
on the back of the transmitter until the shade jogs.
TRANSMITTER IS NOW MEMORIZED AND PROGRAMMING IS COMPLETE.
Note: If power is disconnected from shade before Step 5 is
completed, TRANSMITTER WILL NOT BE MEMORIZED to the
programmed shade however limits (shade positions) will
remain programmed. If this occurs, go back and repeat
step 2 (Initiate Programming). Then omit step 4 (Setting Limits)
and resume with step 5.
bProgram
Button
Program
Button
Chronis RTS Timer
with cover removed
Telis Transmitter
(back view)
Decora Wireless
Wall Switch, (side view)
Adding Additional Transmitters (Single Channel)
With a Remote Control
1) Using a paperclip, press and hold the PROGRAM
on the previously addressed transmitter until the shade jogs.
2) Using a paperclip, press and hold the PROGRAM on
the Additional (new) transmitter until the shade jogs. Additional
(new) transmitter is now added to shade memory and can be used
to operate shade.
With the Program Button on the Motor
1) Using a paperclip, press the red PROGRAM on the motor
head for 2 seconds until the shade jogs.
2) Using a paperclip, press and hold the PROGRAM utton on the
Additional (new) transmitter until the shade jogs. The Additional (new)
transmitter is now added to shade memory and can be used to operate shade.
button
button
button
b
Sonesse 30 Programming & Operation Instructions
TM
Program Button
Motor Head
P.4
Solar Control, LLC | 888-550-4836
SolarControlLLC.com
my
Press UP or
DOWN Button
1.
1) Press the UP or DOWN directional utton on the previously addressed
transmitter until the shade reaches a desired intermediate position, then
press the MY (stop) utton to stop. If necessary adjust the desired
position with a brief press of either the UP or DOWN utton.
b
b
b
OPTION ONE Setting an Intermediate Position (IP)
To delete all previous settings: Using a paperclip, press and hold the red
PROGRAM switch for 12 seconds until the motor jogs 3 times. All transmitters
and limits will be erased.(Motor is now reset to factory mode.) Motor limits will need
to be reestablished.
STEP SEVEN Resetting Motor (Erasing all Previously Programmed Limit Settings and Channels)
Deleting Specific Channels/Transmitters
1) Using a paperclip, press and hold the PROGRAM utton on the
previously addressed transmitter until the shade jogs.
2) Select the desired channel (1-4 or all) or transmitter (single channel) to be deleted.
3) Press and hold the PROGRAM utton on the transmitter until the shade
jogs. Channel or transmitter is now deleted from shade memory and will
not operate shade.
To delete ALL transmitter channels: using a paperclip, press and hold
the red program button located on the motor head for 7 seconds until the shade
jogs twice.
b
b
Previous
transmitter
Program
Button
my Channel
Selector
Program Button
(RED Button)
Sonesse 30 Programming & Operation Instructions
TM
Program Button
Motor Head
P.5
STEP SIX Adding Additional Transmitters, Assigning or Deleting Channels (continued)
Solar Control, LLC | 888-550-4836
SolarControlLLC.com
Press & hold
My (stop) Button
my
4.
4) Press and hold the MY (stop) utton until the shade jogs.
New Upper Limit (Up stop Position) is now added to memory.
b
my
Press &
hold UP
& DOWN
Button
my
my
Press &
hold Either
UP or DOWN
Button
my
2.
3.
2) Once shade stops at pre-set up limit, press and hold the UP and
DOWN uttons simultaneously on the transmitter until the shade jogs.b
3) Press and hold either the UP or DOWN utton on the transmitter to adjust
shade to new position.
b
my
Press MY (stop)
Button
3.
Press UP
Button
mymy
1.
1) Press the UP directional utton on the transmitter. Shade will travel to
the pre-set UP limit.
b
Note: Shade should be stationary prior to activating intermediate position function.
If shade is actively moving (in-motion) MY (stop) utton should be pressed twice.
To Delete: Activate shade to (IP) position, then press and hold the MY (stop) utton
for 5 seconds. Shade will jog to confirm deletion.
b
b
3) Activate the shade intermediate position by pressing the MY (Stop)
from ANY shade position.
button
Re-adjusting Upper Limit (UP Shade Position)
OPTION TWO
my
Press & hold
MY (stop) Button
2.
2) Once the desired Intermediate position is reached, Press and hold the
MY (stop) on the transmitter until the shade jogs. Intermediate
position is now added to memory
button
Sonesse 30 Programming & Operation Instructions
TM
P.6
OPTION ONE Setting an Intermediate Position (IP) continued.
Solar Control, LLC | 888-550-4836
SolarControlLLC.com
CSOMFY SYSTEMS, INC. 2/07 P.7 REV.2
1) Press the DOWN directional on the transmitter. Shade will travel
to the pre-set DOWN limit.
button
Press & hold
MY (stop) Button
Press DOWN
Button
my
Press &
hold UP
& DOWN
Button
my
my
Press &
hold Either
UP or DOWN
Button
my
my
my
my
1.
2.
4.
3.
OPTION THREE Re-adjusting Lower Limit (DOWN Shade Position)
2) Once shade stops at pre-set down limit, press and hold the UP and
DOWN s simultaneously on the transmitter until the shade jogs.button
3) Press and hold either the UP or DOWN on the transmitter to adjust
shade to new position.
4) Press and hold MY (stop) until shade jogs. New lower limit (Down
stop position) is now added to memory.
button
button
1) Press YELLOW on motor head until shade begins to operatebutton
Sonesse 30 Programming & Operation Instructions
TM
OPTION FOUR Manual Activation of Shade
2) Press YELLOW button again to stop.
NOTE: Shade should already be programmed in order to activate motor. Program Button
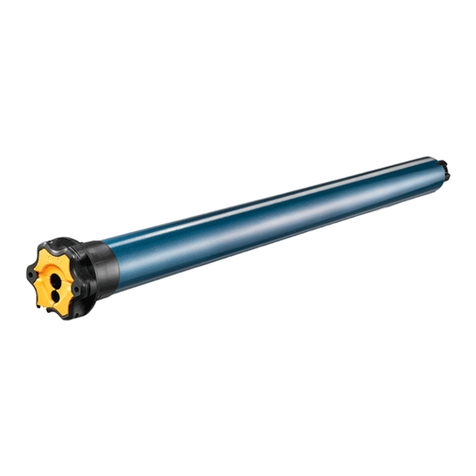
Yellow Button
Motor Head
Solar Control, LLC | 888-550-4836
SolarControlLLC.com

Other SOMFY Engine manuals

SOMFY LT50 Service manual

SOMFY

SOMFY LT50 Service manual

SOMFY ELIXO 2000 230V RTS User manual

SOMFY

SOMFY ELIXO 2000 230V RTS User manual

SOMFY LT 50 PA User manual

SOMFY

SOMFY LT 50 PA User manual

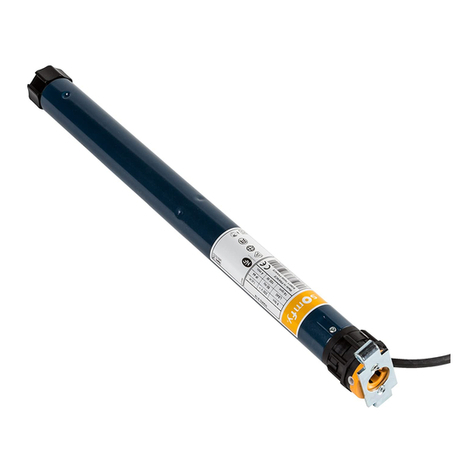
SOMFY Sonesse 30 RTS 24V DC Operating instructions

SOMFY

SOMFY Sonesse 30 RTS 24V DC Operating instructions

SOMFY Elixo 500 230 V User manual

SOMFY

SOMFY Elixo 500 230 V User manual

SOMFY Sonesse 30 RS485 User manual

SOMFY

SOMFY Sonesse 30 RS485 User manual

SOMFY J4 io Instruction Manual

SOMFY

SOMFY J4 io Instruction Manual

SOMFY SGH io Assembly instructions

SOMFY

SOMFY SGH io Assembly instructions

SOMFY Glydea Ultra RTS Series User manual

SOMFY

SOMFY Glydea Ultra RTS Series User manual

SOMFY Dexxo Pro 800 RTS User manual

SOMFY

SOMFY Dexxo Pro 800 RTS User manual

SOMFY J4 1TN User manual

SOMFY

SOMFY J4 1TN User manual

SOMFY BAT-R Installation manual

SOMFY

SOMFY BAT-R Installation manual

SOMFY Wirefree Roll-Up 28 RTS Operating instructions

SOMFY

SOMFY Wirefree Roll-Up 28 RTS Operating instructions

SOMFY Tilt Only 50 RTS Central Pack User manual

SOMFY

SOMFY Tilt Only 50 RTS Central Pack User manual

SOMFY RAINER MAESTRIA 50 RTS Operating instructions

SOMFY

SOMFY RAINER MAESTRIA 50 RTS Operating instructions

SOMFY Sunea 40 RTS DC User manual

SOMFY

SOMFY Sunea 40 RTS DC User manual

SOMFY Oximo Series User manual

SOMFY

SOMFY Oximo Series User manual

SOMFY J4 1TN User manual

SOMFY

SOMFY J4 1TN User manual

SOMFY Oximo WT User manual

SOMFY

SOMFY Oximo WT User manual

SOMFY ilmo 50 WT User manual

SOMFY

SOMFY ilmo 50 WT User manual

SOMFY Sonesse 50 PA User manual

SOMFY

SOMFY Sonesse 50 PA User manual

SOMFY tecnoShades NO25 User manual

SOMFY

SOMFY tecnoShades NO25 User manual

SOMFY ILT 2 User manual

SOMFY

SOMFY ILT 2 User manual

SOMFY Ilmo 40 WT User manual

SOMFY

SOMFY Ilmo 40 WT User manual

Popular Engine manuals by other brands

BECKER-Antriebe P3/30C PS(+)SMI Assembly and operating instructions

BECKER-Antriebe

BECKER-Antriebe P3/30C PS(+)SMI Assembly and operating instructions

Saito FA-60T instruction manual

Saito

Saito FA-60T instruction manual

Desert Aircraft DA100 owner's manual

Desert Aircraft

Desert Aircraft DA100 owner's manual

Thaler KE-SP 60100 GM Operation manual

Thaler

Thaler KE-SP 60100 GM Operation manual

MTU 20 V 4000 L63 operating instructions

MTU

MTU 20 V 4000 L63 operating instructions

Louvolite R1725 Programming instructions

Louvolite

Louvolite R1725 Programming instructions

BRITEFIL 6" BF Motors Series installation manual

BRITEFIL

BRITEFIL 6" BF Motors Series installation manual

DANA 4360-51 parts list

DANA

DANA 4360-51 parts list

Toyota 1C Repair manual

Toyota

Toyota 1C Repair manual

Komatsu TB45 Service manual

Komatsu

Komatsu TB45 Service manual

Nice Era Fit E S Instructions and warnings for installation and use

Nice

Nice Era Fit E S Instructions and warnings for installation and use

BMW D12 Brochure & specs

BMW

BMW D12 Brochure & specs

LinMot P10-54 installation guide

LinMot

LinMot P10-54 installation guide

HSD SM 137 D Assembly instructions

HSD

HSD SM 137 D Assembly instructions

Briggs & Stratton Racing Animal Series reference guide

Briggs & Stratton

Briggs & Stratton Racing Animal Series reference guide

Hammer Engines GmbH RC 90+ instruction manual

Hammer Engines GmbH

Hammer Engines GmbH RC 90+ instruction manual

Hatz Diesel 1D41 S Operator's manual

Hatz Diesel

Hatz Diesel 1D41 S Operator's manual

MTU 12V4000T94 operating instructions

MTU

MTU 12V4000T94 operating instructions

manuals.online logo
manuals.online logoBrands
  • About & Mission
  • Contact us
  • Privacy Policy
  • Terms and Conditions

Copyright 2025 Manuals.Online. All Rights Reserved.